To enable Zoom in your iSpring LMS account, make sure the following conditions are met:
- Zoom meetings in iSpring LMS work only with the paid Zoom subscription. They won't work with the Basic plan.
Check Zoom tariff plans on the official website.
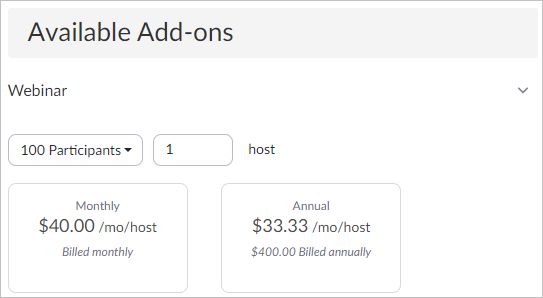
- To host webinars, apart from a paid plan, purchase the Webinar add-on.
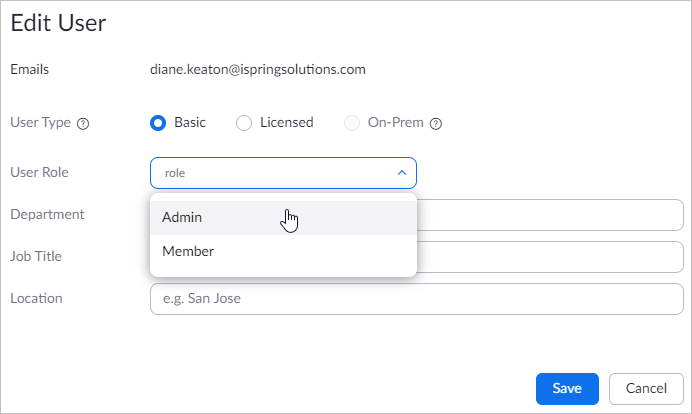
- Only Zoom account owner and users assigned with the administrator role can connect Zoom to an iSpring LMS account.
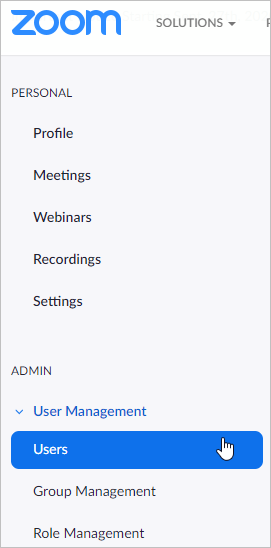
- Open the User Management section and click Users.
- In the Users section, click Edit next to a needed user's name.

- Finally, choose the Admin role and click Save.
- Disable the option to plan new meetings with the personal meeting ID (PMI).
- Log in to your Zoom account and open the Settings tab.
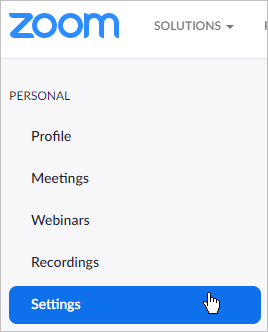
- Make sure that the Use Personal Meeting ID (PMI) when scheduling a meeting is disabled.

- Enable the option to include an encrypted password in the invite link.
- Log in to your Zoom account and open the Settings tab.
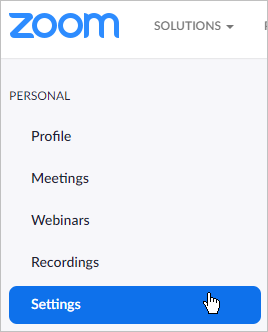
- Enable the Embed password in invite link for one-click join option.

- Disable the Require password for participants joining by phone option. If you enable this option, all those who use their smartphones to join the meeting will need to enter a password.

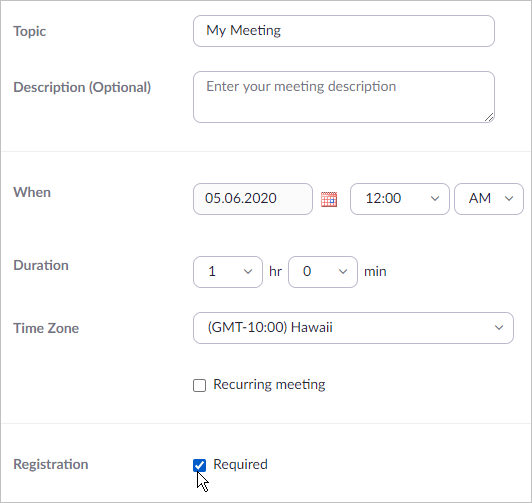
- Meetings added in iSpring LMS are always created with the registration enabled. Don't disable the registration for the Zoom meetings created in iSpring LMS. Otherwise, learners won't be able to join the meeting.
- You can grant with scheduling privilege another user only if your and their types are Licensed or On-Prem. Make sure your membership plan allows you to add more than one user with the Licensed or On-prem types.
To check this, go to the Billing section.
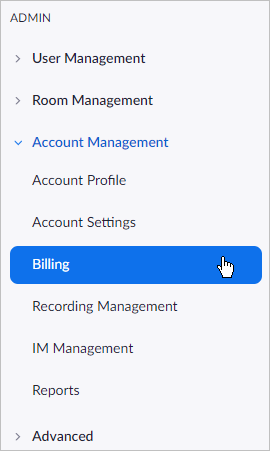
Under the Current Plans tab, you will see which features and how many hosts your membership plan includes.

To edit your membership plan, for example, add more hosts to it, click on the Add/Edit link.
