Publishing to iSpring Cloud
Once you have finished editing your course, upload it to iSpring Cloud, a platform for microcourse creation and content storage.
Learn how to manually upload a content item to iSpring Cloud if your computer is disconnected from the Internet or online publishing doesn't complete because of an antivirus program or a proxy server error.
To publish your presentation to iSpring Cloud:
- Click Publish on the iSpring Suite 11 toolbar.

- Choose the iSpring Cloud tab. If you have already logged in to your iSpring Cloud account, your profile data will populate the Account field and you won't need to reenter them.
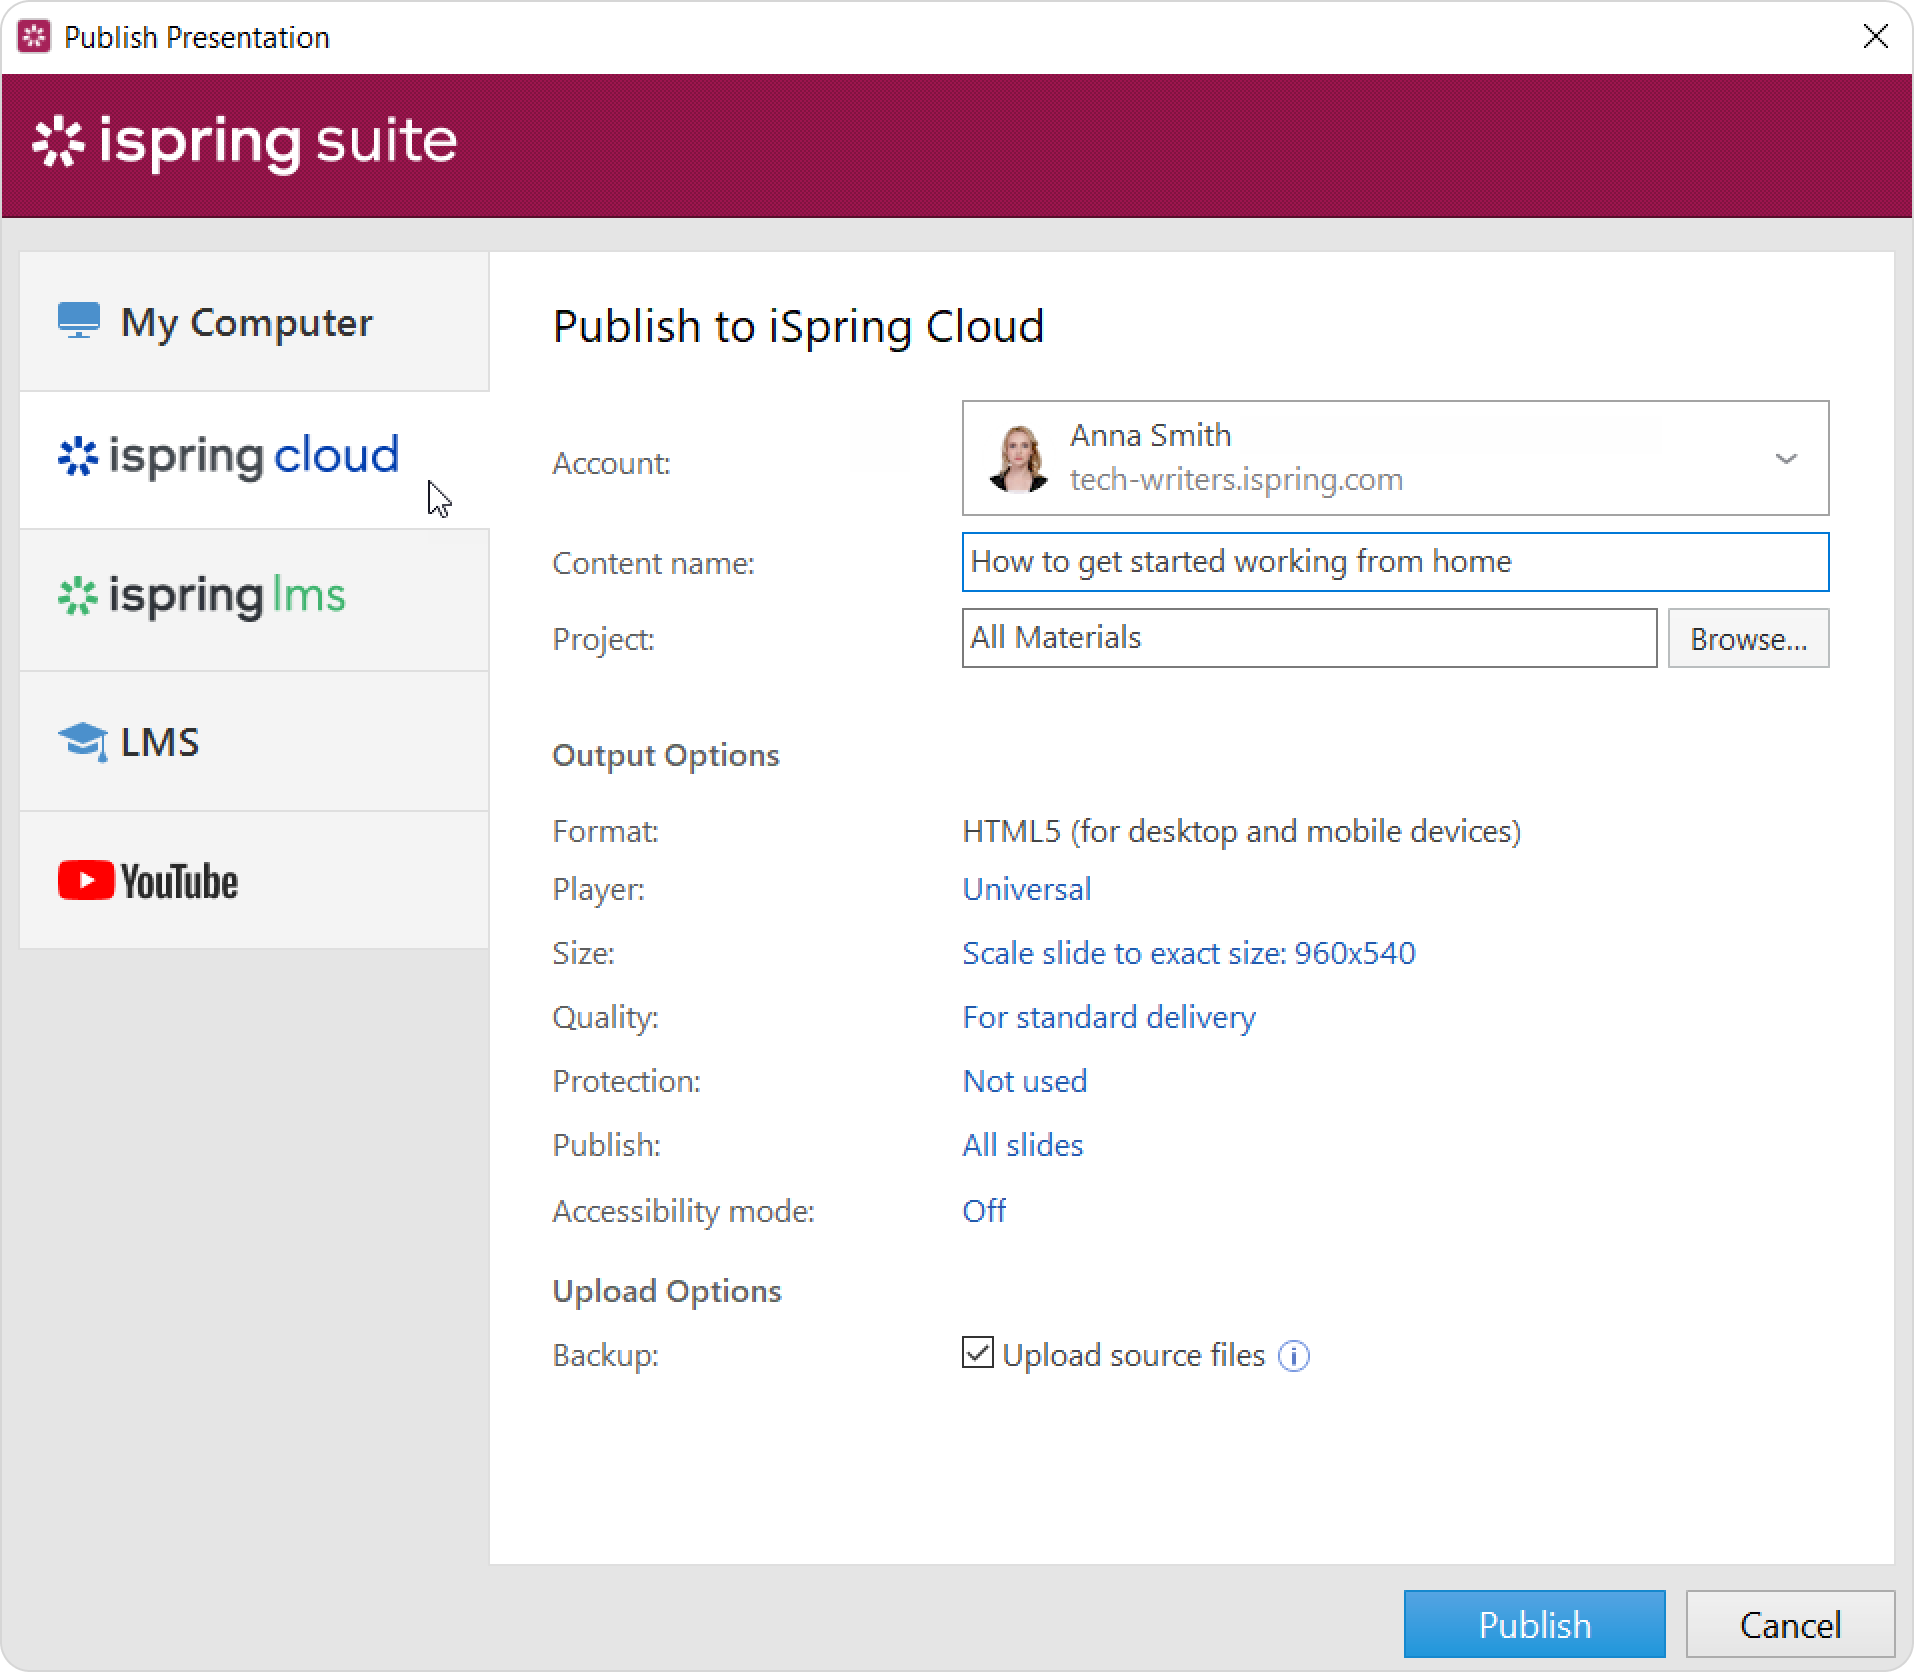
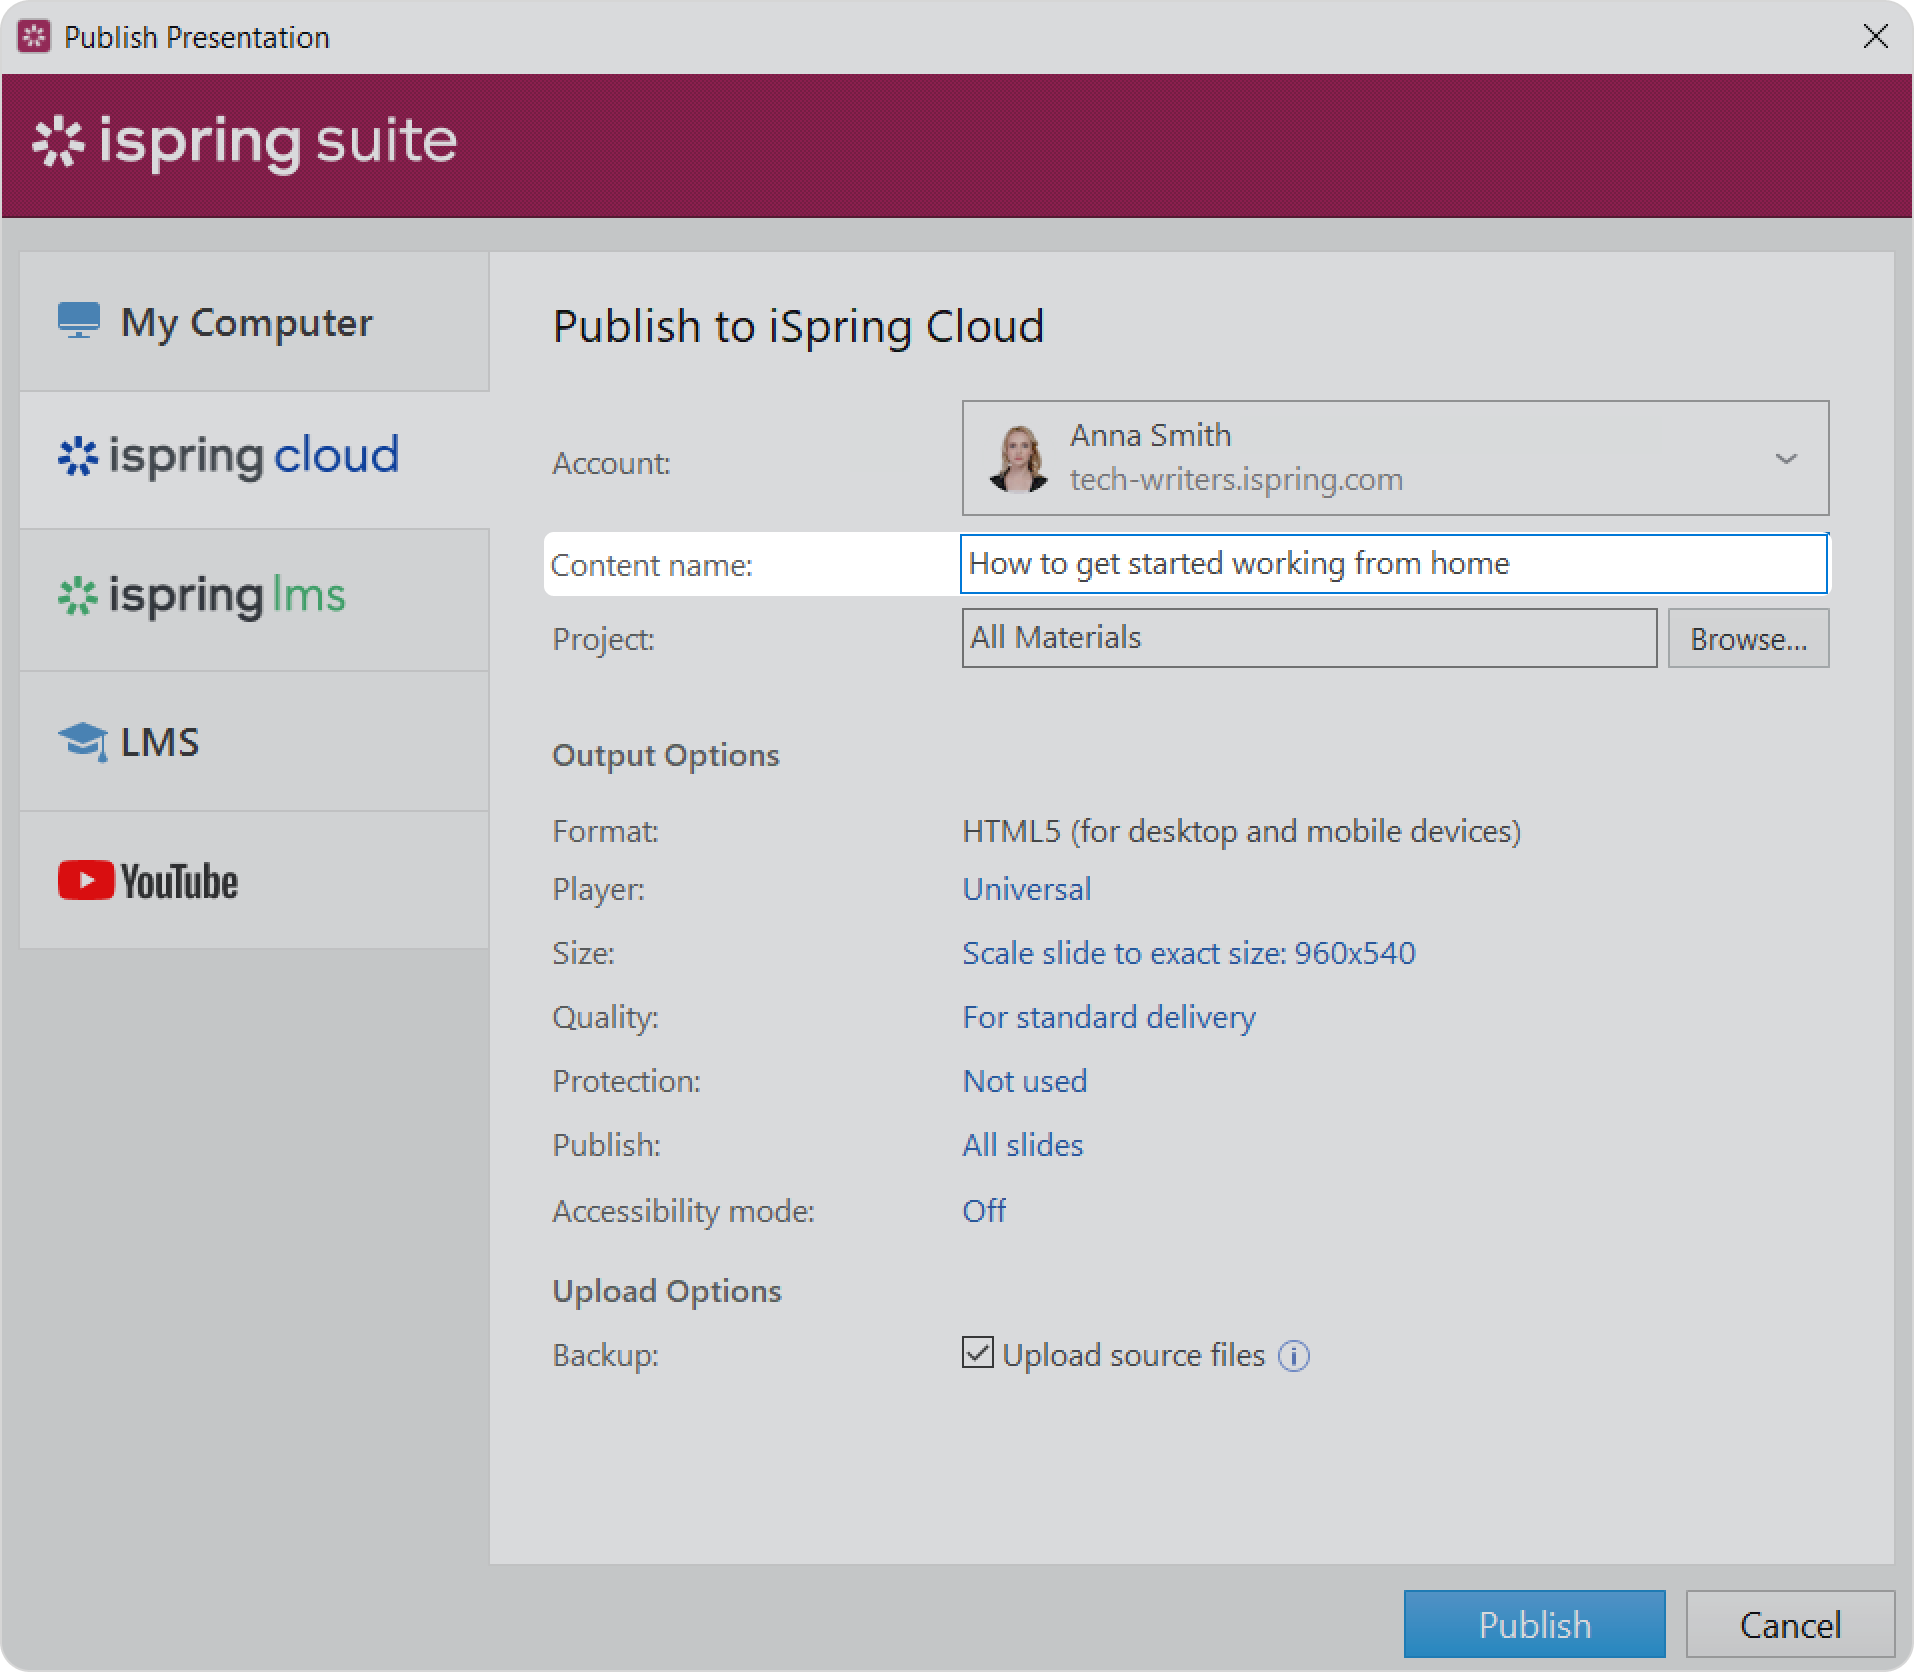
If you haven't logged in to your iSpring Cloud account yet, do that now. Just follow the same instructions as when activating your iSpring Suite AI license using iSpring Cloud. - Enter the title of the course in the Content name field. By default, the title is the same as that of the PowerPoint presentation.
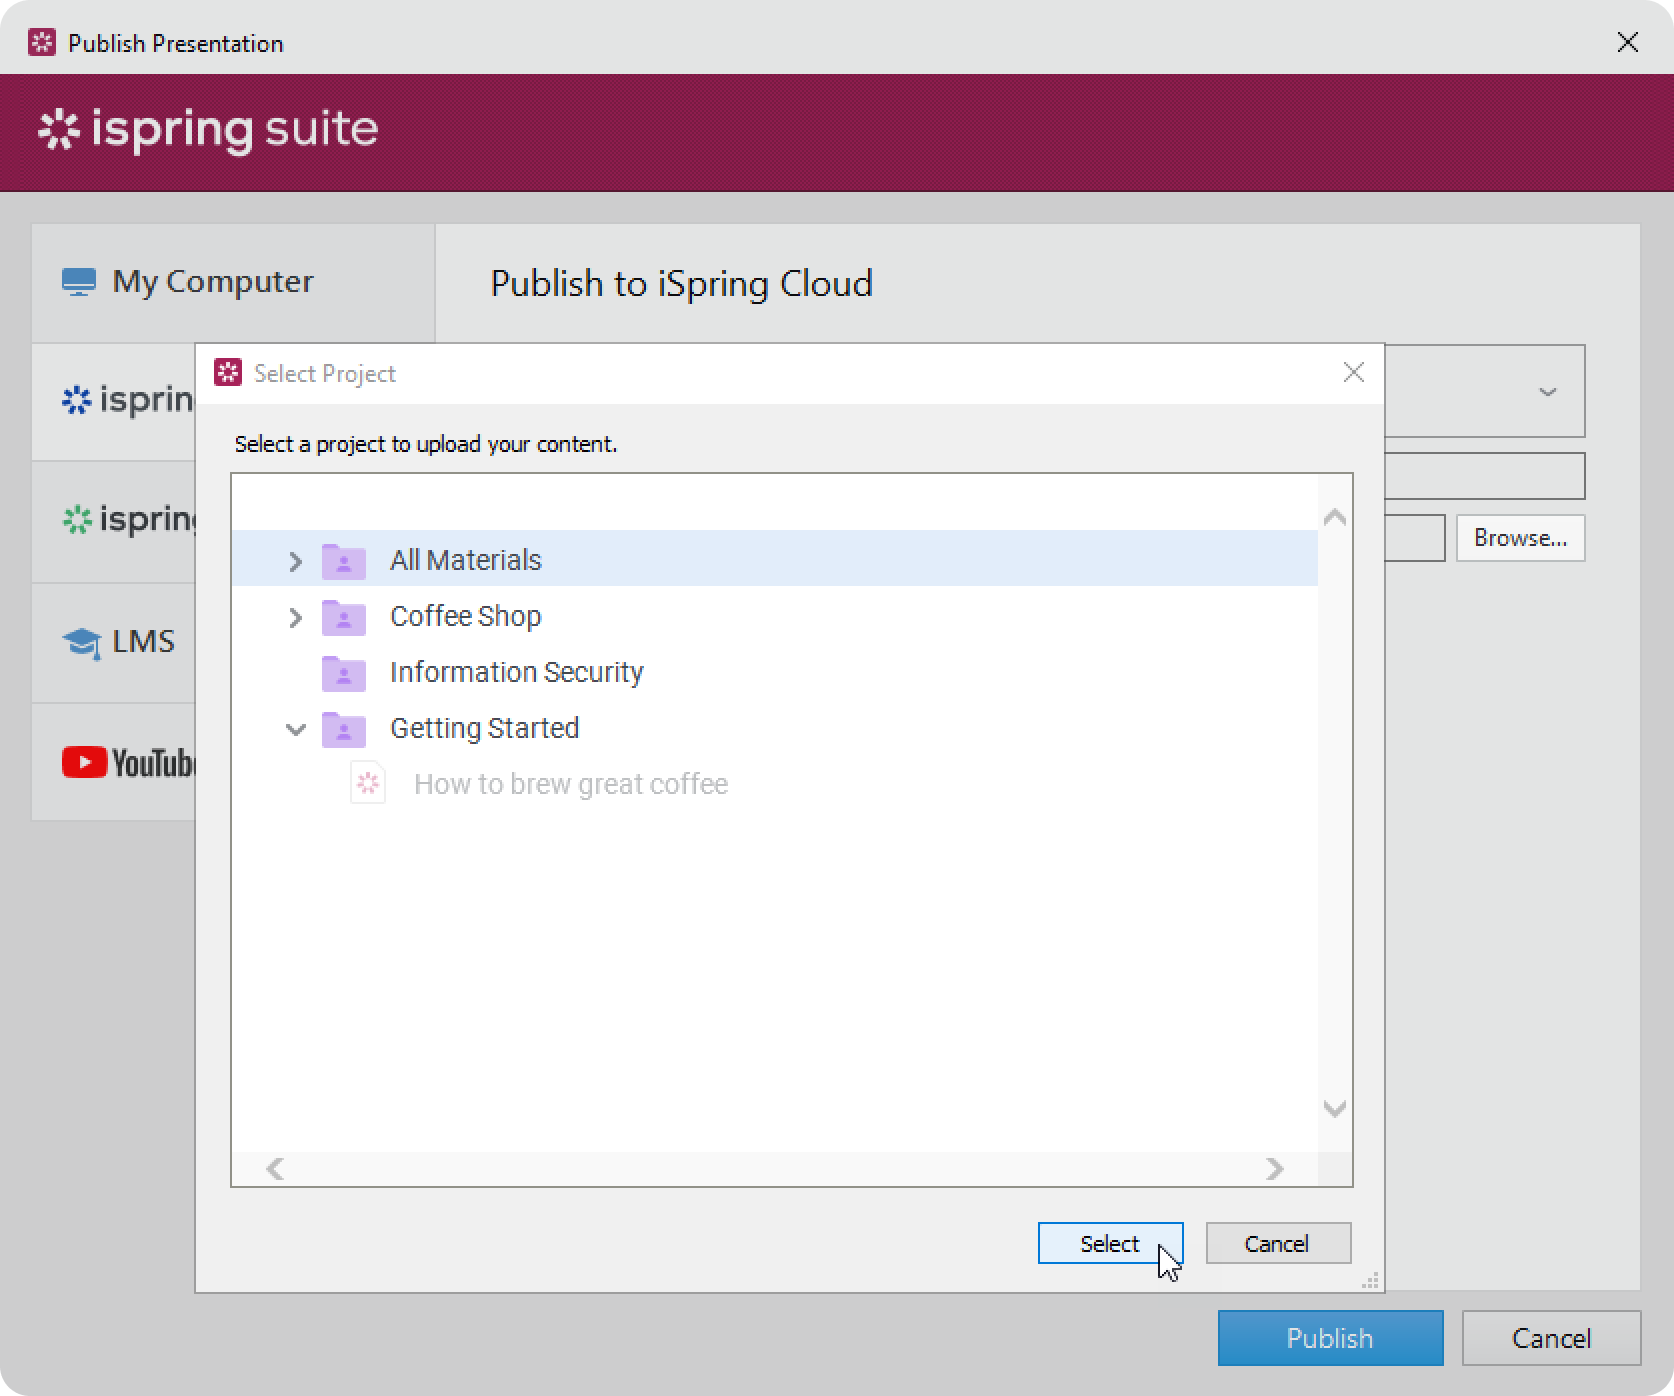
Click Browse... to the right of the Project field, choose the folder to upload your content, and click Select. By default, your course will be uploaded to the general content list.
- Sometimes, at the time of publishing, the author doesn't have their own project or access to any existing project in iSpring Cloud. In this case, the author’s course will be published to a newly created project.
- This project will bear the first and last names of the author, like Dan Green. If the author's first and last names aren't specified in the profile, the project title coincides with the author's login, like dan.green.
- Team access to such a project is disabled by default. This means that only the author and the account owner can work with the project's content items. To allow other participants to work on the project, enable team access or give access to certain team members.
- Make sure you are authorized to edit the project that you are publishing a course to. If your access level allows you to only view or if you don't have any access to the project, the publishing process won't complete.
- Make sure that your course size doesn't exceed 2 GB.
- Sometimes, at the time of publishing, the author doesn't have their own project or access to any existing project in iSpring Cloud. In this case, the author’s course will be published to a newly created project.
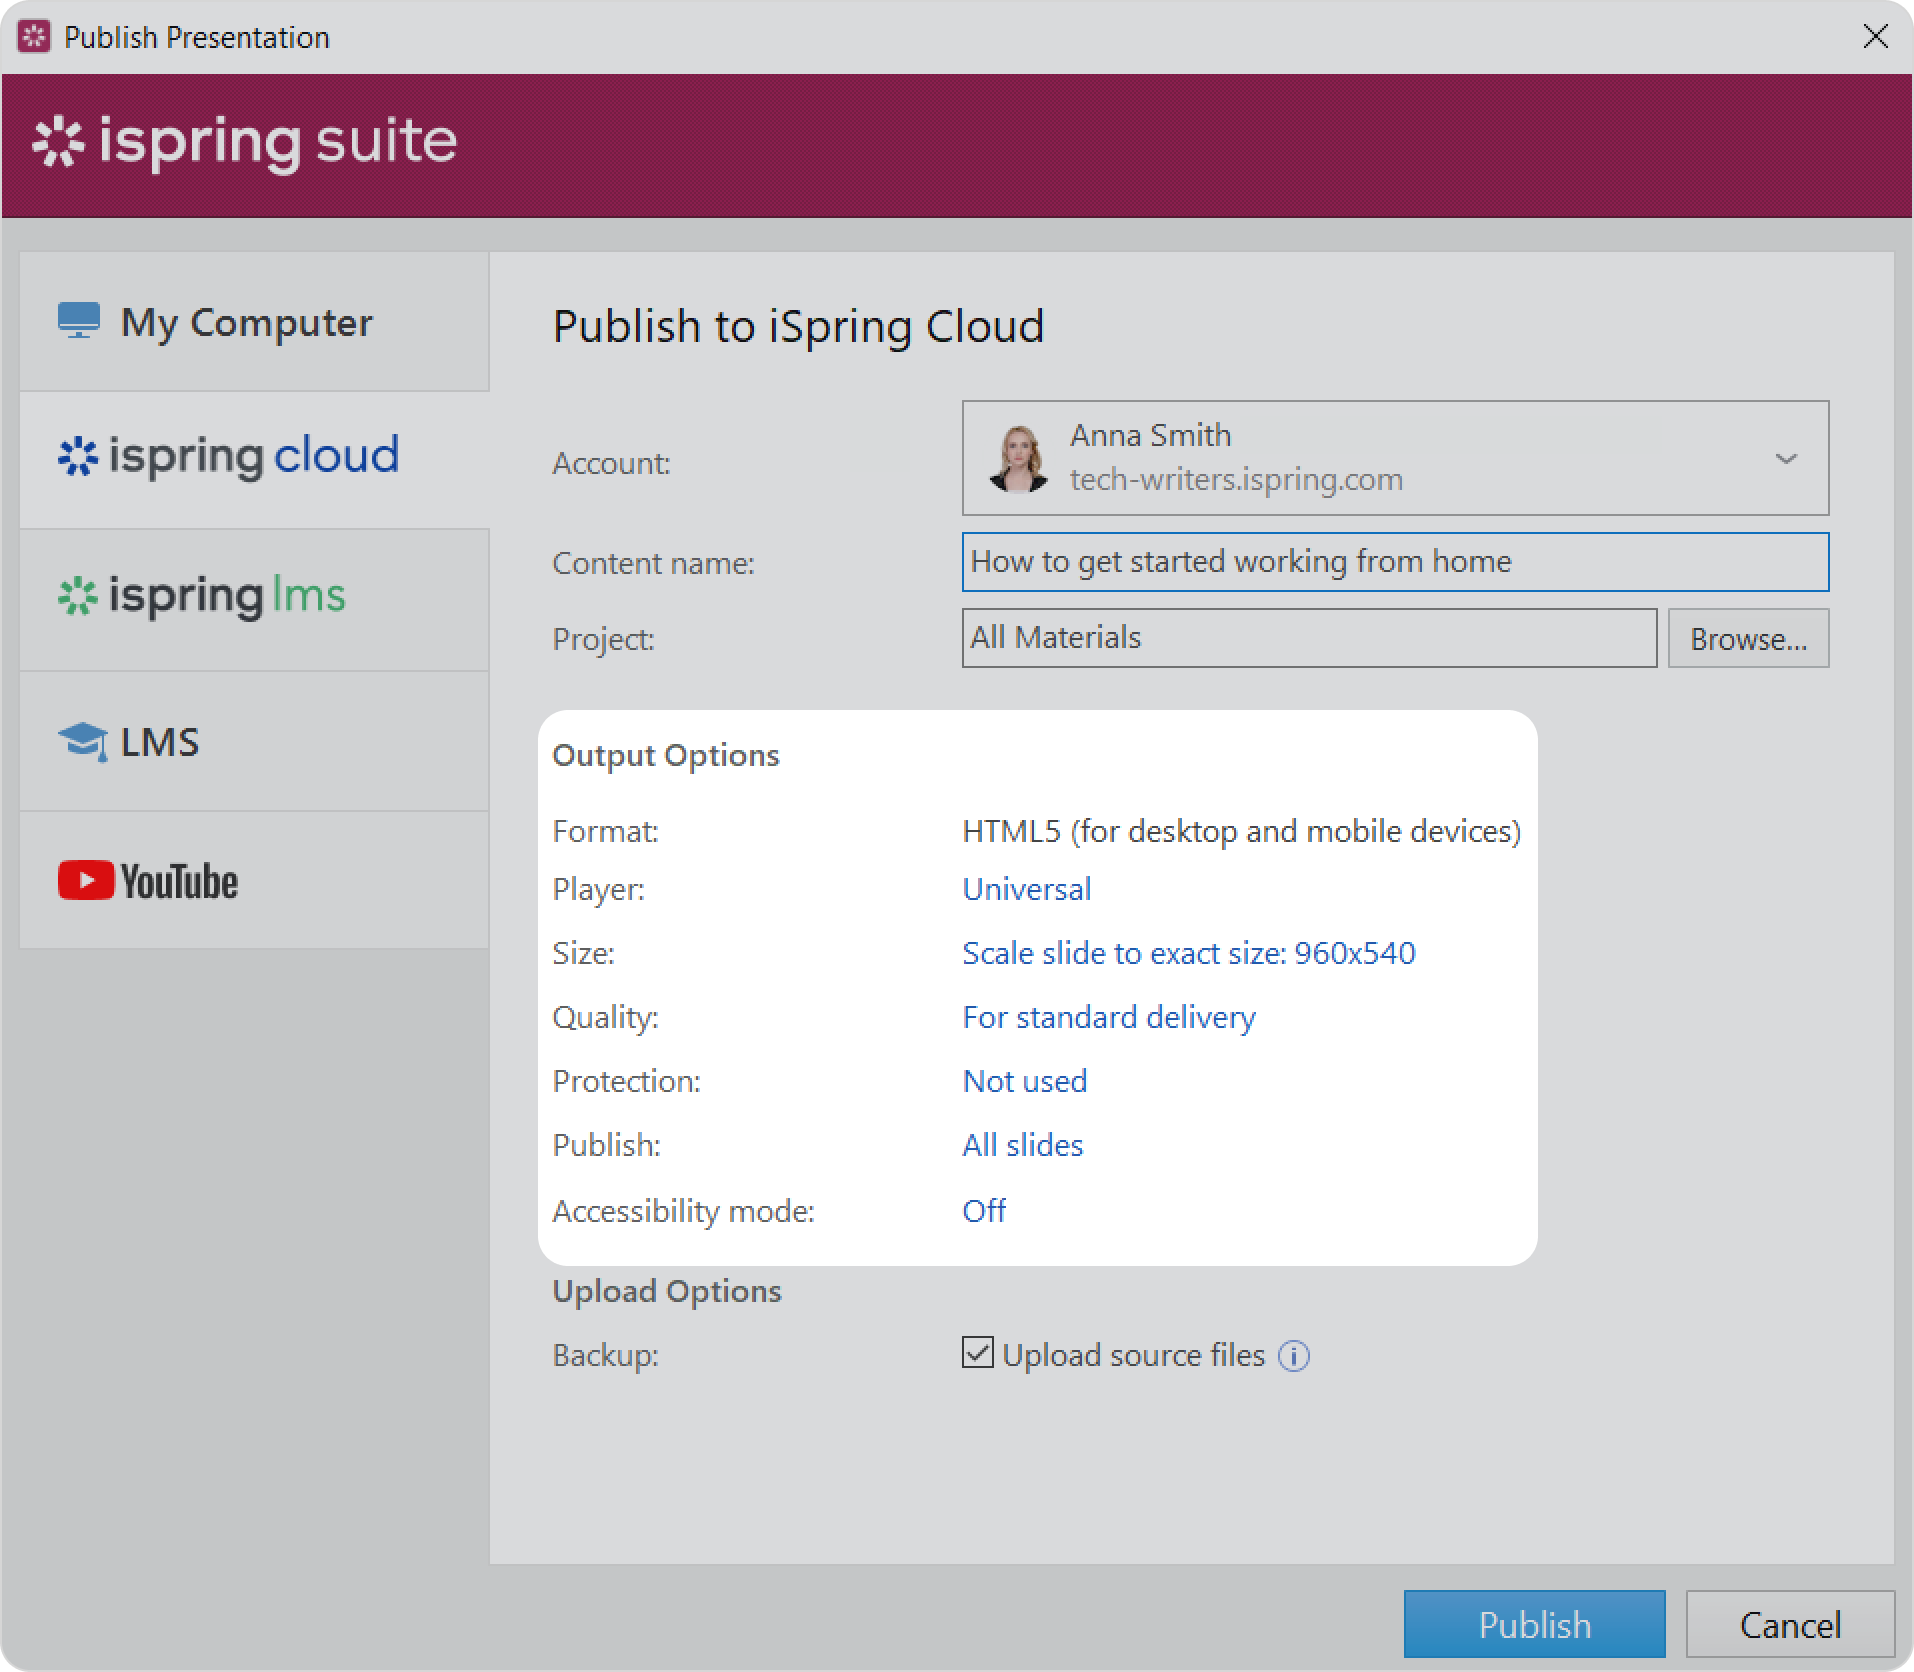
Then, set up output options:
- Select the player type or customize a previously chosen player
- Specify how the course will behave in a browser
- Select the quality level of images, audio, and video files
- Configure protection settings for your course
- Choose which slides you would like to publish (all or only the selected one)
- Publish the presentation in the accessible mode
- In the Backup field, select Upload source files if you want to save your course distribution files in iSpring Cloud. Use this option for teamwork or to create a backup.

- Click the Publish button.
The course has now been uploaded to iSpring Cloud. To view training content in the iSpring Cloud interface, click Manage Content.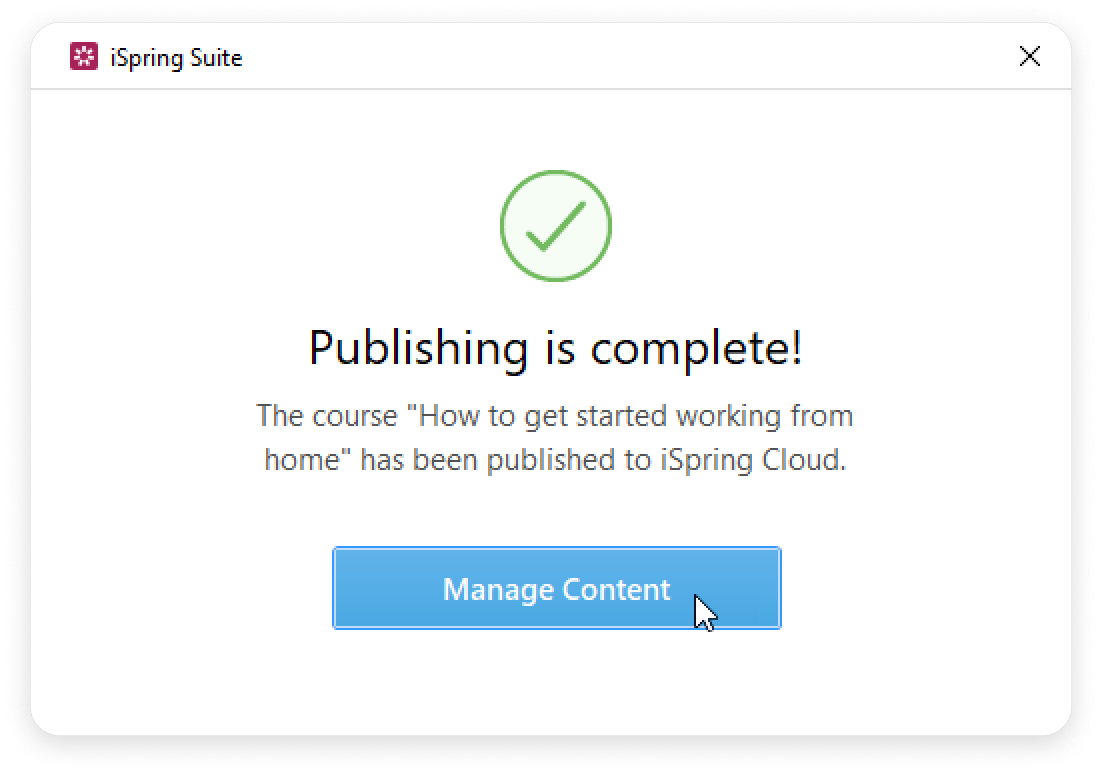
Your iSpring Cloud account will open in a browser. The uploaded course can be viewed in the project it belongs to.

If a training item you are publishing to a project has the same title as the one that was uploaded to the same project earlier, change its title or replace the existing course with a new one.