Employees who could not enroll in a training session in time can join a waitlist. If an enrolled participant cancels, waitlisted employees can take the open spot. Administrators can prioritize who gets in first.
How to create a new training with a waitlist
You can add a waitlist for new and already scheduled trainings. The training must be available in the catalog for employees to join the waitlist.
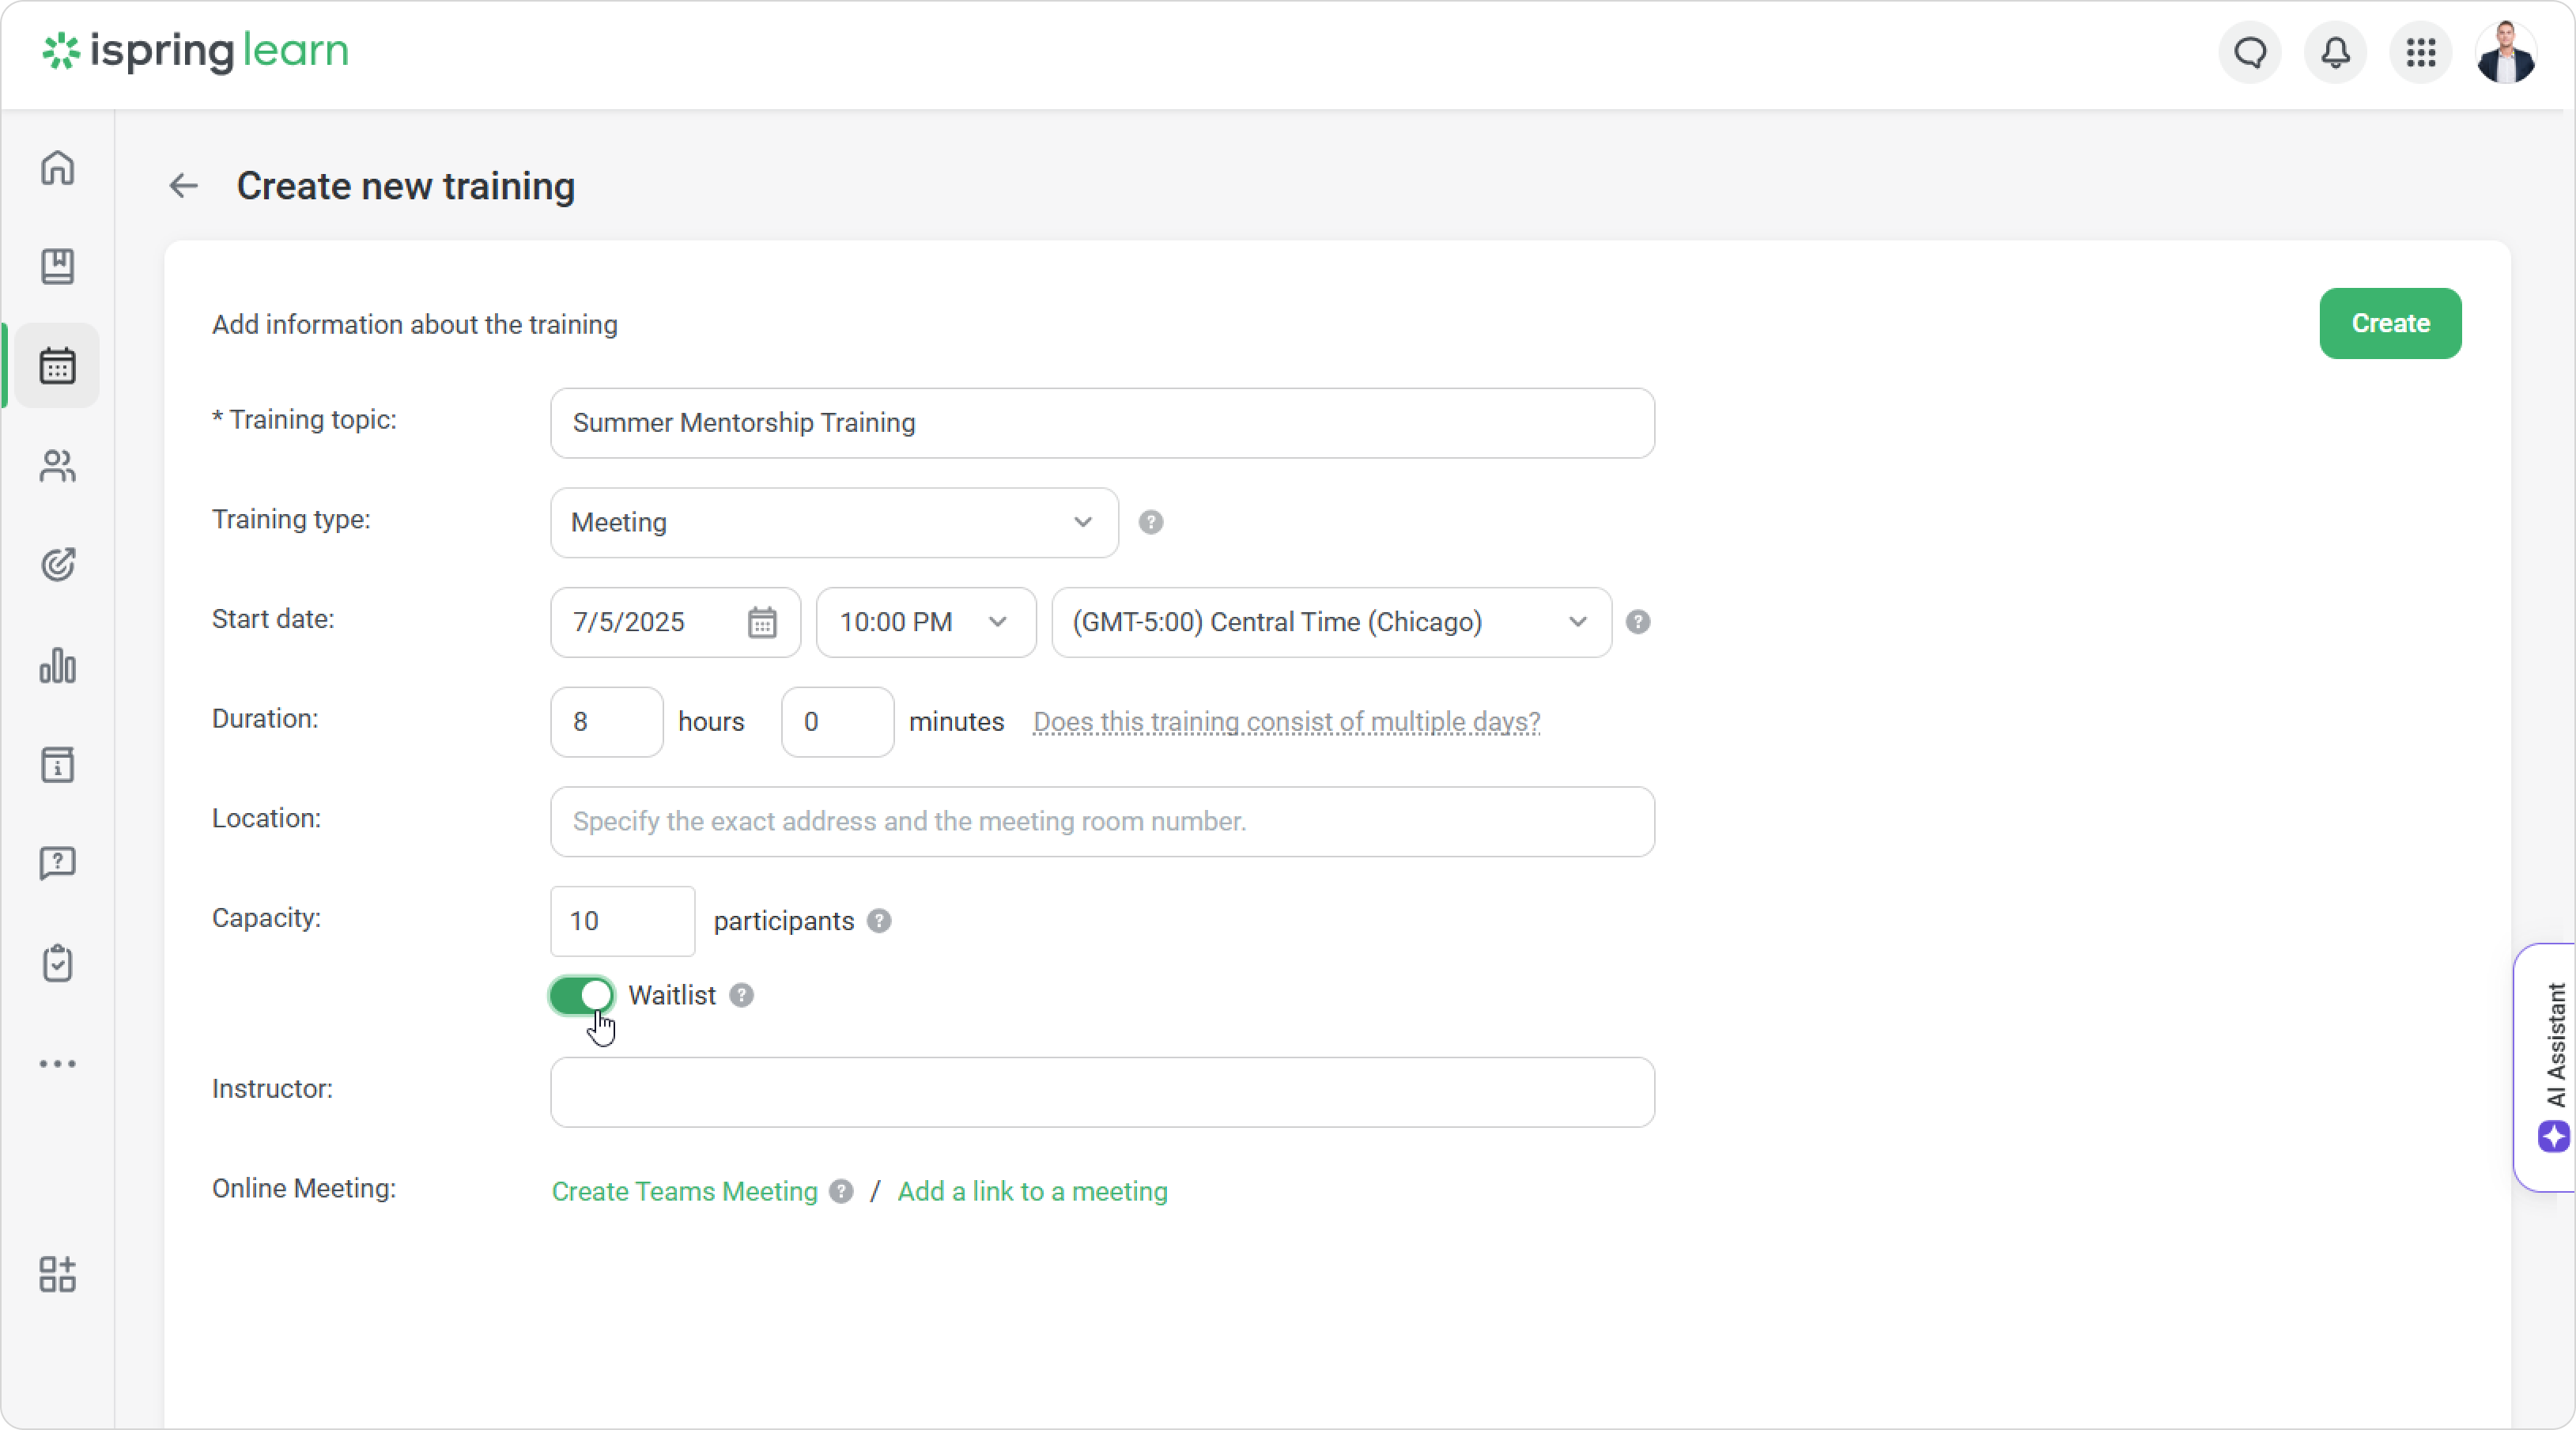
Go to Trainings >Add Training.
Fill in the training details and set the capacity — 10 participants, for example.
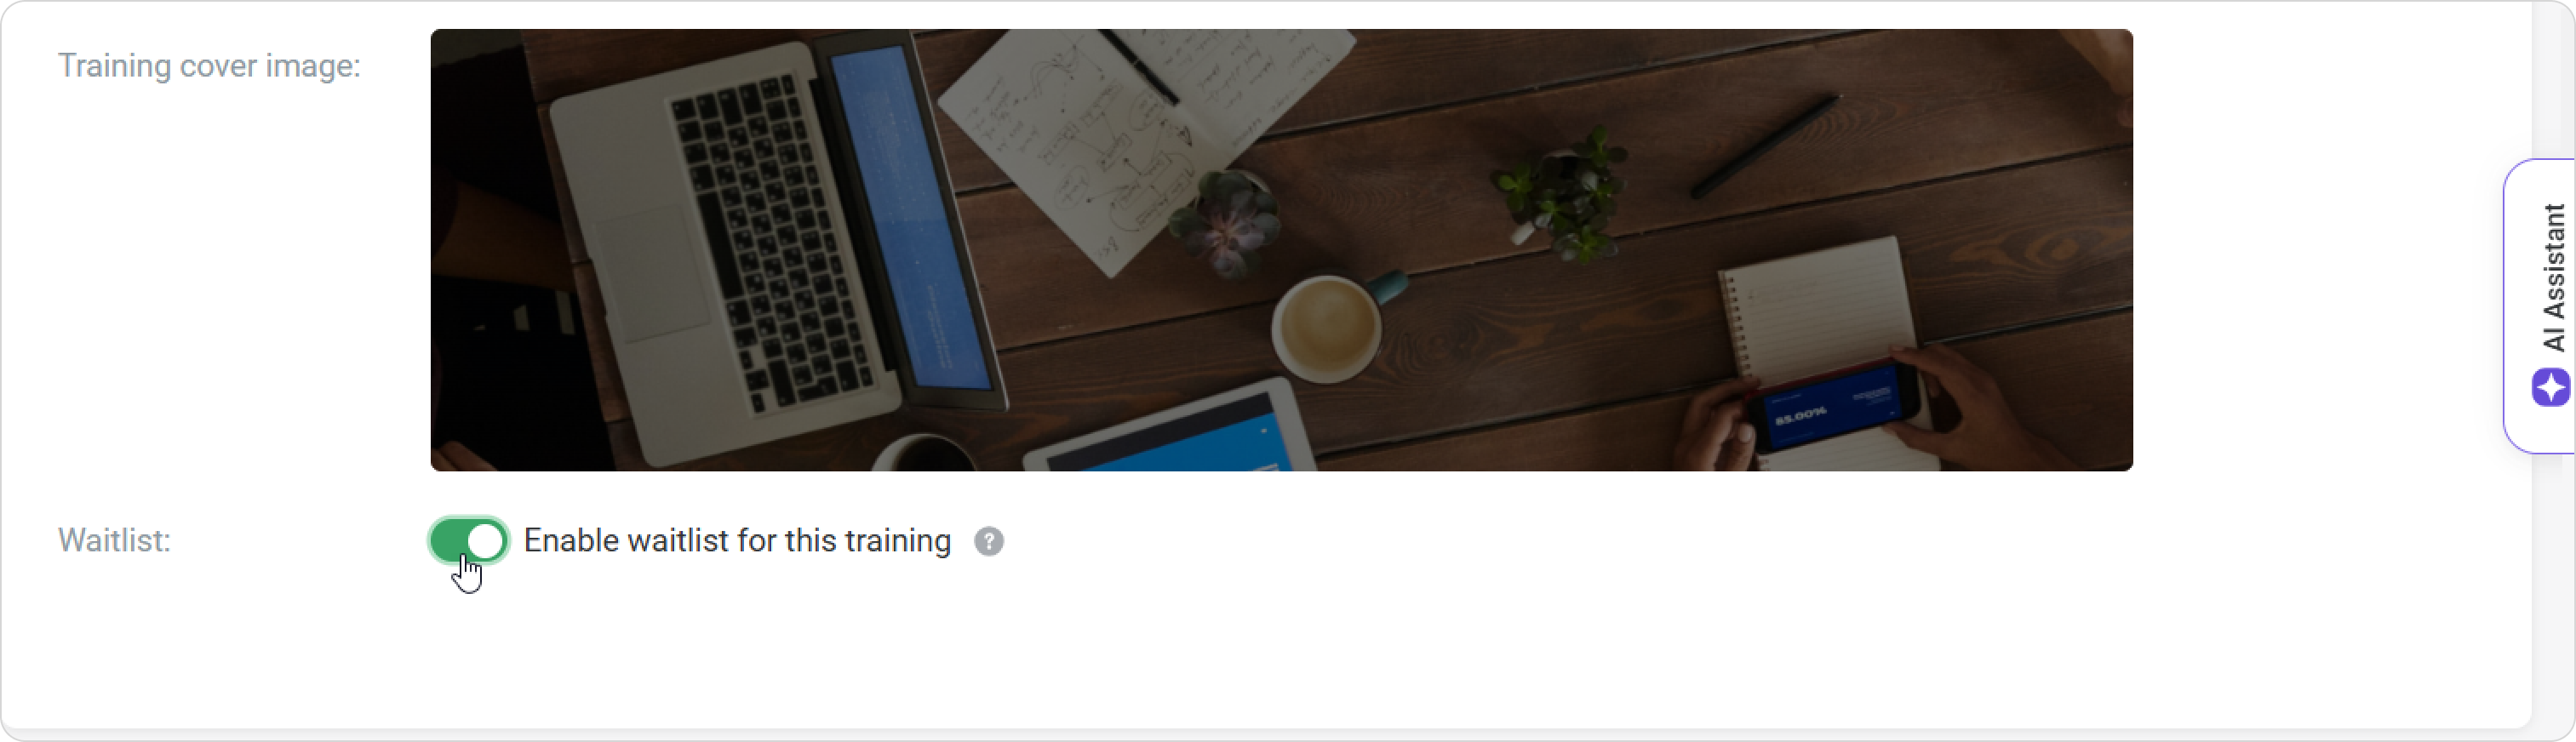
Then, enable the Waitlist option.
Next, click on Create.
Great! You’ve successfully created a training with a waitlist.
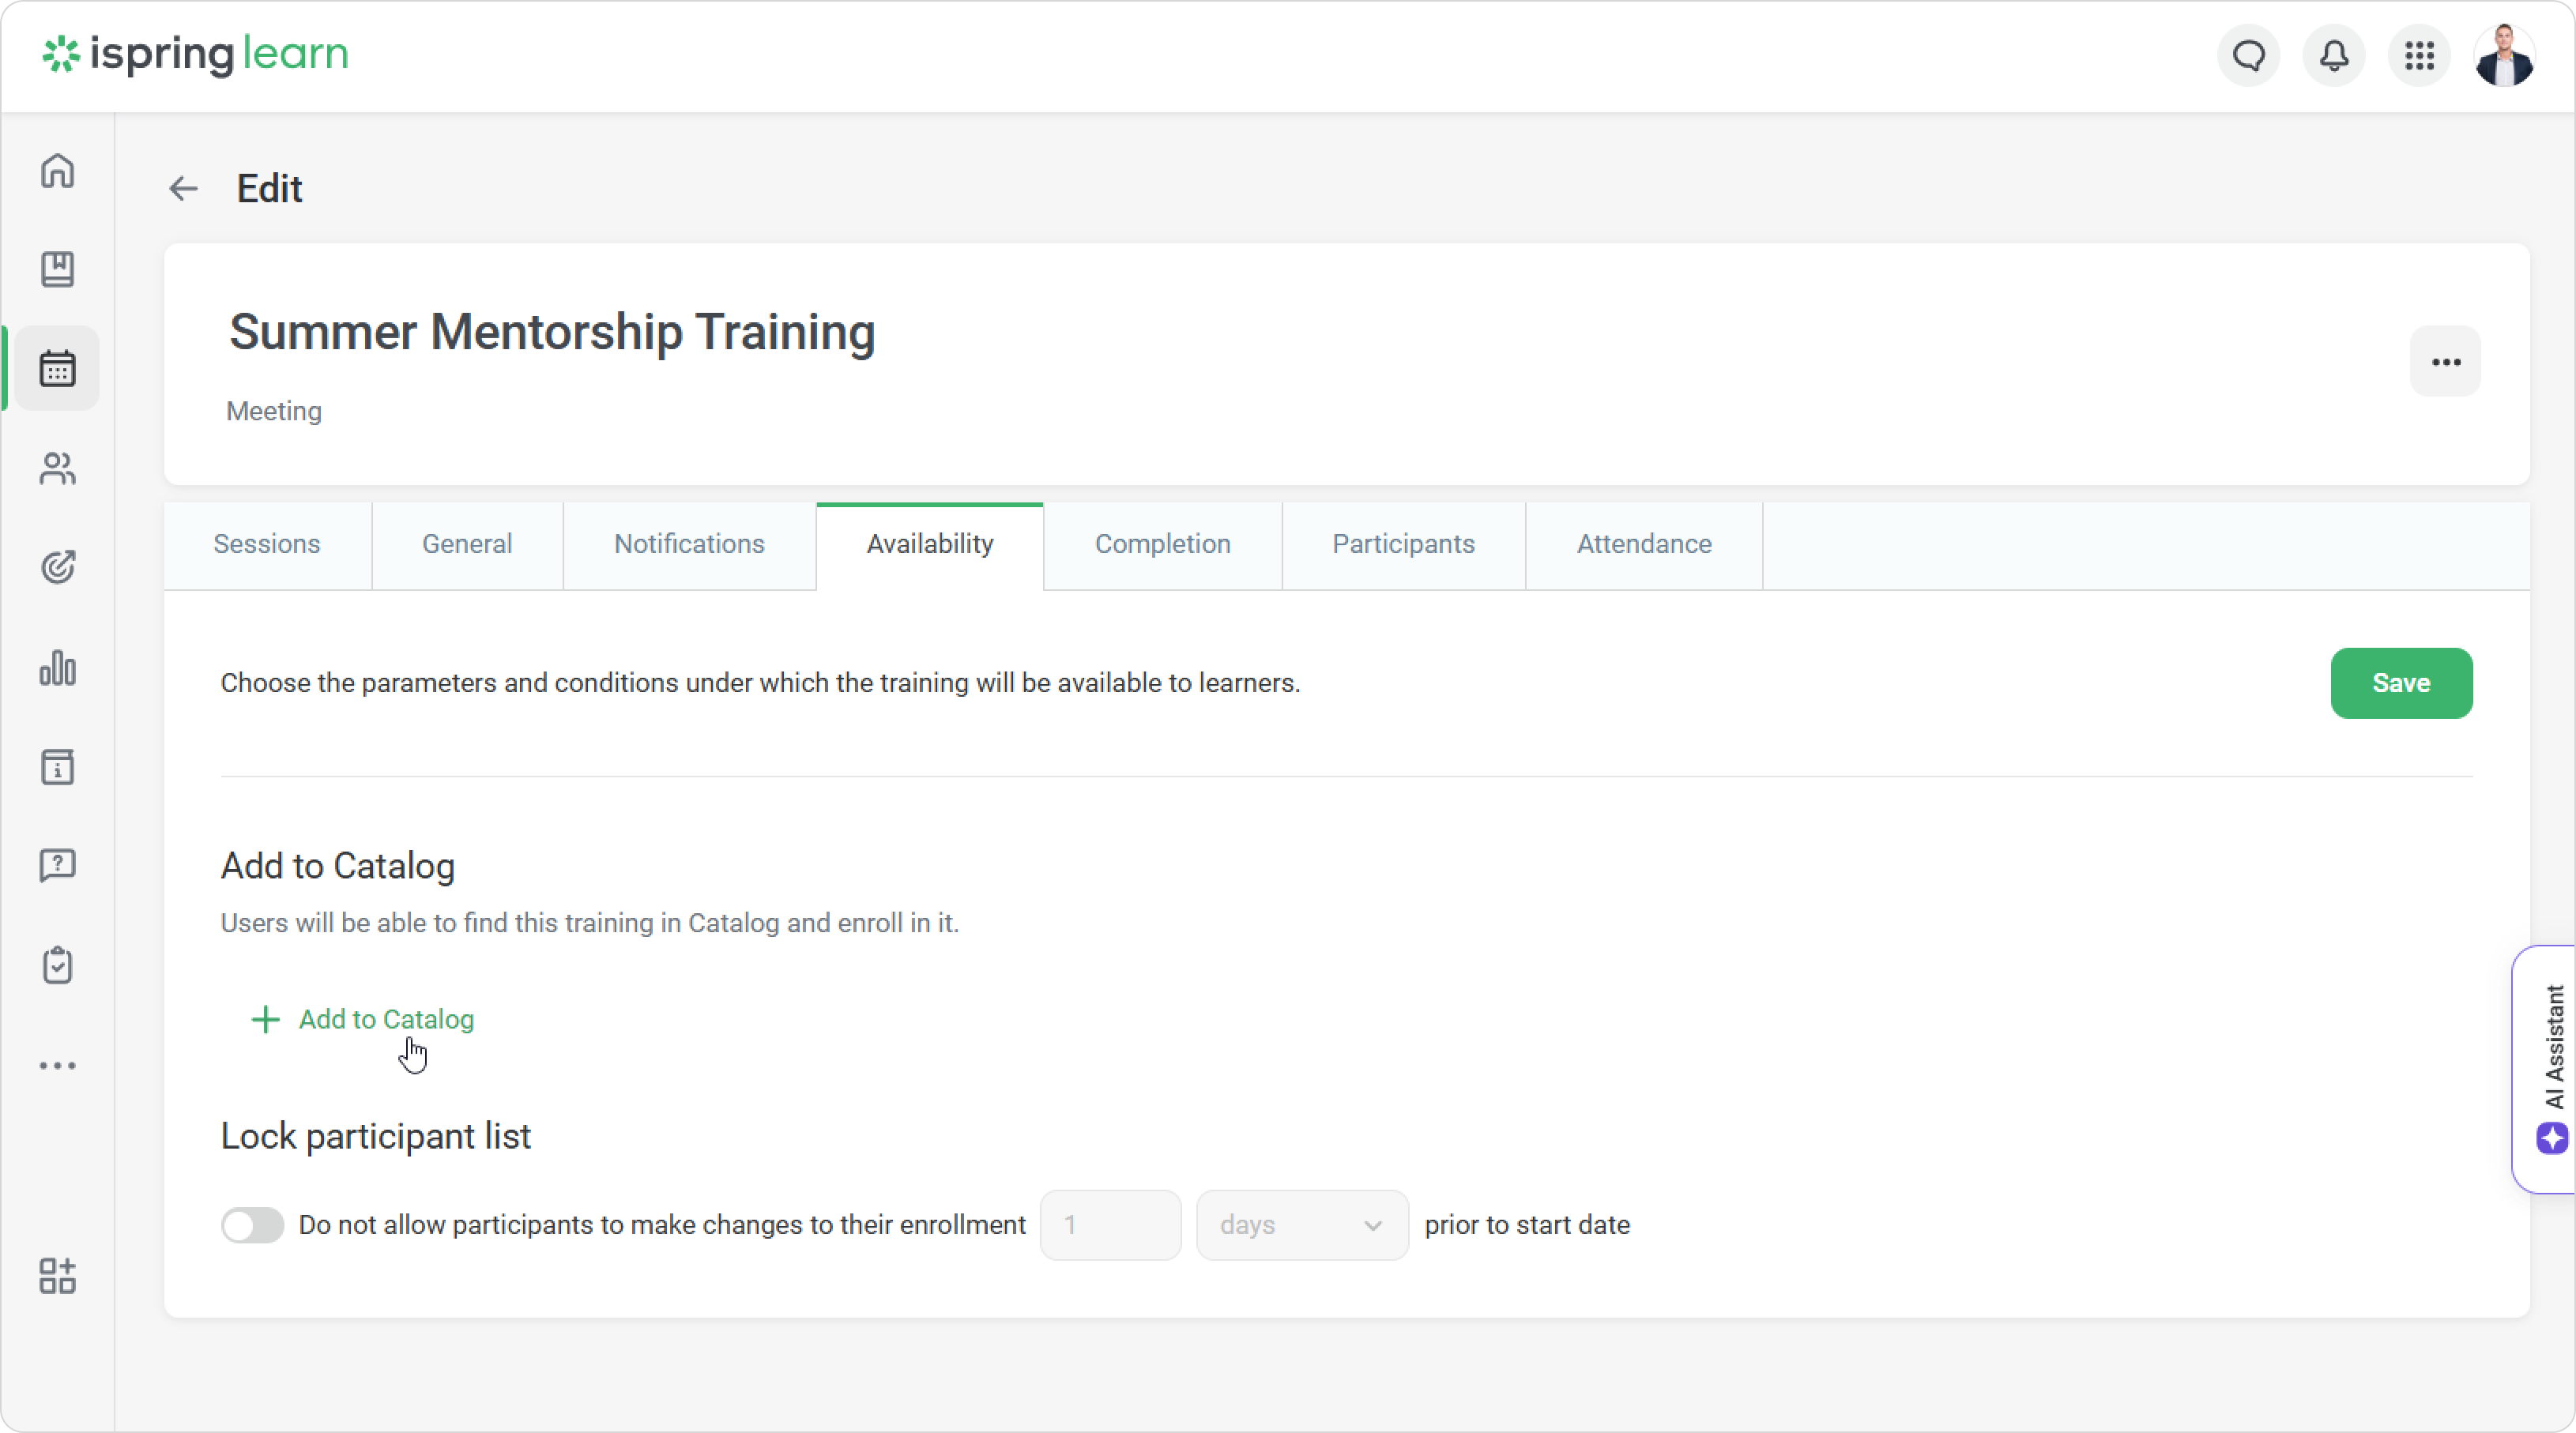
Now, add the training to the catalog and save your changes. That way, employees can join the waitlist and will be invited to register if/when spots become available.
Enabling a waitlist for an existing training in the Catalog
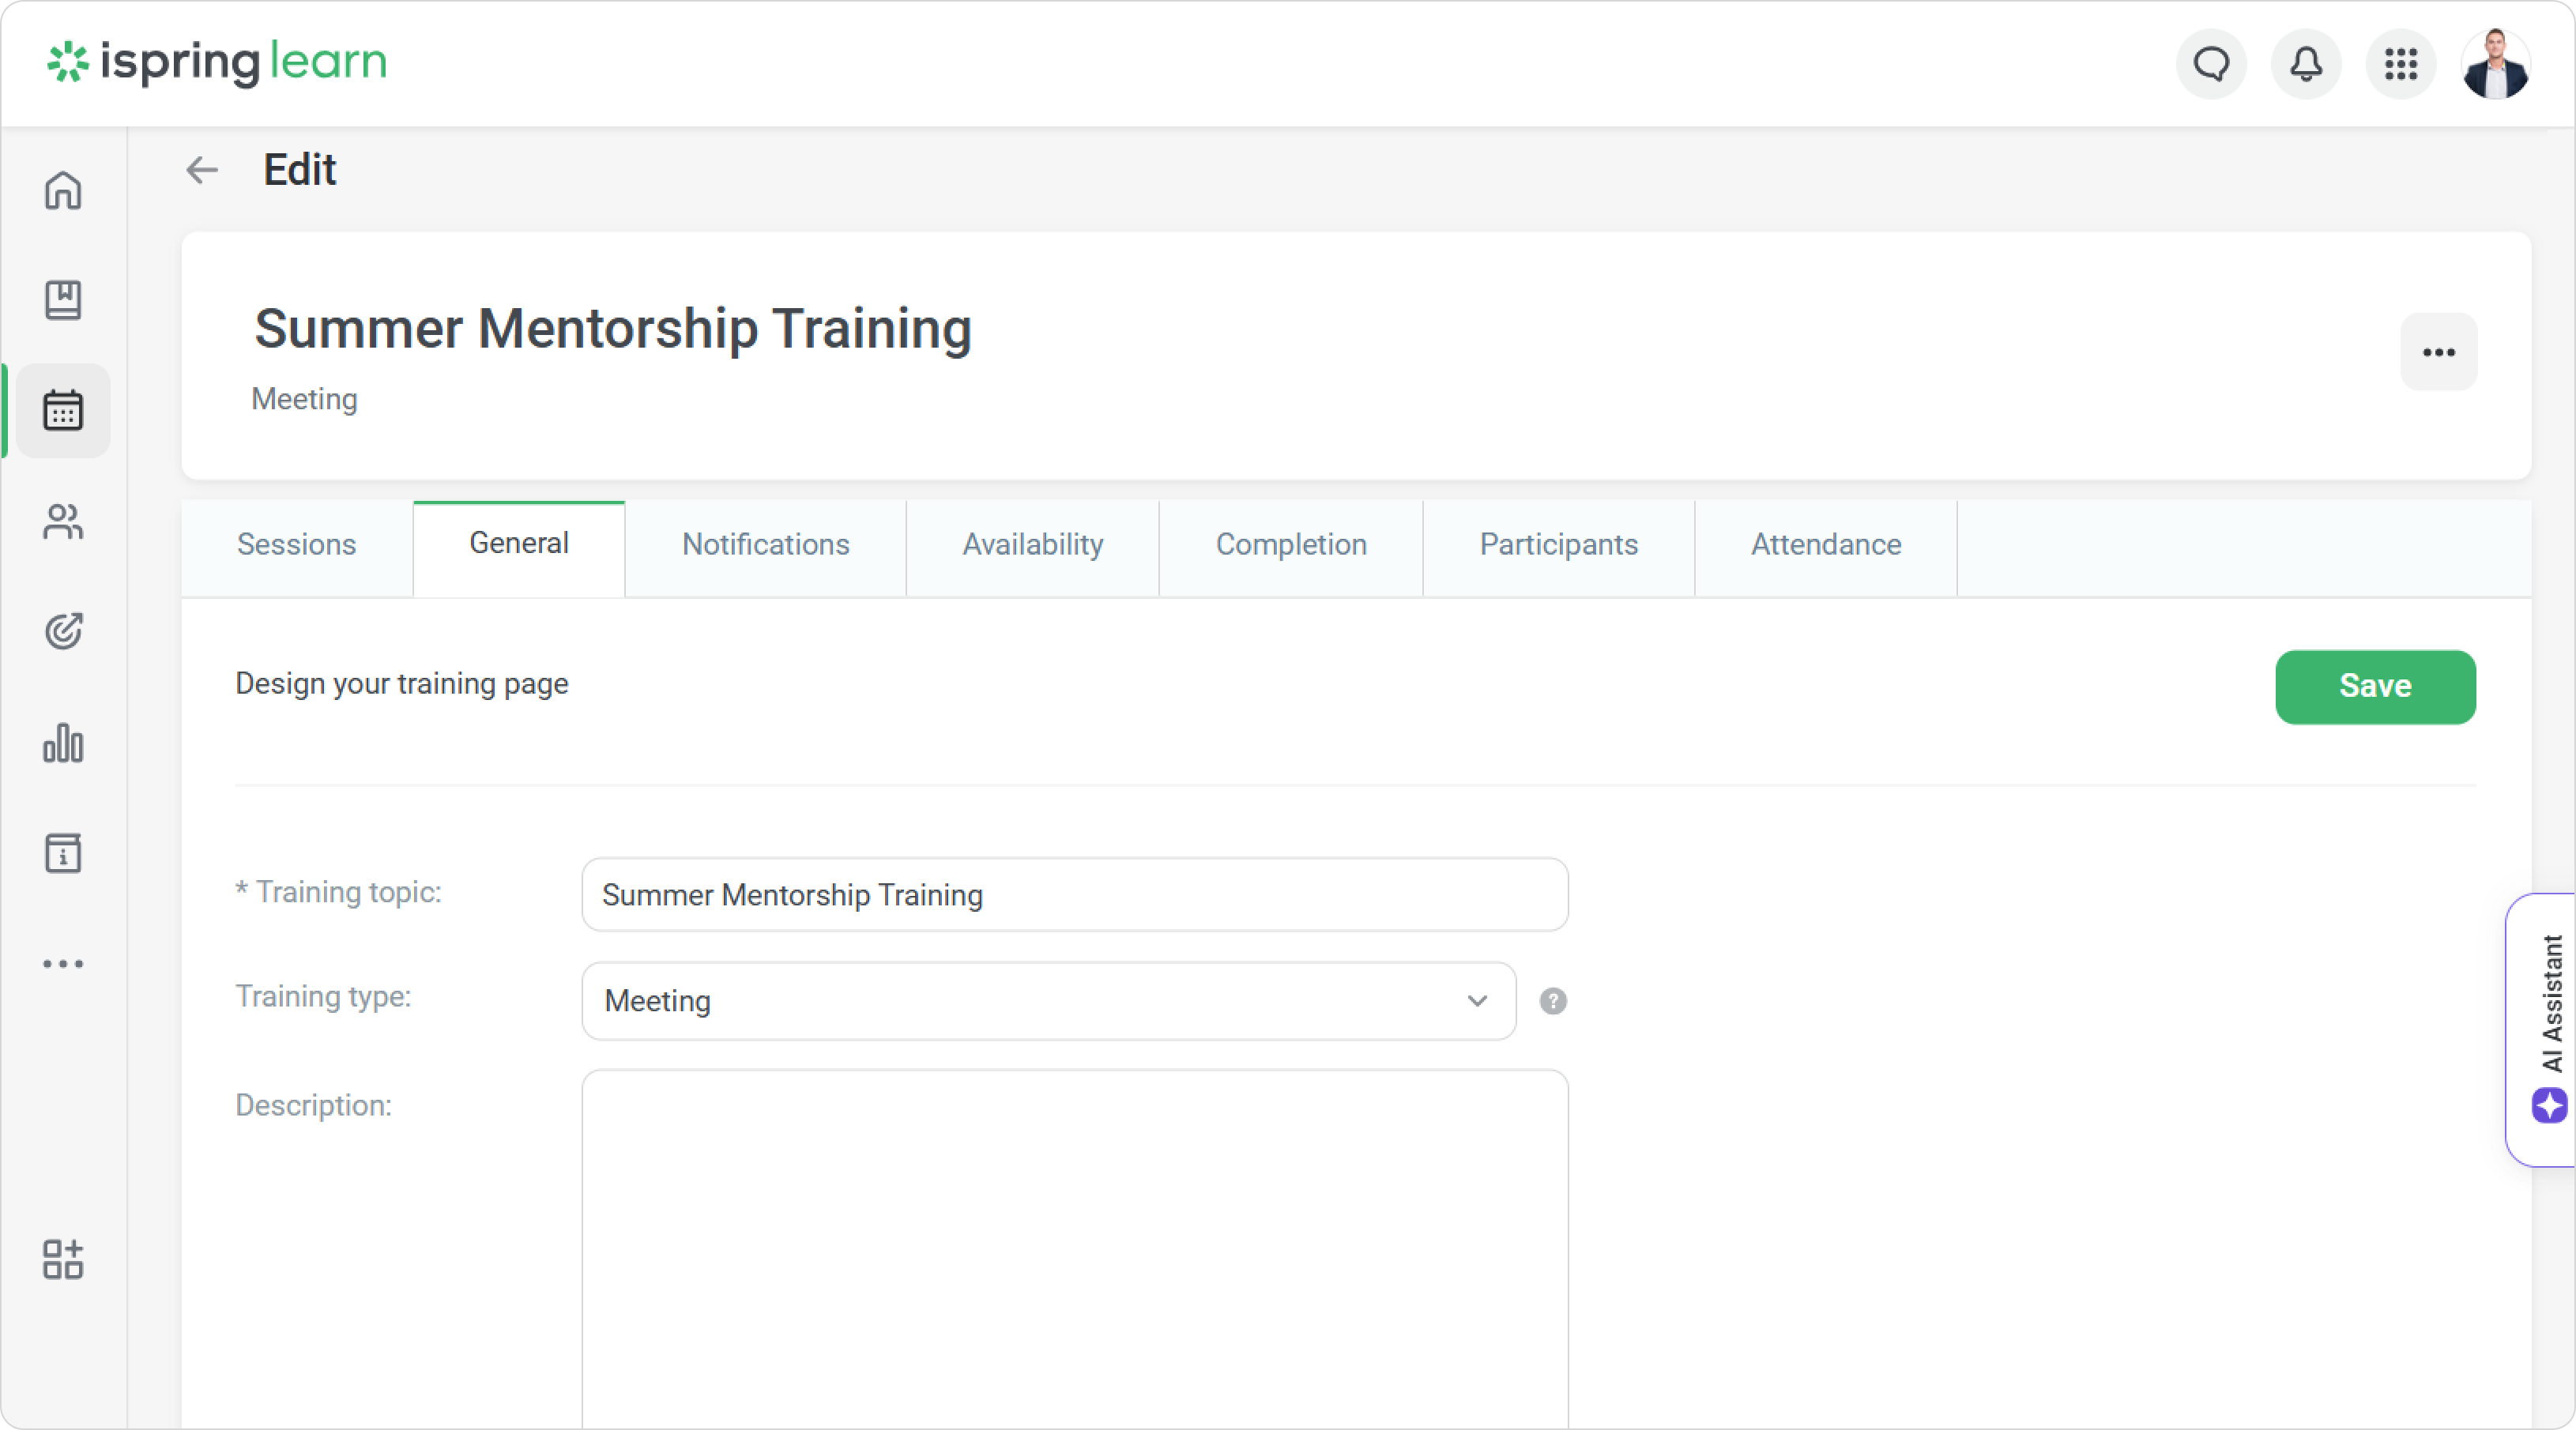
Select the training and go to the General tab.
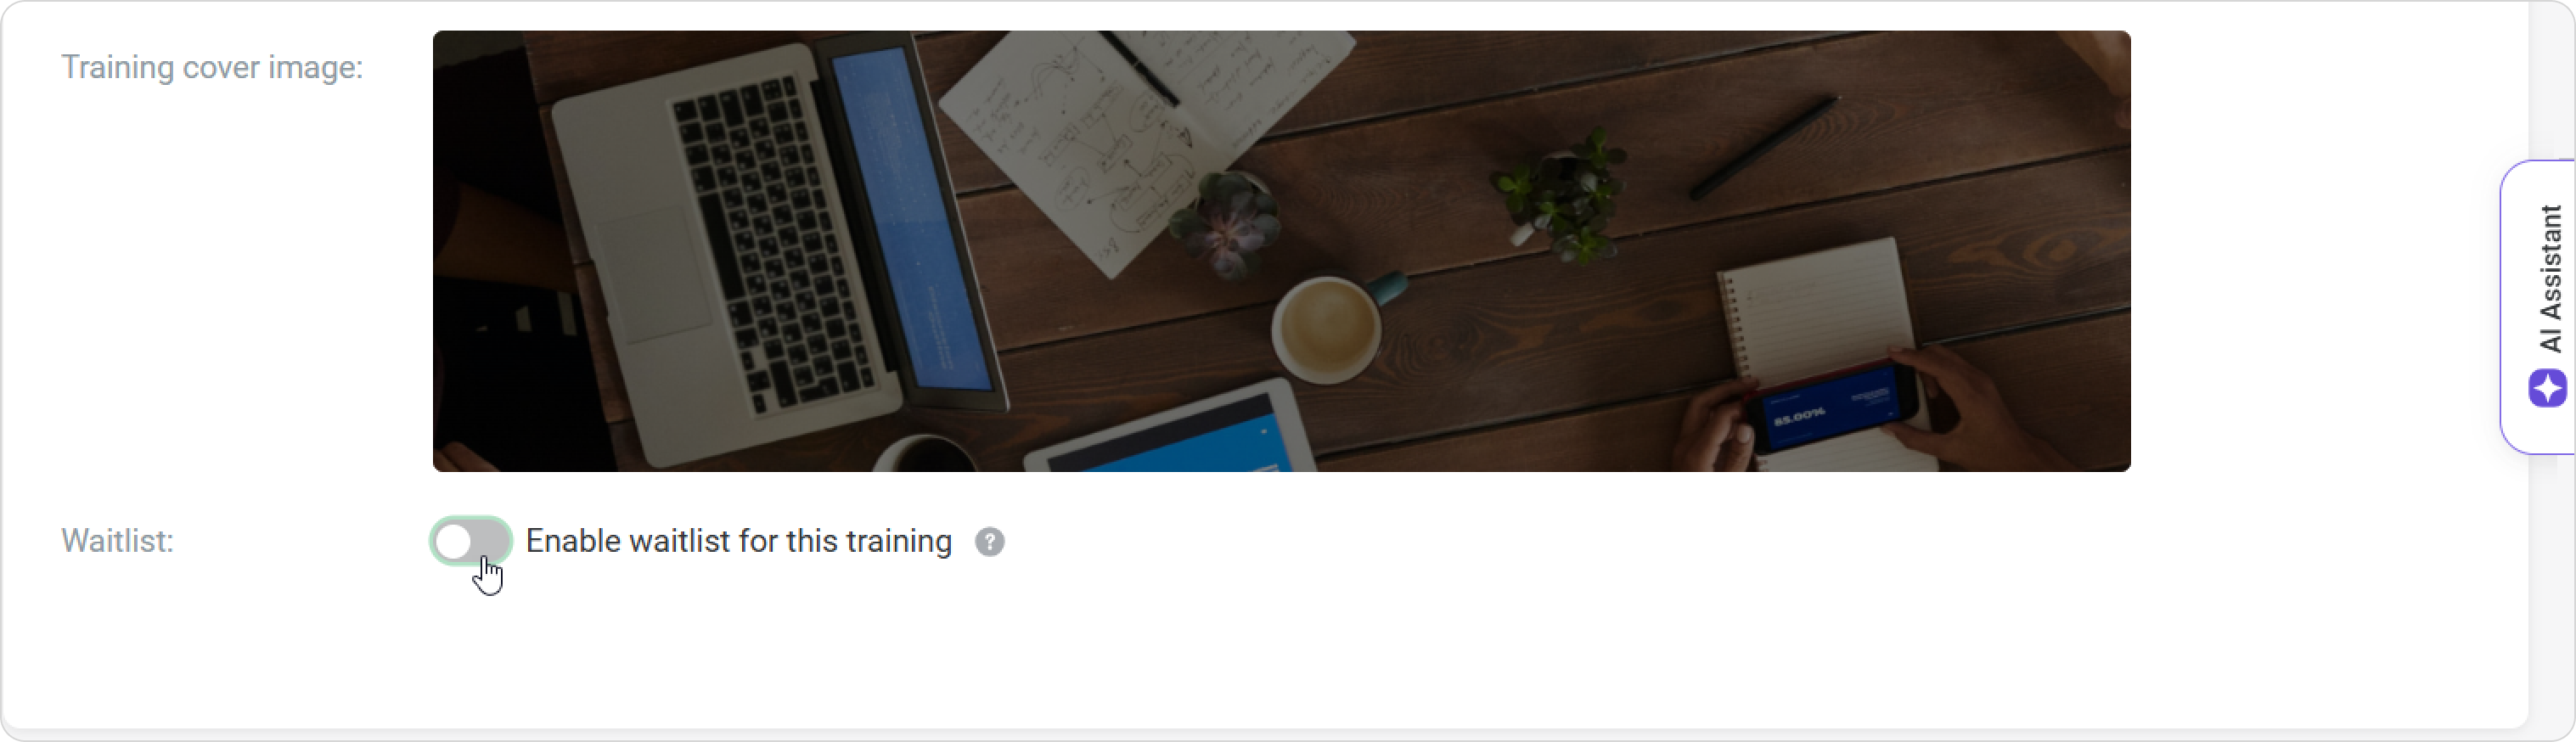
Scroll down and toggle the Waitlist option on.
Click on Save.
Done! Employees who don’t make it into the training can add themselves to the waitlist.
To disable the waitlist, simply toggle it off and confirm your choice.
The current waitlist will be saved and visible if you enable it again.
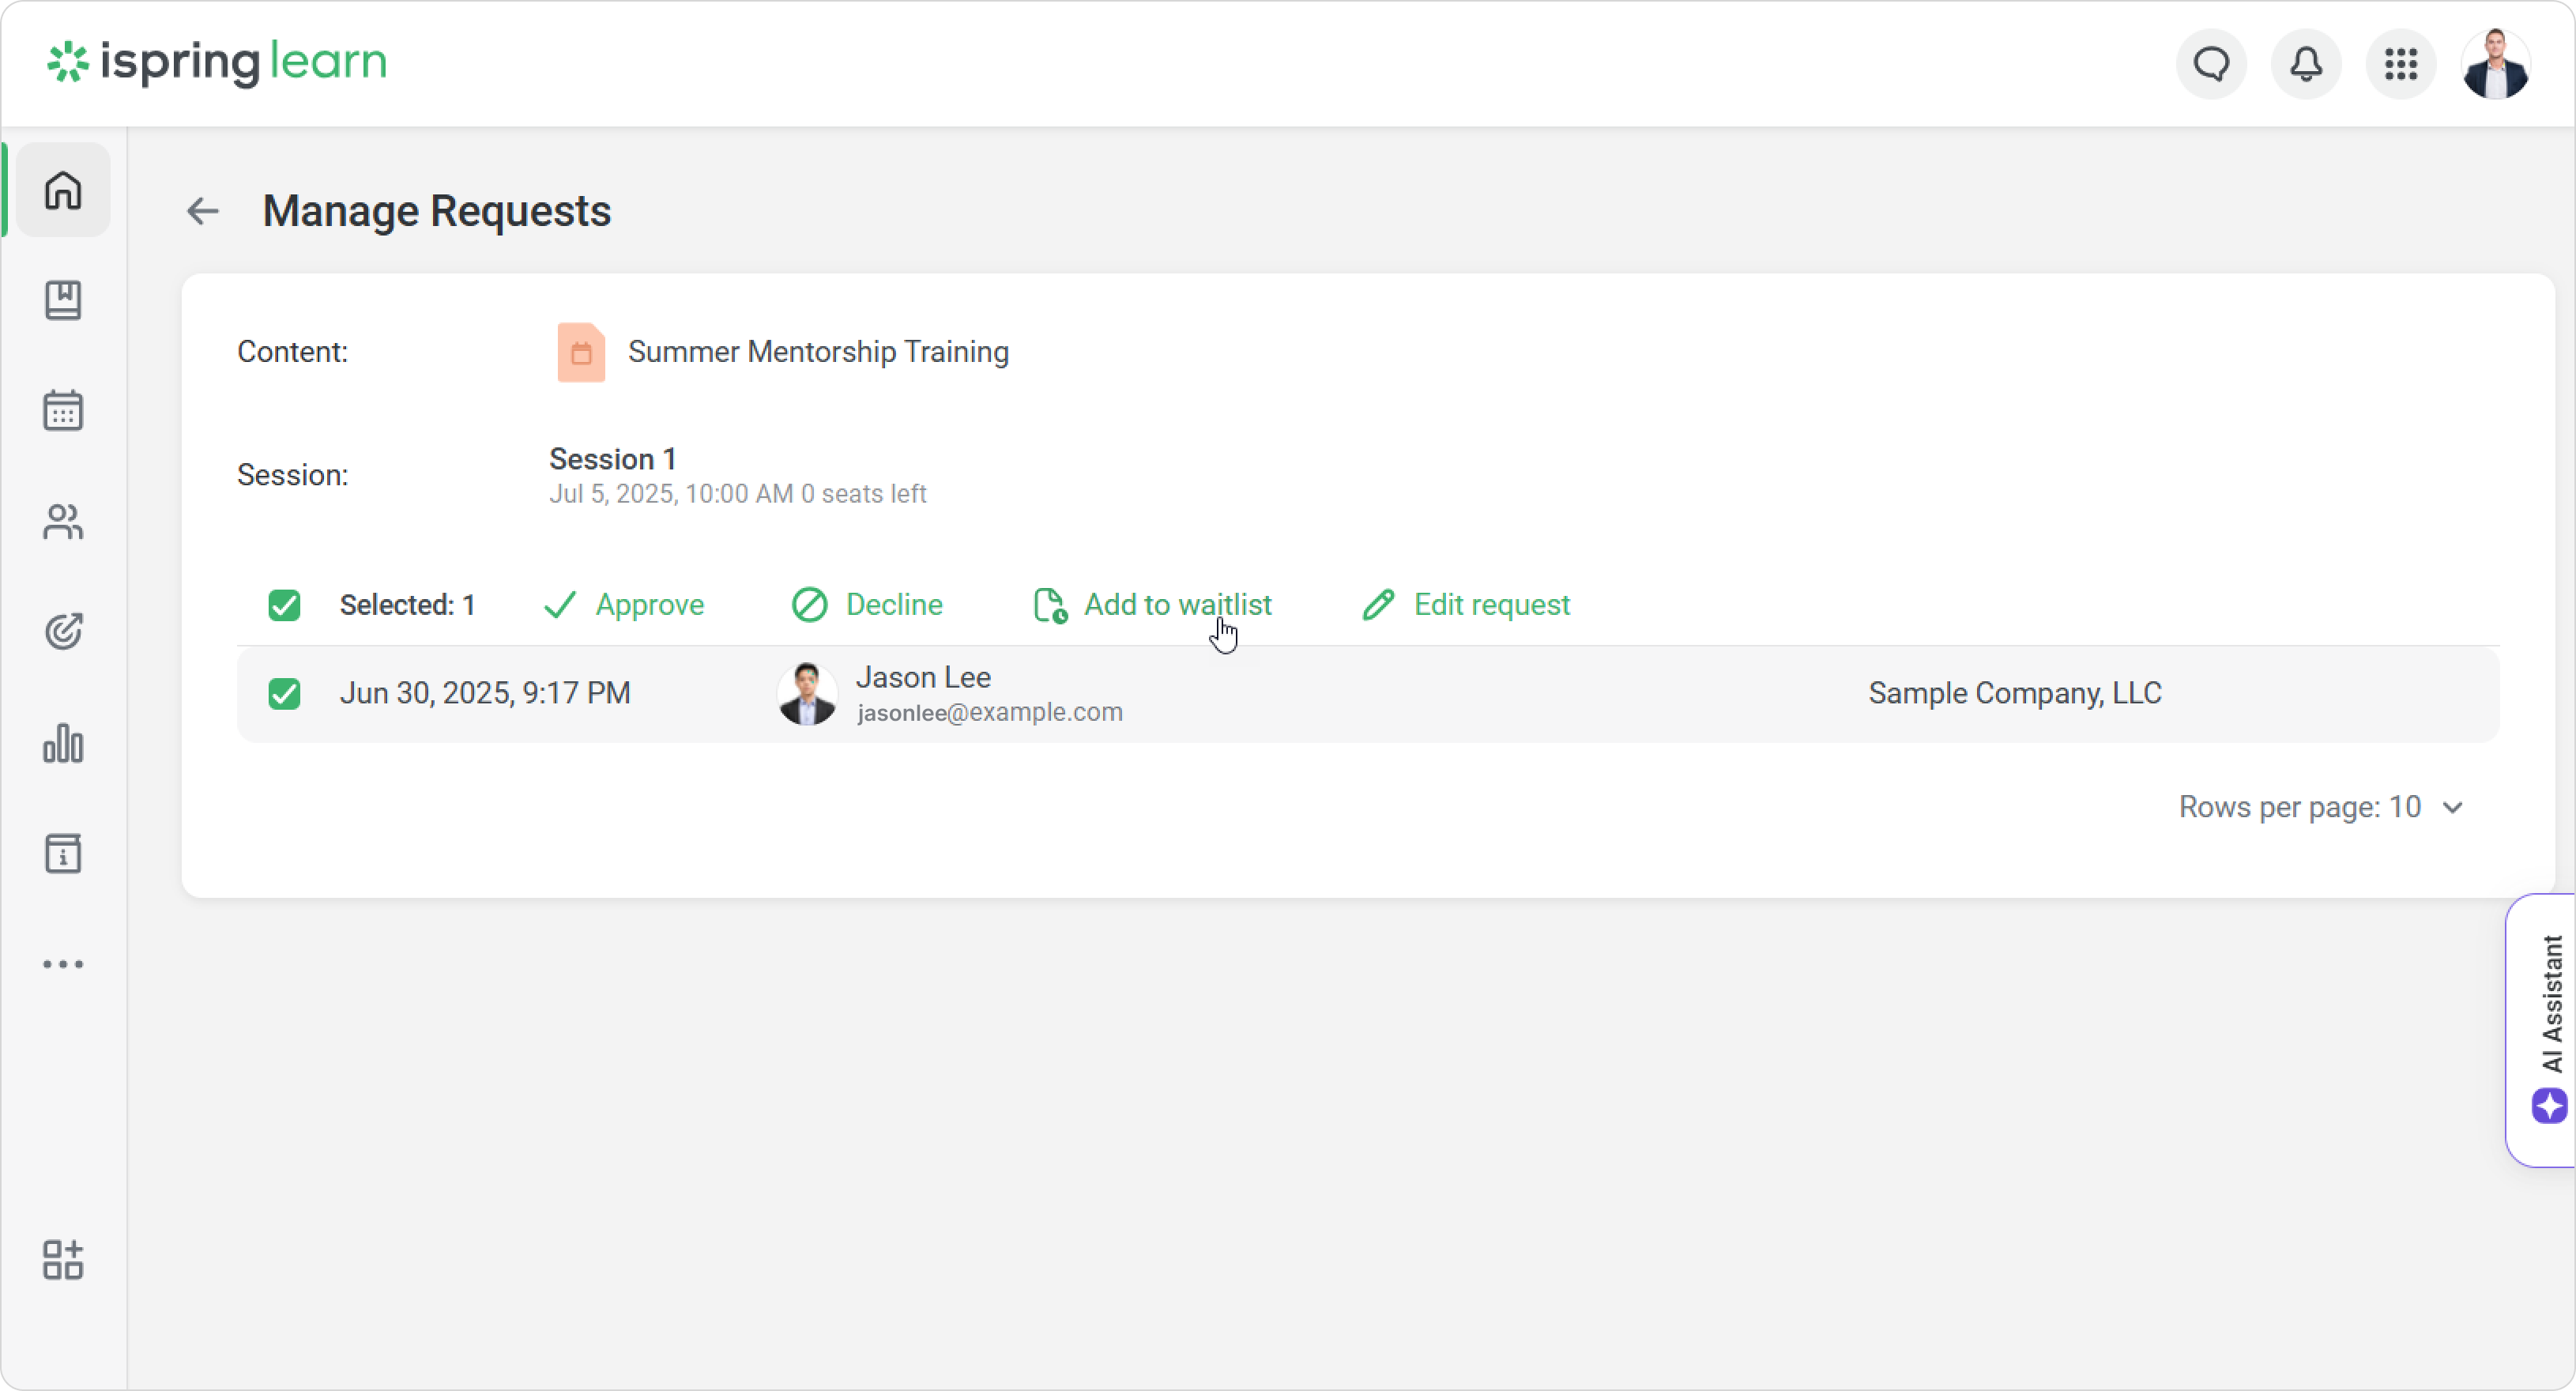
For example, you’re organizing a one-time mentoring workshop with a capacity of 10 participants. Employees must send a request and get approval to attend. Once 10 participants have been approved, no more can be accepted.
However, if the waitlist is enabled for this training, you’ll see incoming requests and can assign them to the waitlist. Select an employee and click on Add to waitlist.
This helps you see how many employees are still interested, so you can decide whether to schedule an additional session later.