Here are some ways to set up the scheduled end of employment for an employee:
In the User Information Card
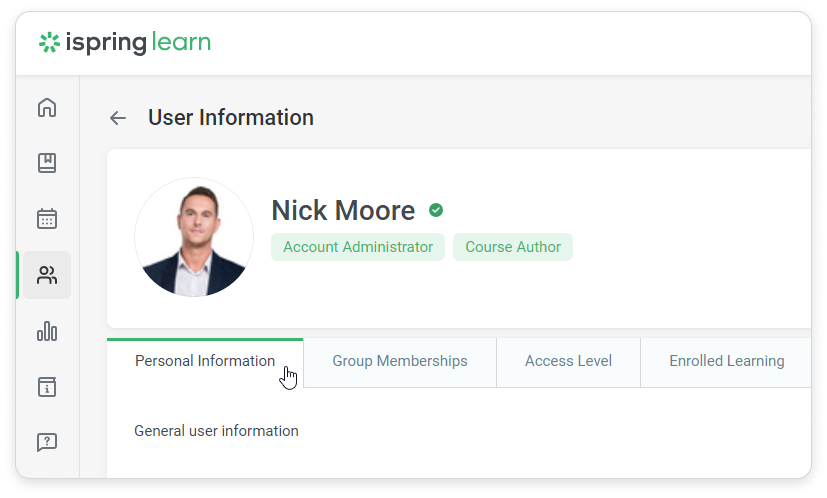
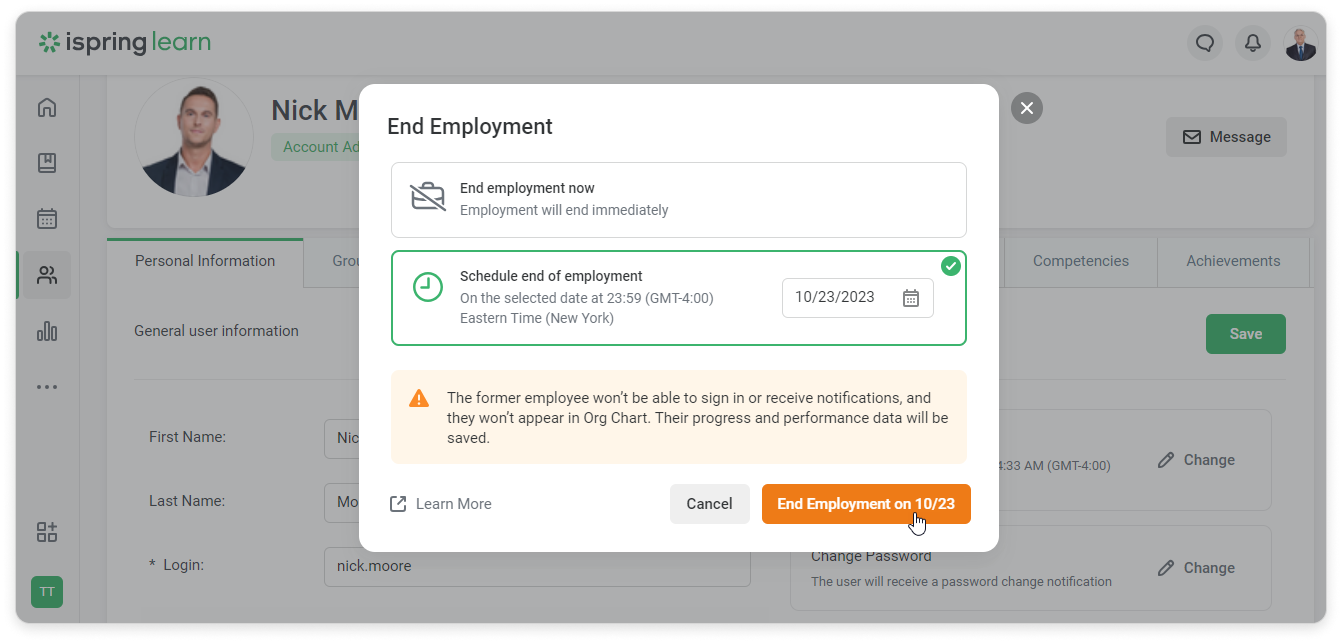
Go to the Personal Information tab.
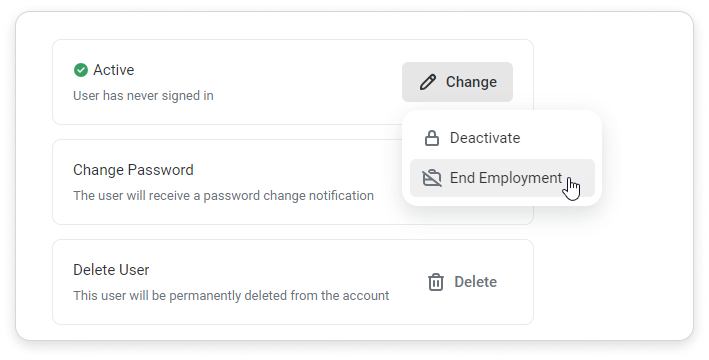
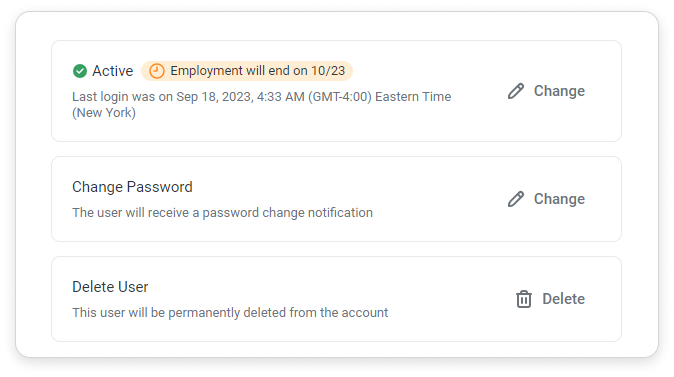
Click on Change next to the user status and select End Employment.
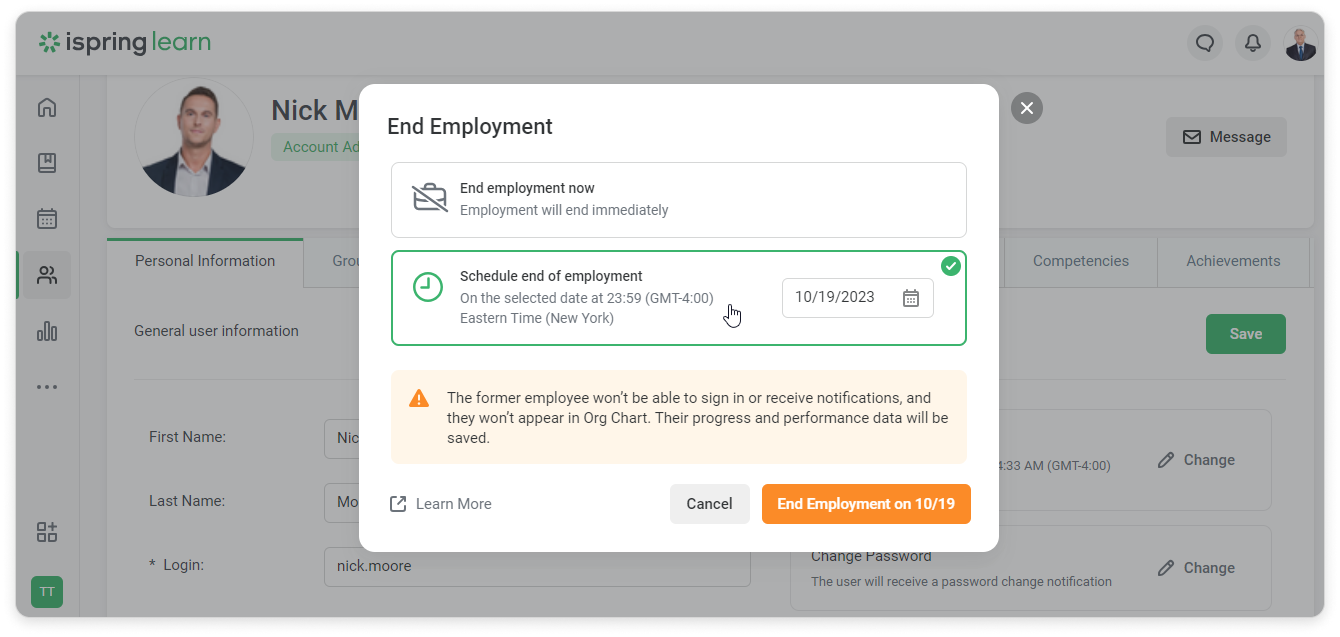
In the opened window, choose Schedule end of employment.
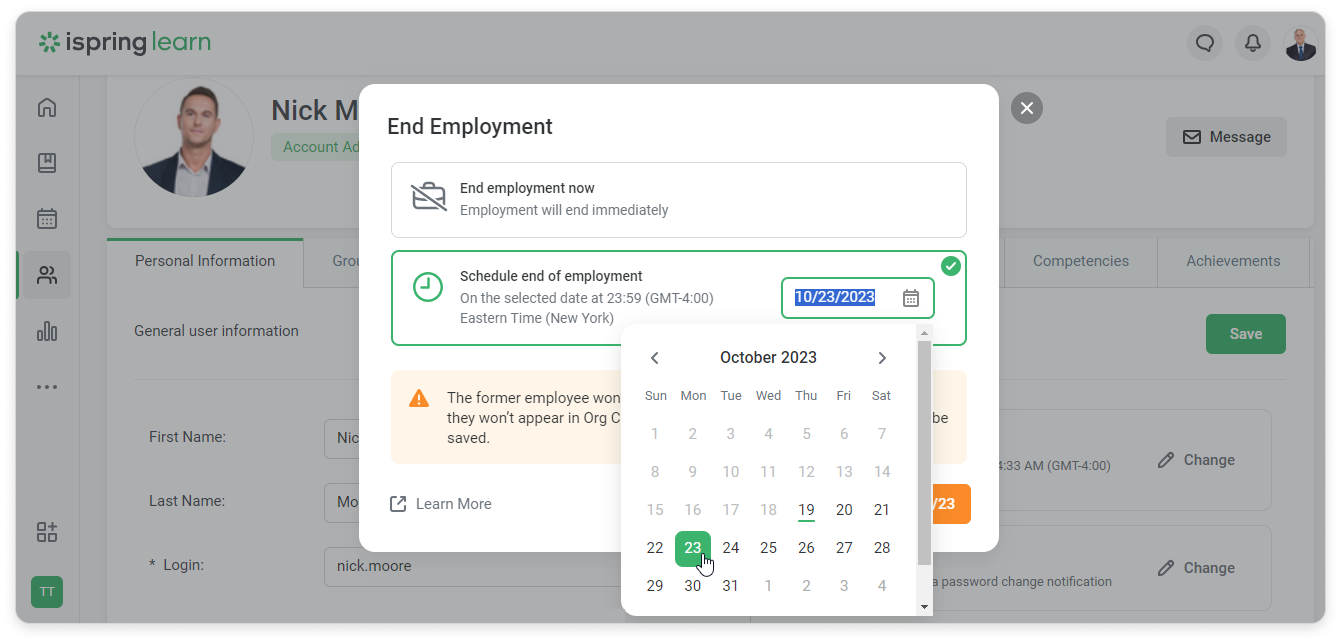
Select the date when employment will end for this user.
Then click End Employment.
You can also cancel end of employment.
In the Users List
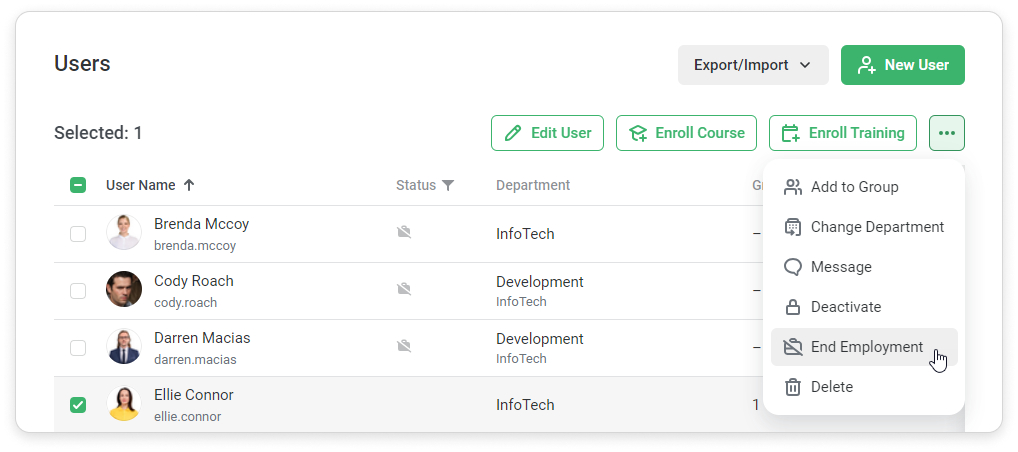
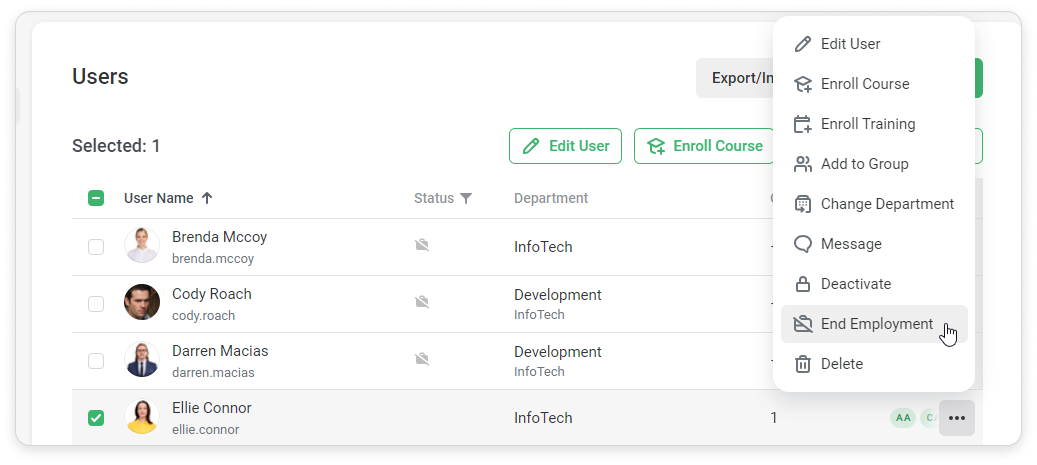
Choose one or more users in the Userssection. Select End Employment.
Or you can click on "..." → End Employment.
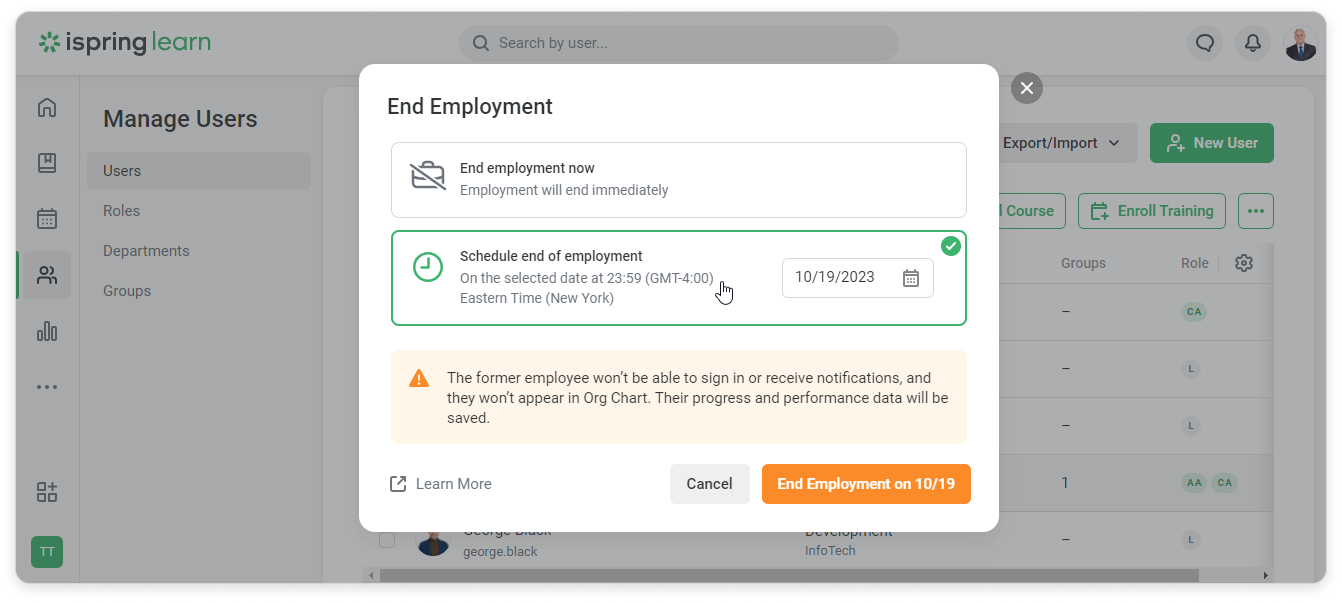
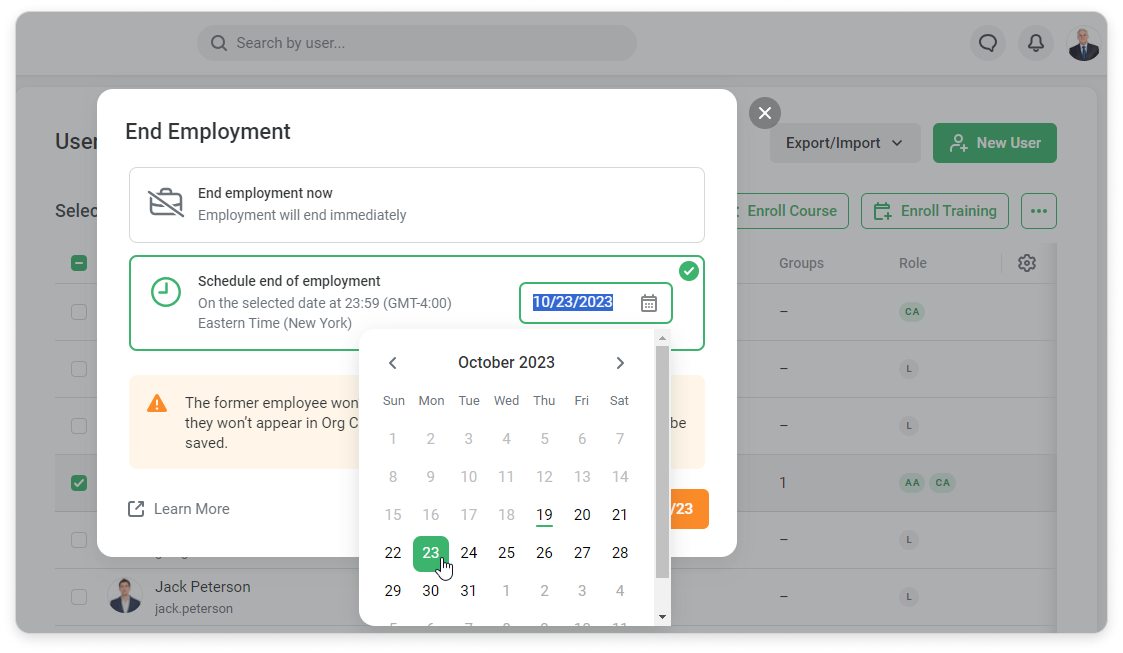
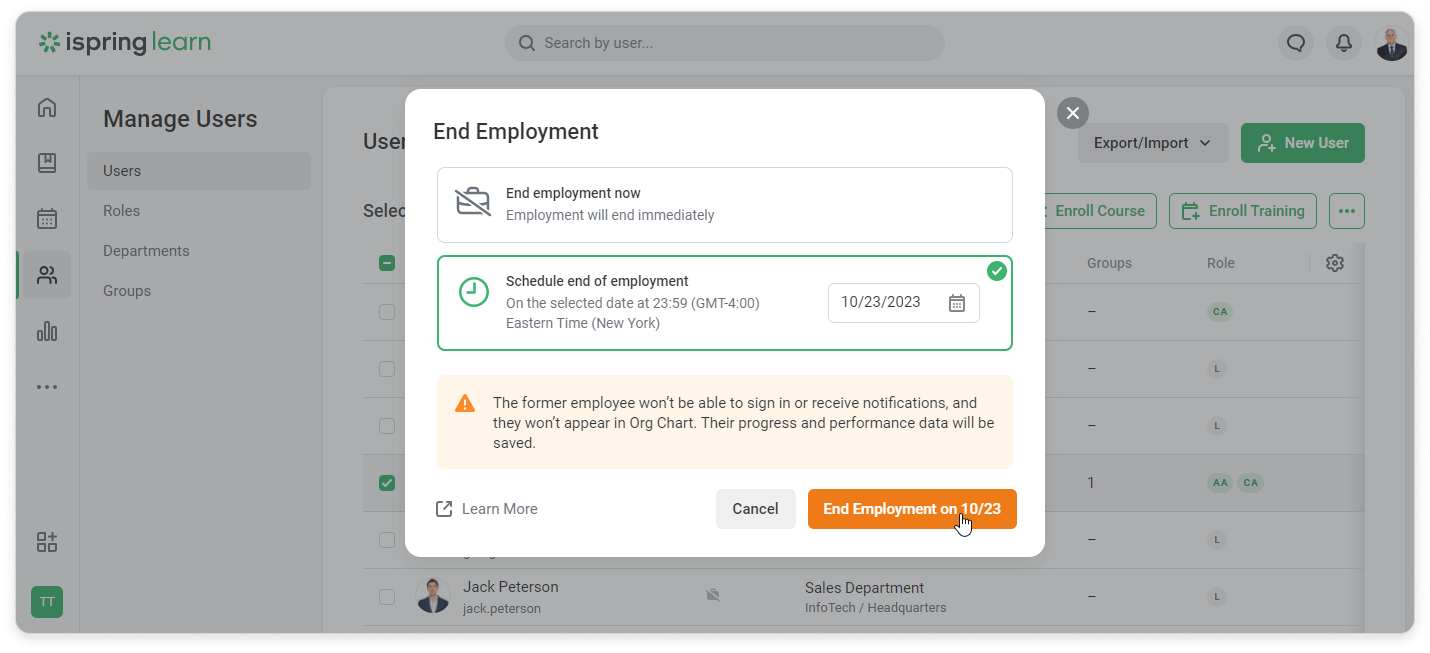
Select Schedule end of employment.
Define the date when employment will end for this user.
Then click End Employment.
In the Excel file
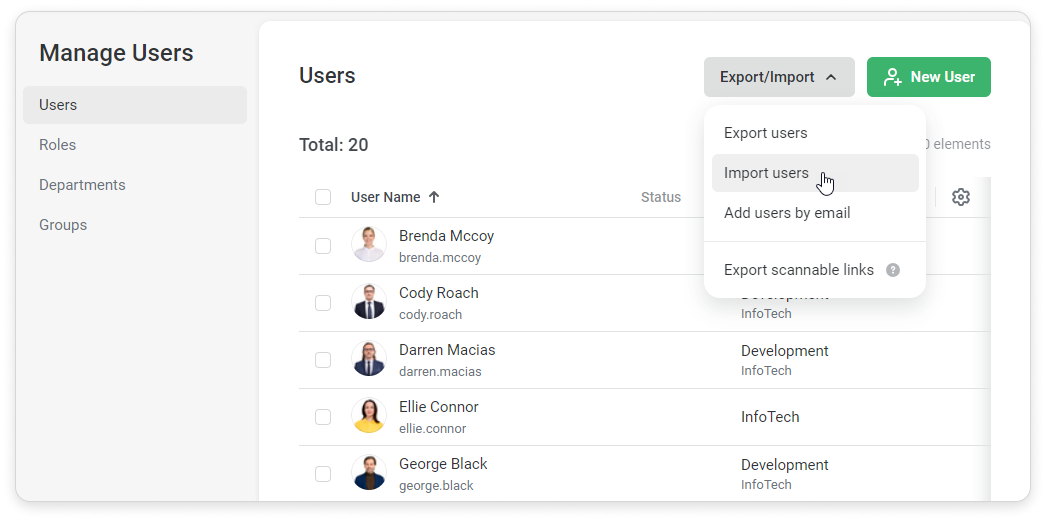
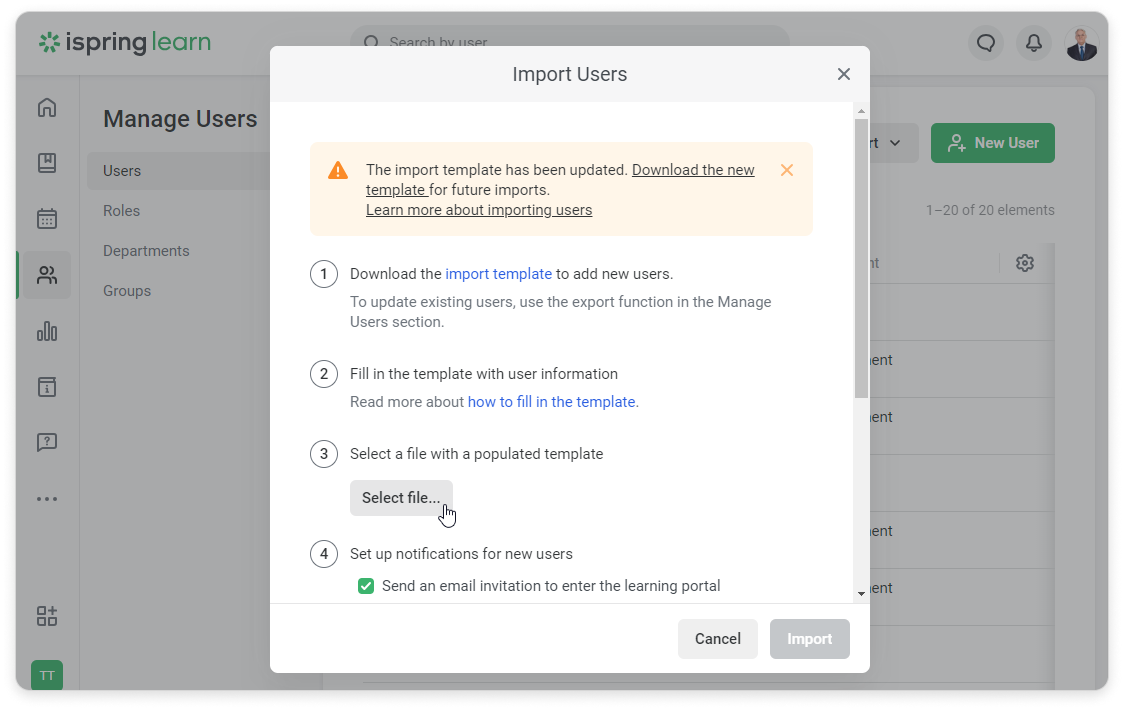
Click on Export/Import in the Users section and select Import users.
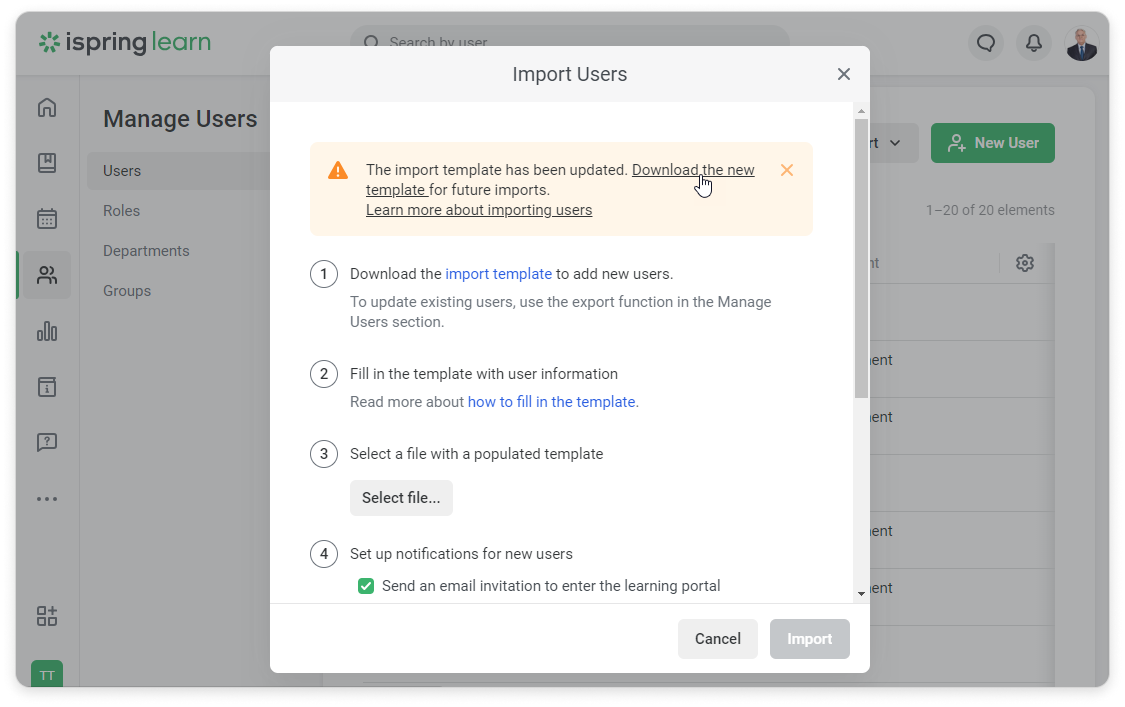
Download the import template.
Fill in the template with user information and change the user status to "Employment Ended" in the Status column.
Enter the employment end date.
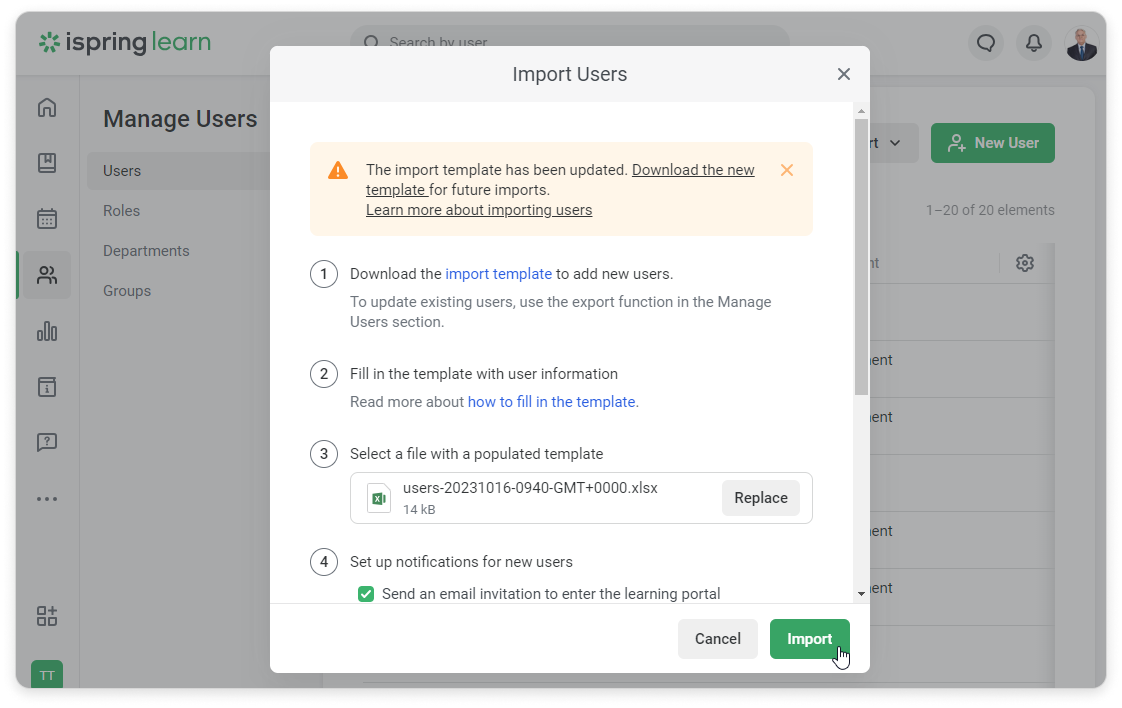
Select a file with a populated template.
Finally, click on Import.
Confirm that you would like to update your users list.
Via API
Run an API request.
Get a 200 OK success status response.
Users will change their status to "Employment Ended" on the selected date. Administrators will also see the employment end date in the users' personal profiles.