Publishing to Video
The Publish to Video option allows to convert your presentation to an .mp4 file with all the PowerPoint effects accurately preserved in video format. You can either save a copy to your hard drive or hand out those copies.
- Click Publish on the toolbar from the iSpring Converter Pro tab in PowerPoint.

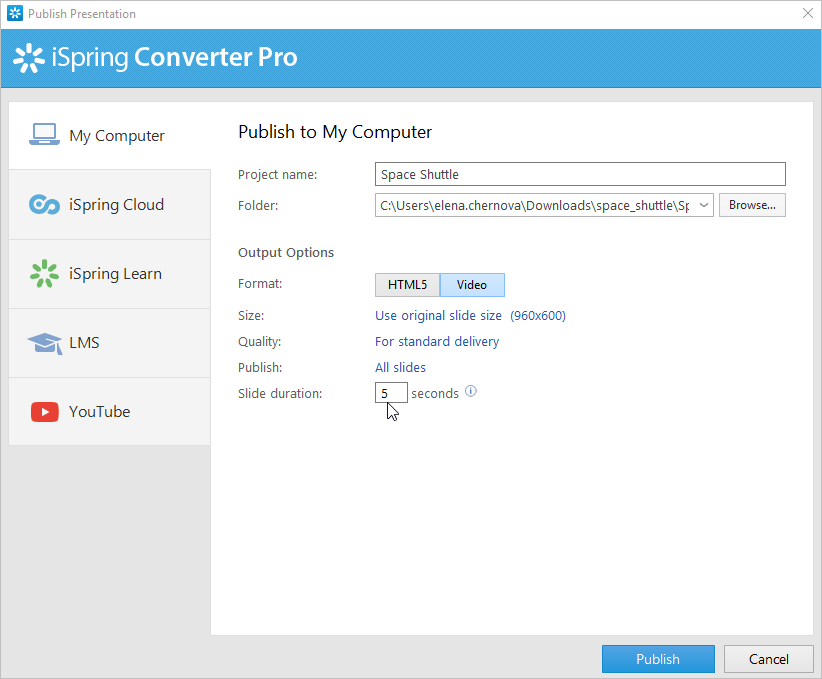
- On the left side of the Publish window, click My Computer.
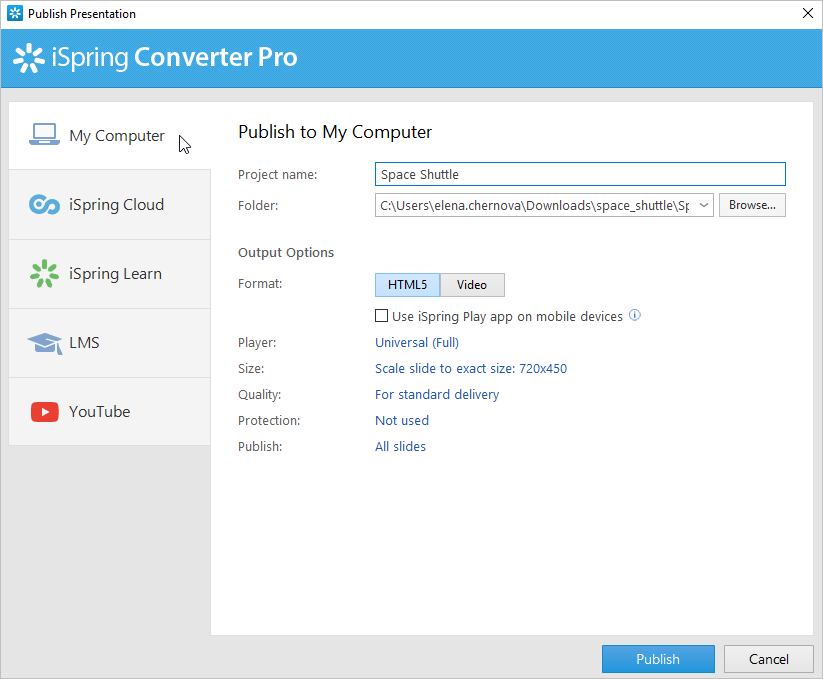
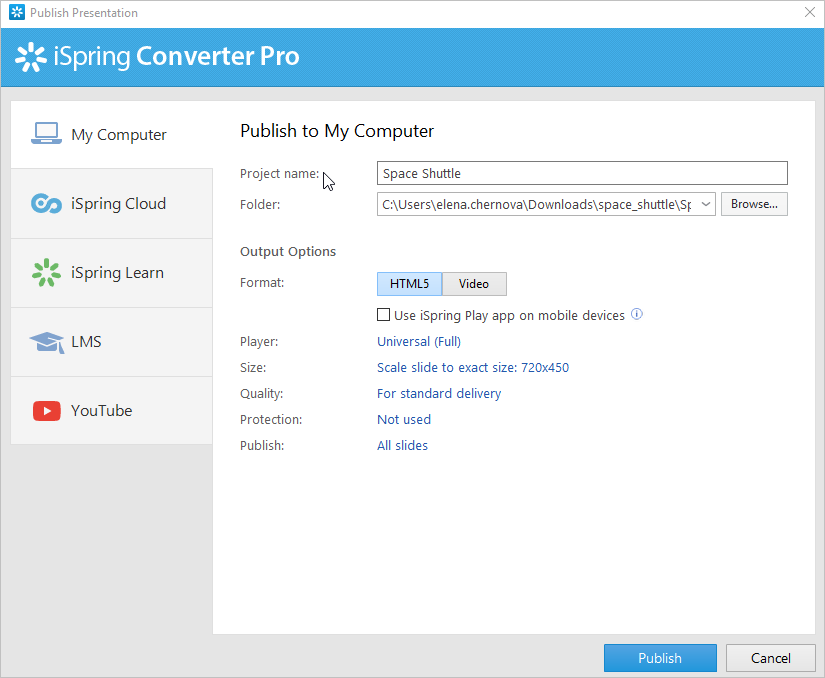
- Enter the title of the video in the Project name field. By default, the name is the same as the PowerPoint presentation.
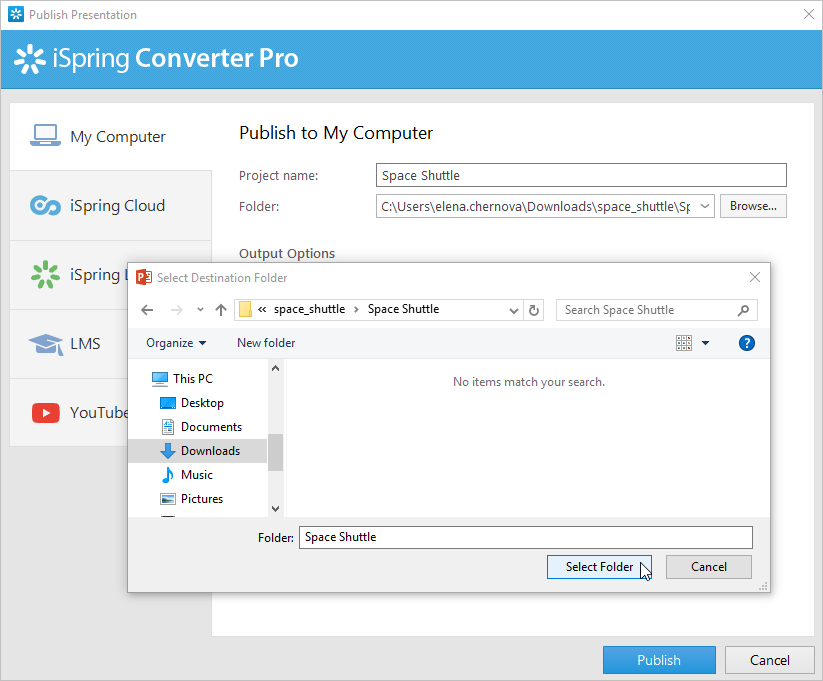
- Specify the local or network folder in which the course will be saved in the Folder field. To do this, click the Browse button to the right of the Folder field, select the desired folder, and click Select Folder.
- Select the Video format.
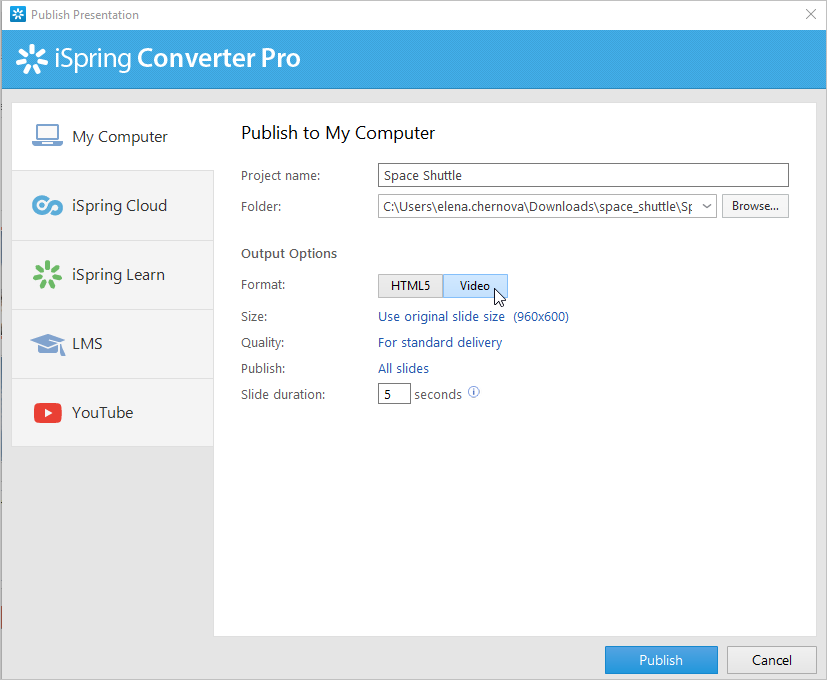
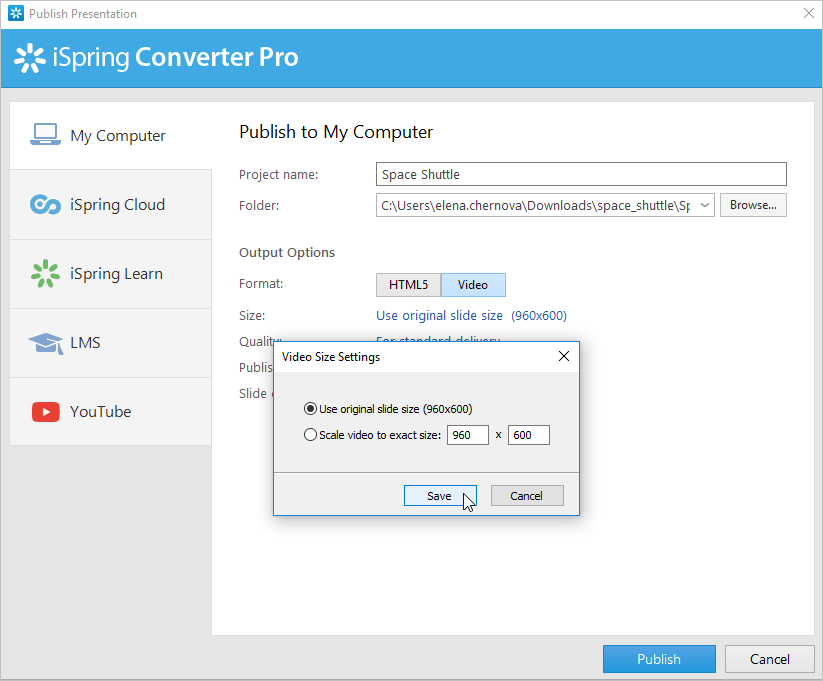
- Click the link in the Size field and specify the size of the published video.
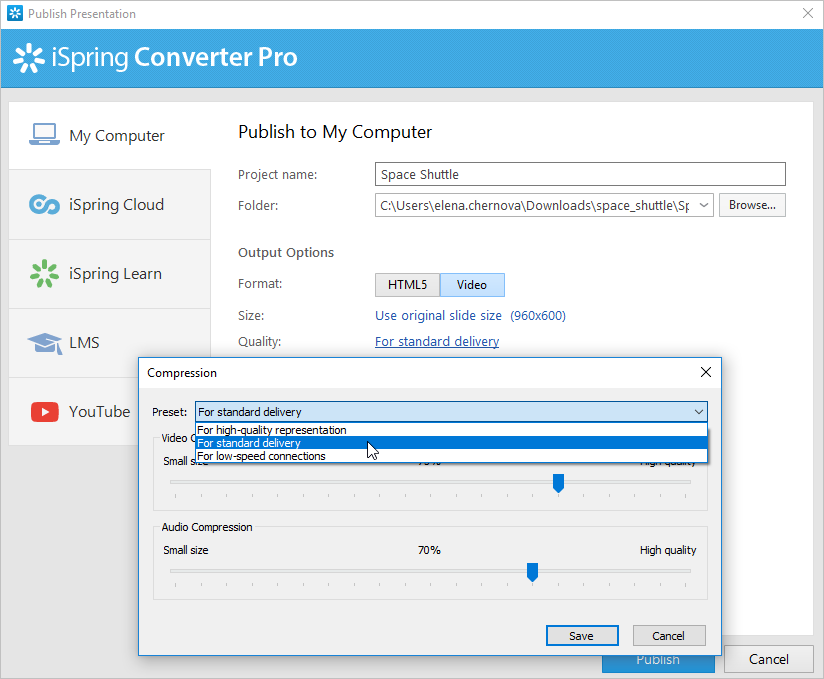
- In the Quality field, select the audio and video quality level. Here you can choose one of the built-in quality profiles or configure your own settings.
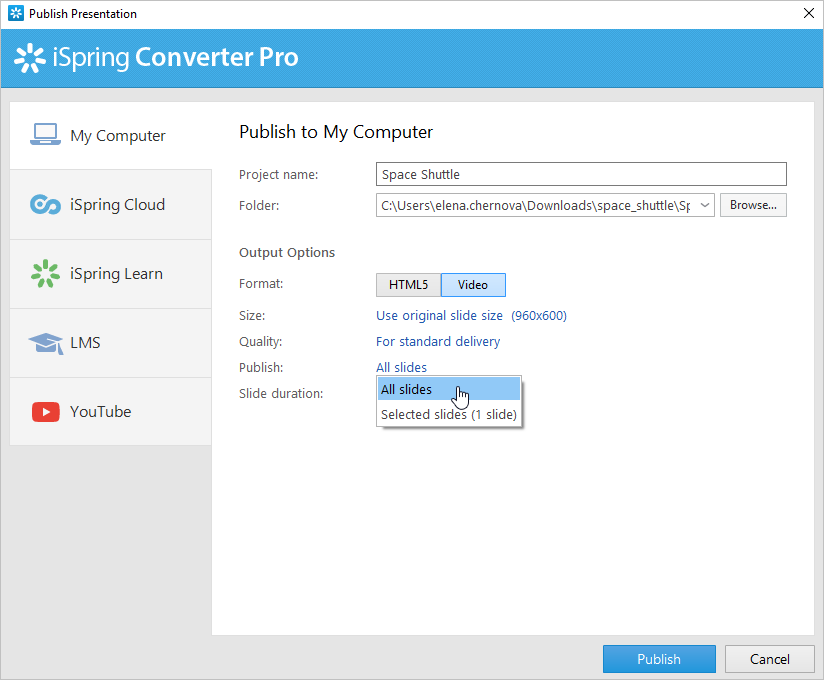
- Click on the link in the Publish field and choose which slides to publish: only the selected slides, or all the slides in the presentation.
In the Slide duration field, specify the display time in seconds for slides that do not have a duration set in PowerPoint.

If you've specified the duration for each slide in the PowerPoint presentation or configured the animation effects to be played automatically, then this time will be taken into account in the final video. If your presentation consists of slides of different lengths, then adjust the duration of the slide show for each slide by specifying the time for changing slides in PowerPoint.
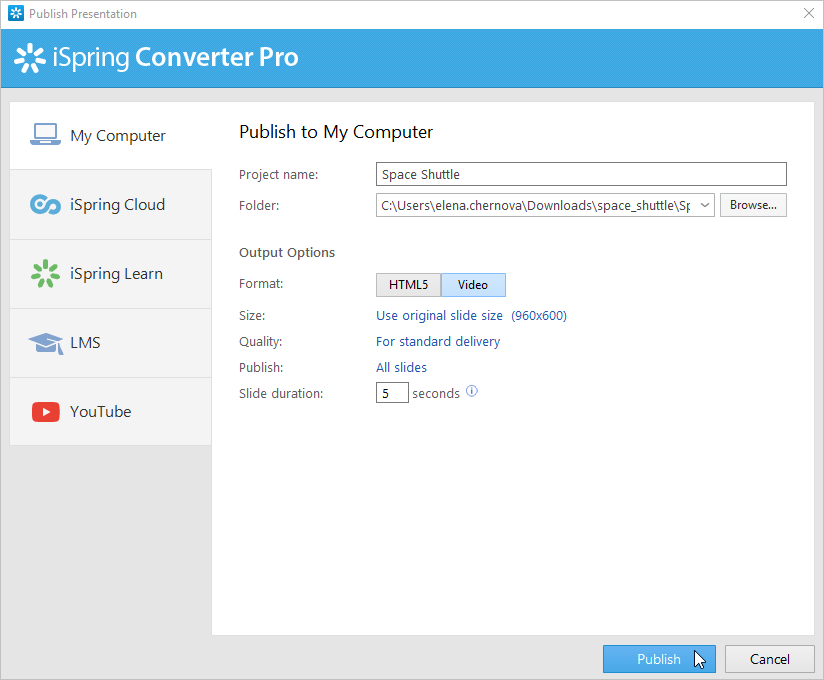
If your presentation contains animations, transitions, we recommend that you use the following settings for each slide: 1. Change the start option for each animation effect under the Animations tab in PowerPoint: choose Start With Previous or Start After Previous. 2. Set the Duration and Delay options of each effect (if necessary). 3. Select the On Mouse Click checkbox under the Transitions tab to advance the slide when you click the mouse.Click Publish to convert your presentation to a video file.
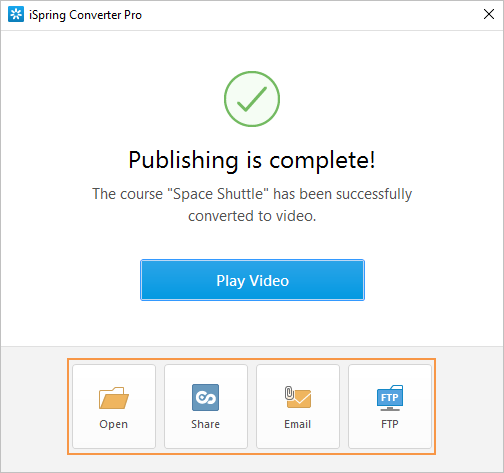
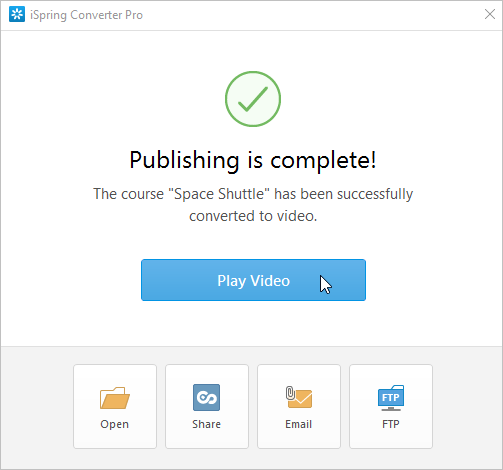
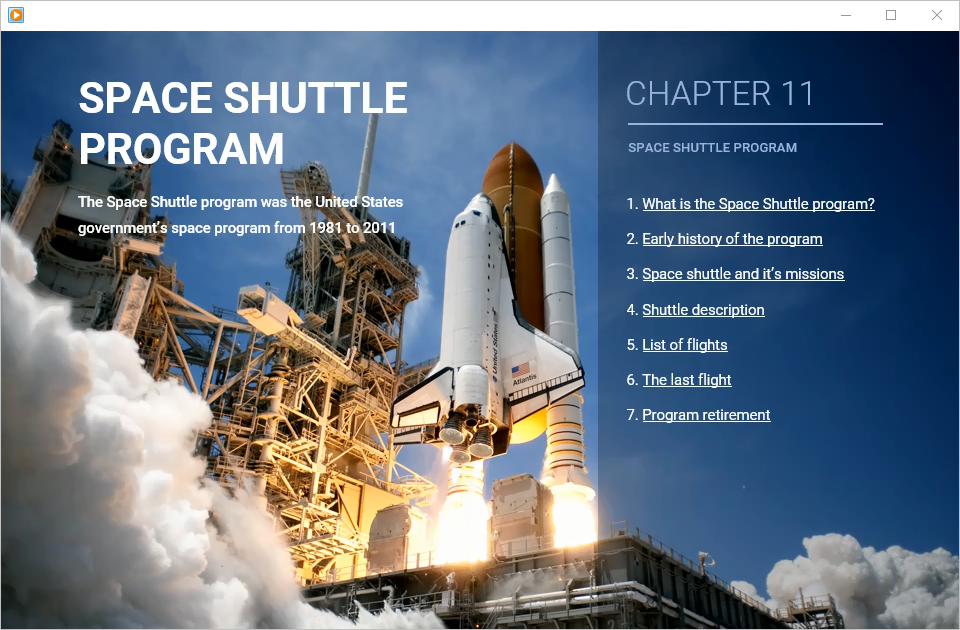
After the publishing process is complete, you will be able to preview the published video. To do this, click Play Video.
The video presentation will be opened in a player chosen as default on your computer.
Also, you can view a zip archive with the course in a folder, share the presentation via iSpring Cloud or email, or upload it to FTP.