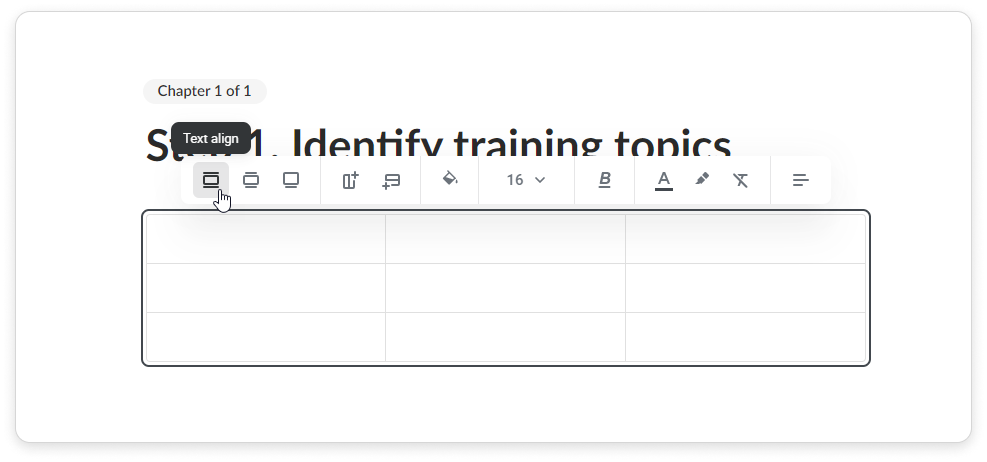
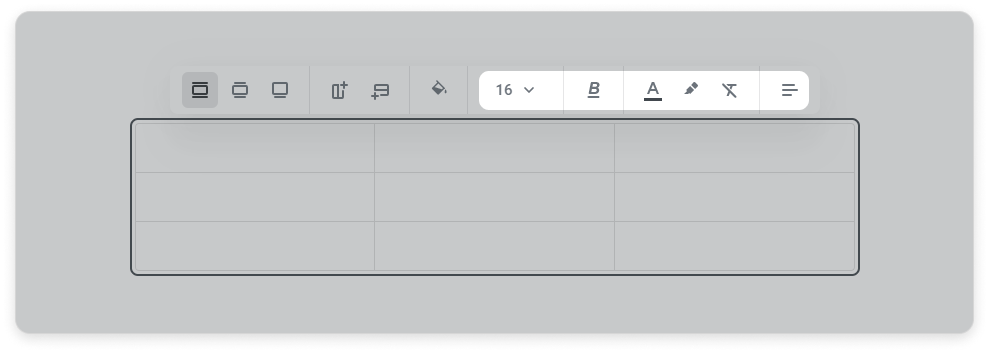
A 3x3 table will be added. Select the text alignment:Text align, Wider than text, or Full width.
You can add more rows and columns to your table if needed.
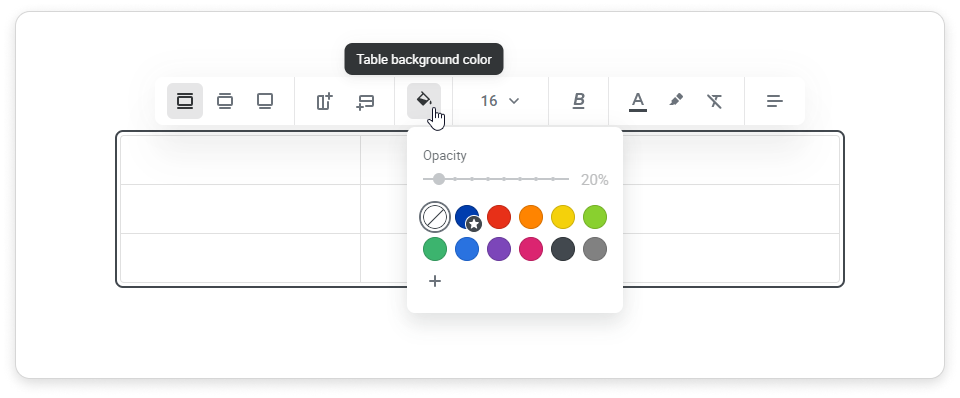
You can choose a color to fill the entire table. To do this, click on the Table background color icon.
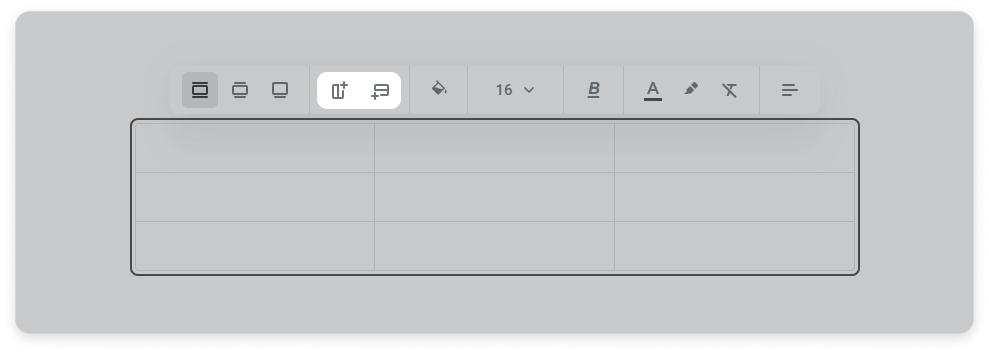
Select the font size, color, and style for your table. Then choose the type of alignment for your text.
How to Edit Columns and Rows
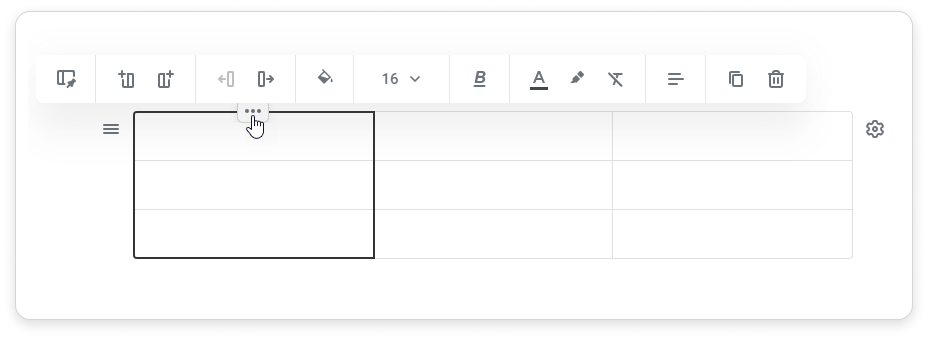
To edit a column, click on the three dots at the top of it. You can fill the column, insert columns to the left or to the right, move the column to the left or the right, duplicate a column, or delete columns.
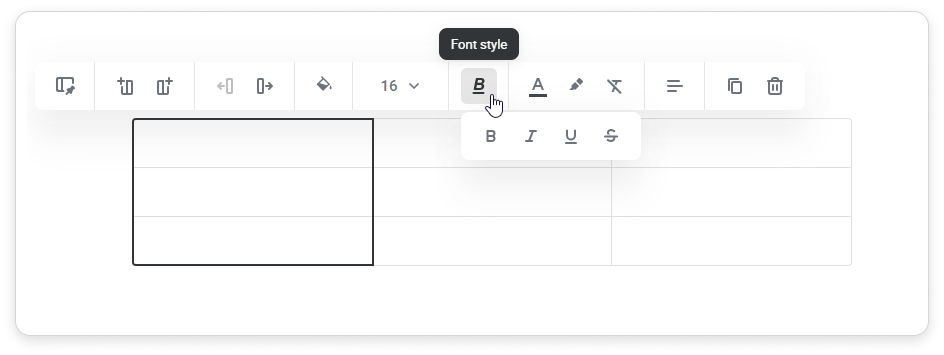
Set up the font style for the entire column.
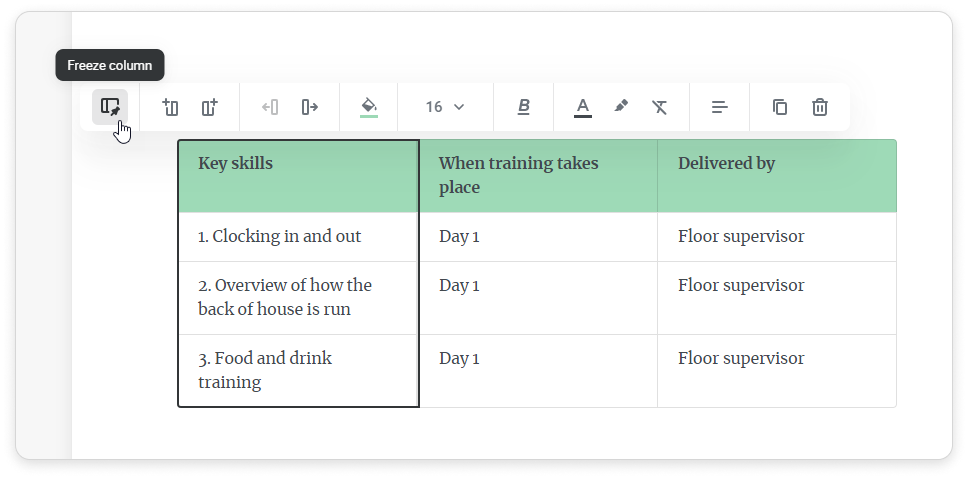
You can also clickFreeze column so that users could see the first column when they scroll the table to the right.
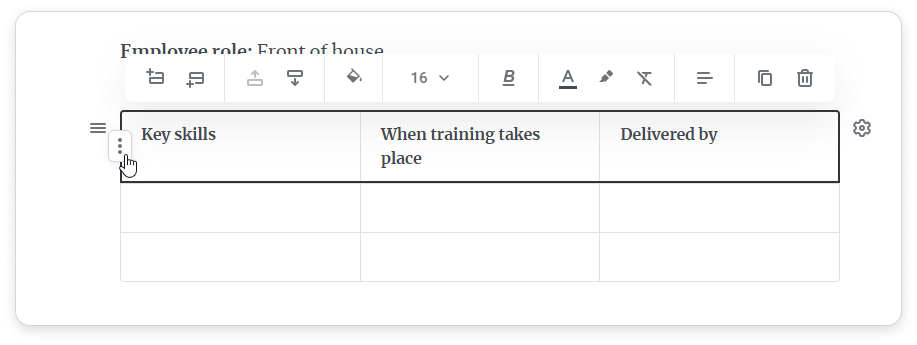
If you want to edit a row, click on the three dots on the left.
Select the text alignment for the entire row: Left align, Center align, Right align, Top, Middle or Bottom.
To fill a column or a row, clickFill column/row and choose a color and its opacity.
To edit the entire table, click the gear icon on the right.
You can use theCTRL + C and CTRL + Vkeyboard shortcuts to copy and paste tables and the Delete key to remove them.
You can also move your table wherever you need. To do this, hover over the three lines on the left and drag and drop it to any place in your article.
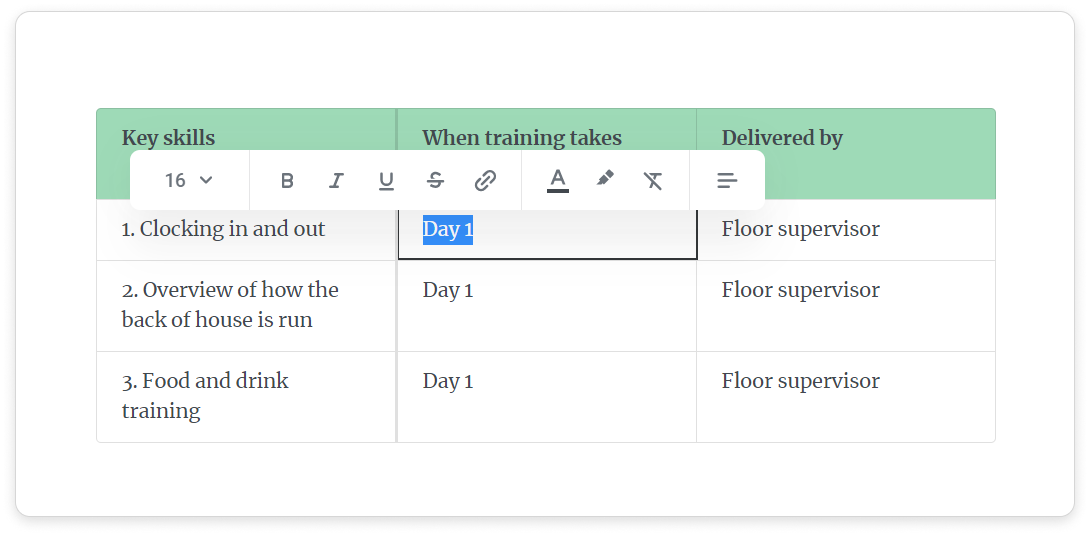
Use editing tools to work with the texts in your tables: you can change the font's size, color, and style.
You can use keyboard arrows, as well asTab and Enter buttons to navigate through your table.
Arrows
Move to the right, left, up and down
Tab
To the right
Shift-Tab
To the left
Enter
Move down
You can also copy and paste tables fromMS Excel, MS Word, Google Sheets and Google Docs. Font styles will be saved, but font size and color won't.