Now you can arrange your pictures in a row to make your learning content look more informative and attractive.
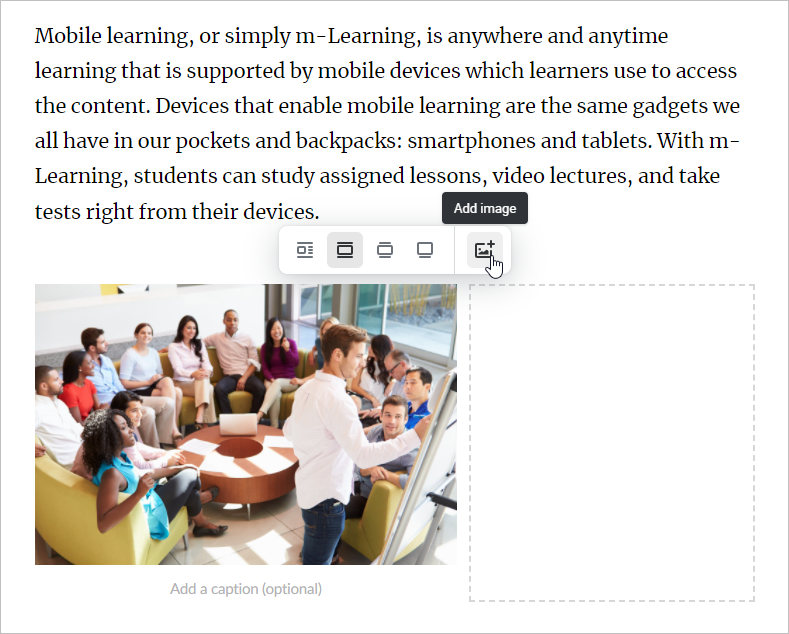
Click and select Image.
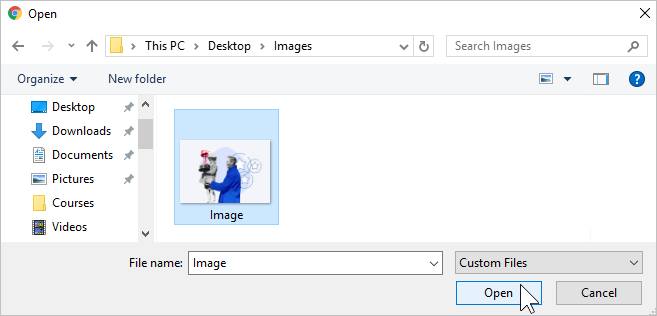
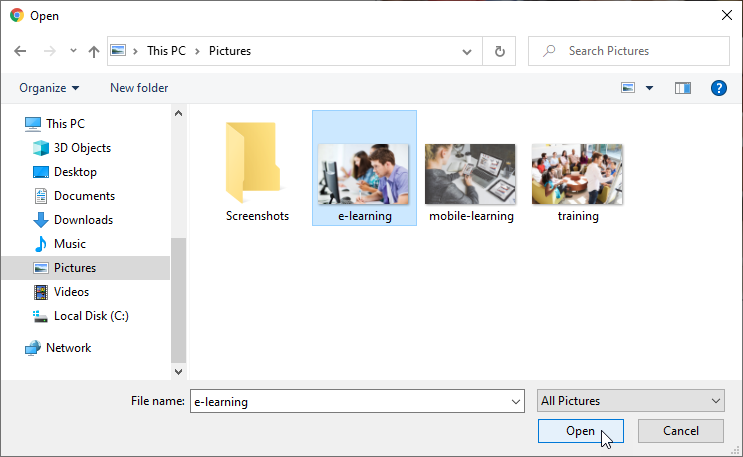
Choose a file on your PC and click Open.
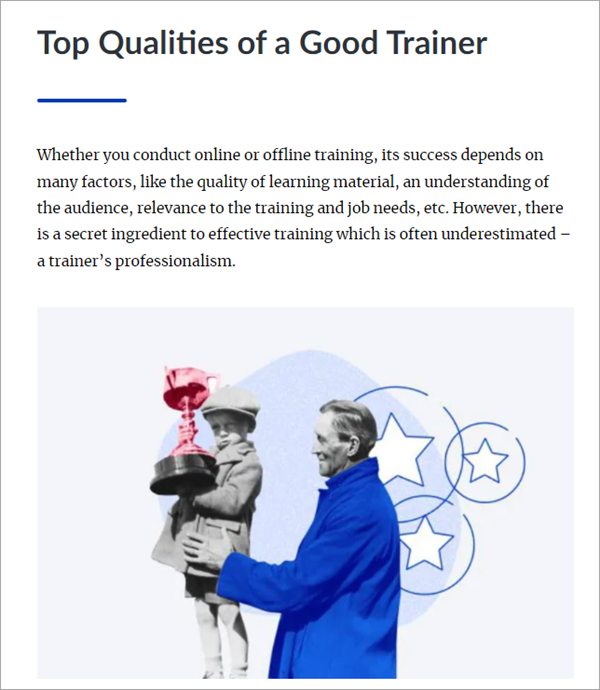
The picture will be added to the page.
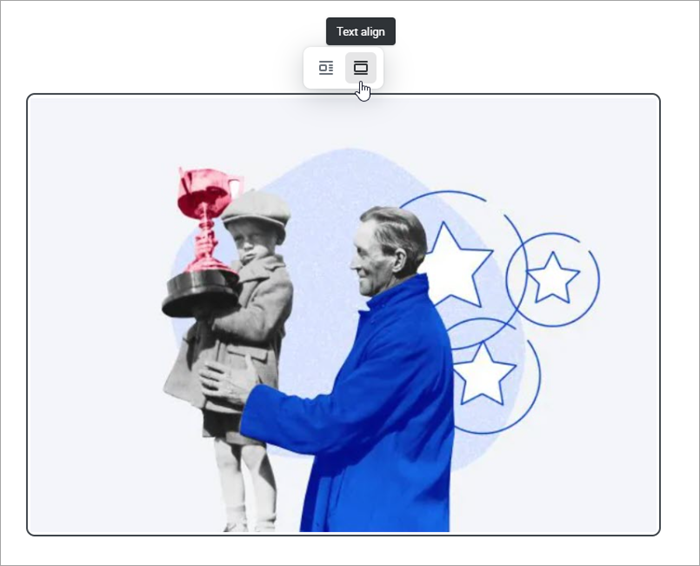
Change the image size and position with respect to the text and other elements of the page. Just click the picture and choose the way it will be displayed in the material.
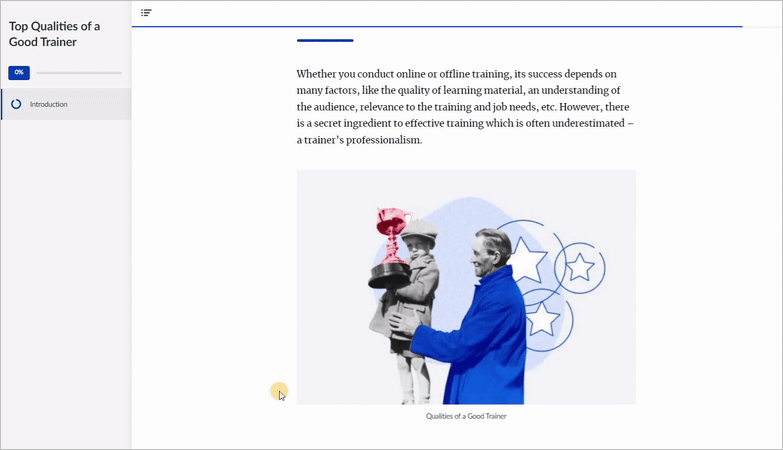
Optionally, you can write a caption to the illustration. To do this, click below the image and enter the text.
Images in a Row
Click on the added image and hit Add image on the toolbar.
Then choose an image on your computer and select Open.
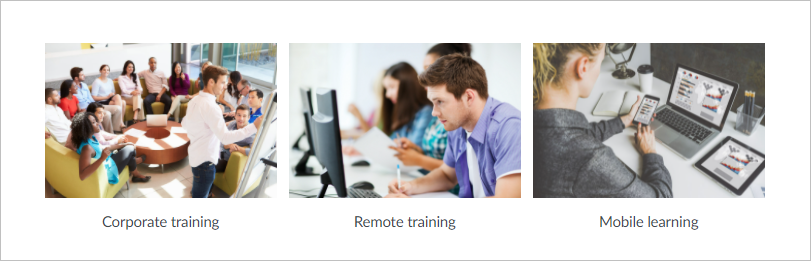
Finally, add captions. To do this, click on the field below the picture.
Done! You have now added an image gallery to your page.
Working with Images
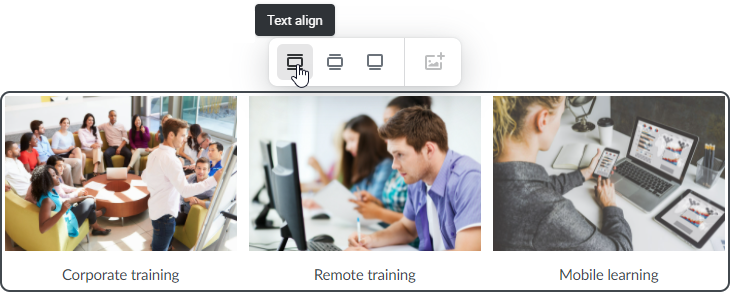
Specify the position of your images:
Text align
Wider than text
Full width
To do this, select the images and click the desired button on the toolbar.
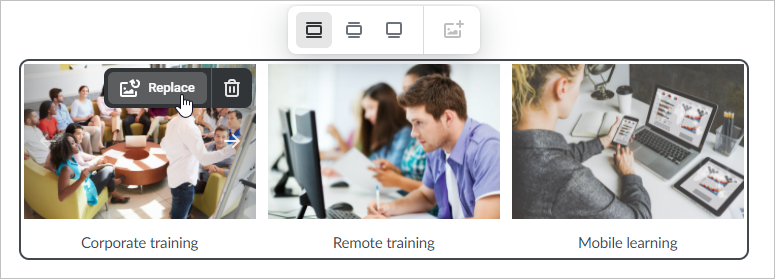
Click on the picture and select Replace or Delete.
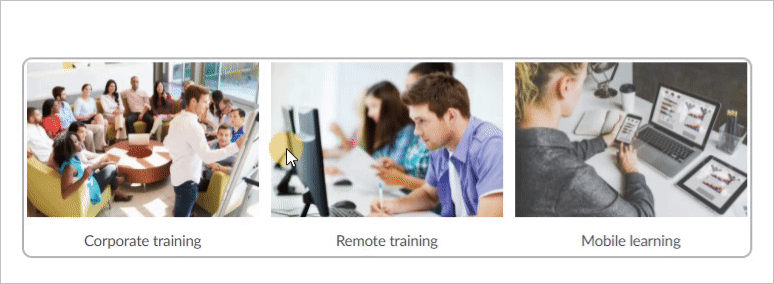
Click the arrow to move your image to the left or to the right.
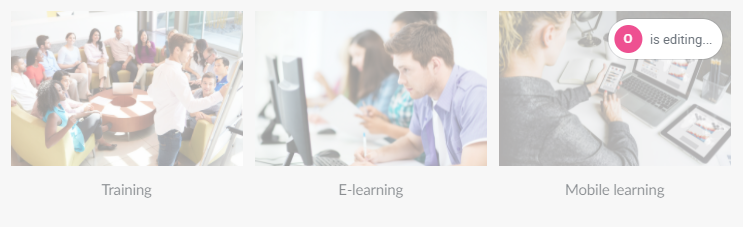
When an author is uploading or editing images, the other collaborators cannot edit them. The area that is being edited turns gray.
In a web version, the images are placed next to each other. In a mobile version, they appear one below the other.
Zooming in and out
In Preview mode, you can zoom in and out of the image by clicking and .
To reset the original size of the image, click on.