Usually, creating an account takes place when downloading a trial version of iSpring Suite Max. But you can also set up an account later after you install the iSpring Suite authoring program on your computer.
To create an iSpring Suite account:
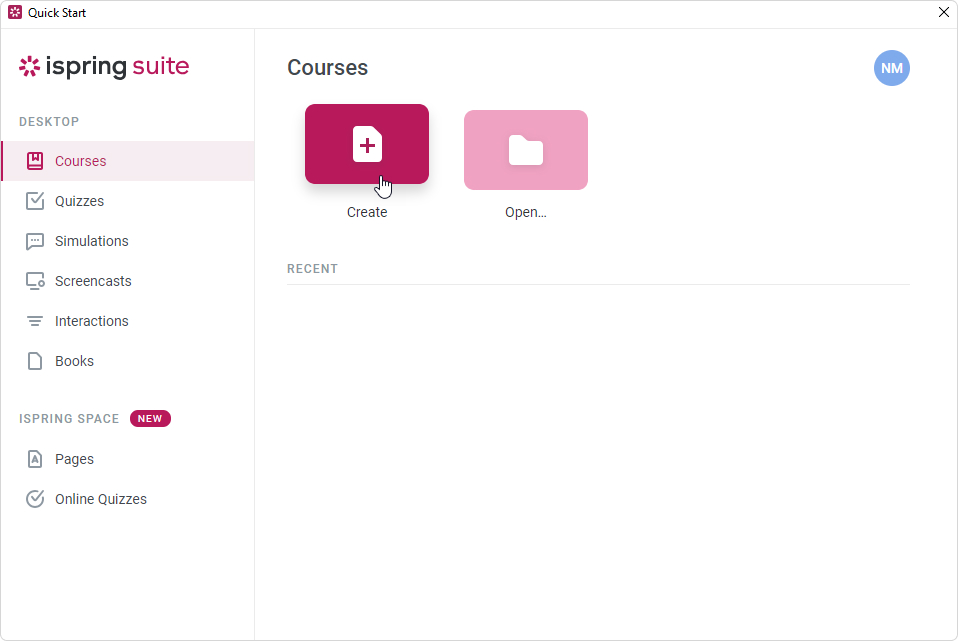
- Launch iSpring Suite 10 and click Try for free.
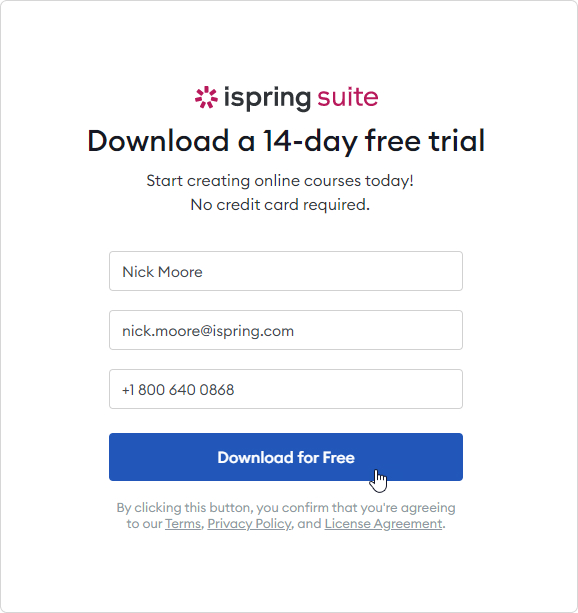
- Fill in the form on our website with your personal data: first name, last name, email, and phone number.
Enter your actual data, as we will use them if/when you purchase an iSpring Suite Max license. Your first and last name will be used as the owner's name, the phone number will be the contact number, and the email address will be the one we will send account access and purchase details to.
Finally, click Download for Free.
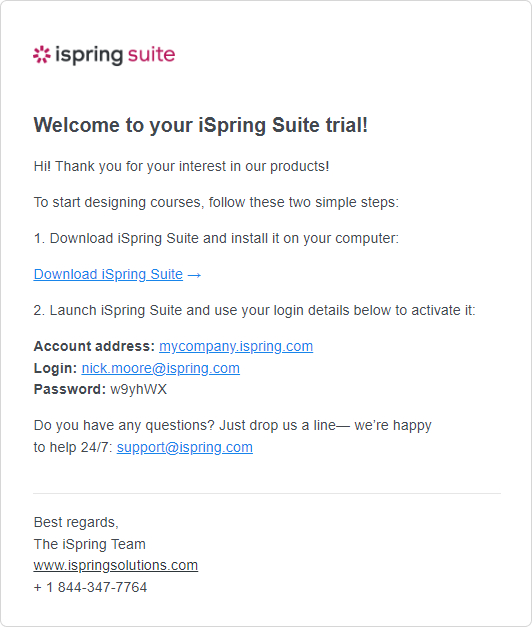
- We will send your iSpring Suite account login info to you by email. You will need the credentials to activate your iSpring Suite Max account and log in to your account.
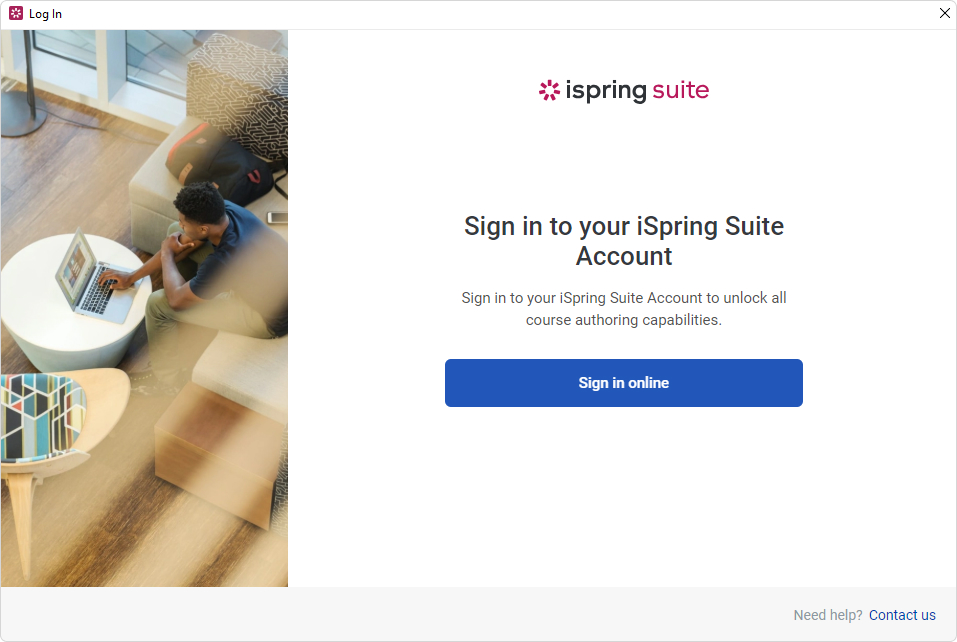
- Next, click Sign in online.
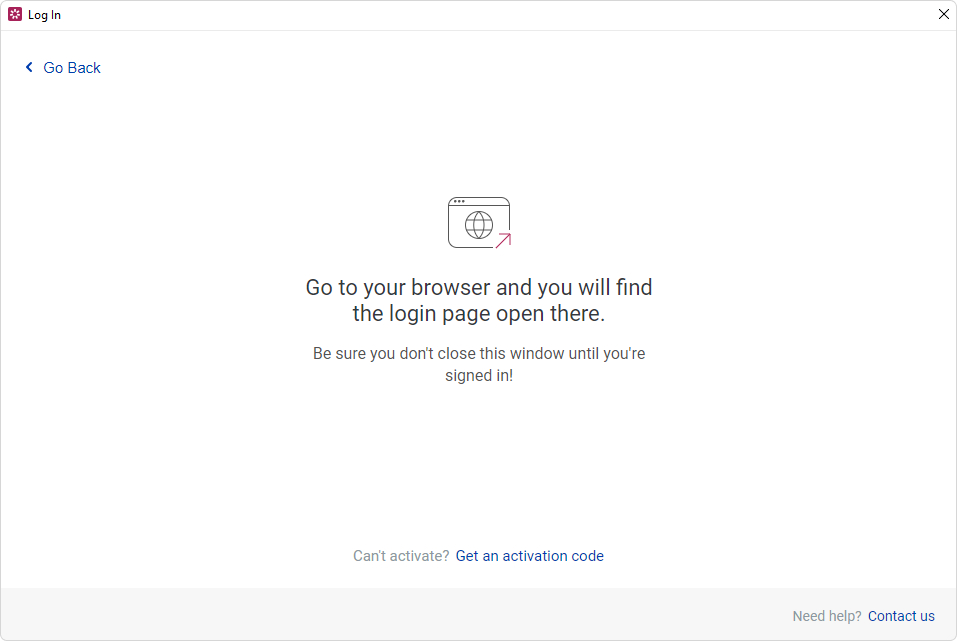
- Then, you will see a message prompting you to go to the opened browser window.
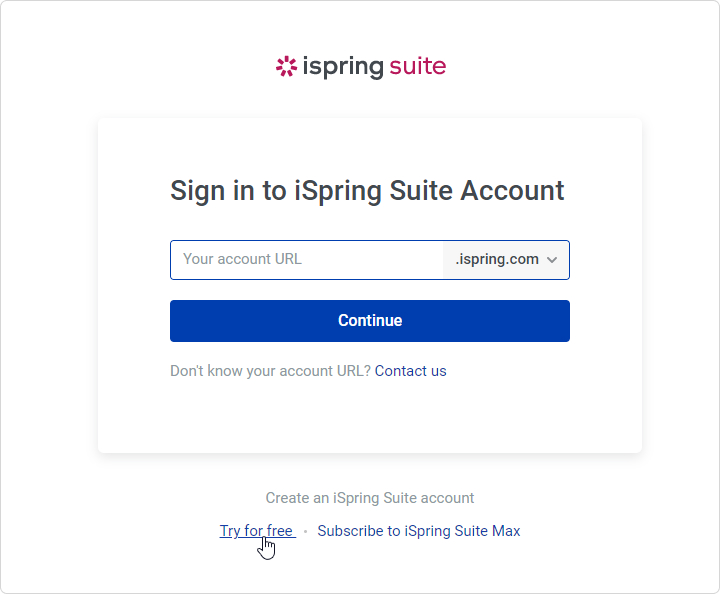
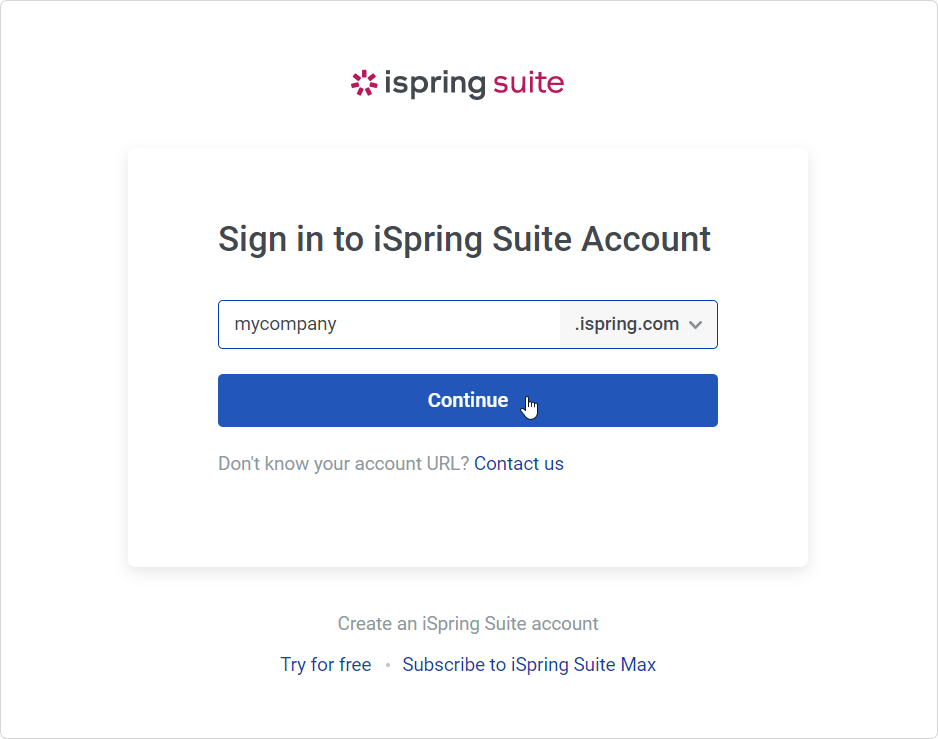
- Fill in the field and click Continue.
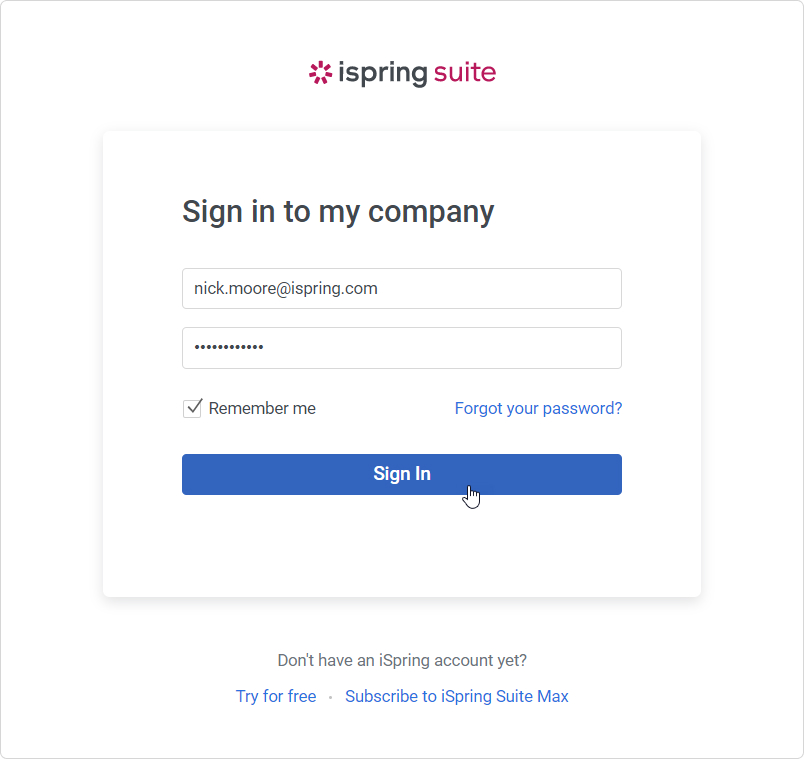
- An account login form will open in a browser. Enter the login and password that were sent to you when you filled out a form on our website. Next, click Sign In.
You’ll see a message saying that you have logged in to the iSpring Space account successfully. You can now return to the iSpring Suite app.
Now you can proceed to create courses either with the iSpring Suite authoring tool or in the iSpring Space workspace.