How to Add a Custom Font to Pages
Upload non-standard fonts to pages and create unique courses that reflect the brand's style.
Fonts can be uploaded to pages and online quizzes, and then used in other workspace content. When transferring pages between accounts, the new font will be available for viewing in the recipient's account.
How to prepare font files for uploading
Before adding a new font, ensure that:
- You have the right to use it;
- The font supports your language;
- The font format is WOFF or WOFF2.
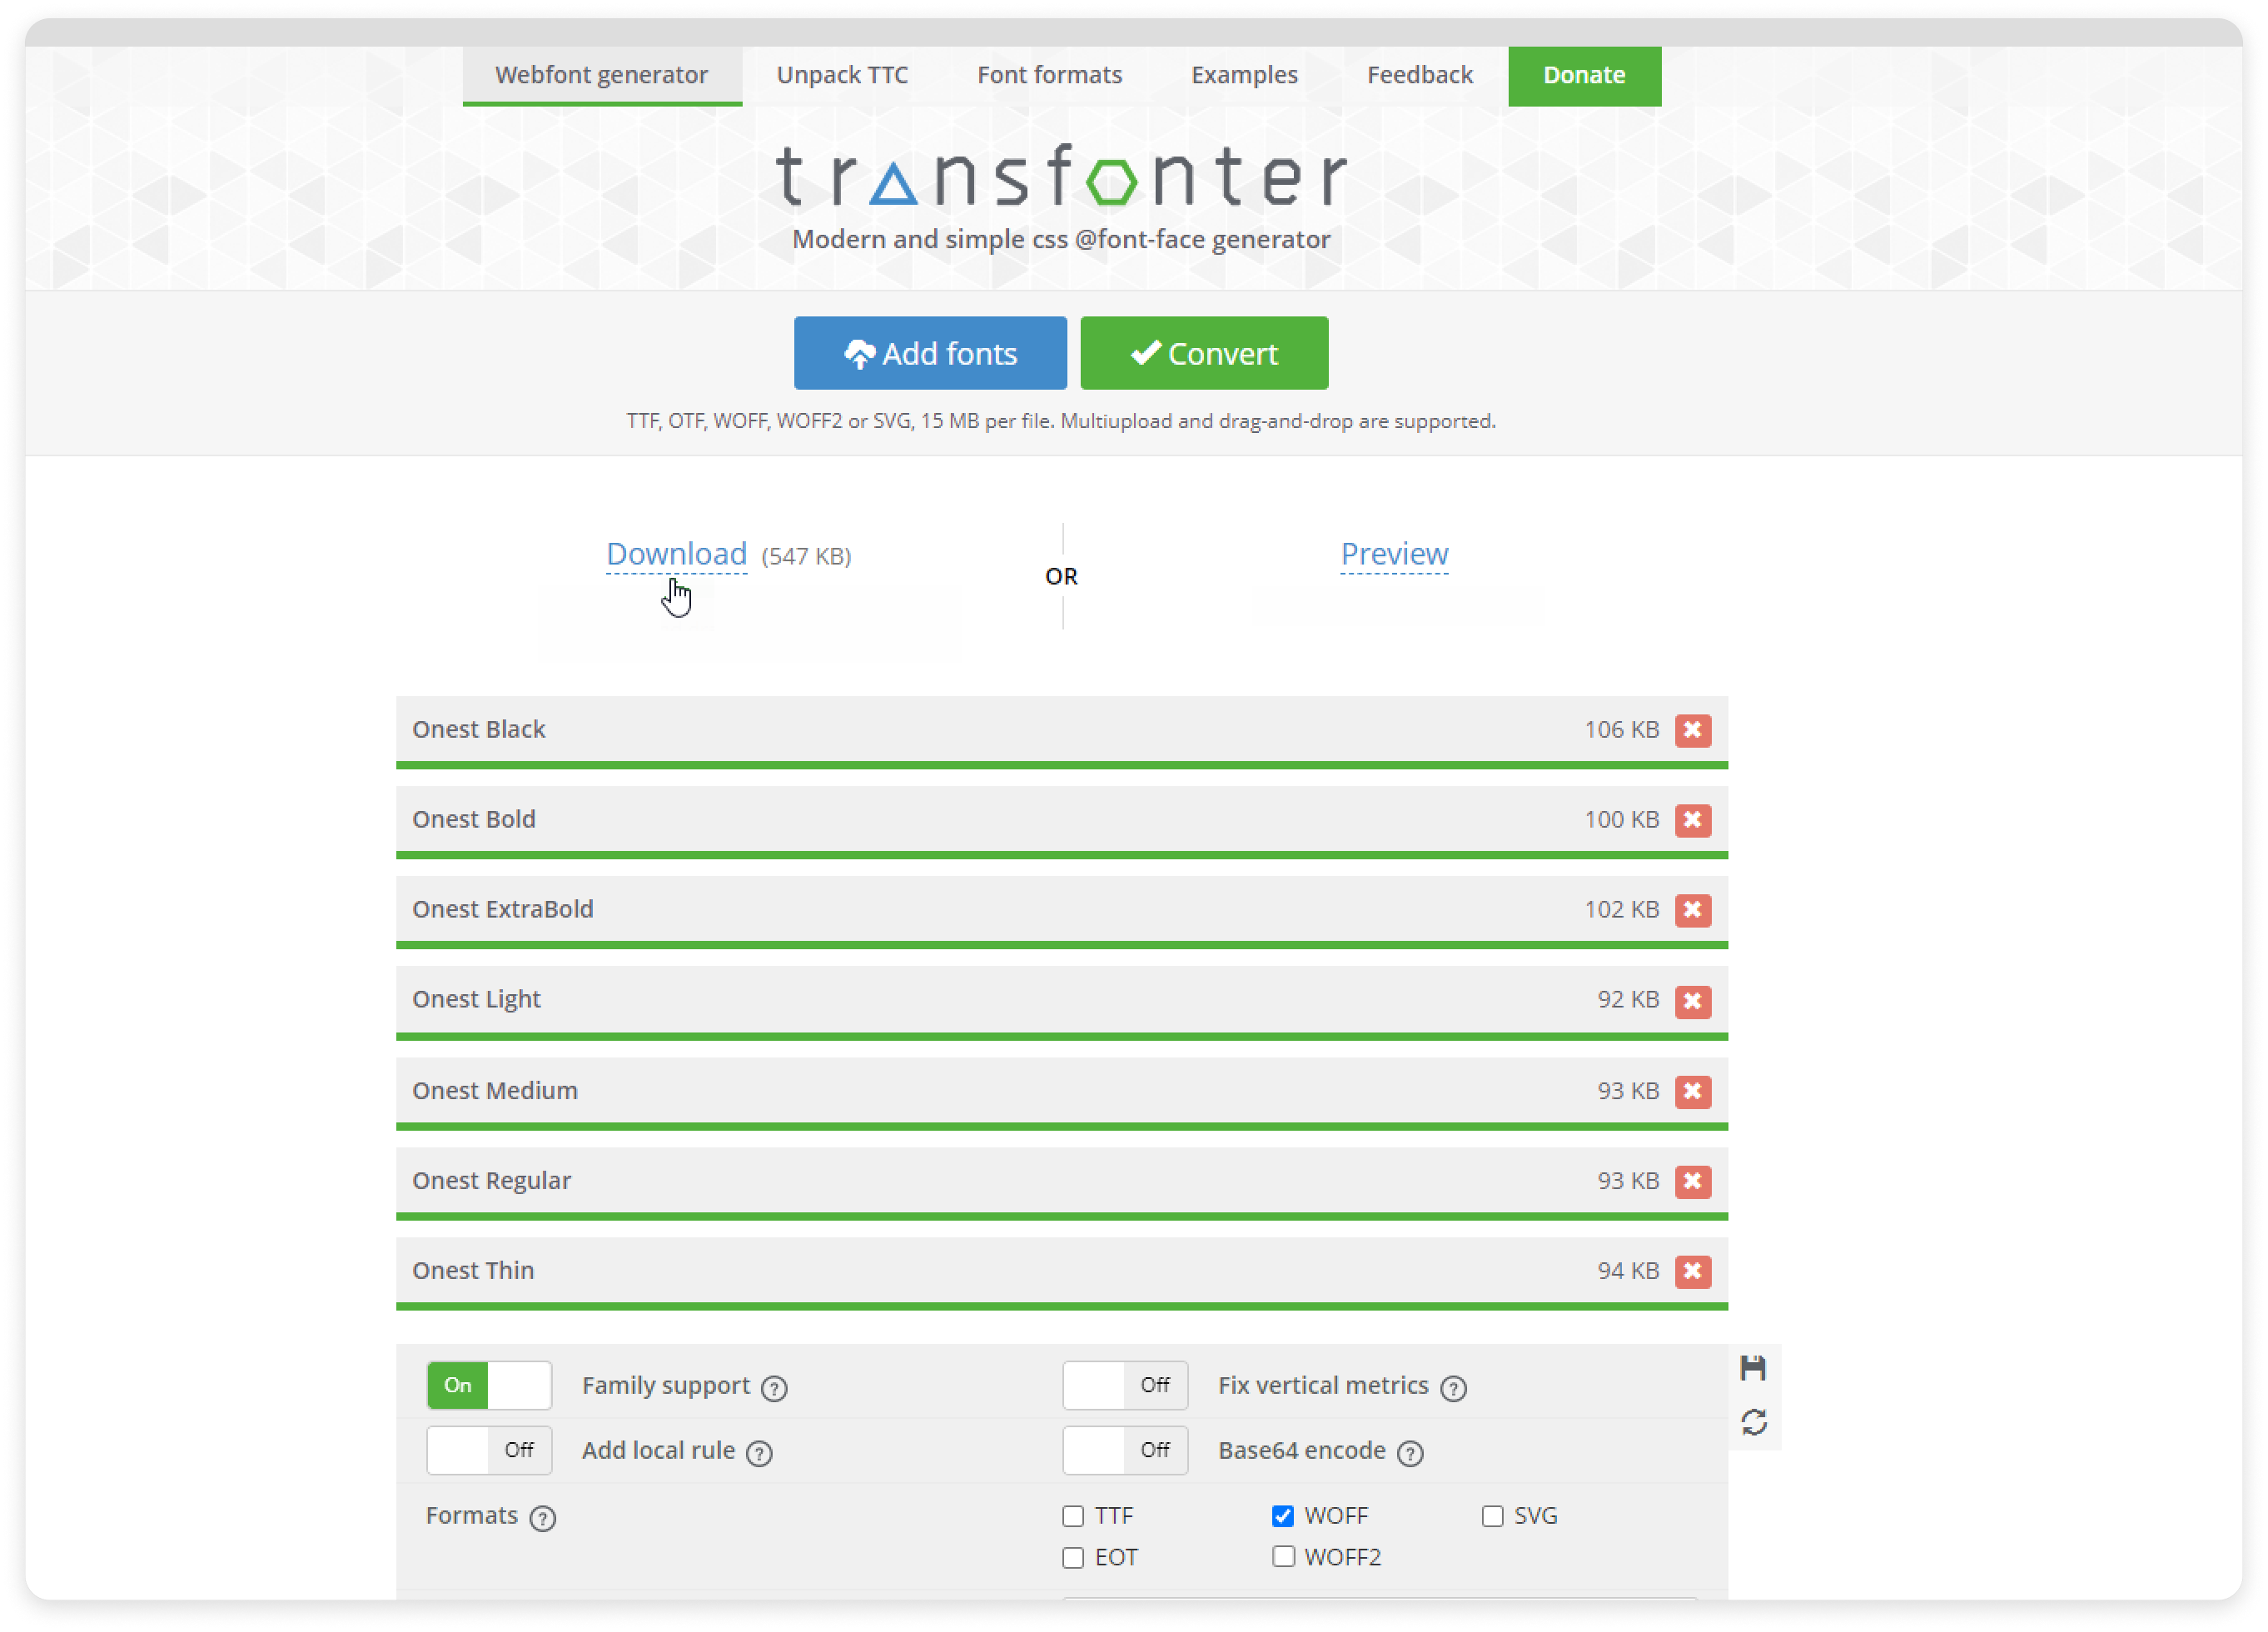
If the needed format is not available, you can convert it to WOFF format online using a service like Transfonter.
For example, you have a font in .ttf format. To get it in .woff format, follow these steps:
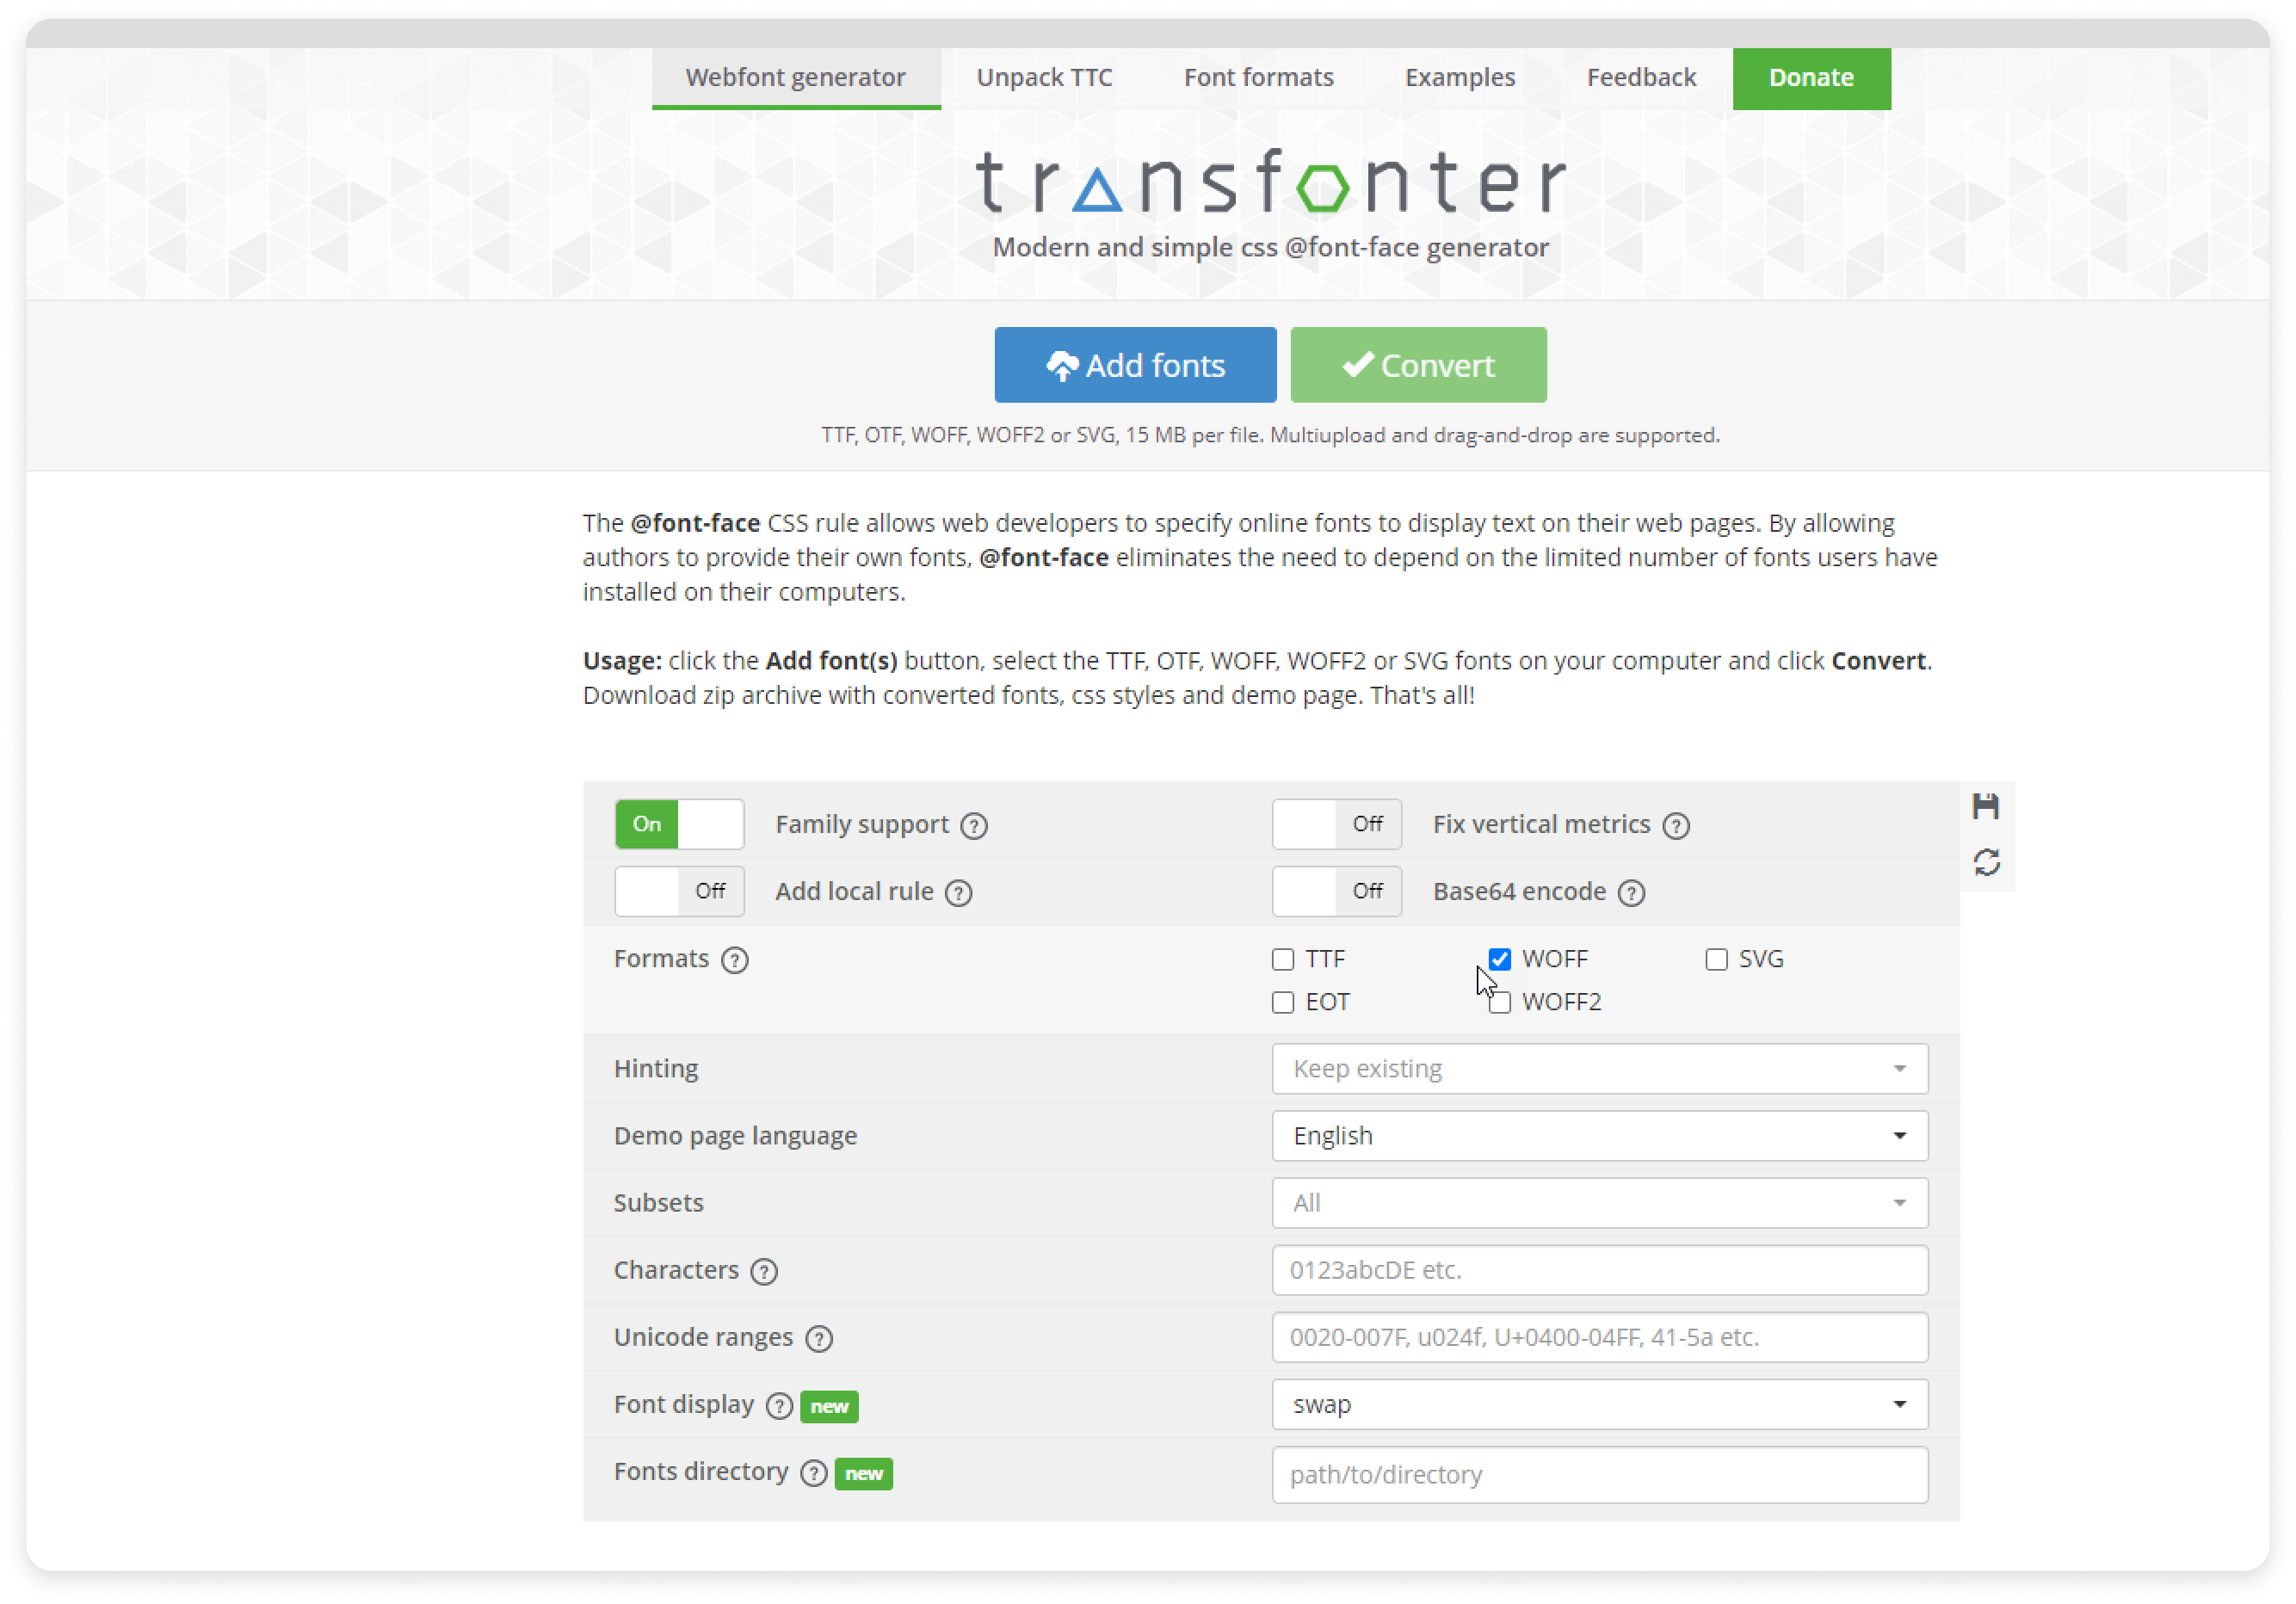
- Go to the Transfonter website and select WOFF or WOFF2 near Formats.
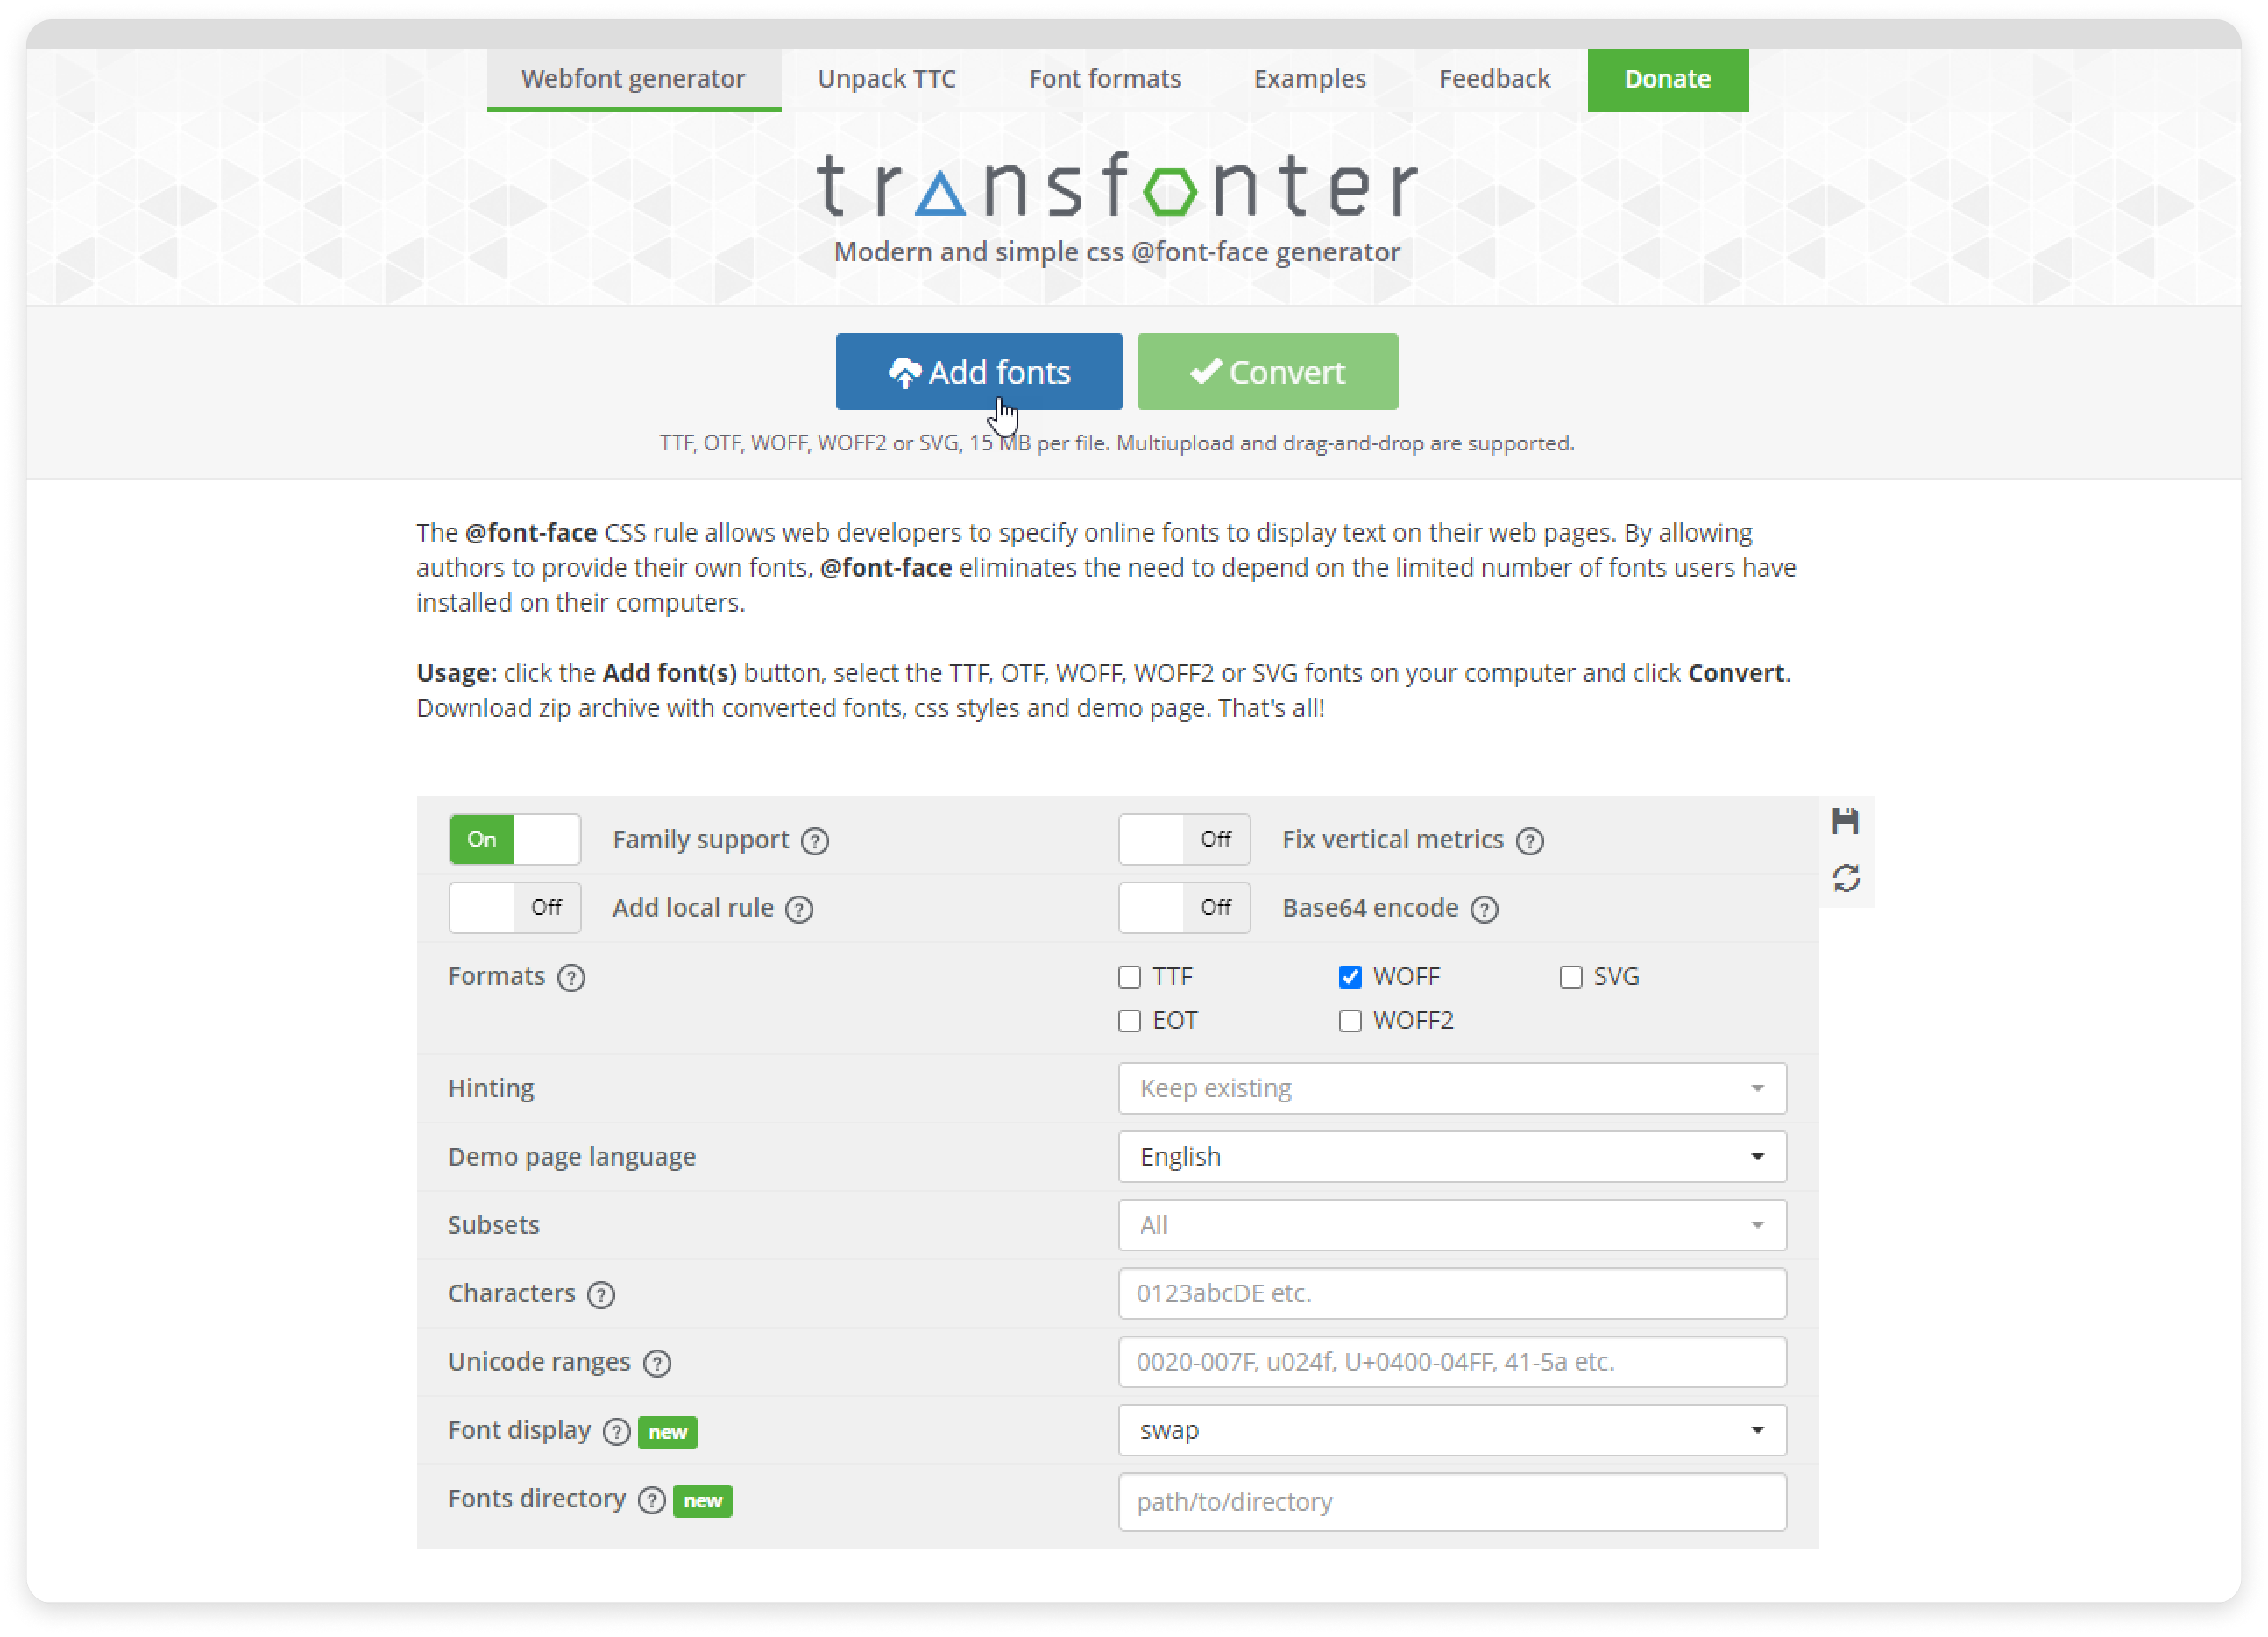
- Next, click on Add fonts.
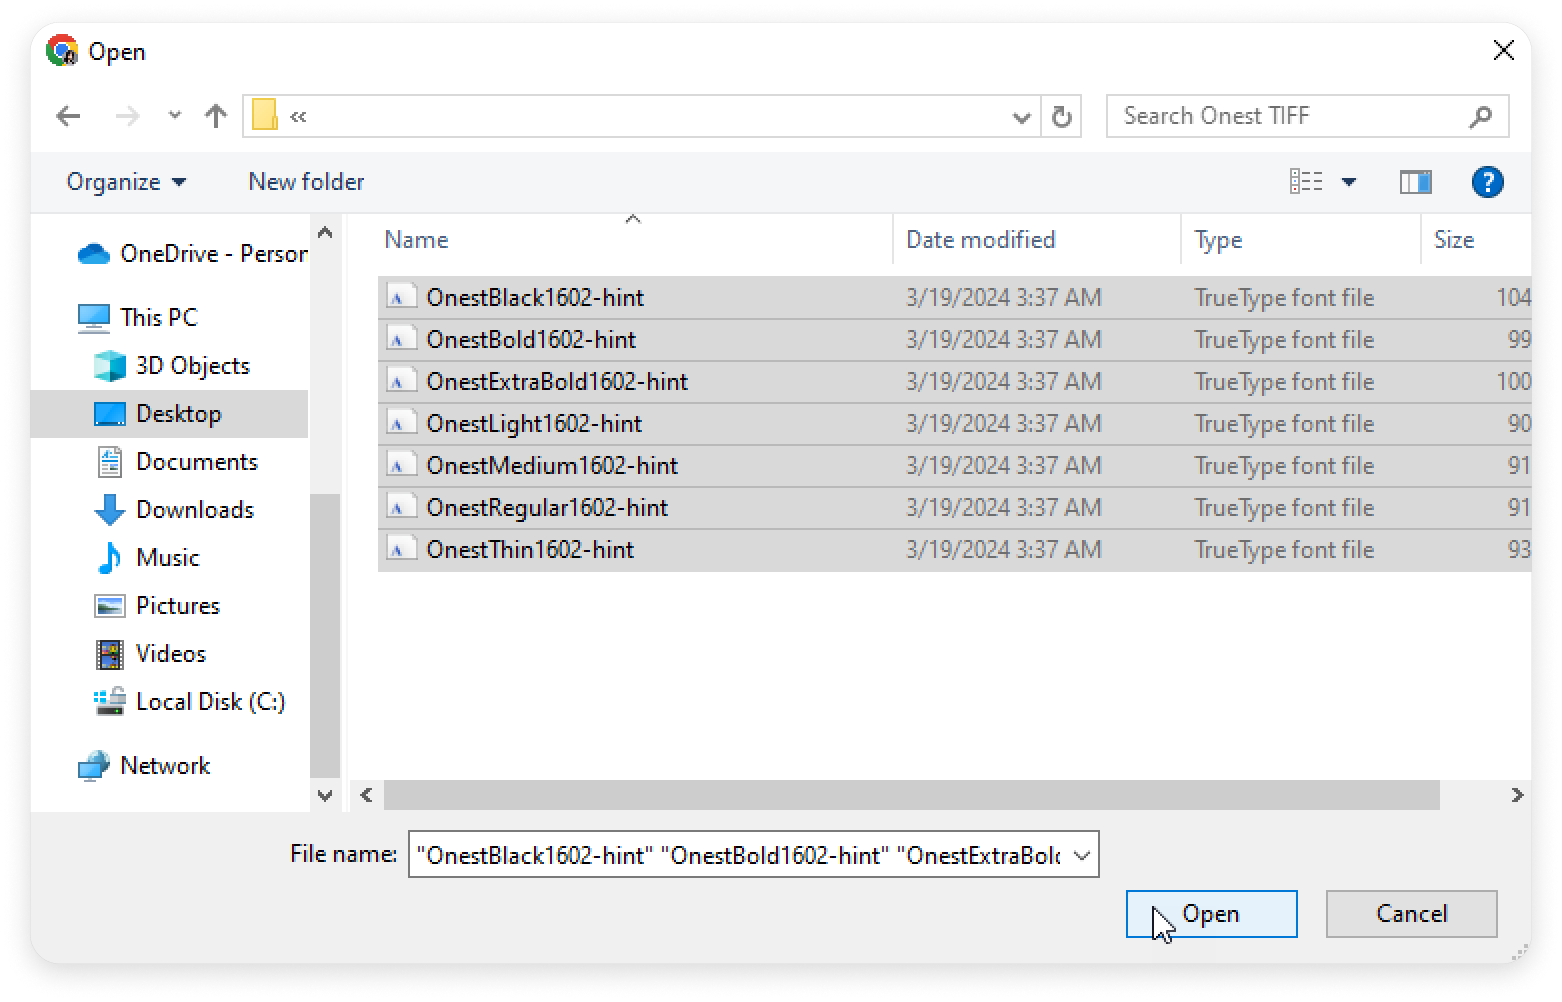
- Upload the font files.
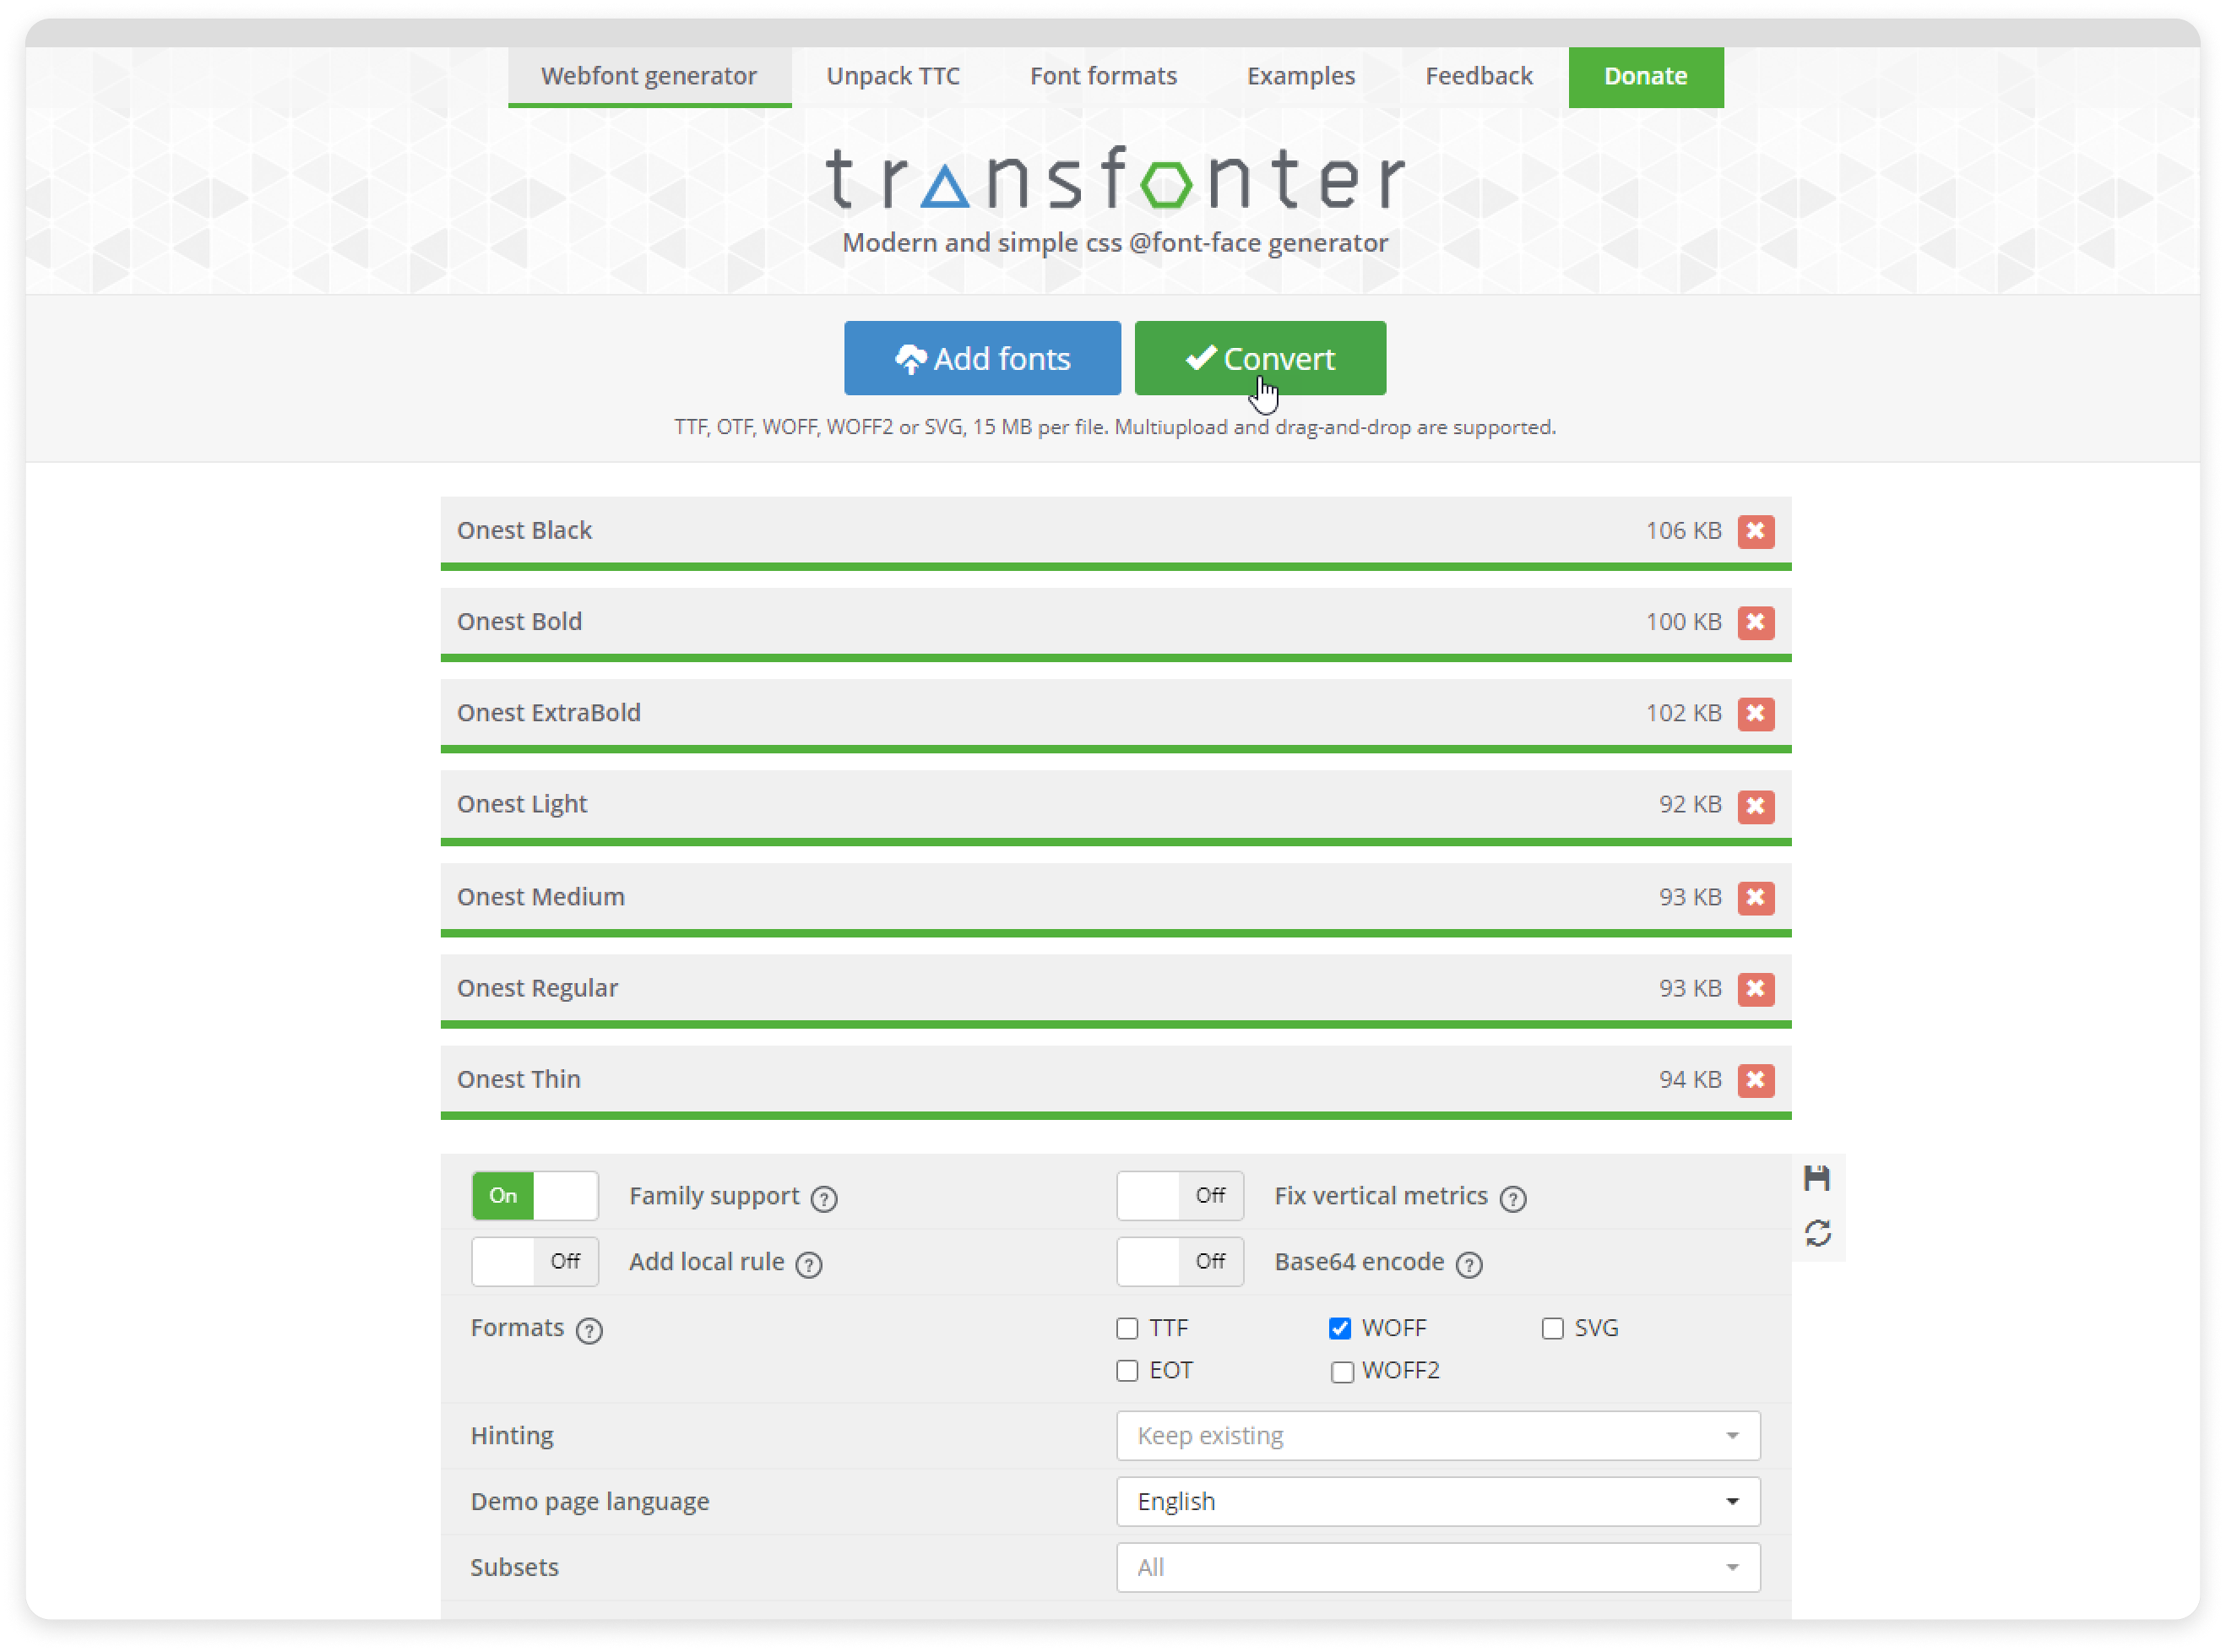
- Then, select Convert.
- Click on Download and unzip the archive.
Great! The font files with different weights are ready to be uploaded to your page.
How to add a font
The user roles that can add a custom font to the workspace are Account Owner and Course Author.
Here’s how to do it:
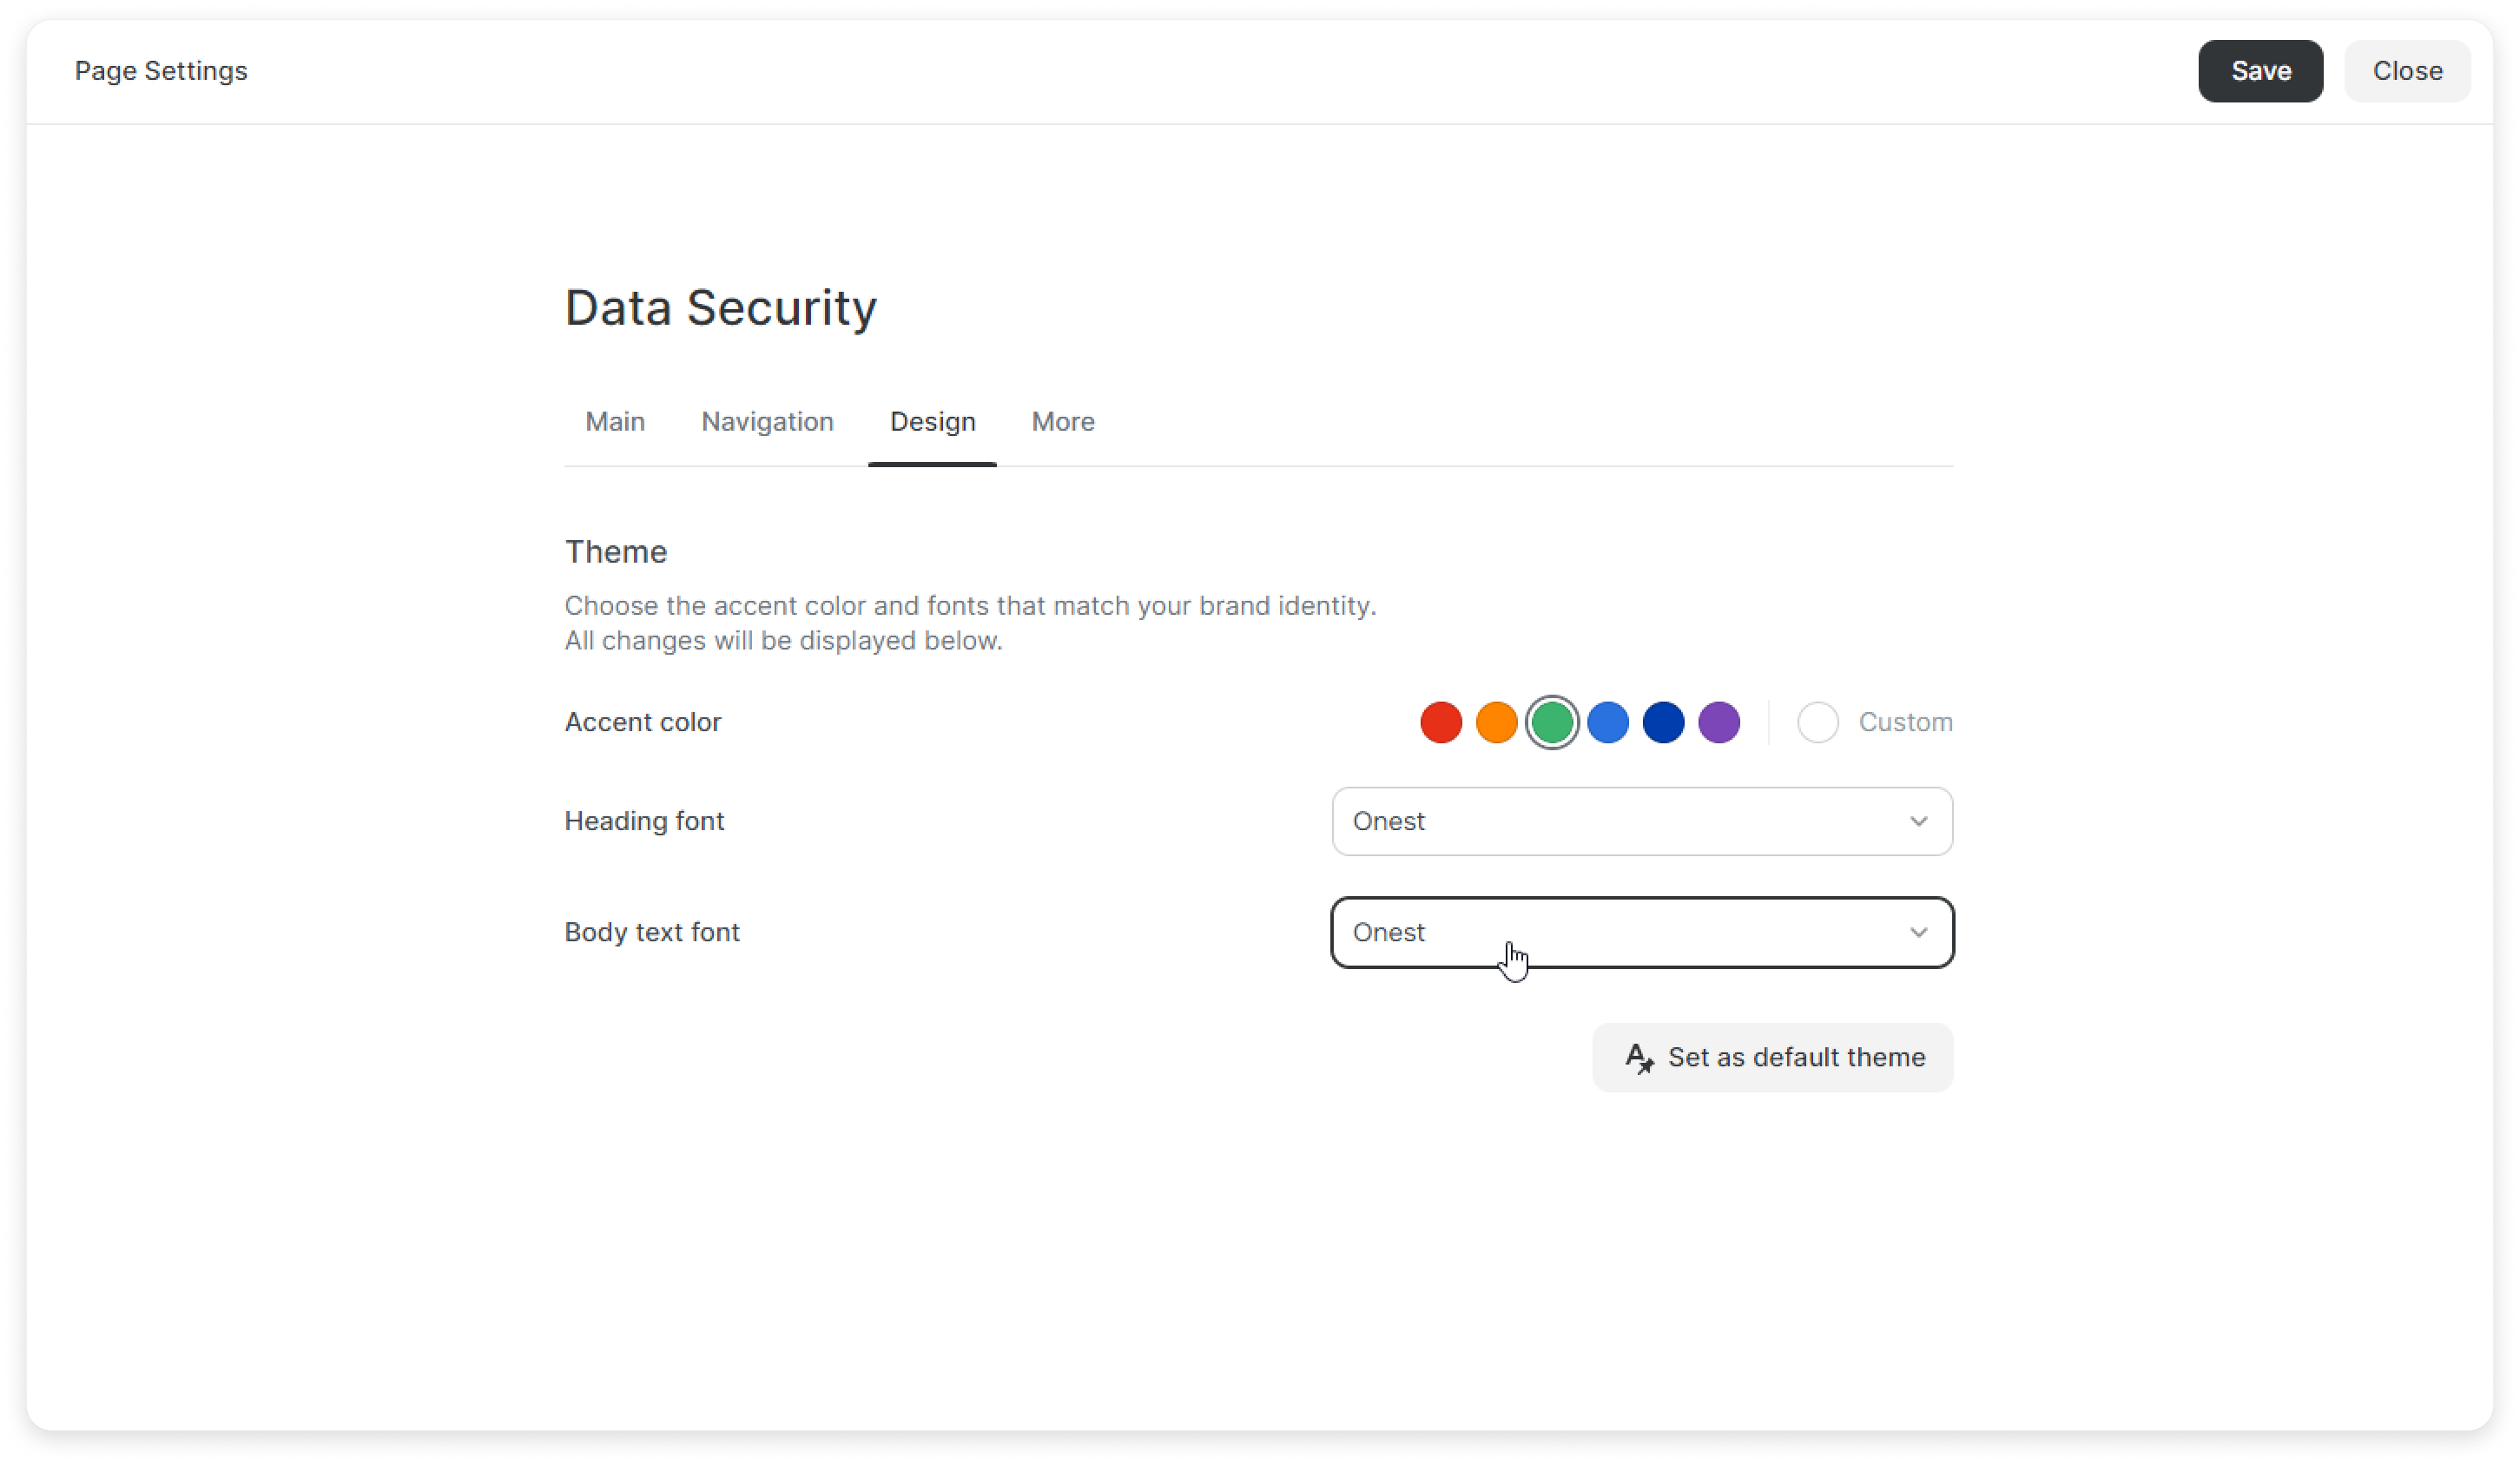
- Go to Settings > Design.

Open the Body text font drop-downlist and click on Add Font.
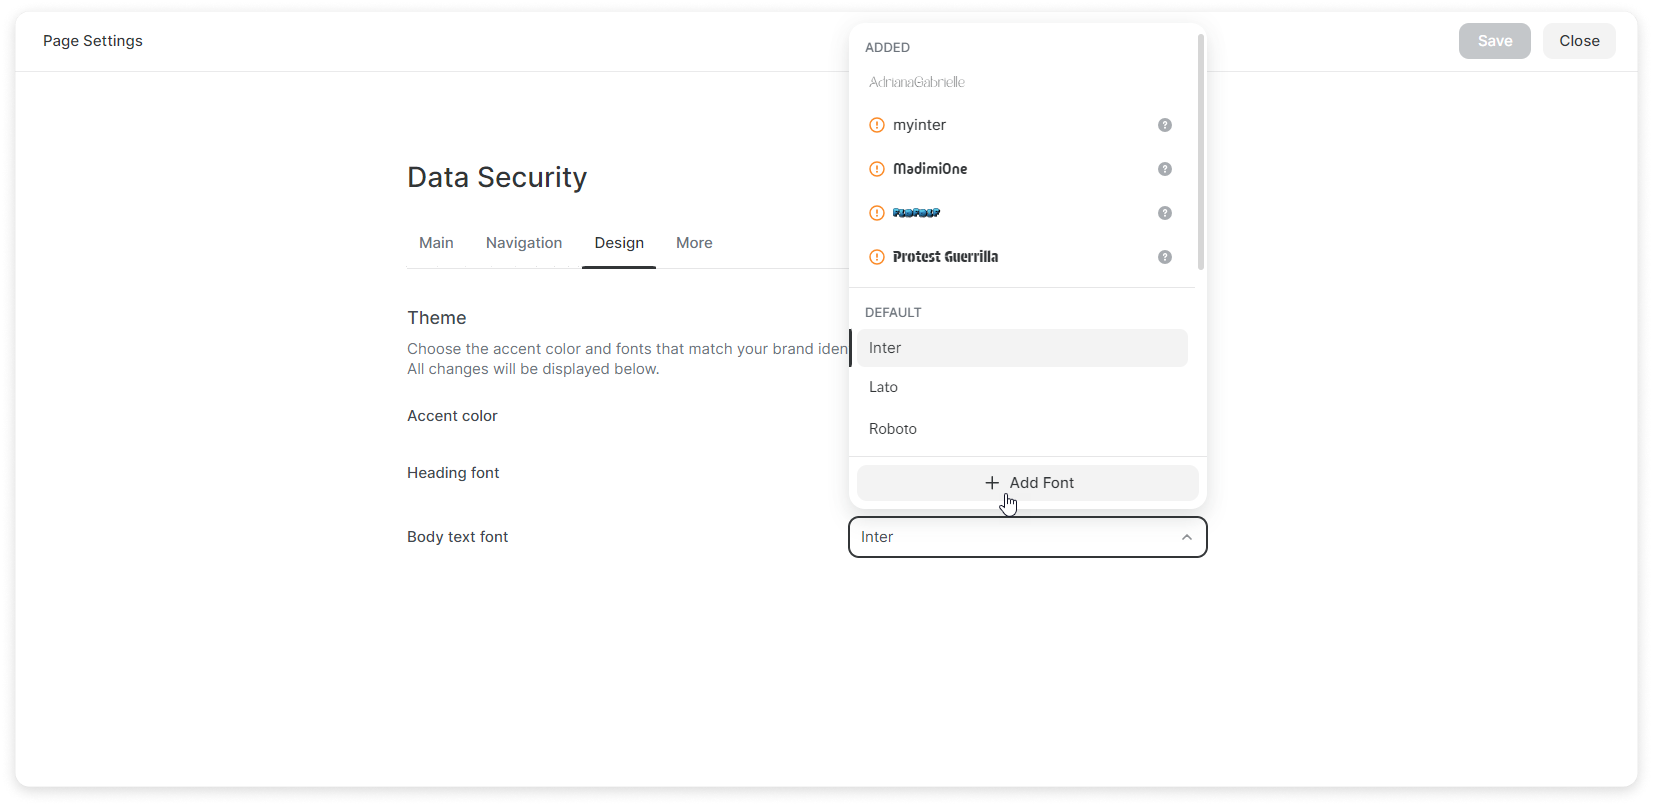
After adding it via the Body text font list, the font will appear in the Heading font list as well. You can add new fonts through both lists.
- Click on the Upload Font File field or drag and drop files in the field.
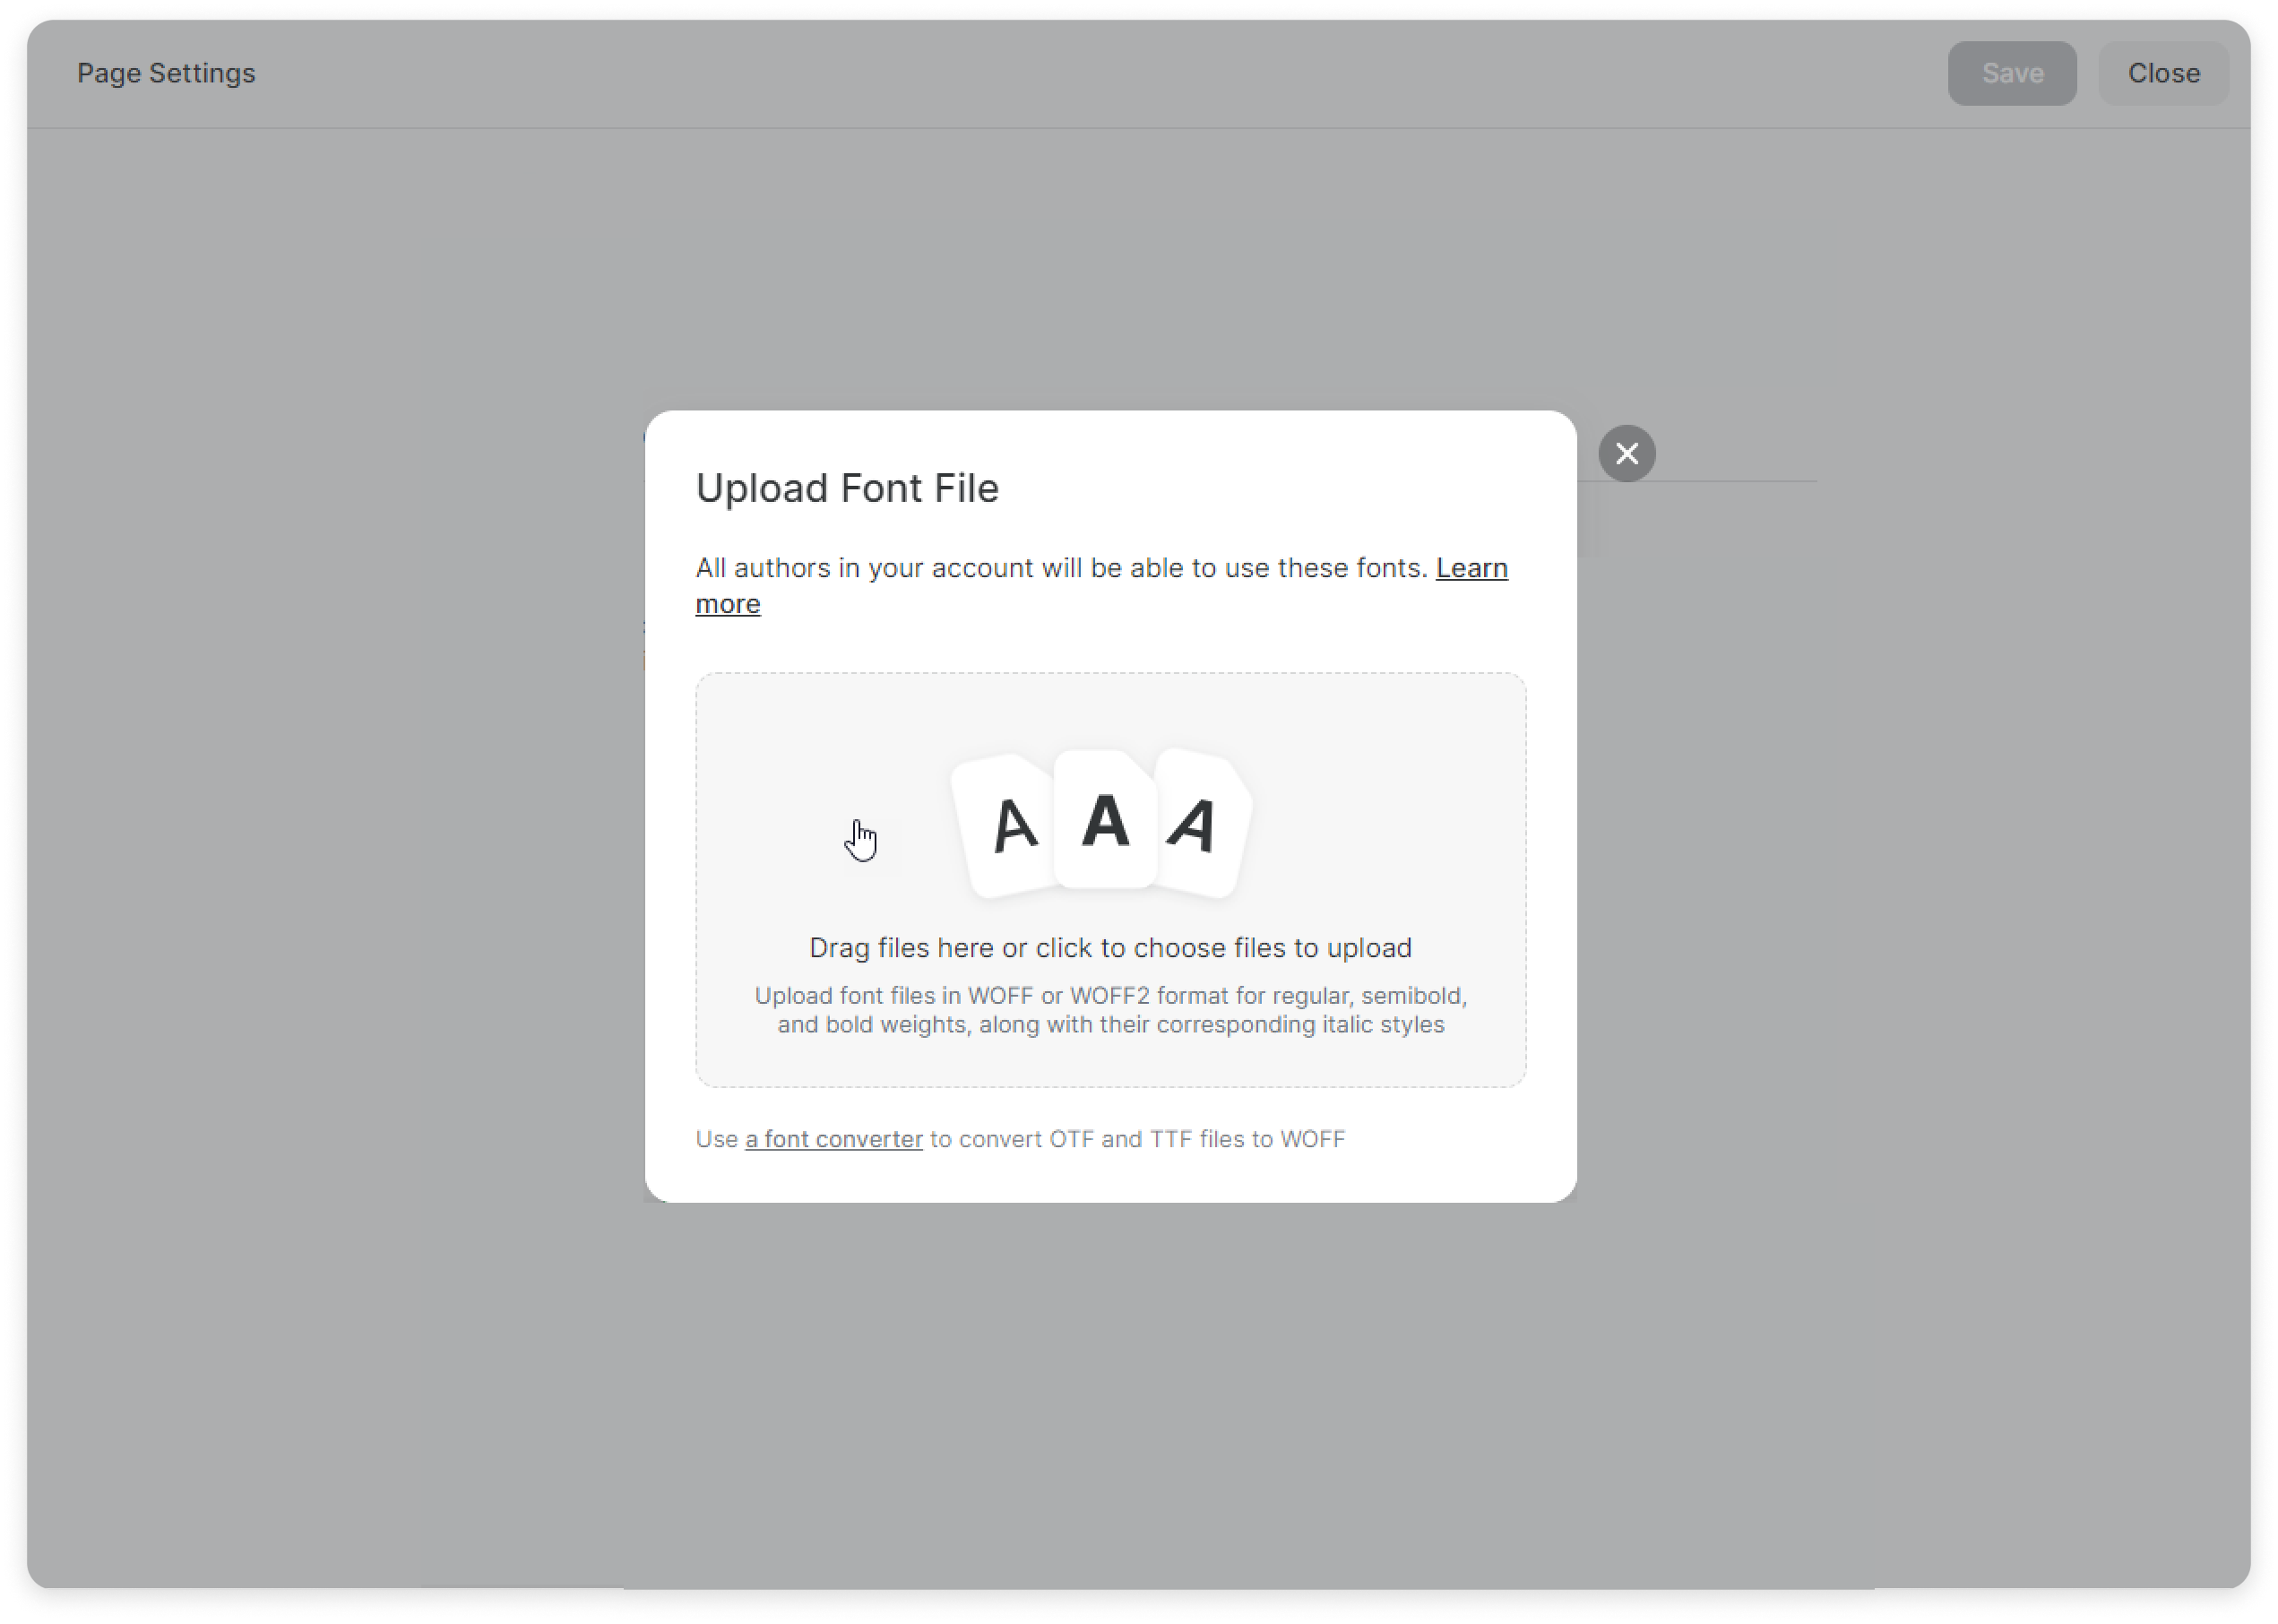
- Select the files in WOFF or WOFF2 format.

You can edit the font’s name that the system obtained from the downloaded files.
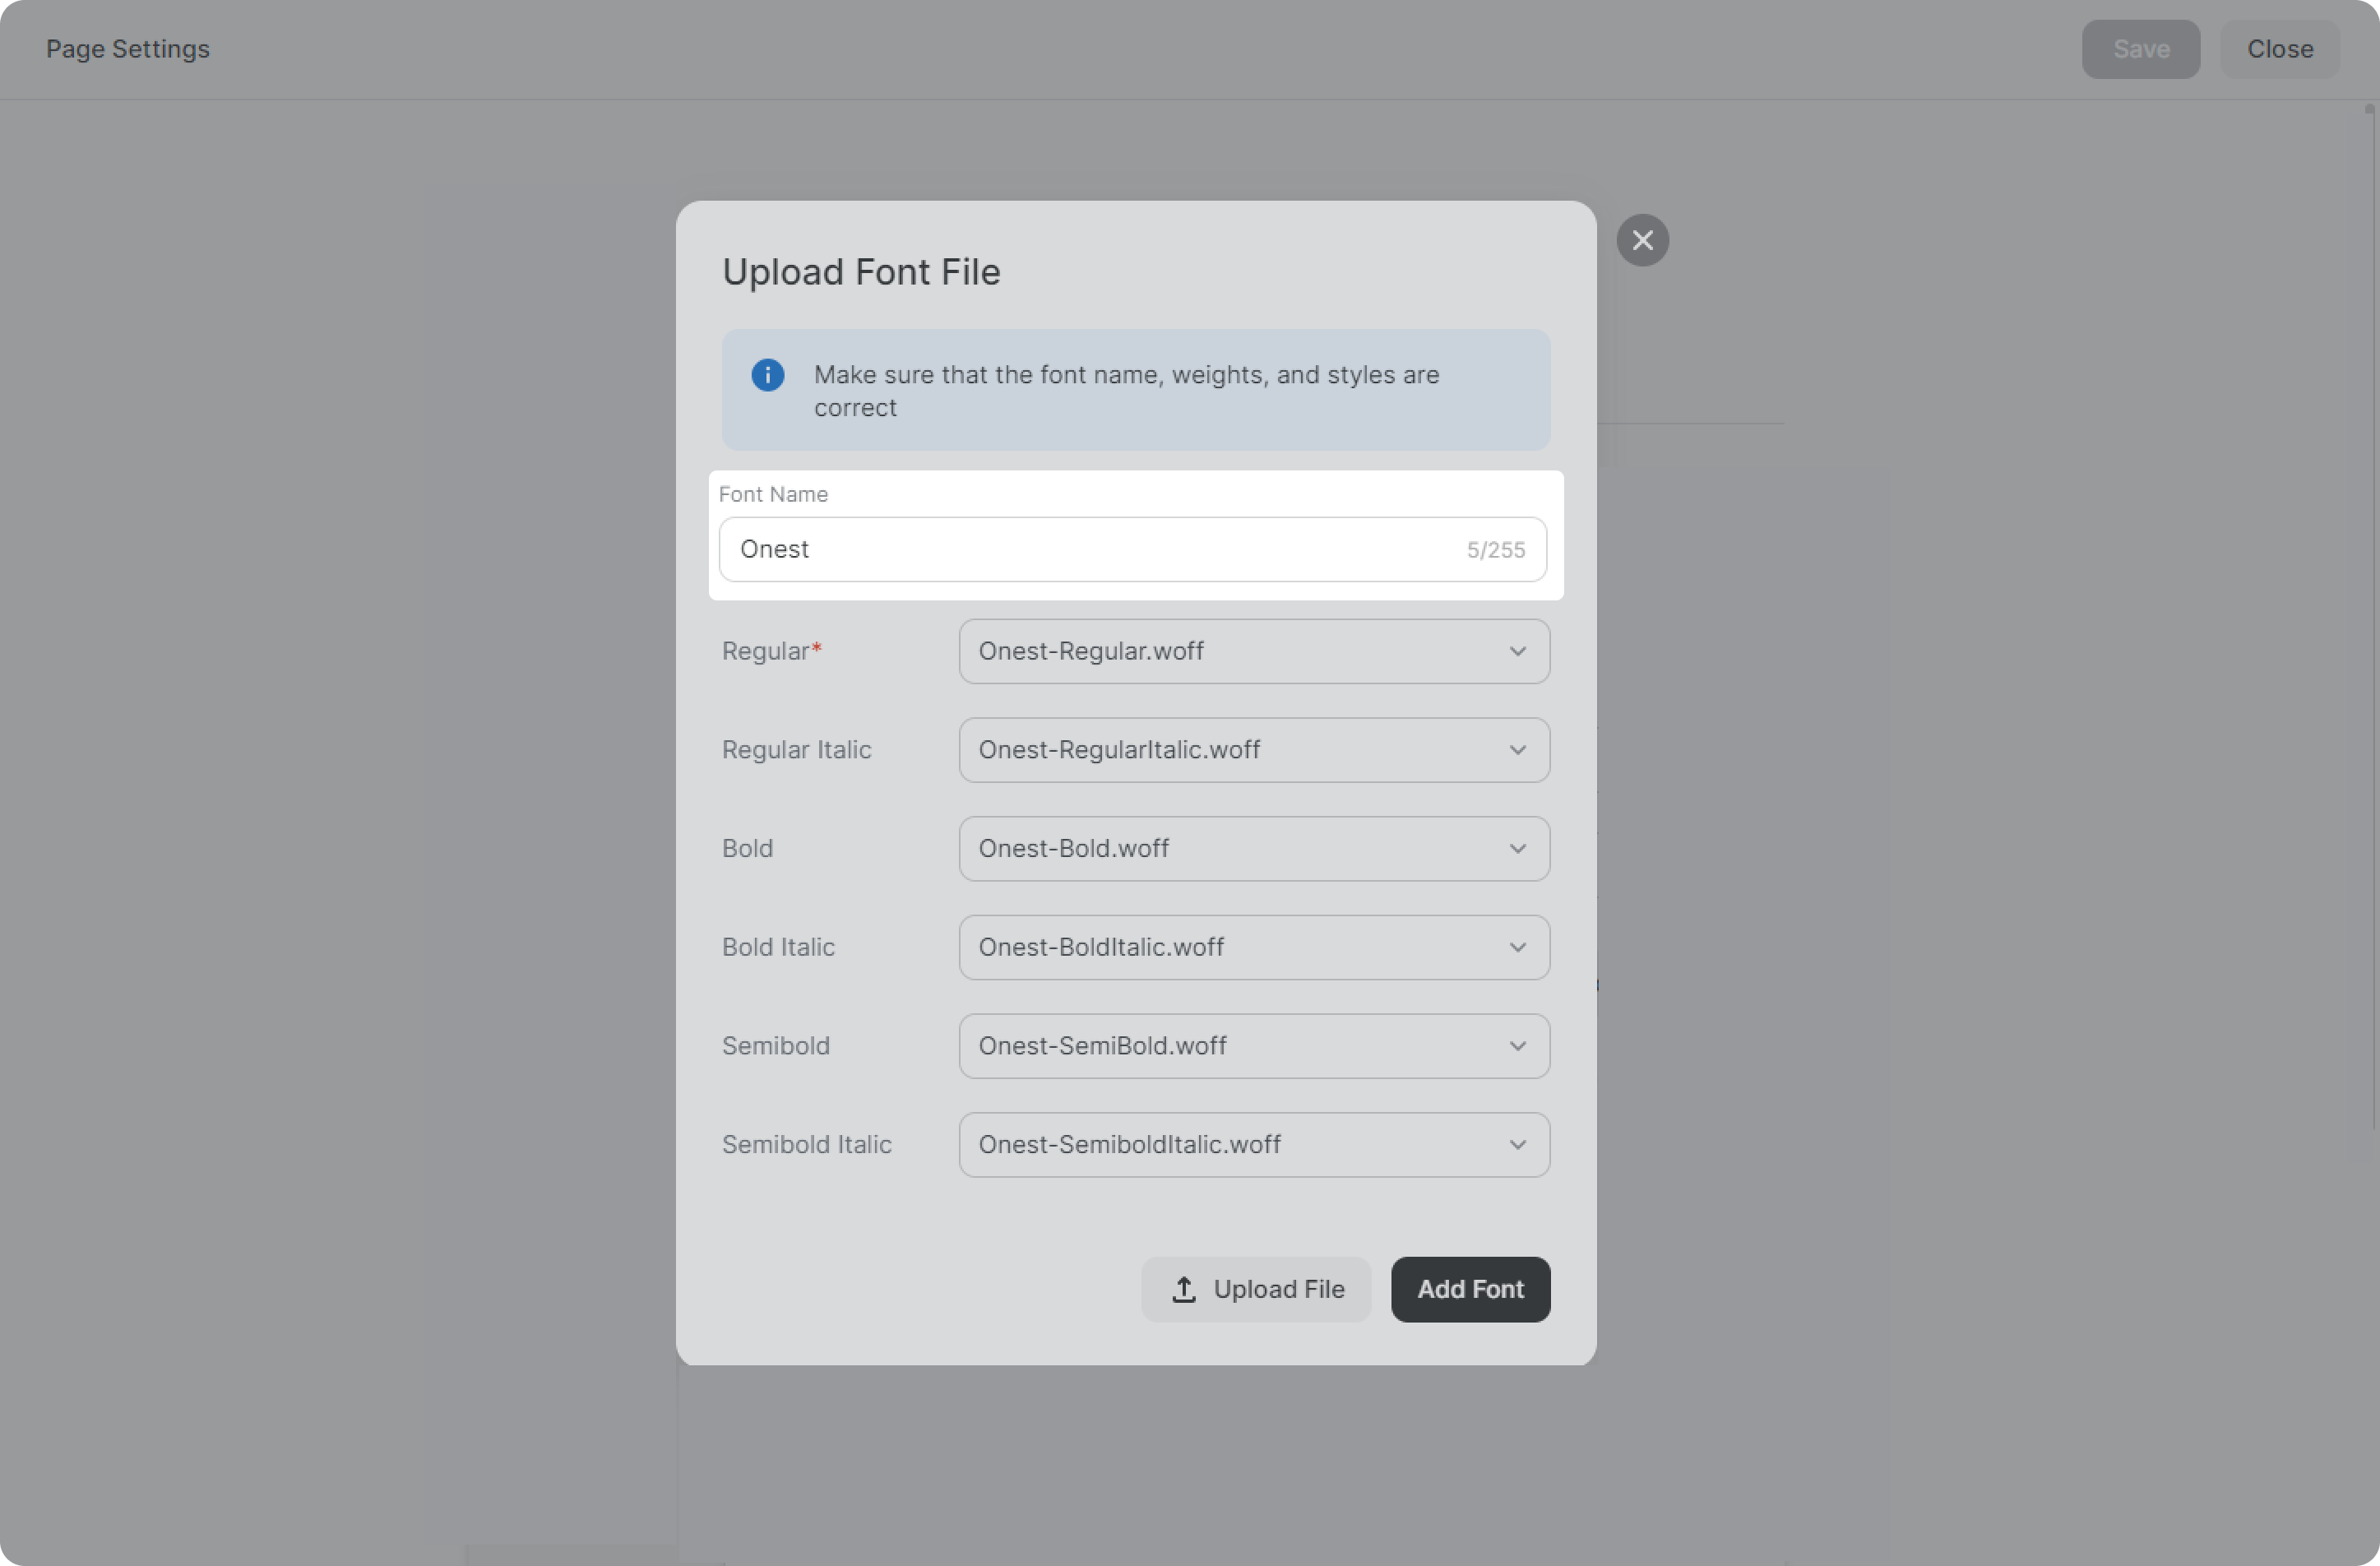
The maximum length of the font name is 255 characters. It must have a name in order to save it.
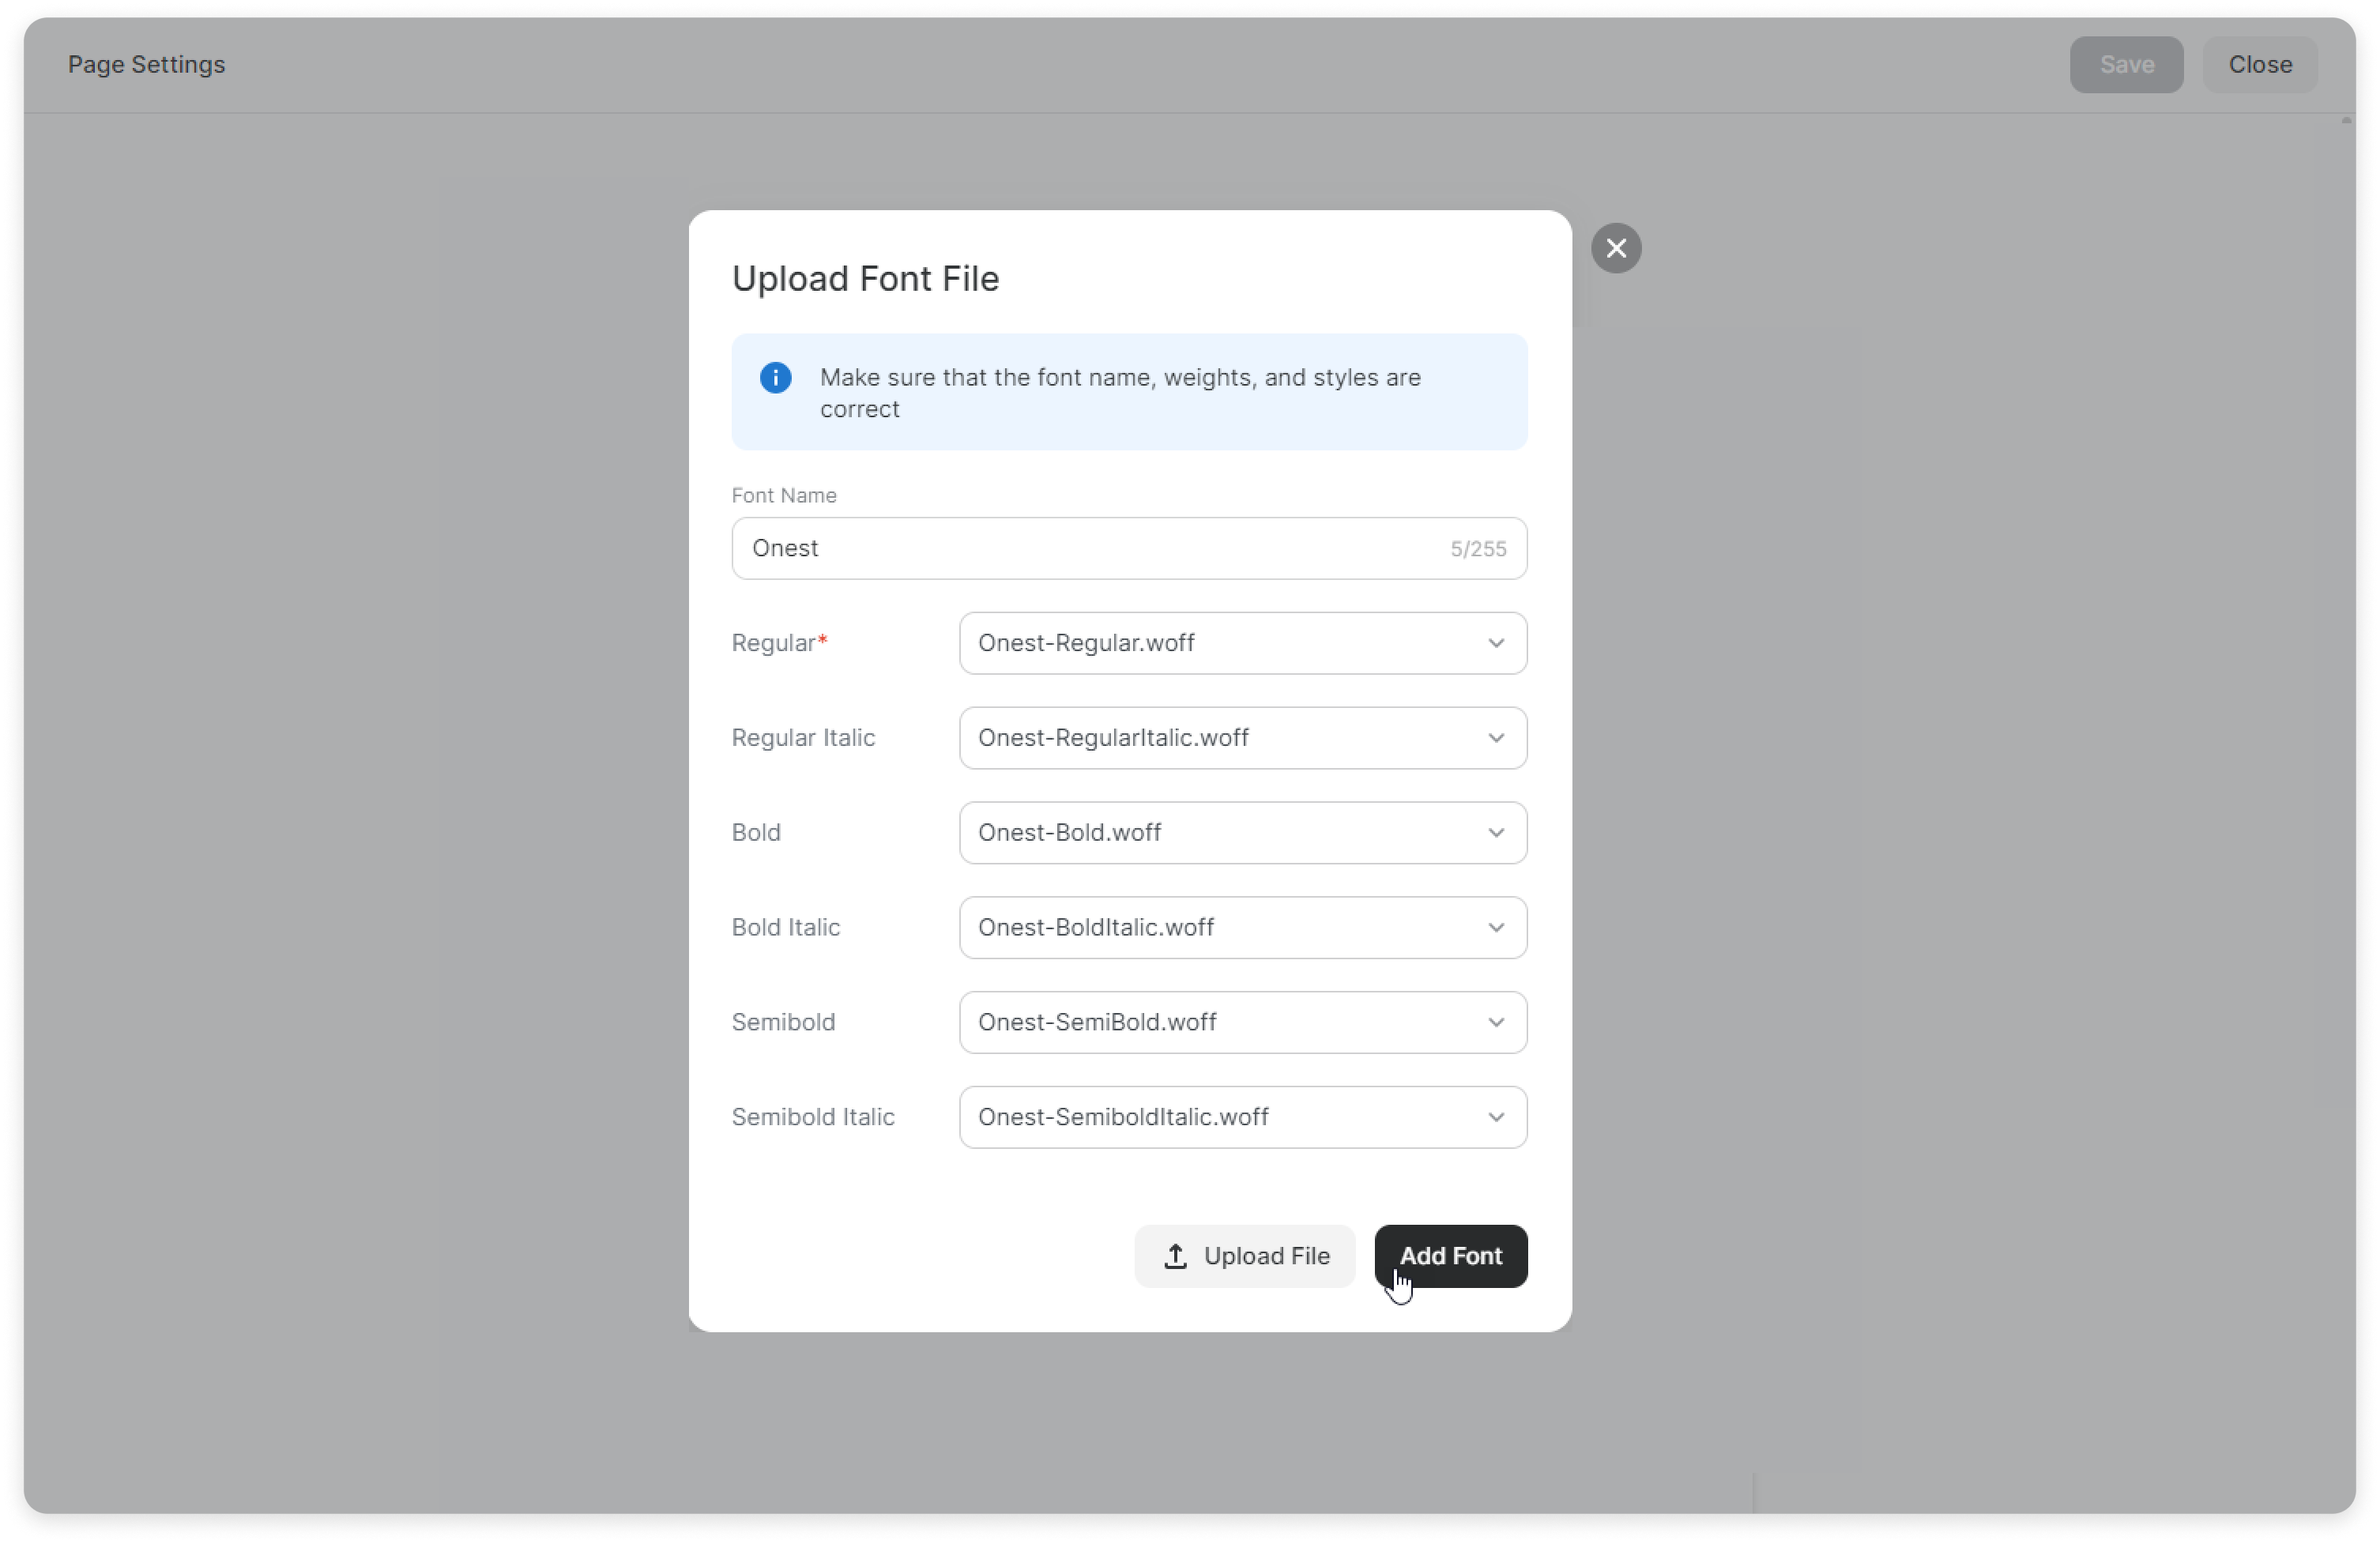
Next, make sure that the system has matched the uploaded files with their weights. If necessary, select the file with the correct weight from the list.

If the selected font doesn’t have a regular style, place the file with any other style in the field. The system will then recognize it as regular.Uploading additional weights and styles has no limits. You can upload the same file for all weights, or choose them from different font sets.
If the font files contain digits like 100, 500, or 900, the system will recognize the weight and match files accordingly.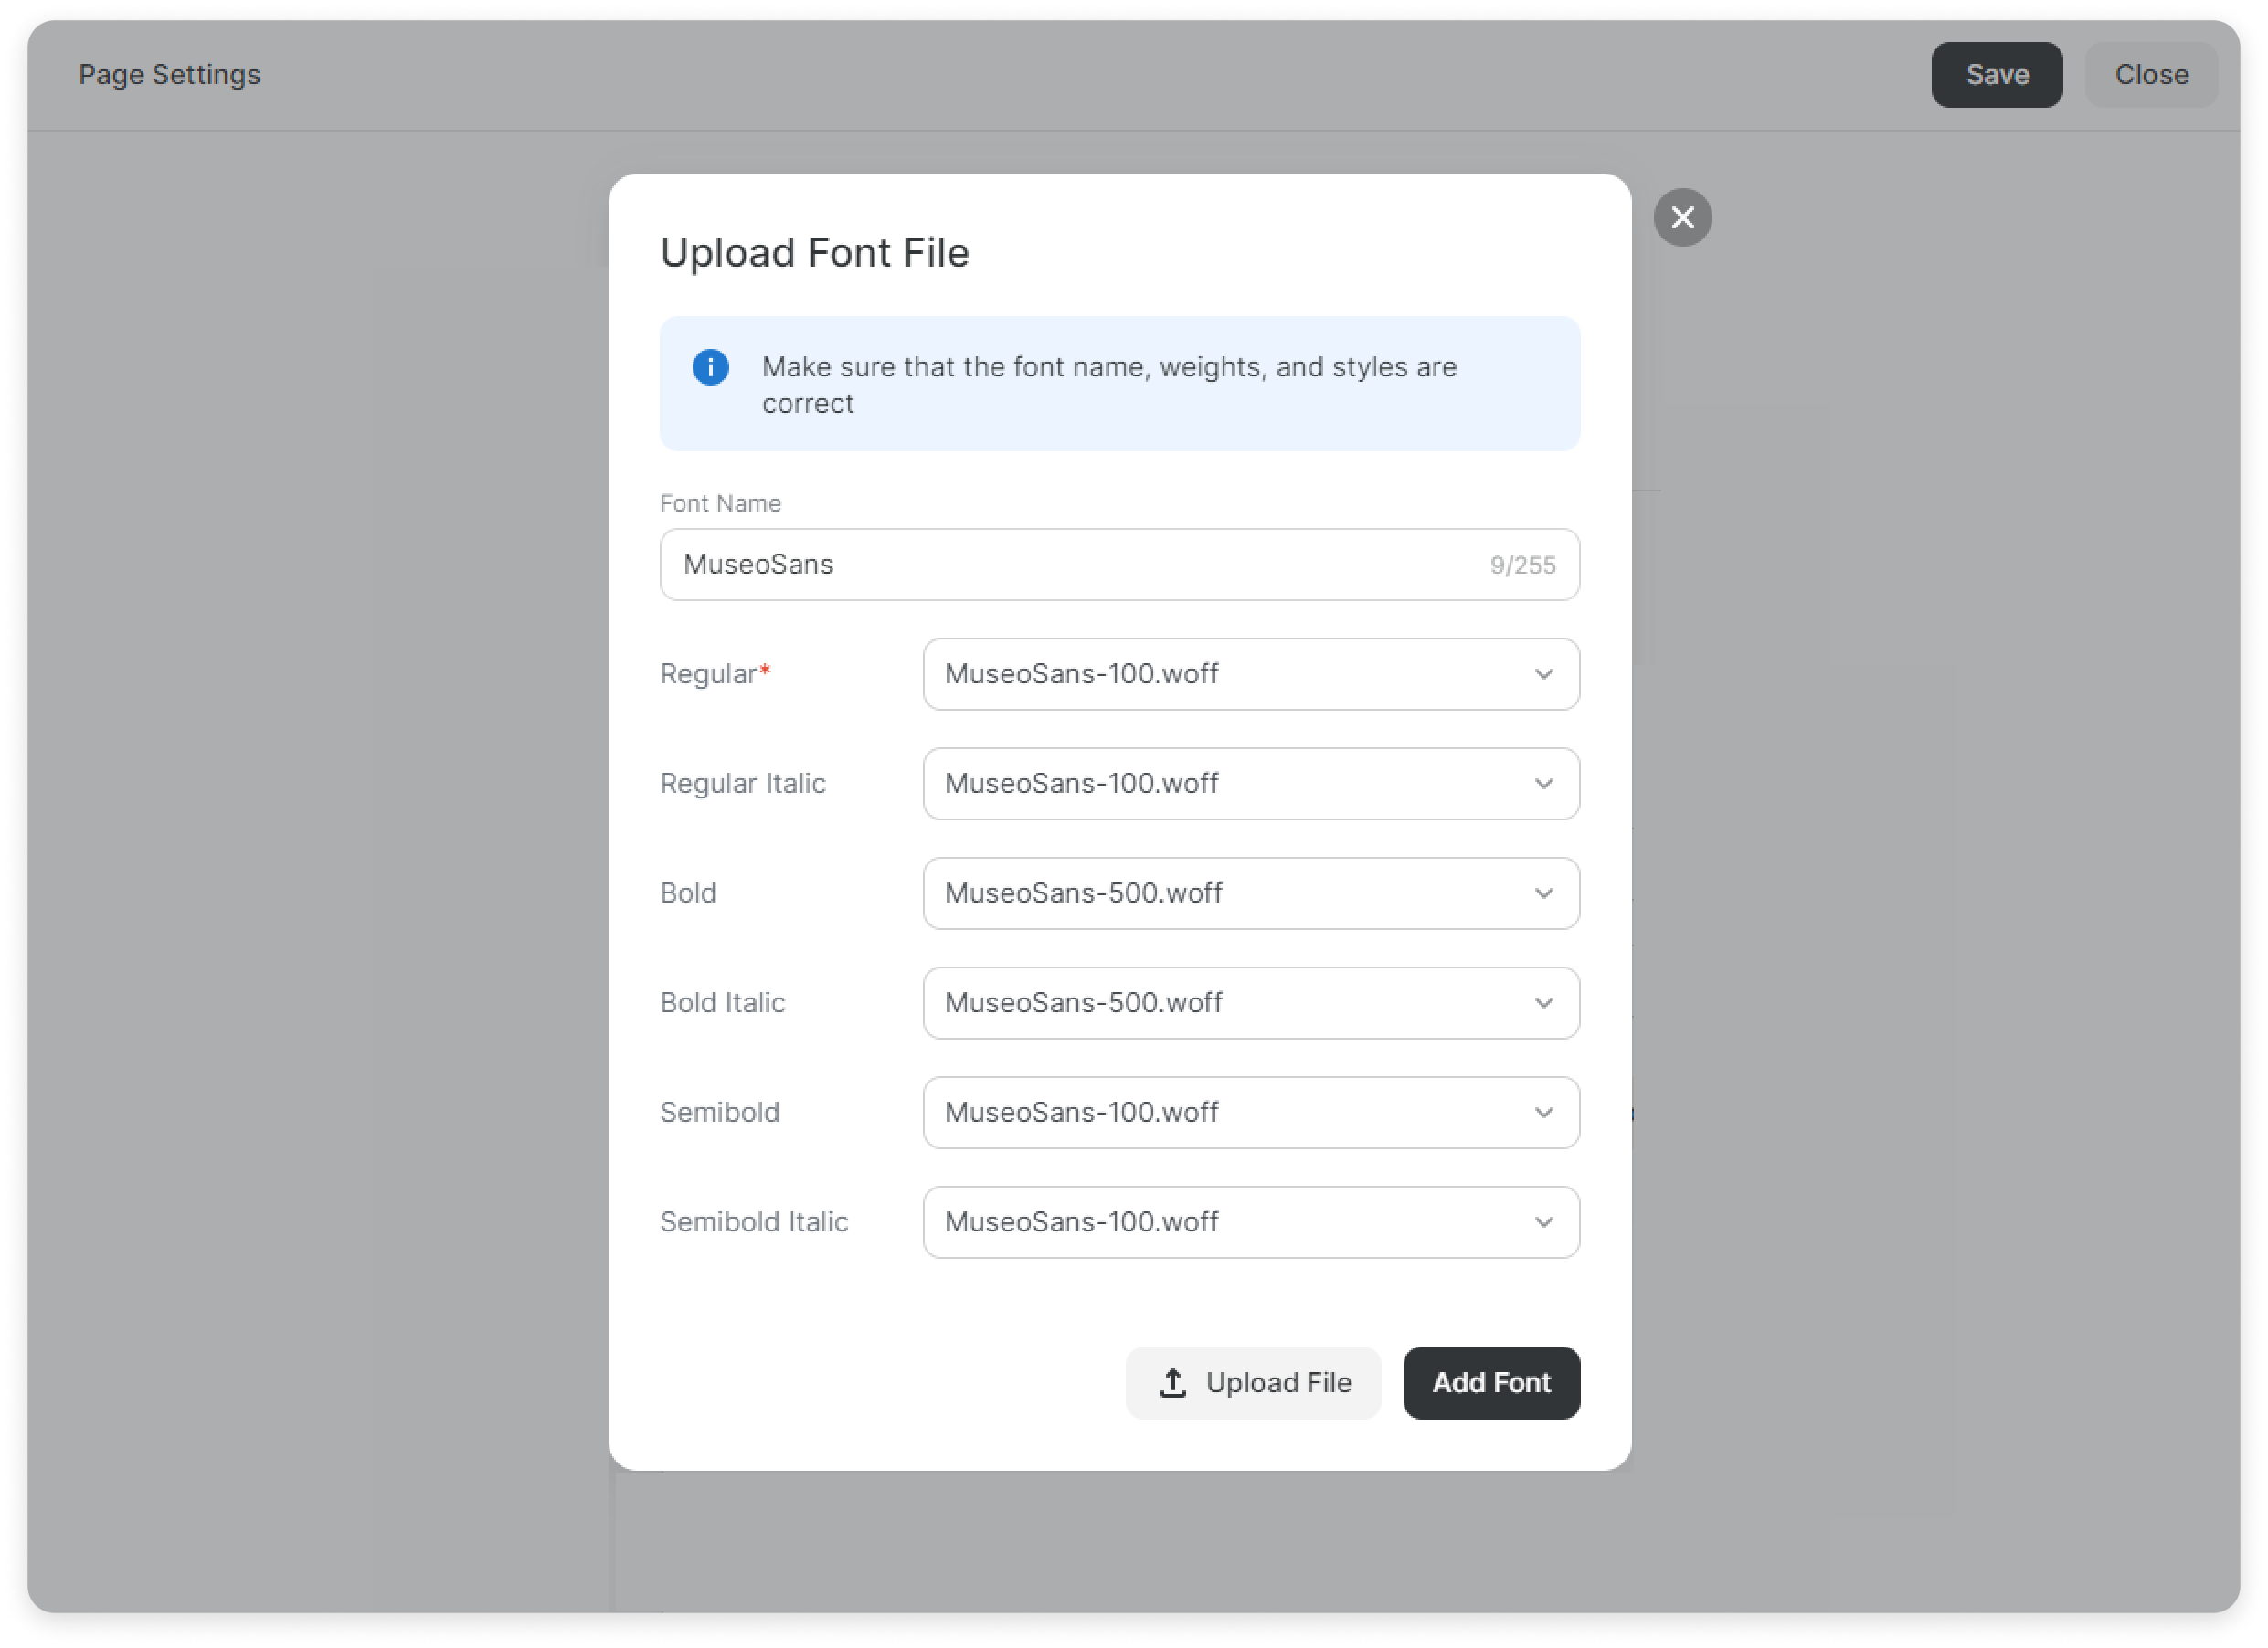
- Click on Add Font.
Done! You've added a new font to your workspace. It's now available to be used in other content as well.
How to delete a font
You can delete the font so your colleagues cannot use it on new pages or in other content. All authors can delete it.
Here’s how to delete a font:
- Go to Settings > Design.

- Open the Body text font drop-down list.
- In the Added section, select the font you want to remove and click on the Trash icon.

- Then, click on Delete.
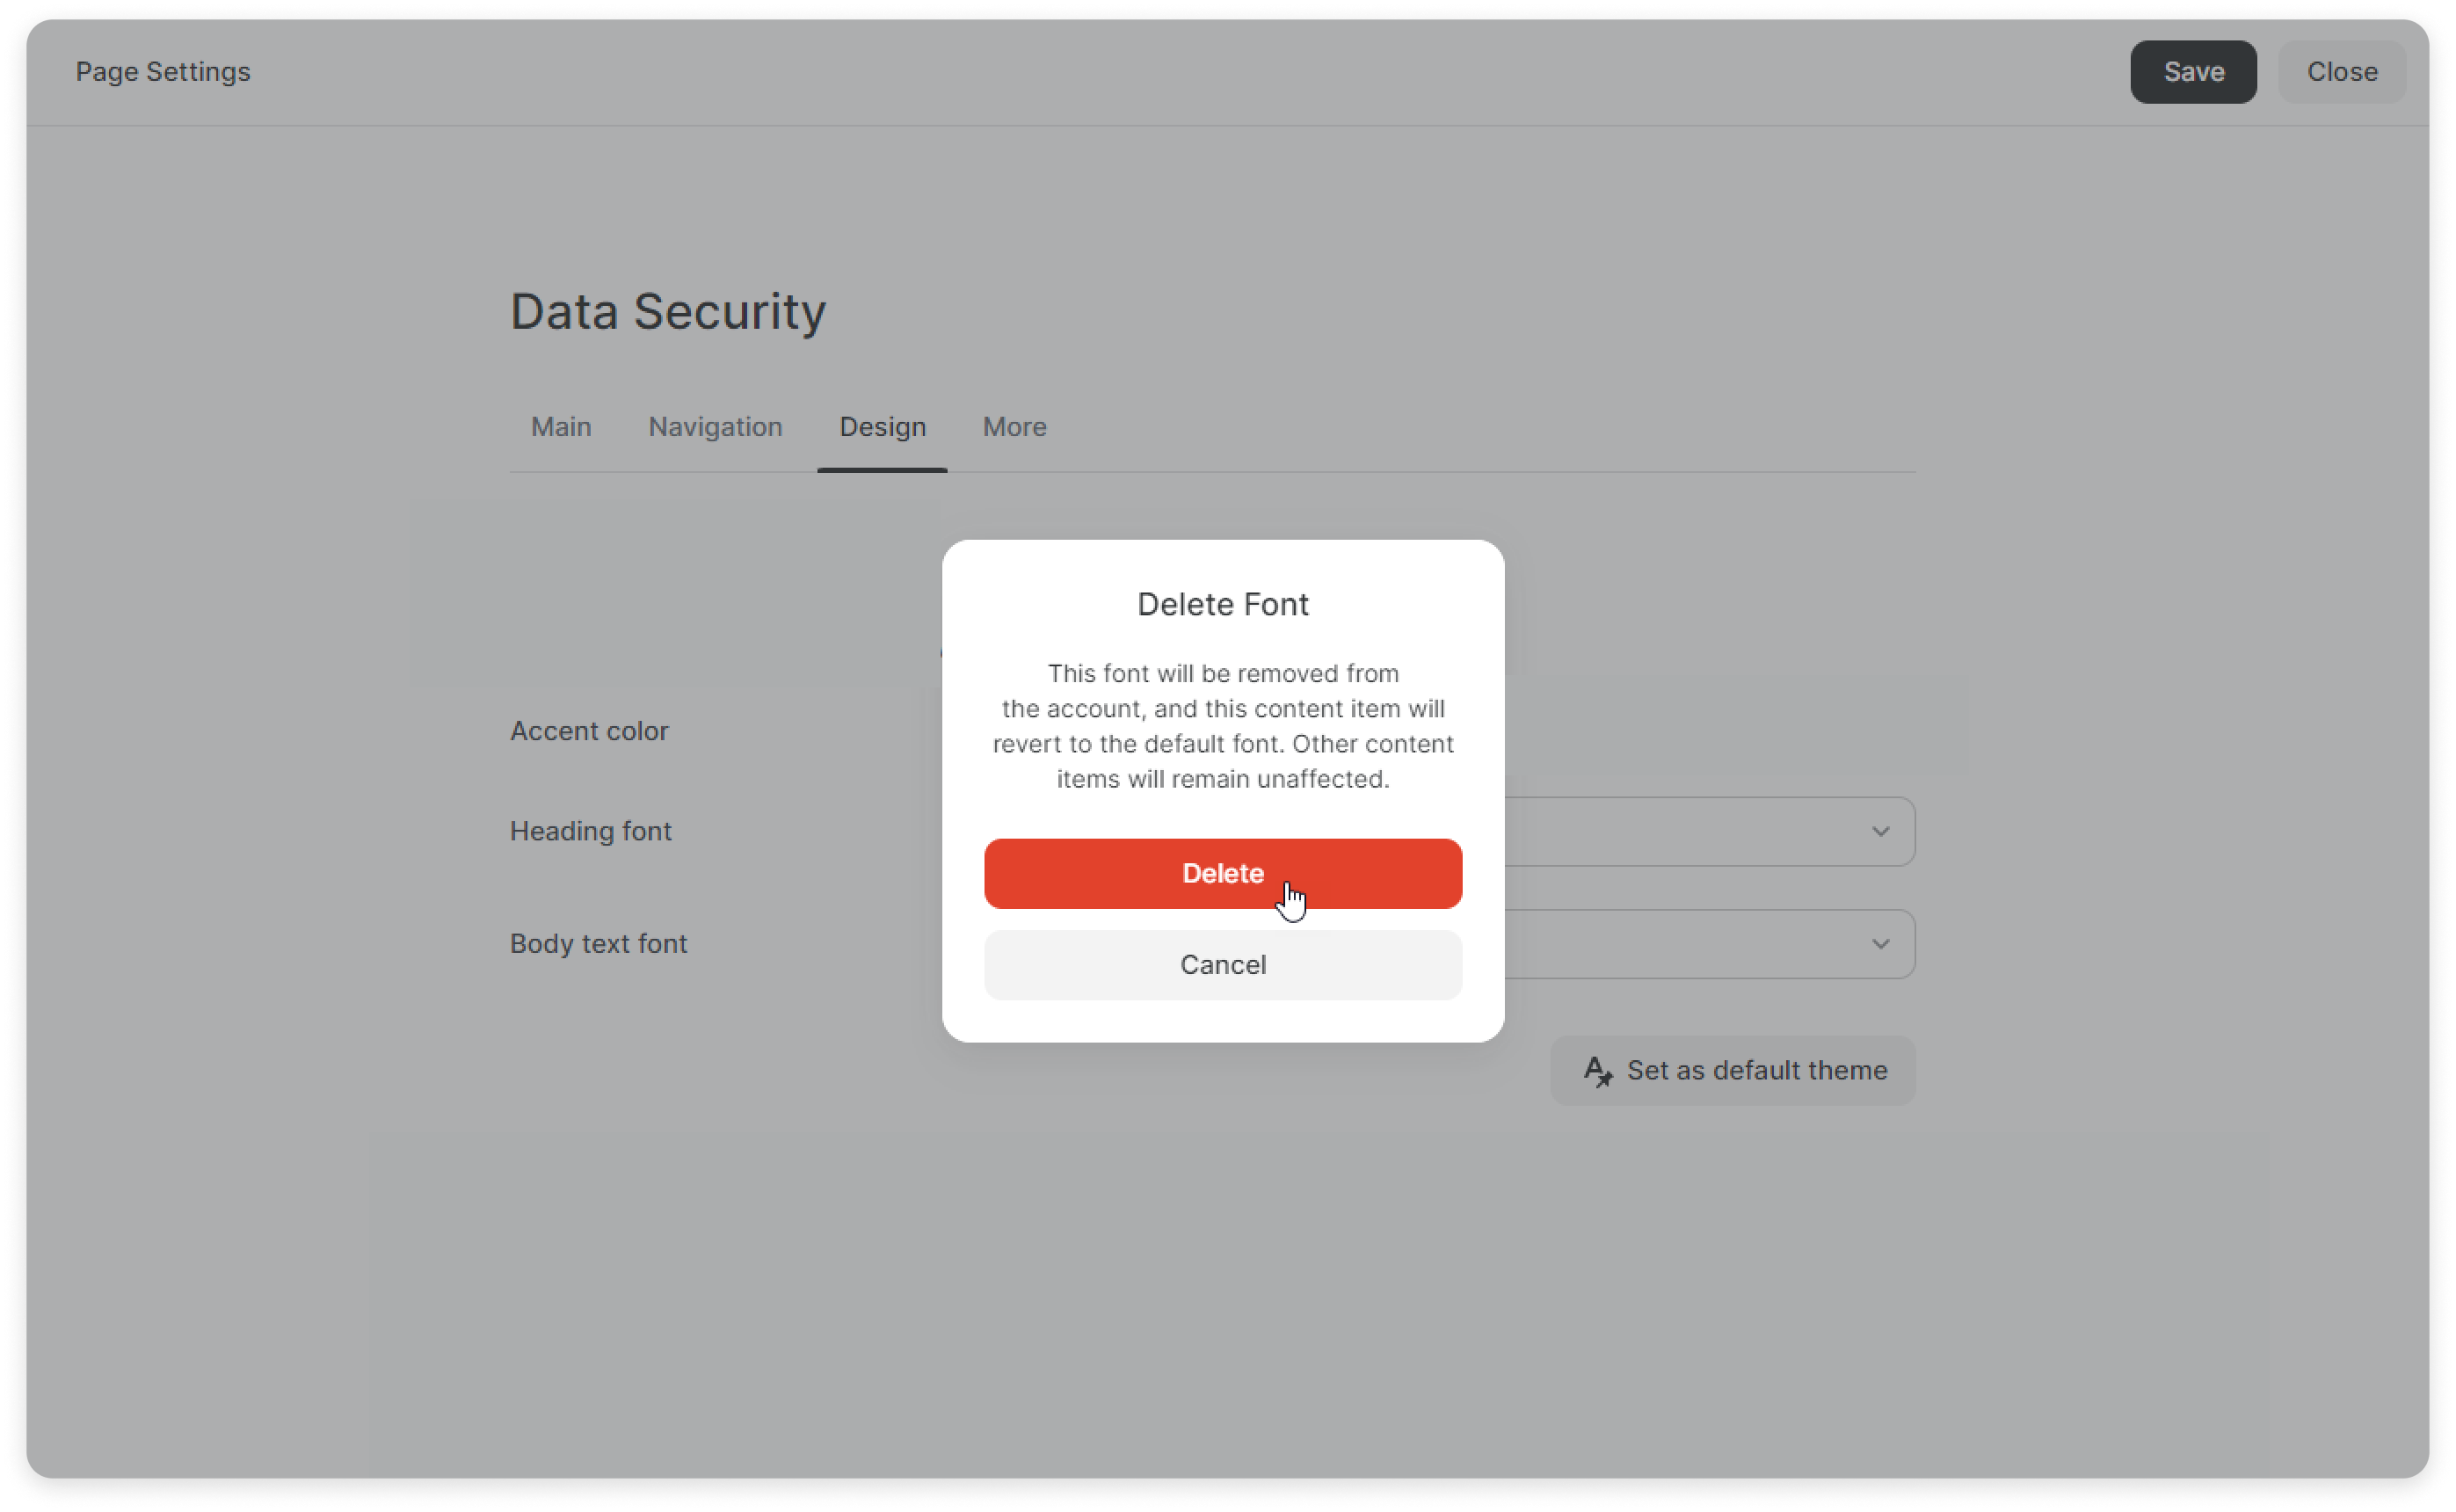
That's it! You have removed the custom font. It will no longer be available for new content.