If your computer is disconnected from the Internet or online publishing doesn't complete because of an antivirus program or a proxy server error, you canupload the course to iSpring Cloud manually.
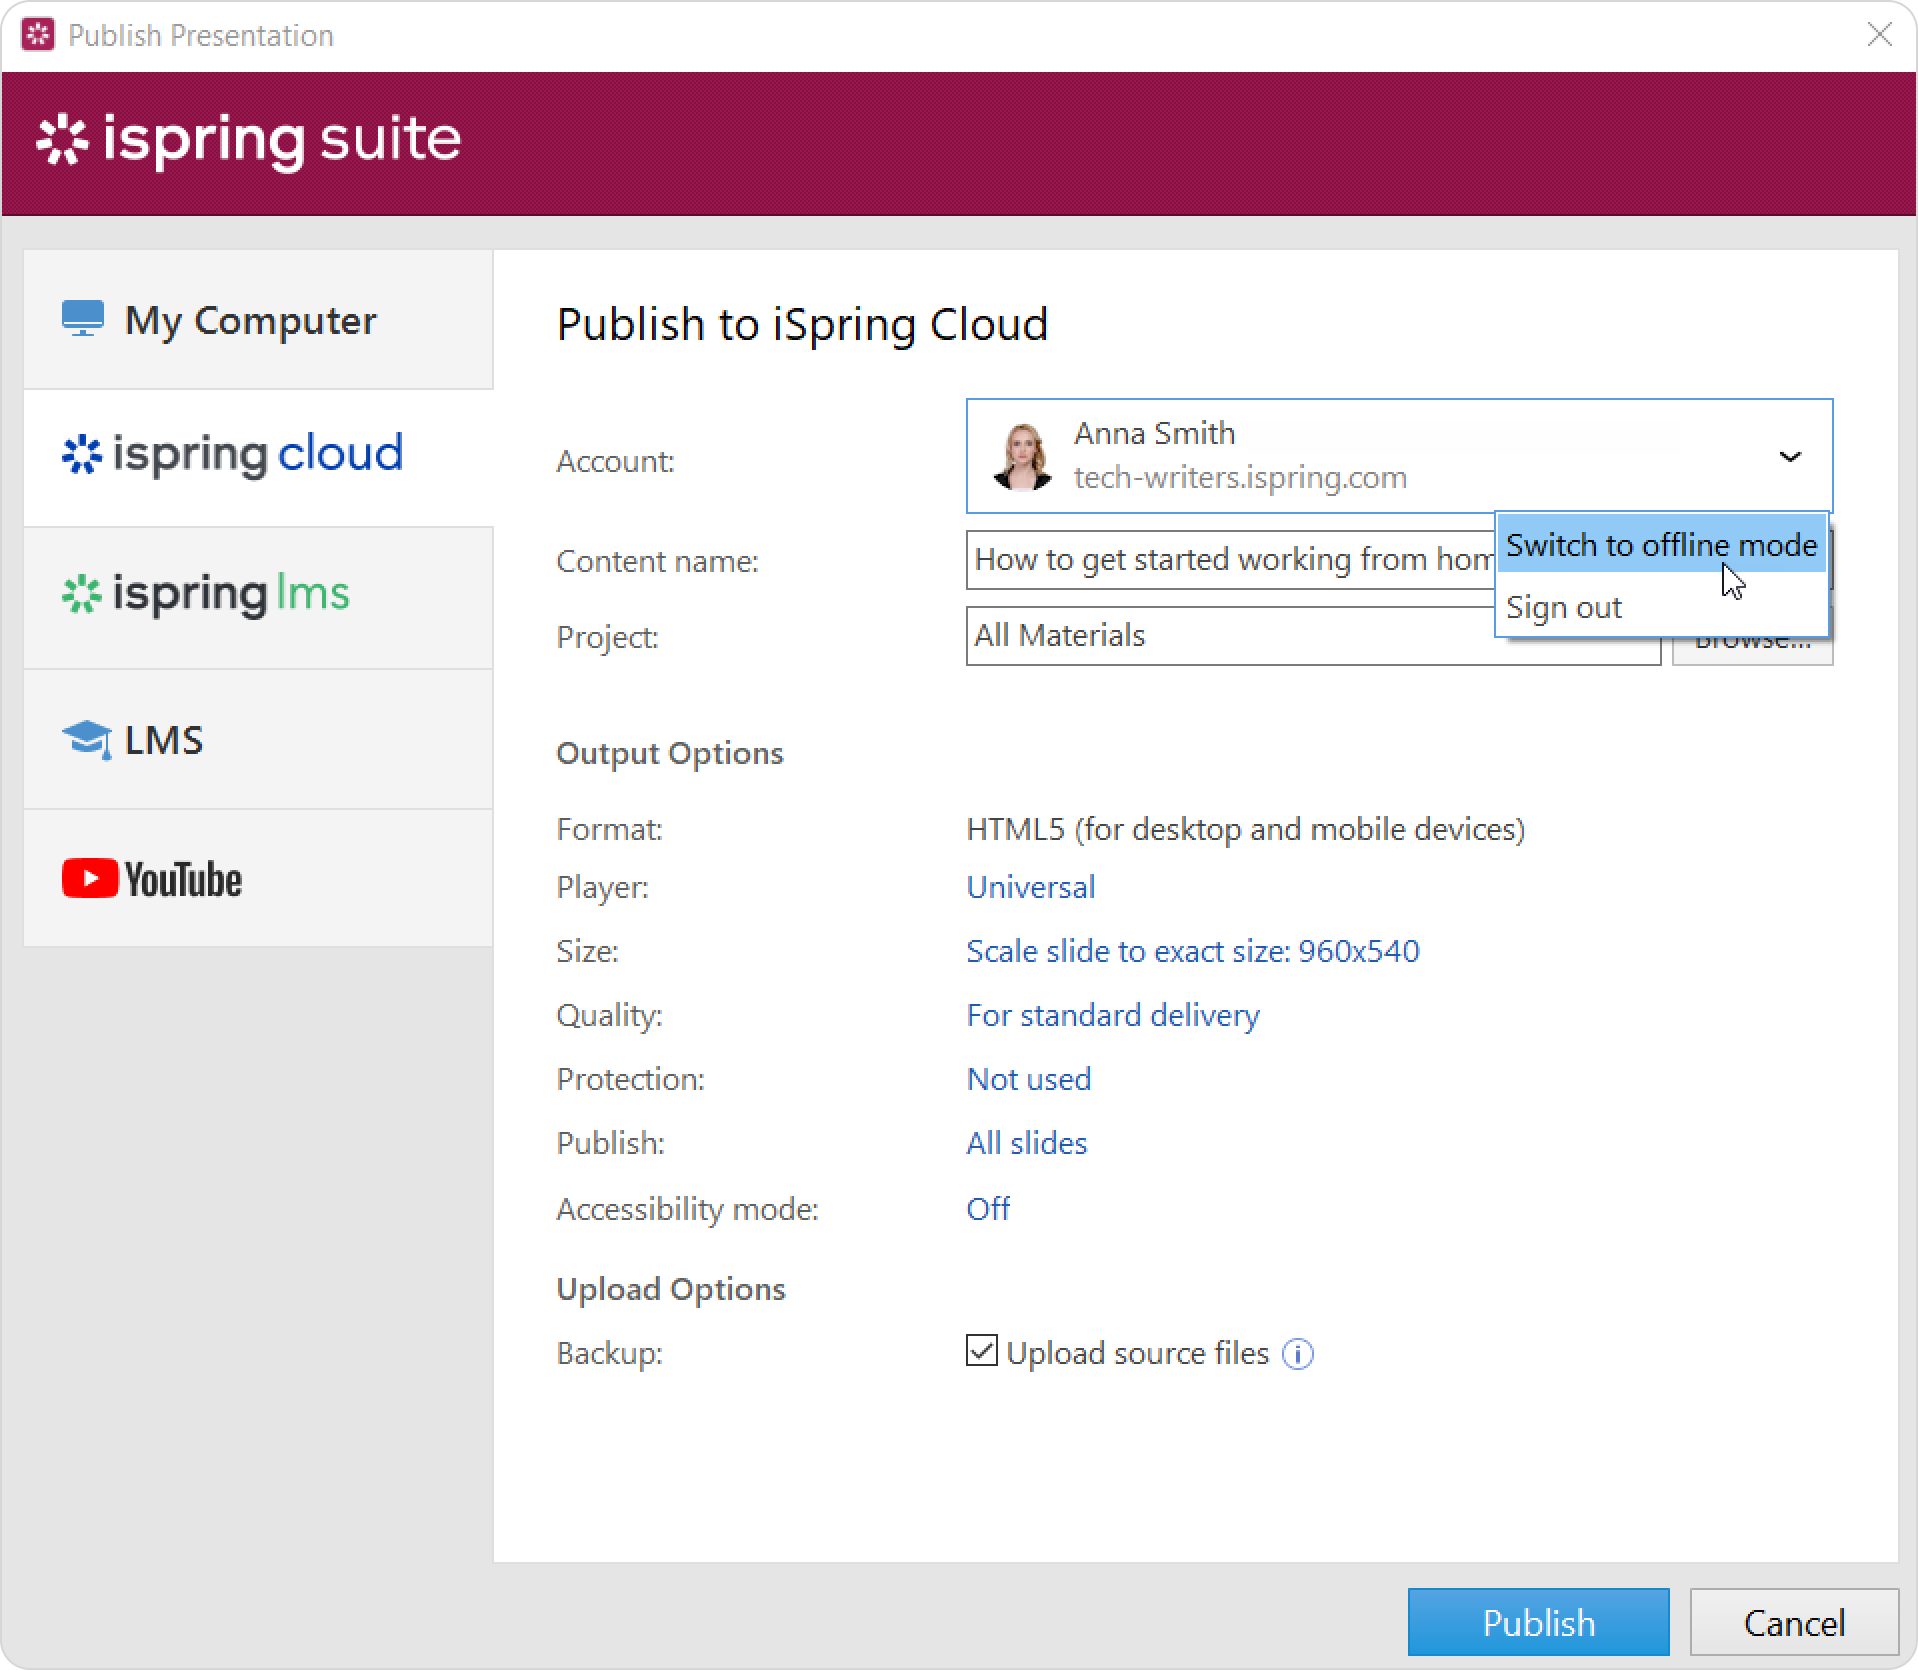
Go to the Account menu and select Switch to offline mode.
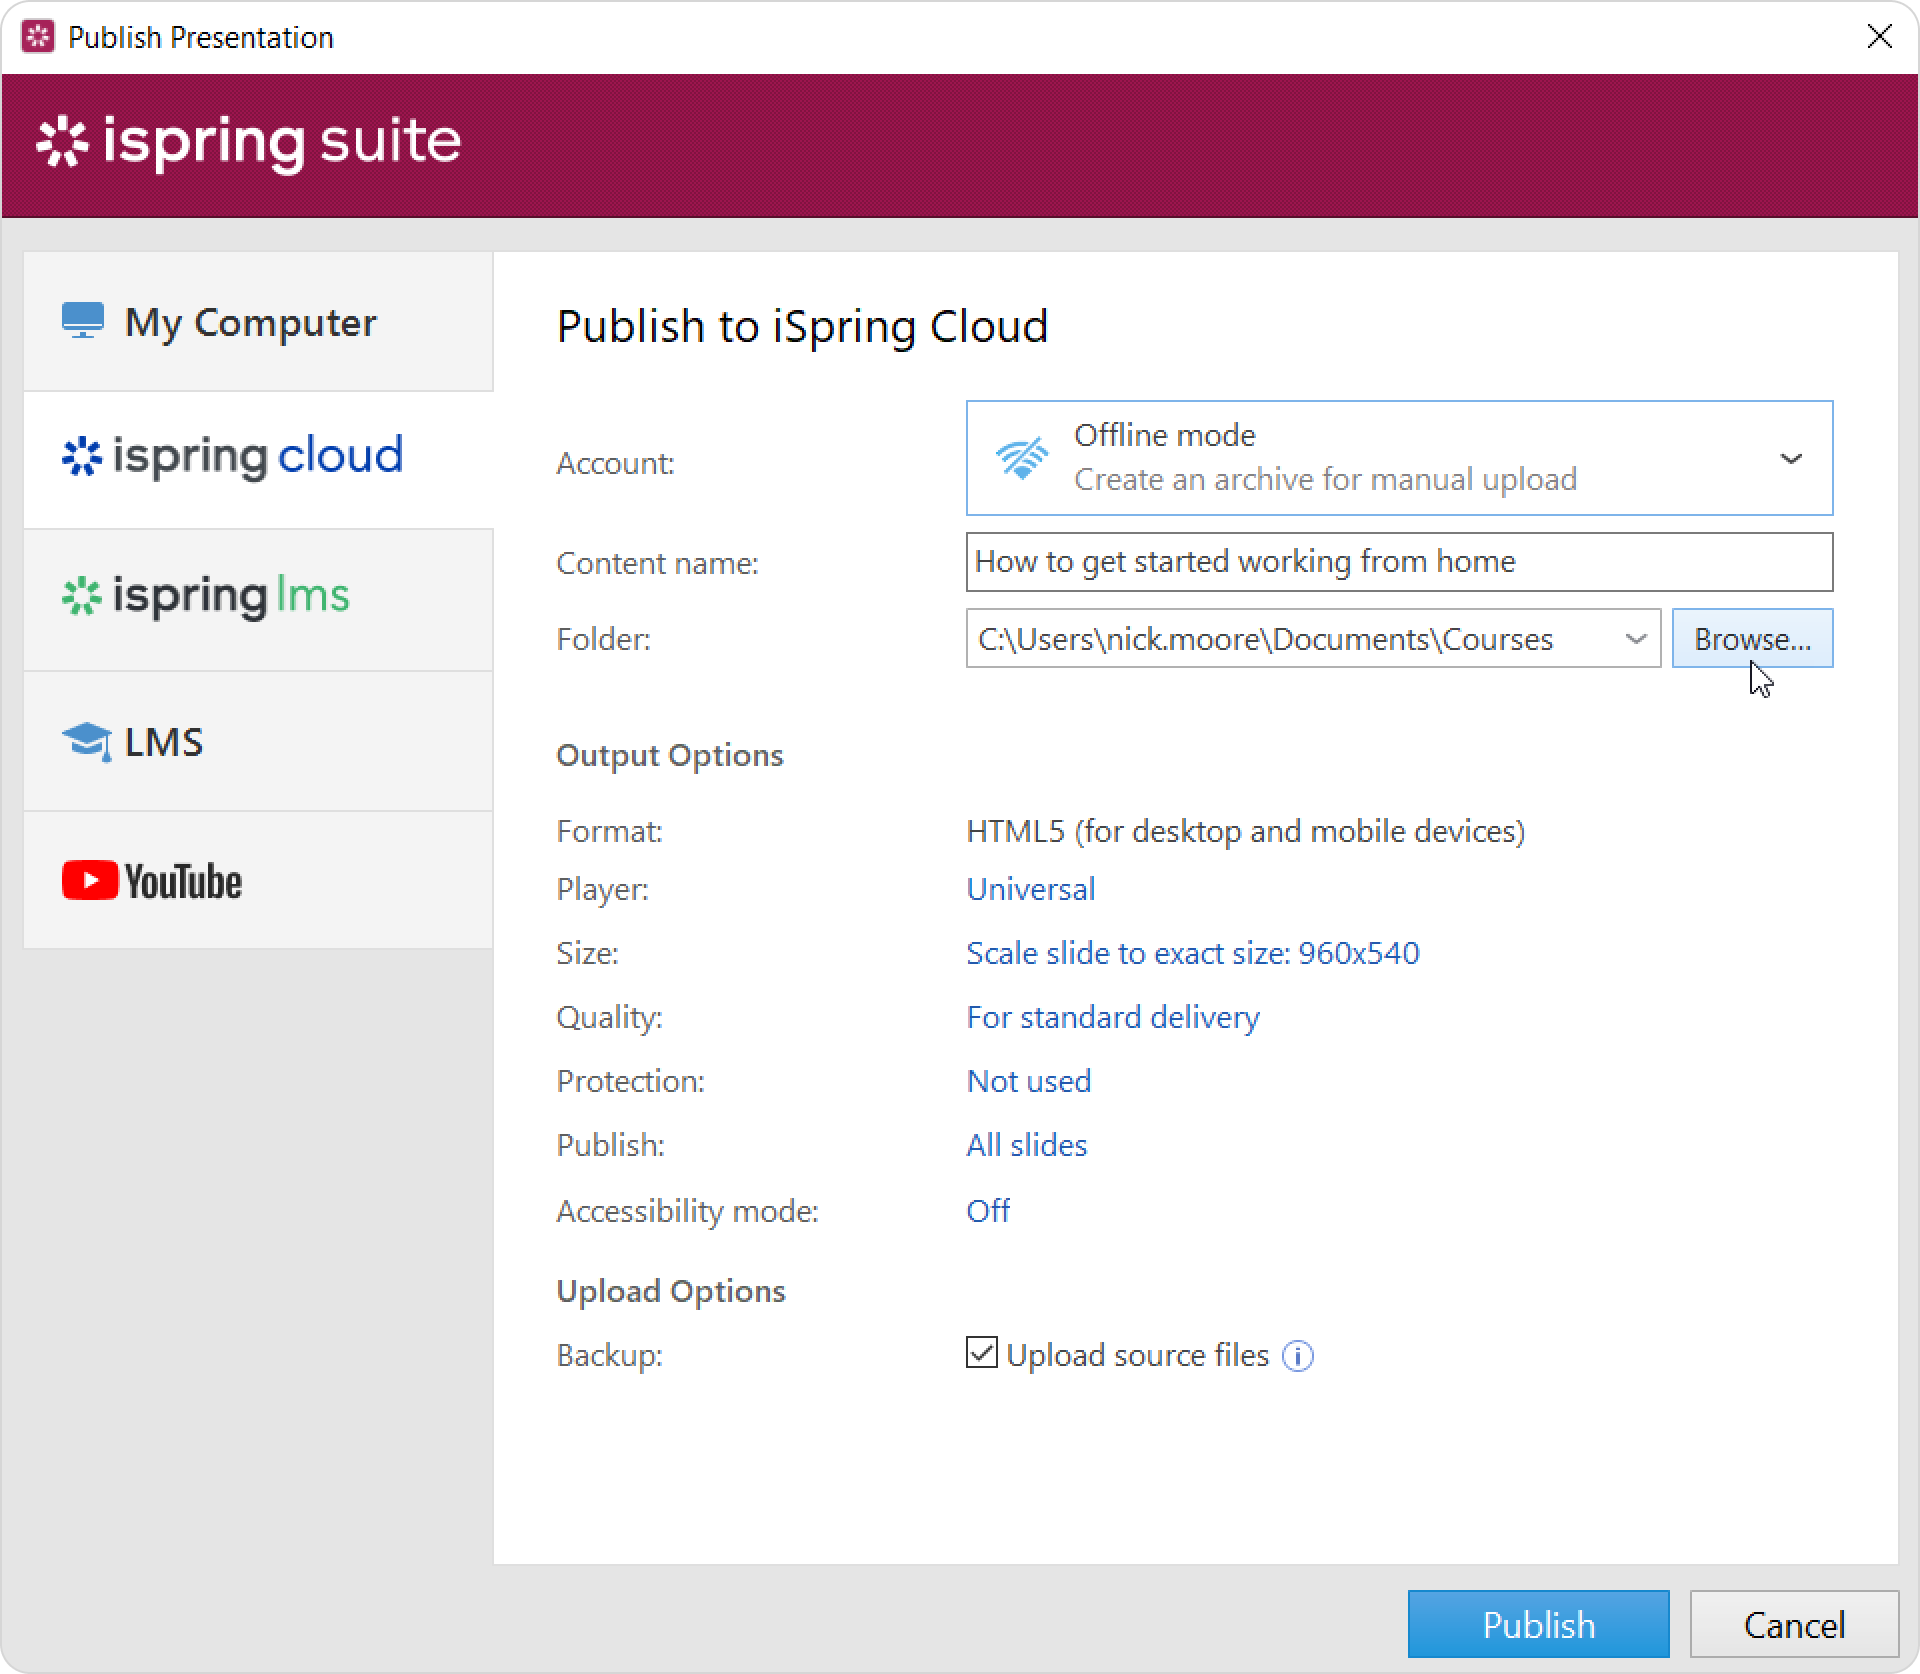
Enter a title in the Content name field. By default, the title is the same as that of the PowerPoint presentation.
Specify the local or network folder in which the course will be saved in the Folder field. To do this, click the Browse... button on the right.
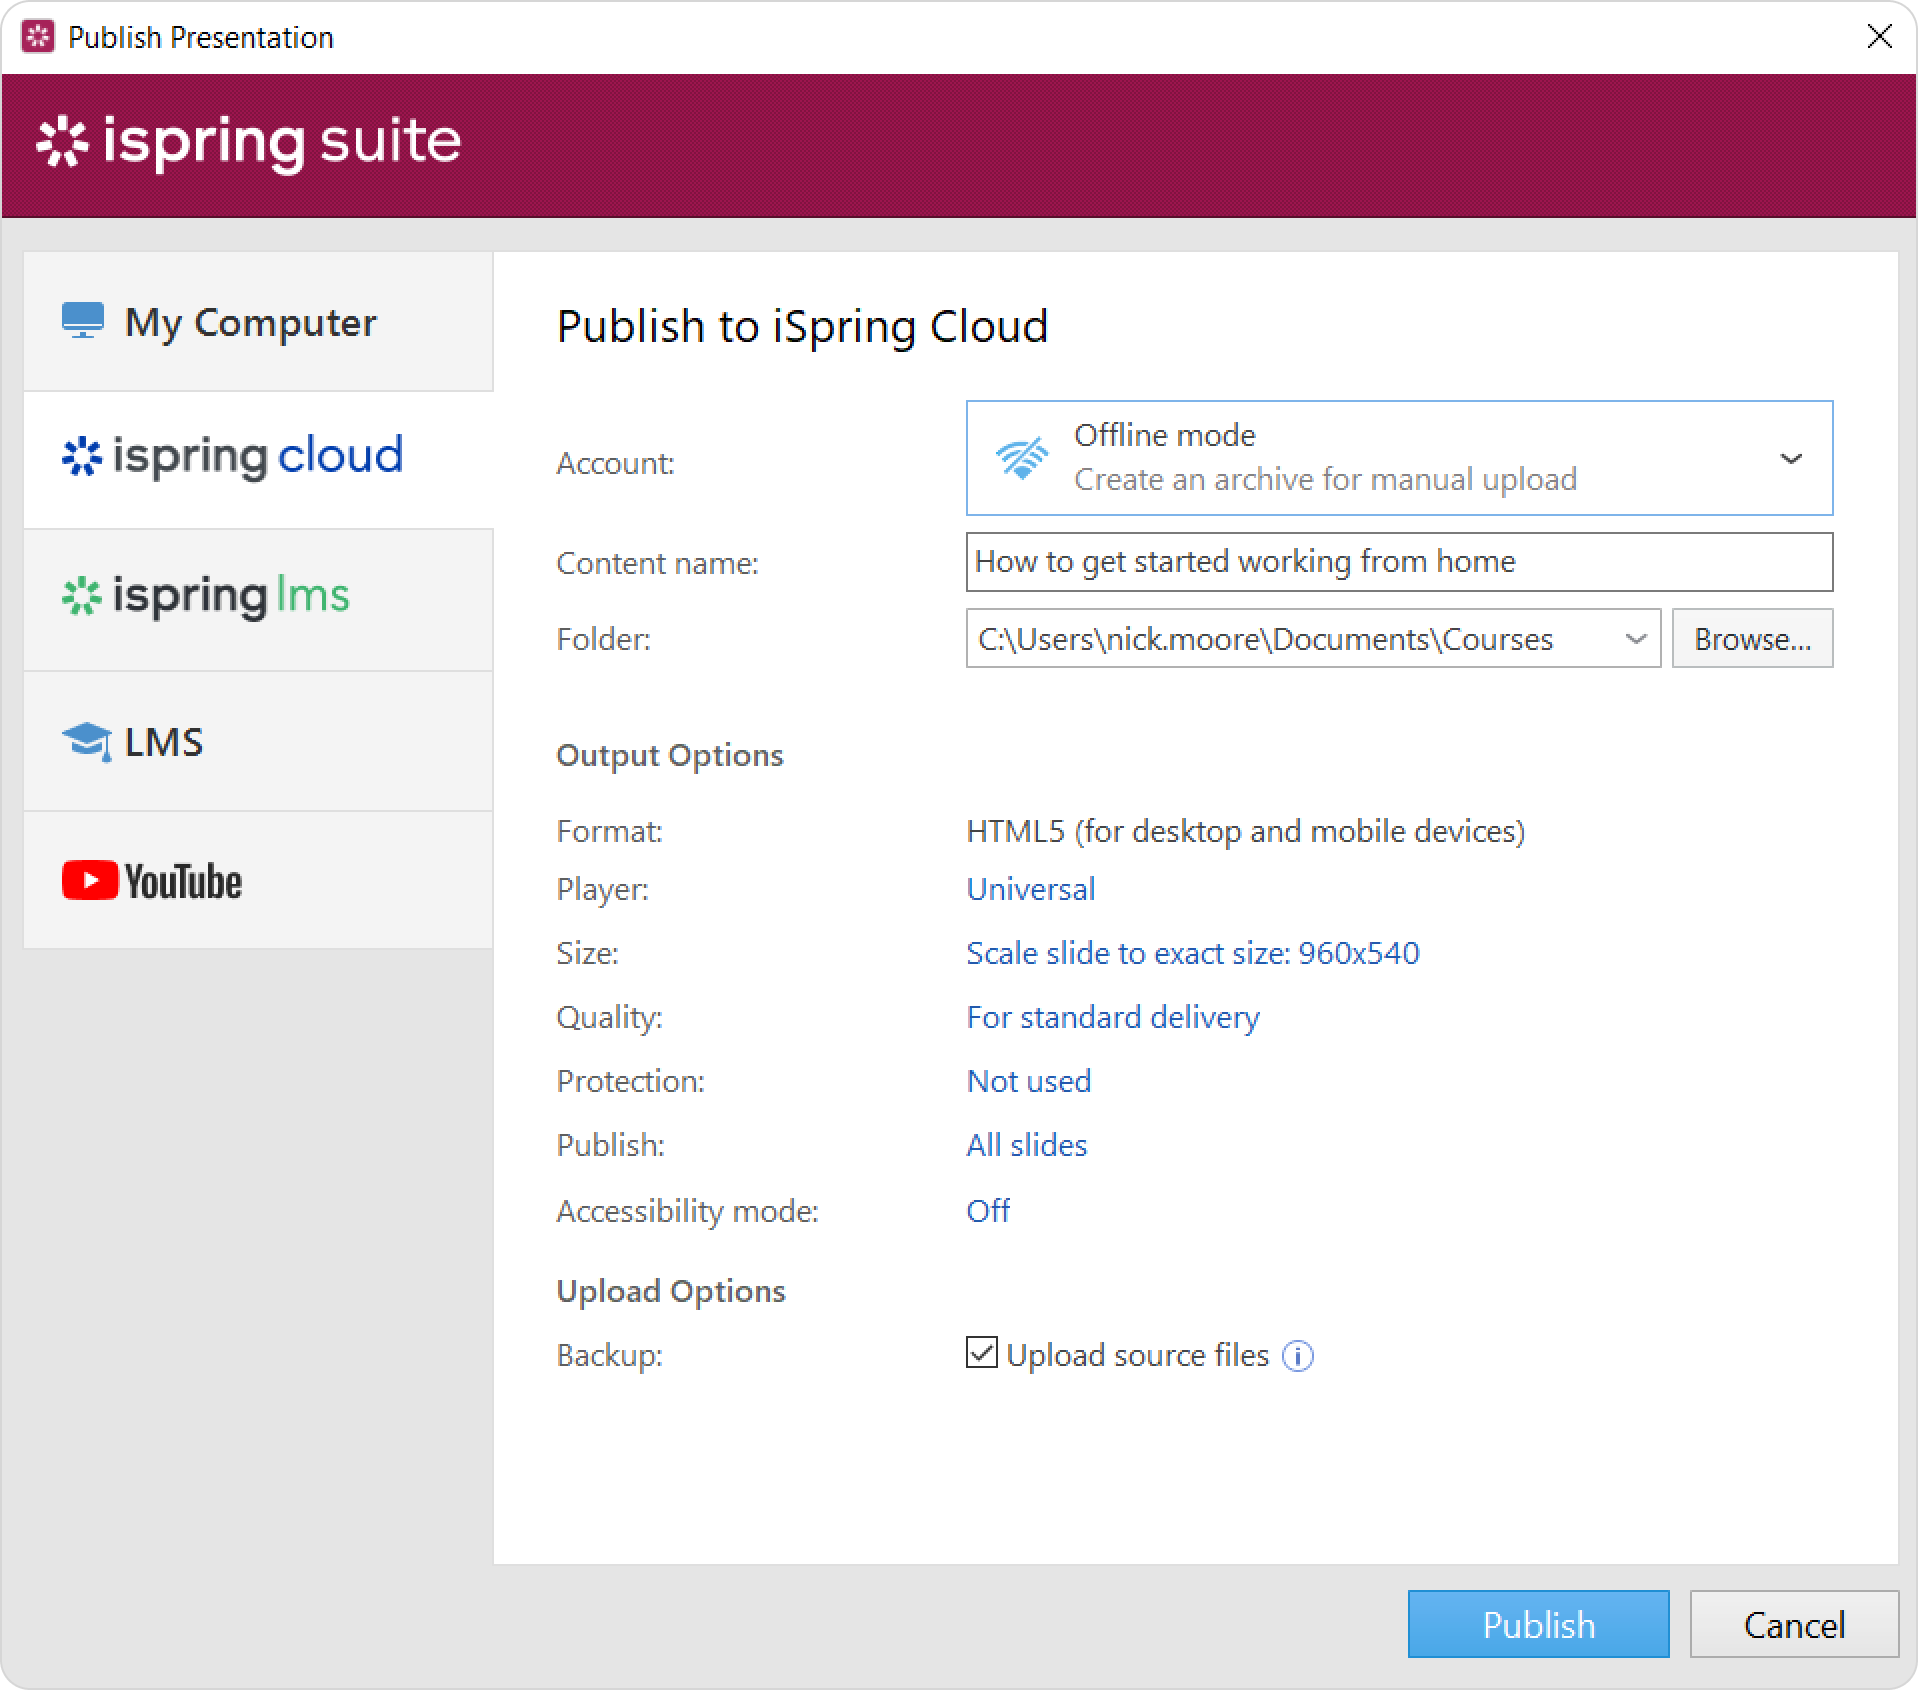
In the Backup field, select Upload source files if you want to save your course distribution files in iSpring Cloud. Use this option for teamwork or creating a backup.
Click the Publish tab.
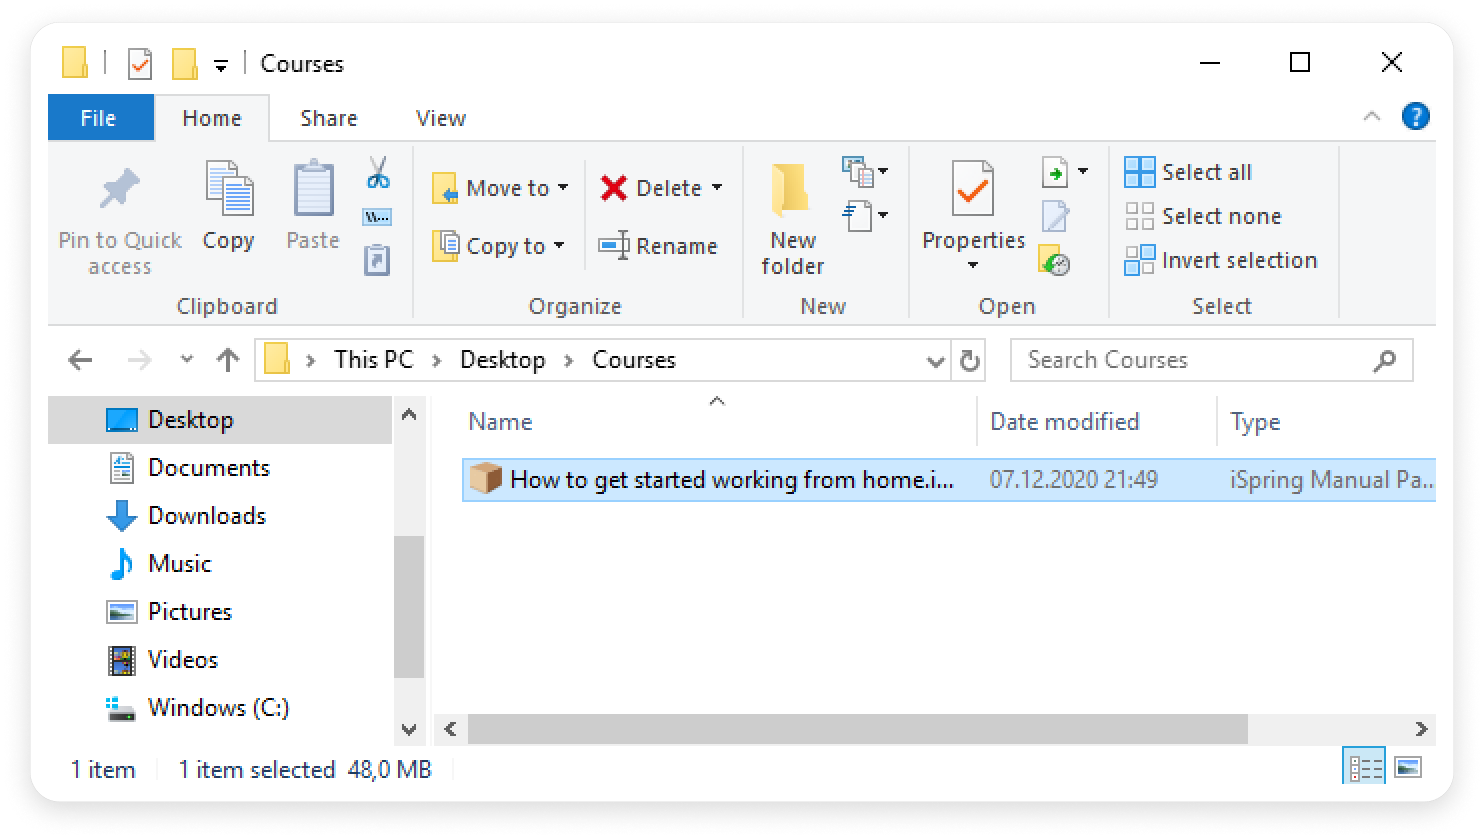
After publishing, click the Open Folder button. In the folder, you will see a package that is ready for offline upload.