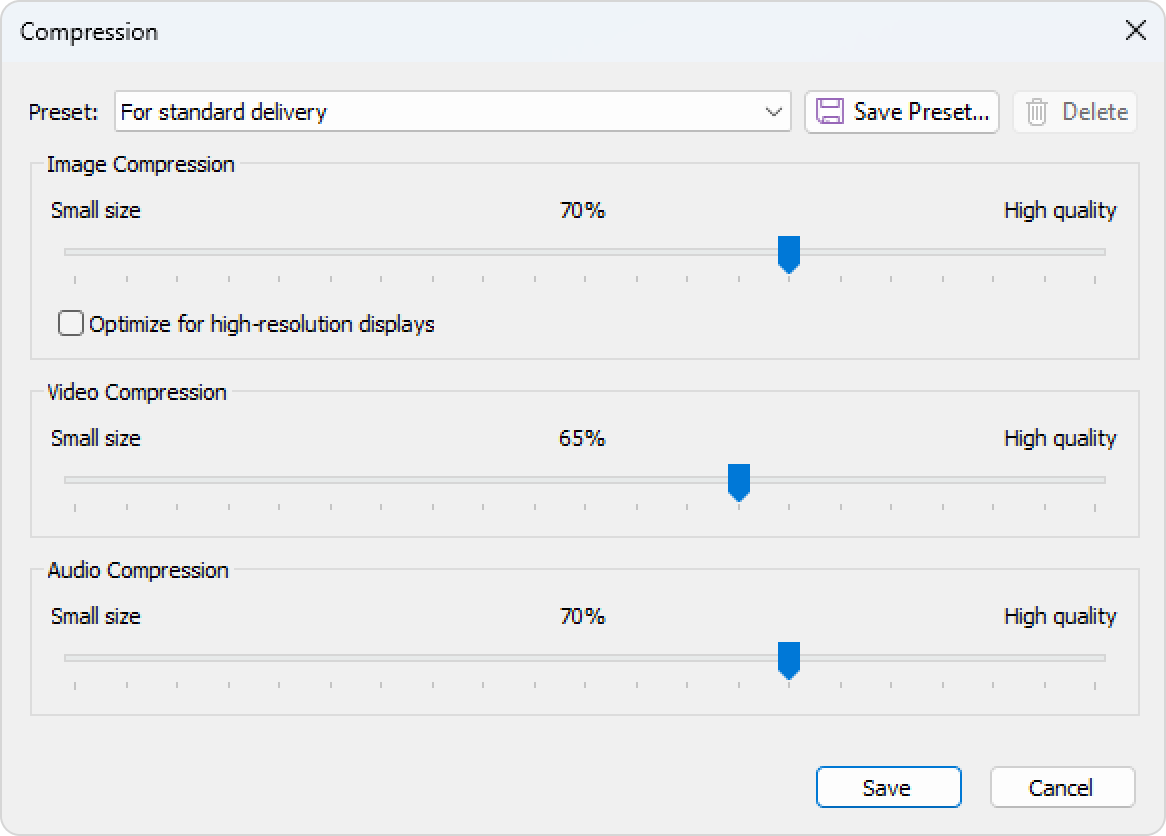
Configure the quality level for images, sound, and videos inserted in the course. The higher the quality of the media, the larger the size of the published course will be.

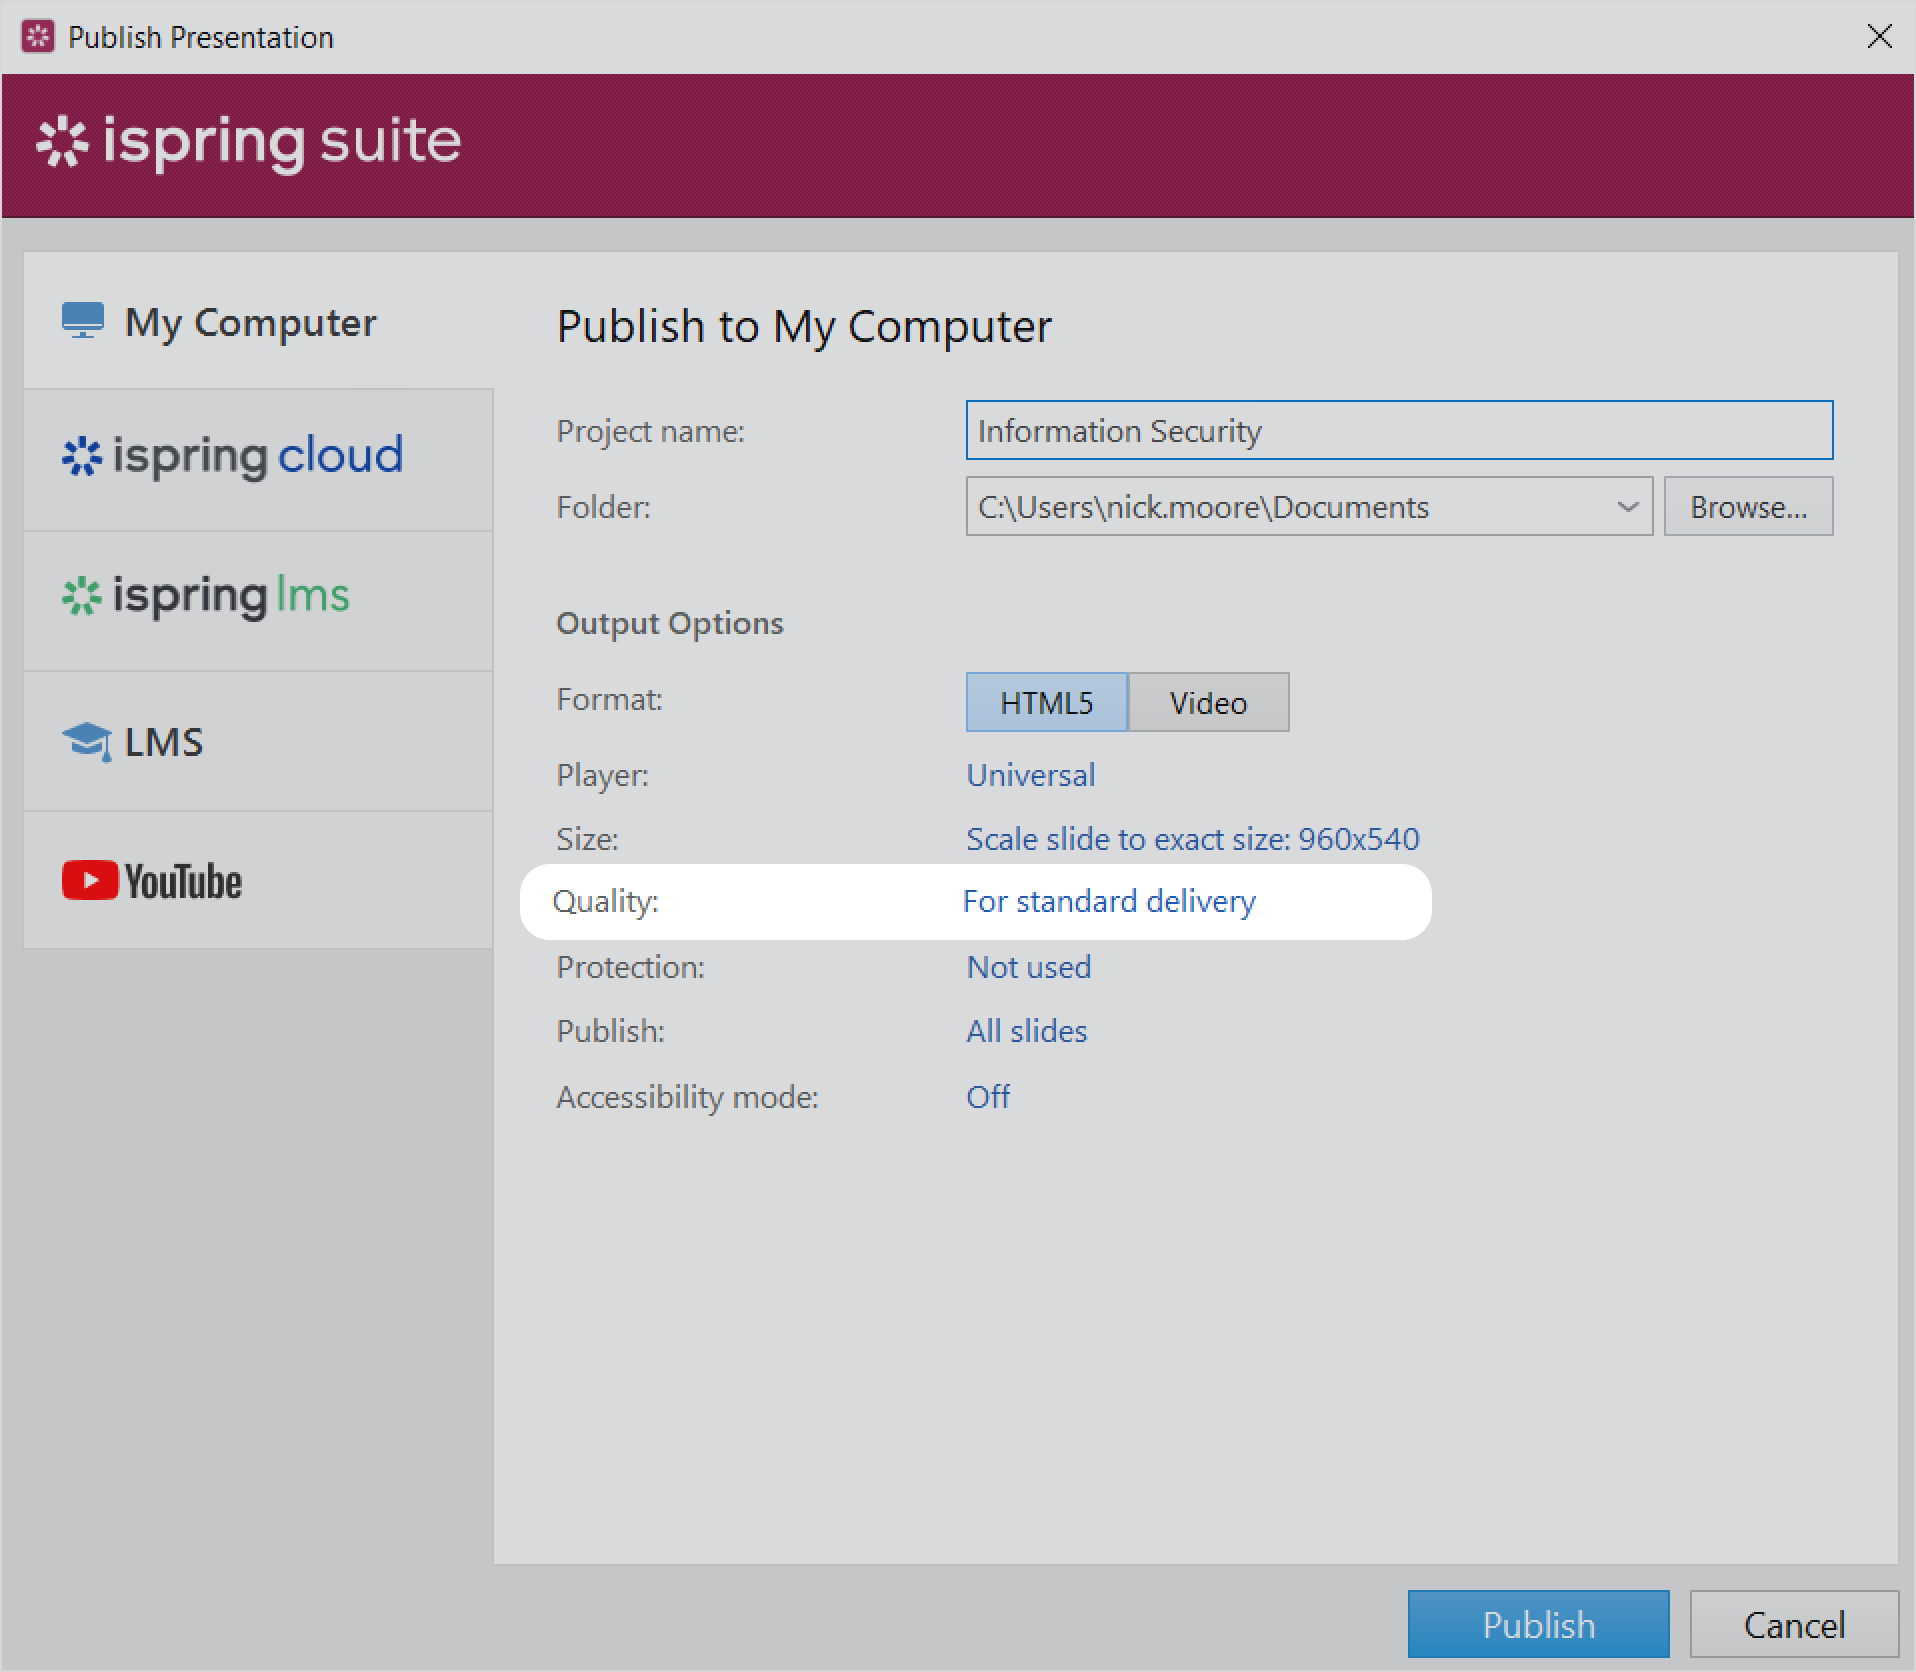
  1. Click on the link in the Quality field.


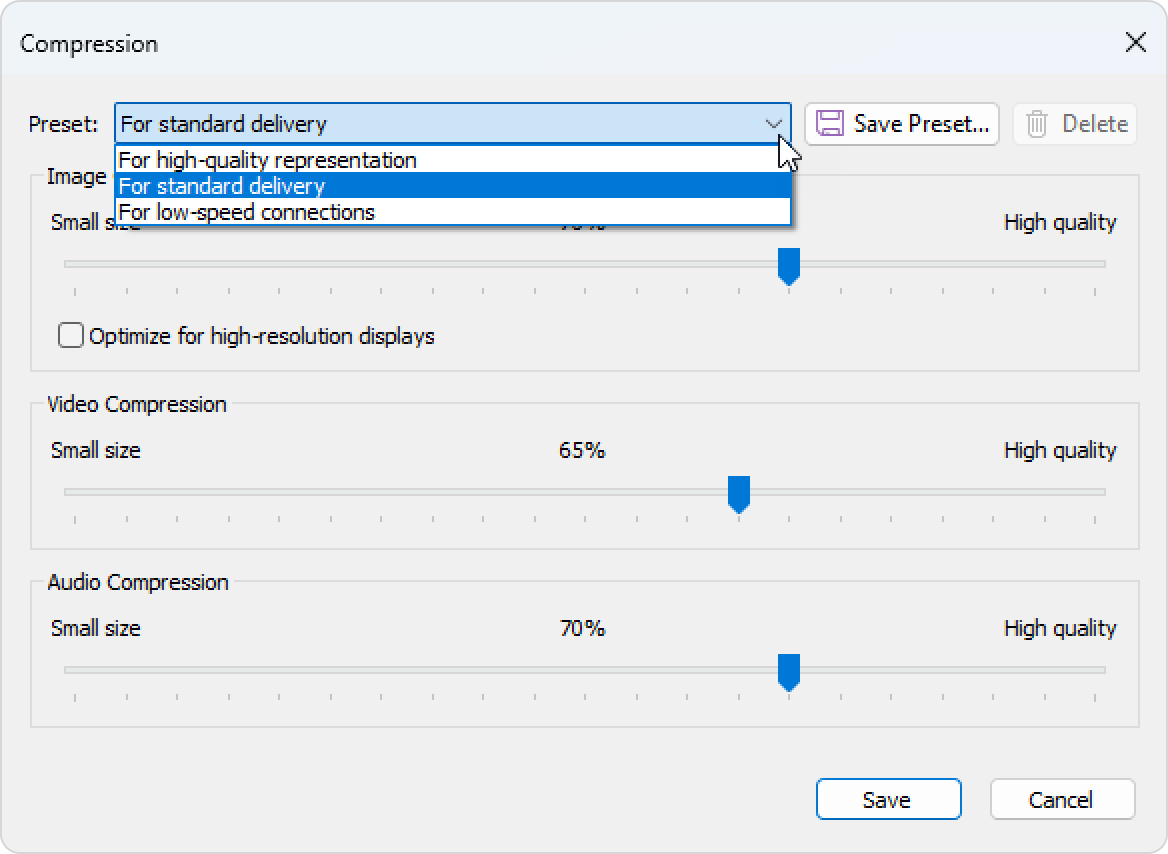
  2. In the quality settings, you can select one of the ready-made presets or apply custom settings:
       • For high-quality representation
       • For standard delivery
       • For low-speed connections
       • Custom settings


  3. Finally, click Save

Custom Settings

Configure your own quality settings and save them as a separate preset.

  1. When creating a custom preset, you can edit 4 parameters:

         Image Compression   
       •  Optimizing images for resolution
         Video Compression
         Audio Compression


    Image Compression  You can set image compression in your published course from 0% (low quality and small size) to 100% (high quality and size). The recommended quality is 50%.
    Optimize for high-resolution displaysImages will be optimized according to the screen on which the course will be viewed. The higher the resolution, the higher the image quality.
    Video CompressionYou can set the video quality in your published course from 0% (low quality and small size) to 100% (high quality and size). The recommended quality is 50% or higher. Note that the higher the video quality, the larger the file size will be.
    Audio Compression   

    You can set the sound quality in your published course from 0% (low quality and small size) to 100% (high quality and size). The recommended quality is 50% or higher. Note that the higher the audio quality, the larger the final file size.
     

    Audio compression settings affect the audio quality of video files as well.

  2. Click Save Preset at the right of the Preset field.

  3. Enter the new preset's name and click OK.


  4. The saved preset will be added to the list of available presets. You will be able to select it when publishing a course.

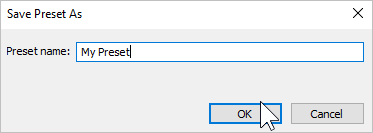
  5. Finally, click Save.