Now course authors can easily create and edit custom characters that match their brand identity and reflect the rich diversity of our world right in iSpring Suite! Our new character builder will let you select the preferred appearance and clothes for your characters and add them to slides just in a few clicks.
How to Create Characters
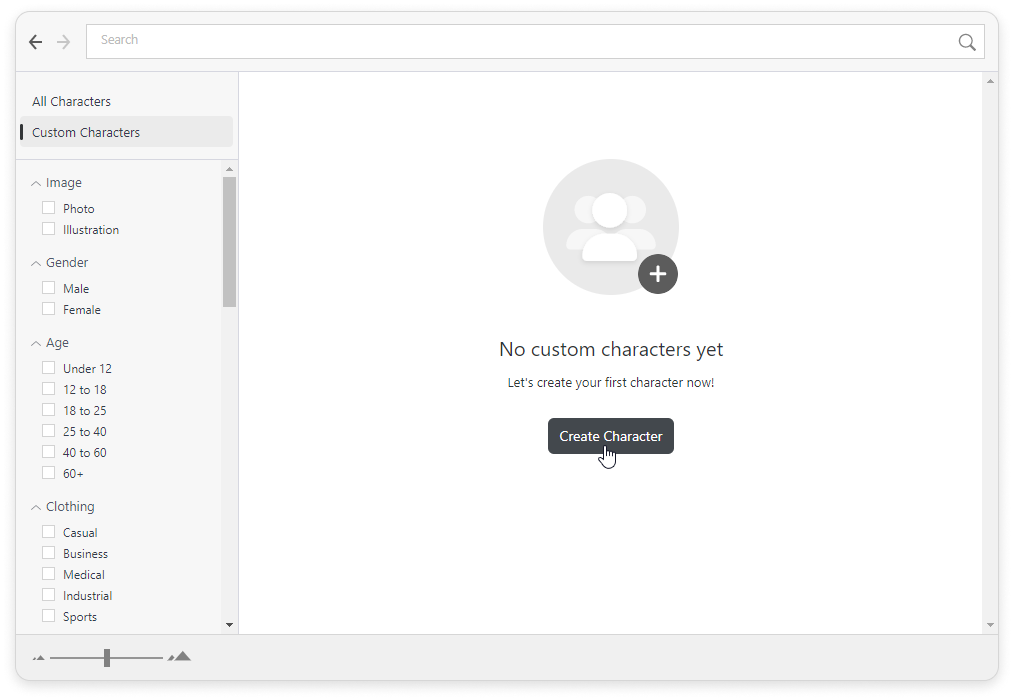
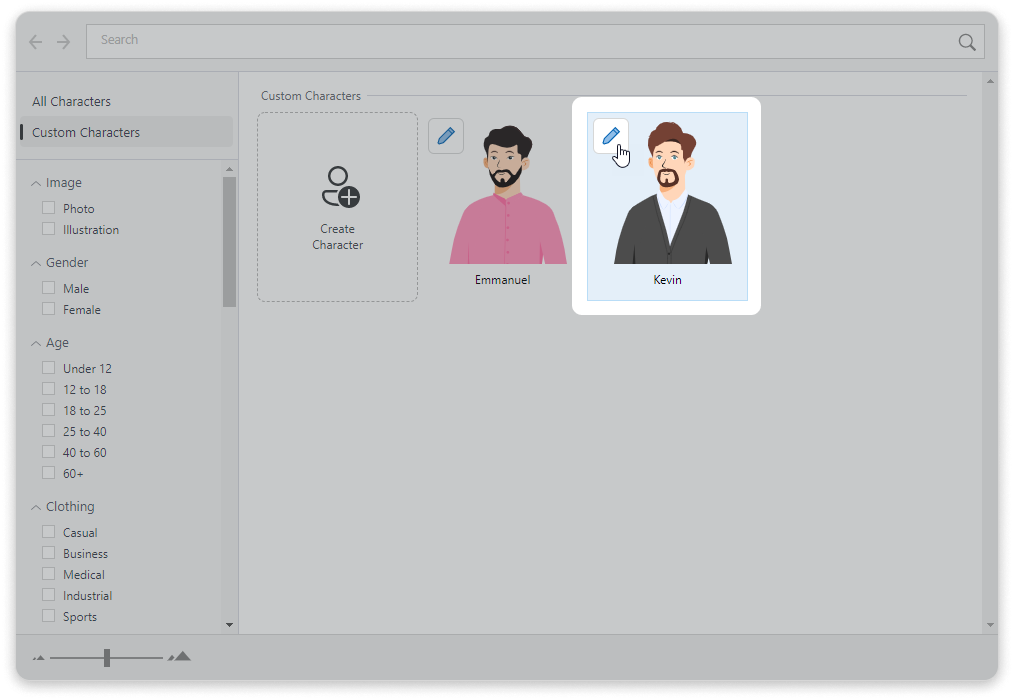
- Open Content Library and go to the Custom Characters tab. Click on Create Character.
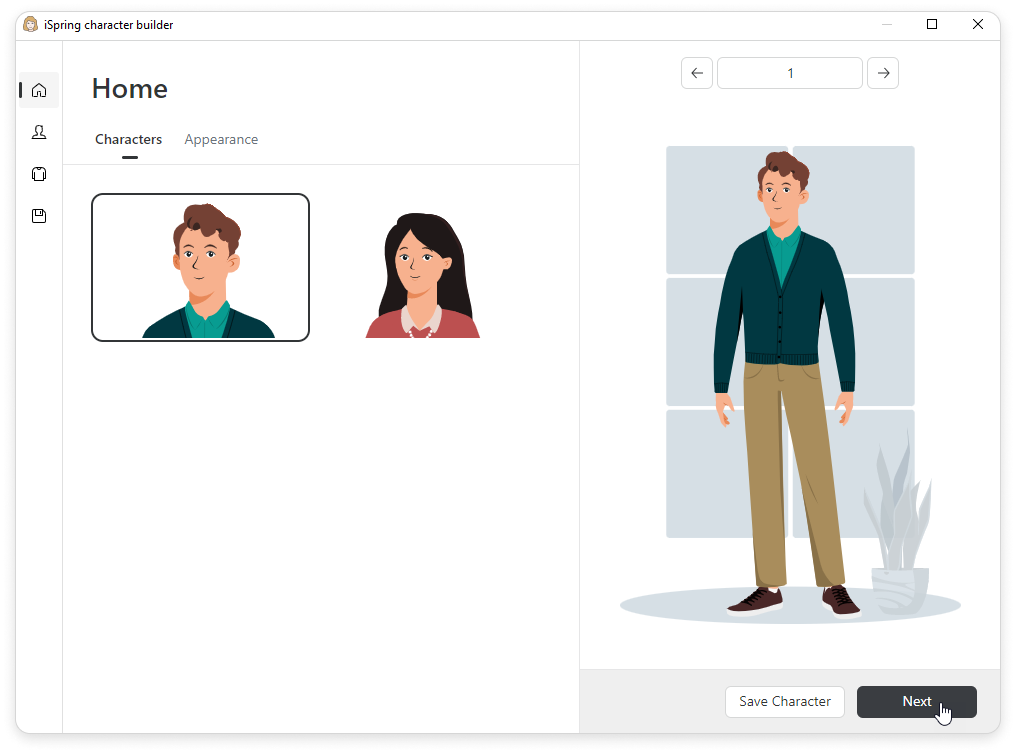
- You'll see the Character Builder window. In the Home tab, select the character and click Next.
- Under the Appearance tab, select the character and their skin color.
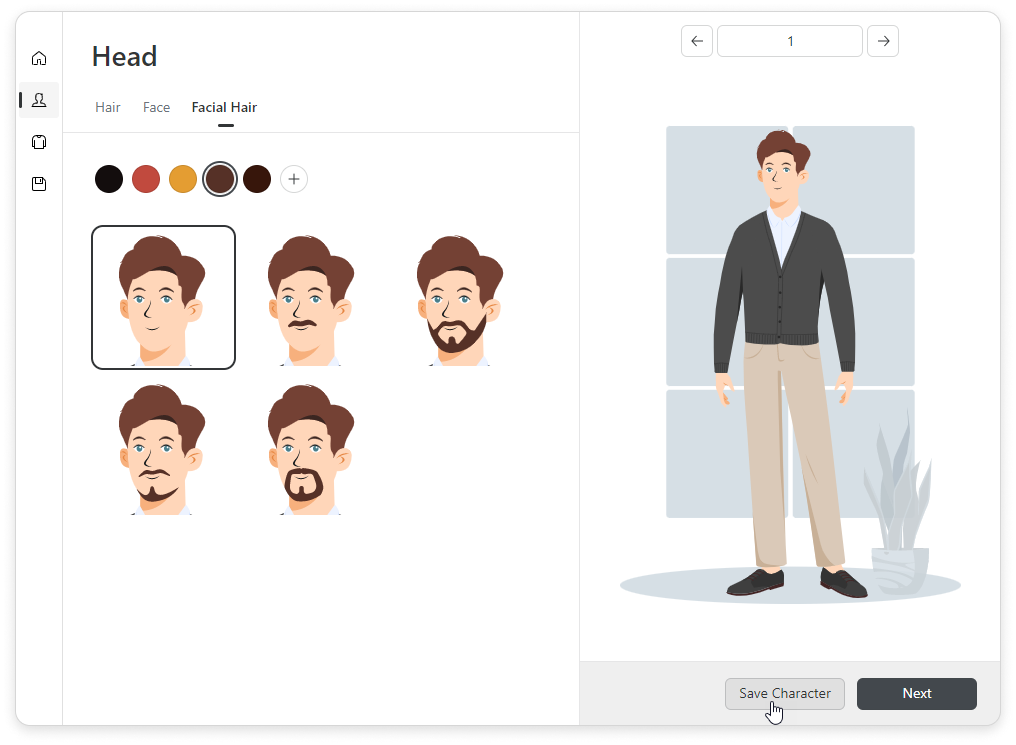
- Go to the Head tab and choose the hair for your character.
- Then, choose the character's face and facial hair (if you've selected a male character).
- In the Clothes tab, select the top and bottom clothing items and footwear for your character. You can also select their color.
Or go to the One-Piece tab and select a national dress or a uniform for your character.
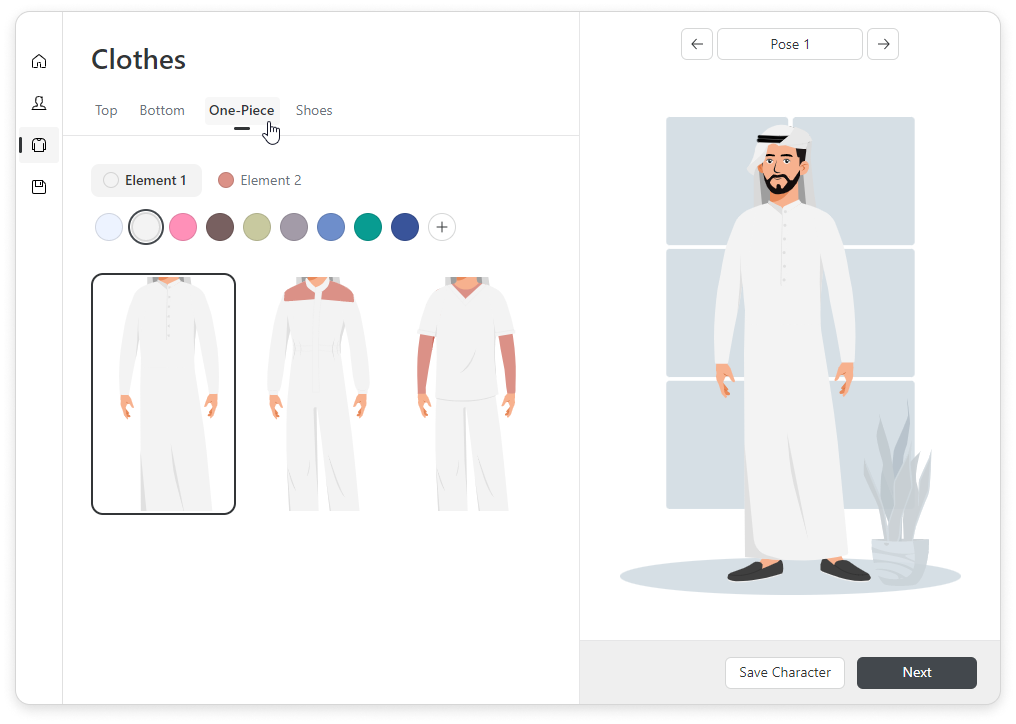
- If you can't find the desired color, click on + and select the one you need.
Now you can save your character. Type in their name and add character tags, so that you can quickly find your character later. Click Save Character.
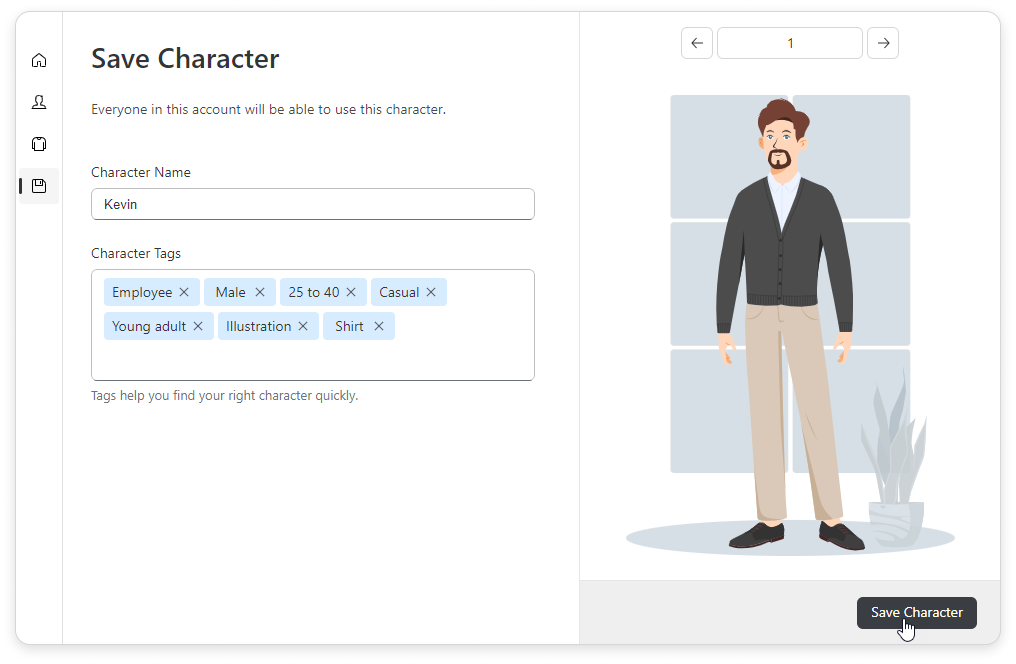
Characters created within an iSpring Suite subscription are available to all users in this account.
Then simply select your character in Content Library and click Add to slide.
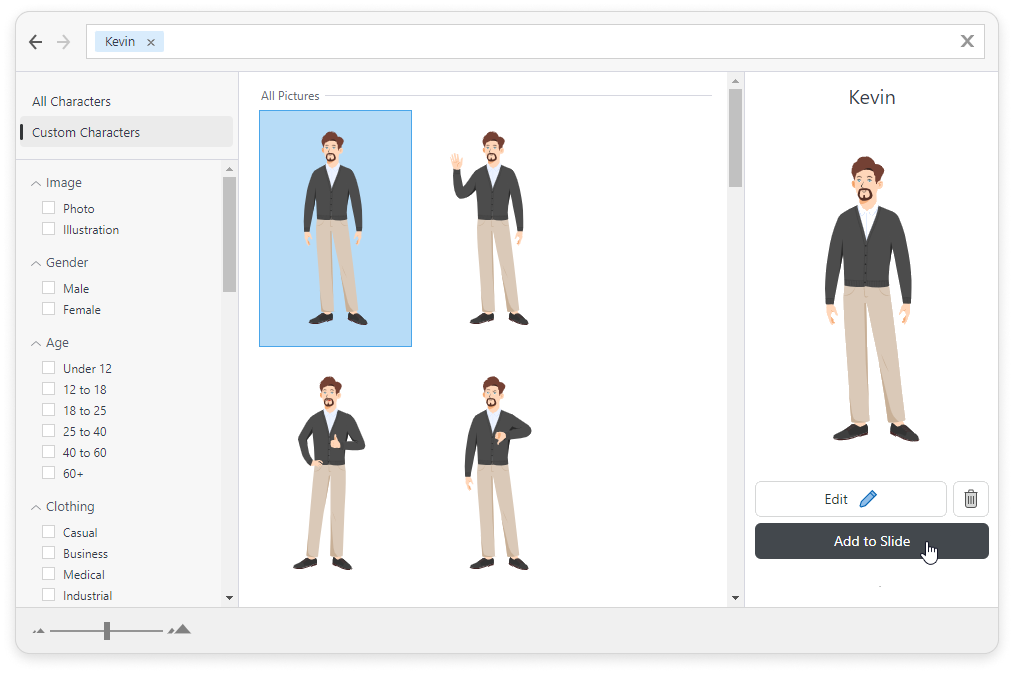
Done! You've now added your own custom character to your course.
The trial version of iSpring Suite only allows you to create one character. Log in to your account to save them and add them to slides. You can select the first pose from the list only.
How to Edit Characters
You can edit characters to use them in different courses. For example, you can dress the character differently for work, leisure, sports, etc.
- Click on the pencil icon to edit your custom character.
Or select the character and click on Edit.

- Once you're done editing, click Save Character.
- You can also delete characters if you no longer need them. To do this, select the character and click on the trash bin icon.
