Liven up your courses by adding Content Library characters.
Photo
The collection contains over 100 characters that will fit different learning situations: personnel certification, university teaching, corporate training, or educating healthcare professionals. Each character has over 400 options of postures, emotions, and angles.
Here's how to add a character to a slide:
- Click Characters on the toolbar.

- In the Image section, choose Photo.

- Select a character in the gallery. To speed up the search, specify extra parameters for the character, such as gender, clothing, ethnicity, action, direction, and emotion.

- Choose the character's posture and click Insert.
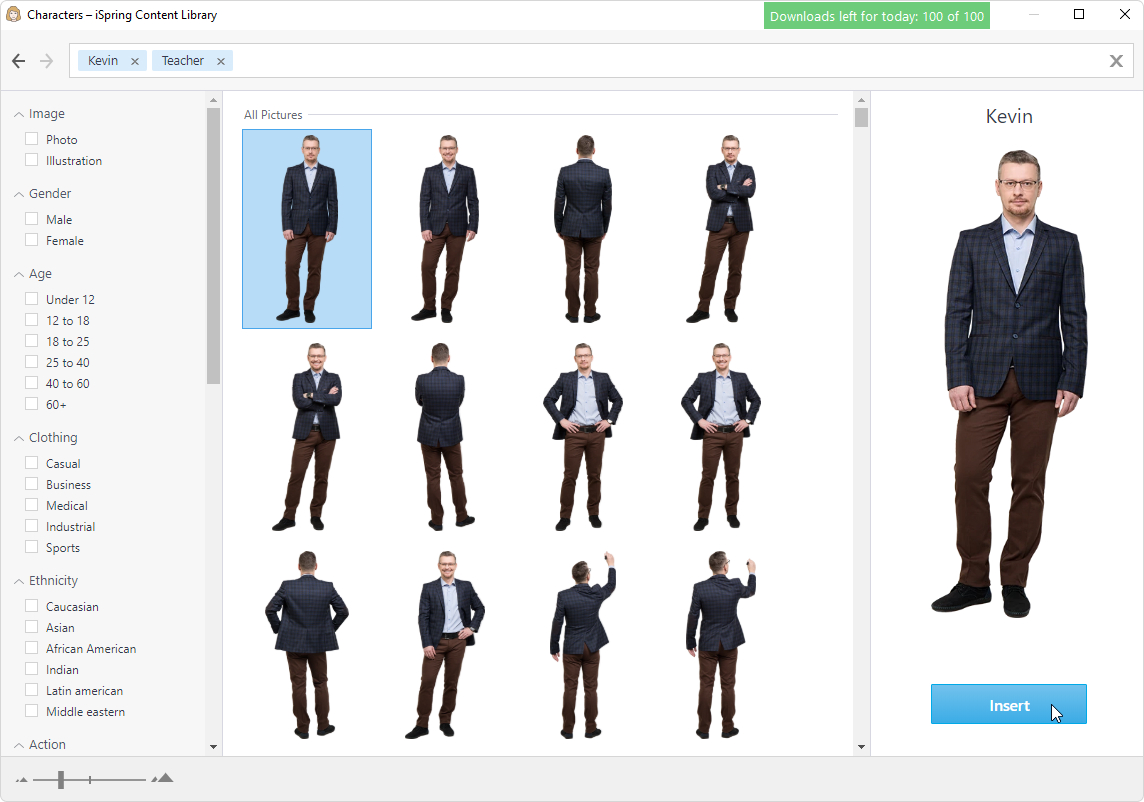
The character has been added to the course slide. Change its size and position on the slide.

How to Filter Character Clothing Color
This feature is currently available for the characters Chloe and Noah.
- Under the iSpring Suite tab, click on Characters.

- Choose a character with multiple clothing colors: Noah or Chloe.
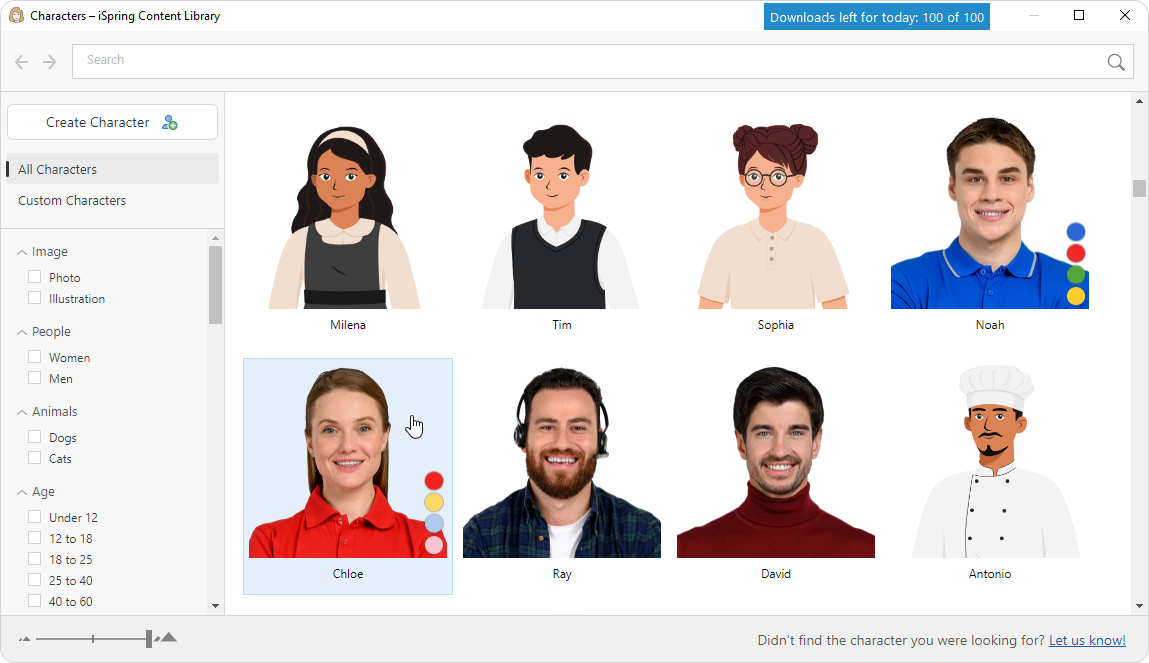
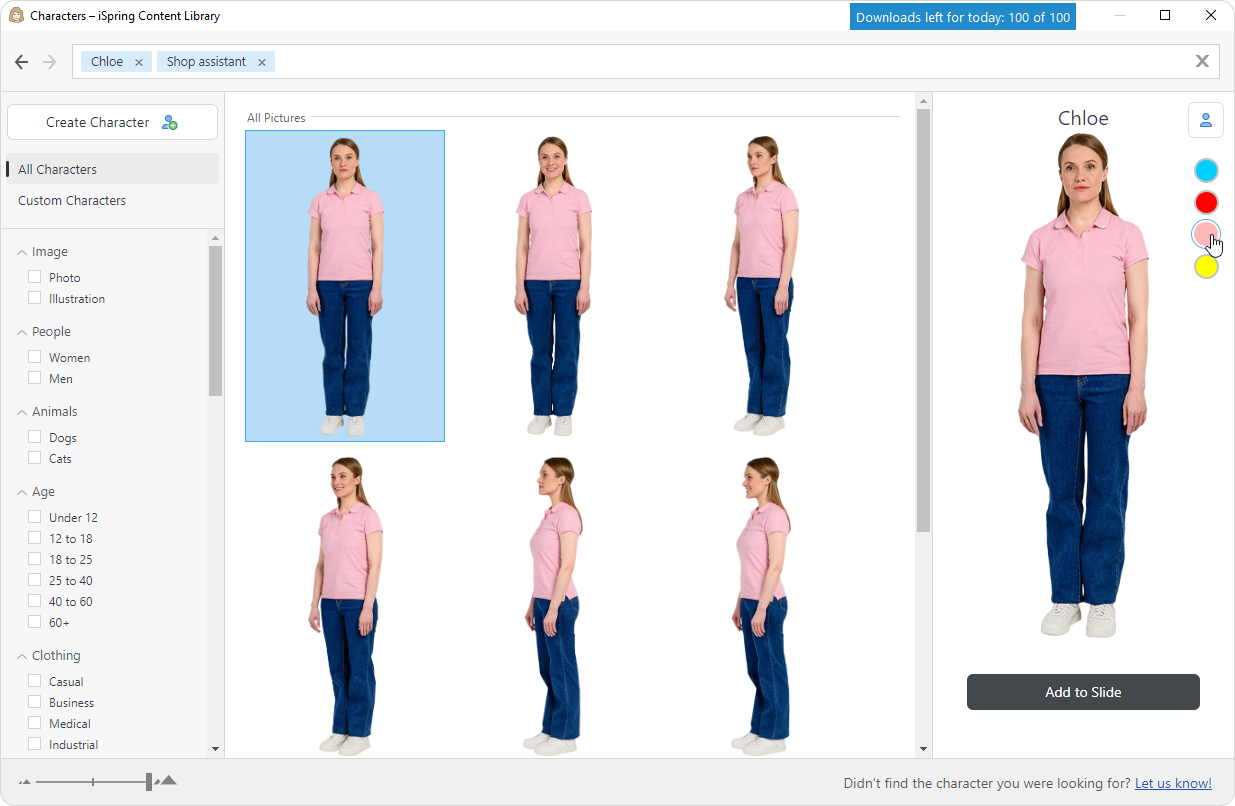
- On the right side panel, select the desired color.
How to add a shadow
Add a shadow to make the character look more realistic. To do this, go to Format > Picture Effects > Shadow. Options from the Perspective block work best for a natural shadow.

Done! The character now has a shadow.
You can also mirror the character to face the opposite direction. Just select Format > Rotate > Flip Horizontal.

Illustrations
In iSpring Suite 11, you’ll find a collection of 18 characters of different ages, nationalities, and professions. Each of them has dozens of poses and emotions. The characters are suitable for any training scenario.
- Click on Characters.

- In the Image section, choose Illustration.
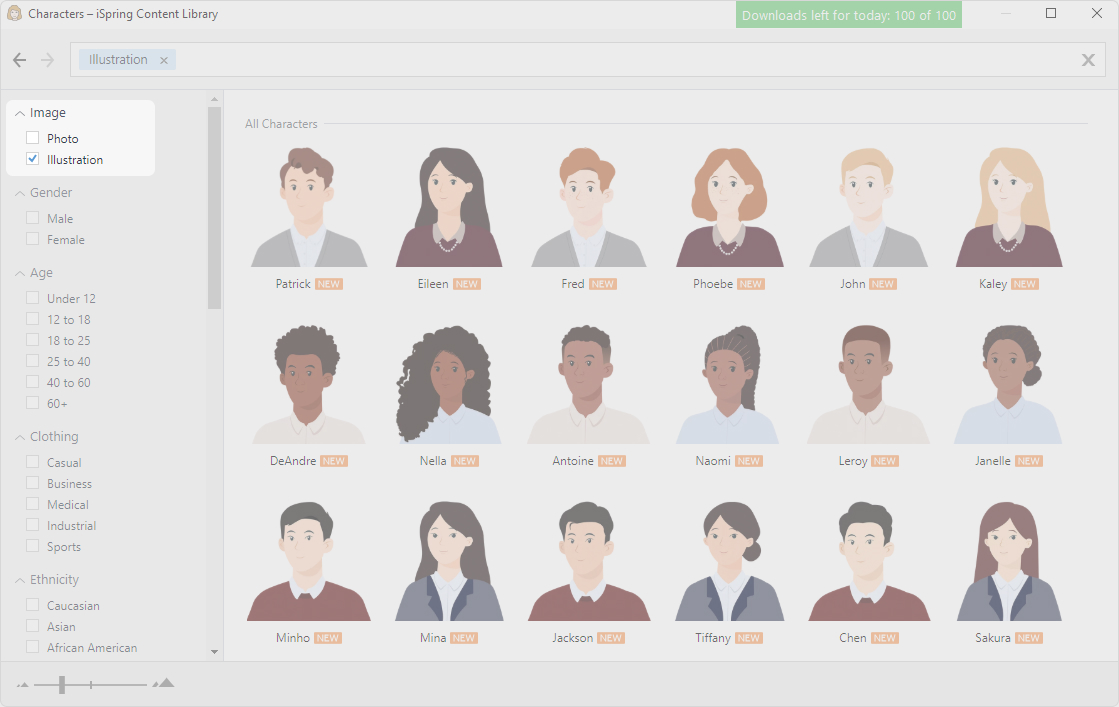
- Select a character.
- Then, choose the character's pose and emotion, and click Insert.
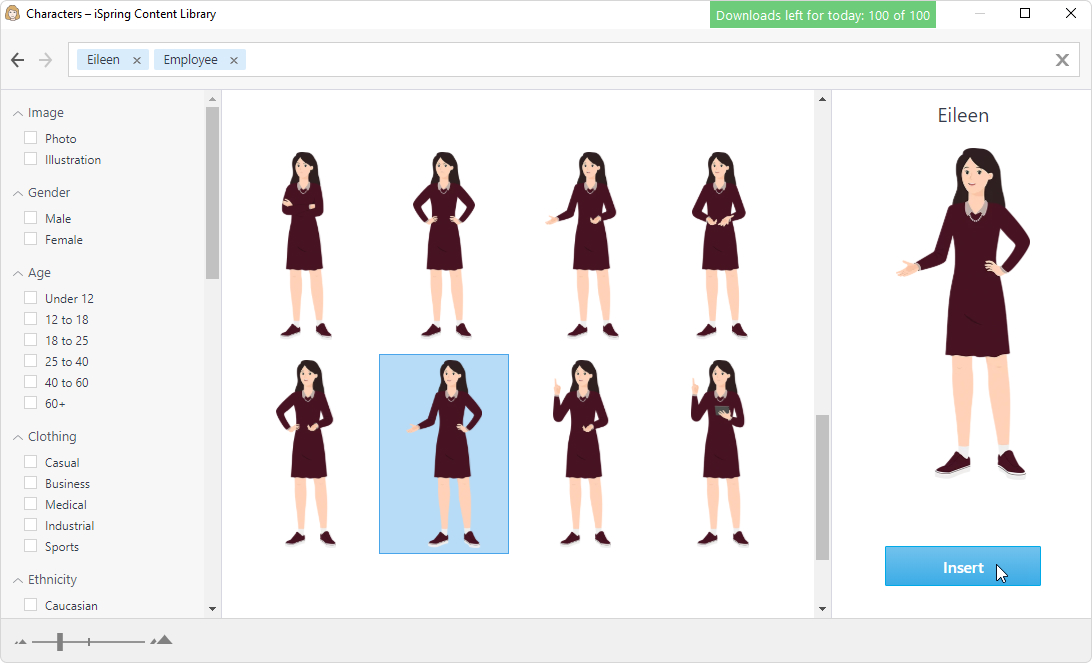
Great! You’ve added a character.

Character Builder
Create characters that resemble you or your learners. Set the type of appearance and hairstyle, and choose stylish clothes and accessories. The characters can express different emotions and are suitable for any learning task.
To launch the character builder, open Characters > Custom Characters > Create Character. You can read more about the character builder in this article.
