Formatting Shapes
To start formatting, click the shape on the slide. The Format tab will appear on iSpring QuizMaker toolbar.

In this section, you can add more shapes, choose one of the preset styles, fill, outline and effects, move objects on the slide relative to each other, align the shape the slide sides, rotate it, and preview the slide with the added shape.
Adjusting Shape Style
You can customize shape styles in the Shape Styles group under the Format tab.

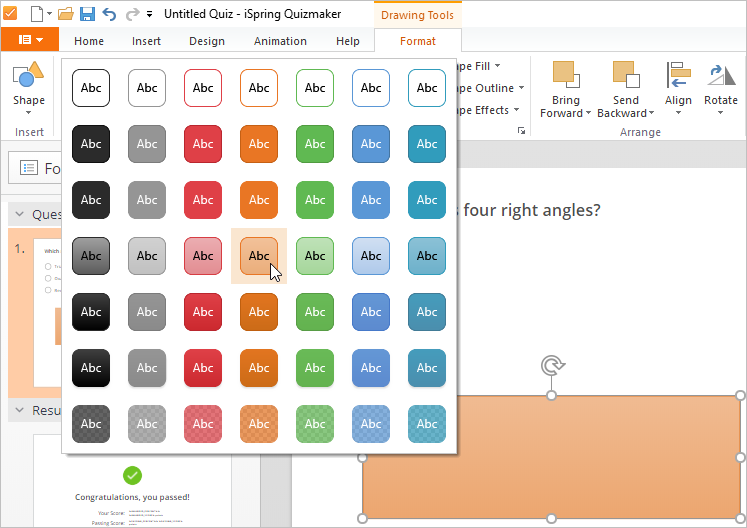
Shape Styles
To apply a preset style (fill, outline, text color and effects), click the shape you want to customize. Choose the design style from the presets.
Shape Fill
Fill is a color or a color gradient which are applied to the inner part of the shape. You can choose a solid color, a gradient, a texture, or a picture to fill the shape.
To change the fill, click on a shape and select a color in the Shape Fill menu.
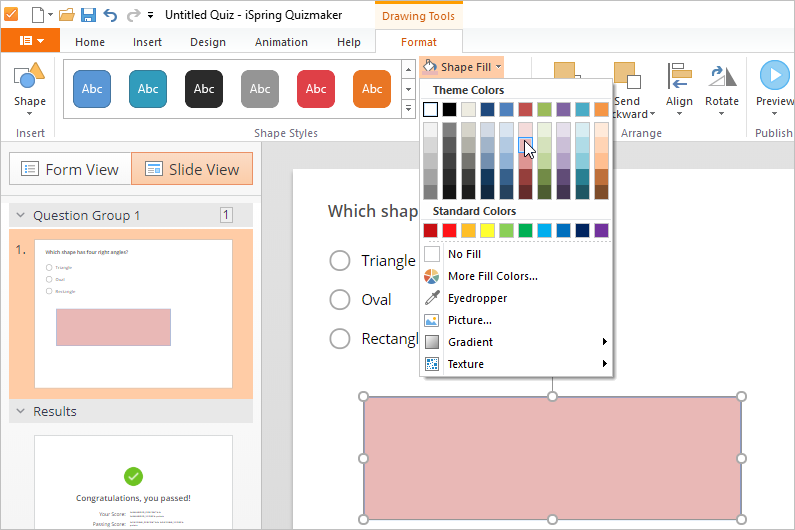
| Selecting a fill color | Choose a color from the palette or click More Fill Colors... to add another color. If you want to use a specific color, select the eyedropper and click the color you want to copy and apply to the chosen shape. |
|---|---|
| Selecting a gradient | Select Gradient and click the gradient style you like. |
| Adding a picture | Choose the Picture option, locate the file on your computer and click Open. |
| Selecting a texture | Click Texture and select one of the preset textures. |
| Deleting a fill color | Choose No Fill in the menu. |
Shape Outline
To add a shape outline, click the shape on the slide and open the Shape Outline menu under the Format tab.

Selecting an outline color | Choose a color from the palette or click More Outline Colors... to add another color. If you want to use a specific color, select the eyedropper and click the color you want to copy and apply to the chosen shape. |
|---|---|
Changing an outline weight | Click Weight and select how thick an outline will be. |
Selecting an outline appearance | Click Dashes and choose how the outline will look like. |
Deleting an outline | Choose No Outline in the menu. |
Shape Effects
To add or delete an effect, click on the shape and open the Shape Effects menu under the Format tab.
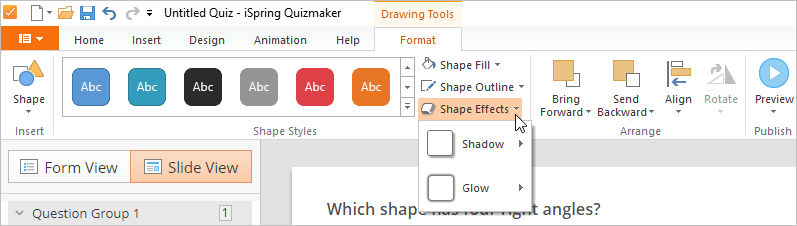
Selecting a shadow | Select the Shadow option in the menu and click the shadow type that suits you. To configure the shadow, click Shadow Options. In the opened menu, you can select a color, a transparency level, a size, a blurring rate, an angle, and a distance from the shape. |
|---|---|
Selecting a glow | Select the Glow option and click the glow variation you need. To configure the glow, click Glow Options. In the opened menu, you can select a color, a transparency level, a size of the glow. |
| Deleting a shadow | To delete a shadow, click No Shadow. |
Deleting a glow | To remove a glow, select No Glow. |
Arranging Shape
You can arrange the shapes on the slide in the Arrange group under the Format tab.

Moving Shape
To change the shape position in respect to other objects on the slide, click it and select the corresponding button: Bring Forward or Send Backward.
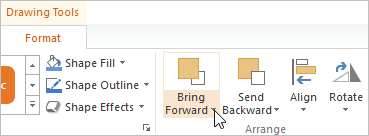
Bringing forward | Select Bring Forward to move the selected shape forward one level so that it's hidden behind fewer objects. |
|---|---|
Bringing to front | Click Bring to Front to move the selected shape to the front of all other objects. |
Sending Backward | Choose Send Backward to move the selected shape back one level so that it's hidden behind more objects. |
Sending to Back | Click Send to Back to move the selected shape behind all other objects. |
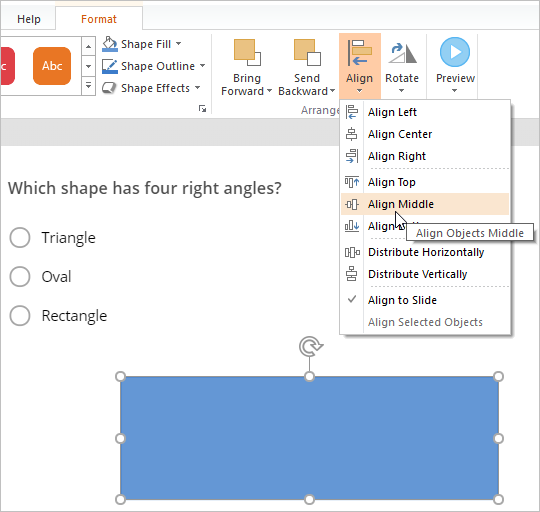
Aligning Shape
To align a shape center, middle, horizontally, vertically, or relative one of the slide sides, click on the object and select Align.
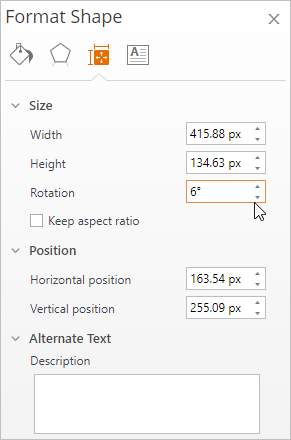
Rotating Shape
If you want to rotate a shape, select it and click Rotate.
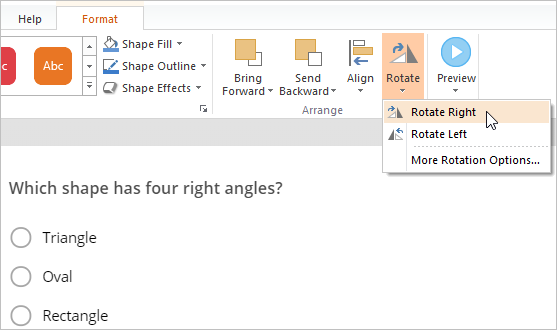
There are two default options available: Rotate Right and Rotate Left. To rotate the shape at another angle, choose More Rotation Options... In the section which will open to the right of the slide, specify the degree in the Rotation menu.