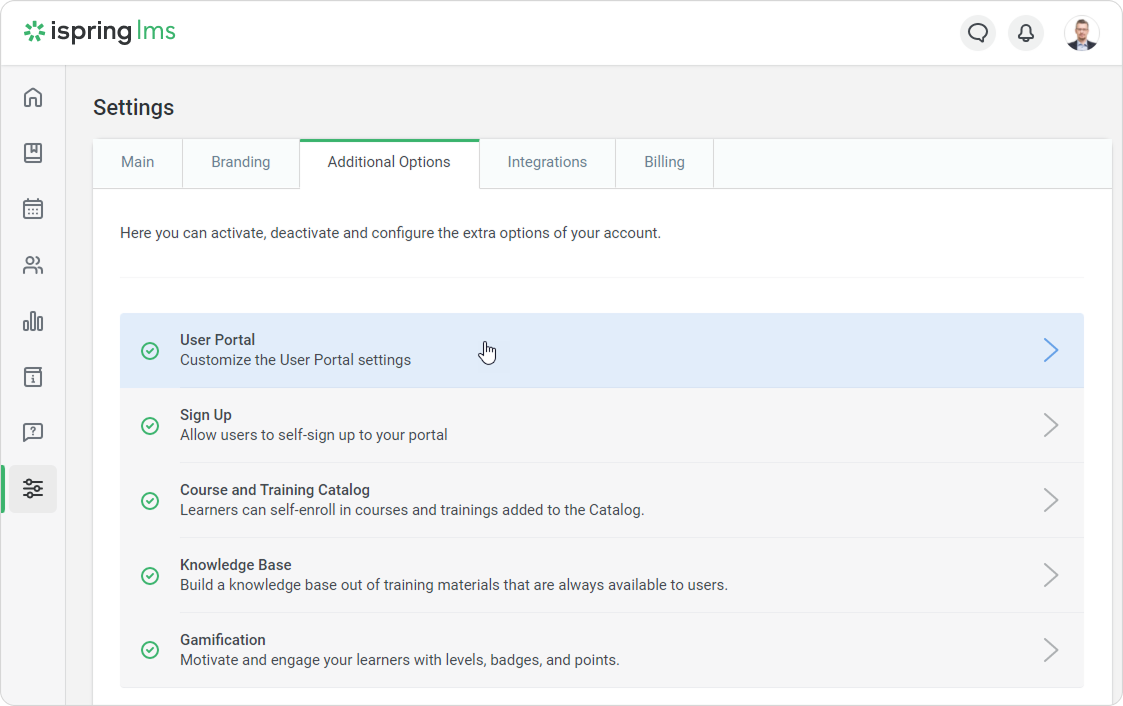
Under the Additional Options tab, click User Portal to set up users' personal accounts.
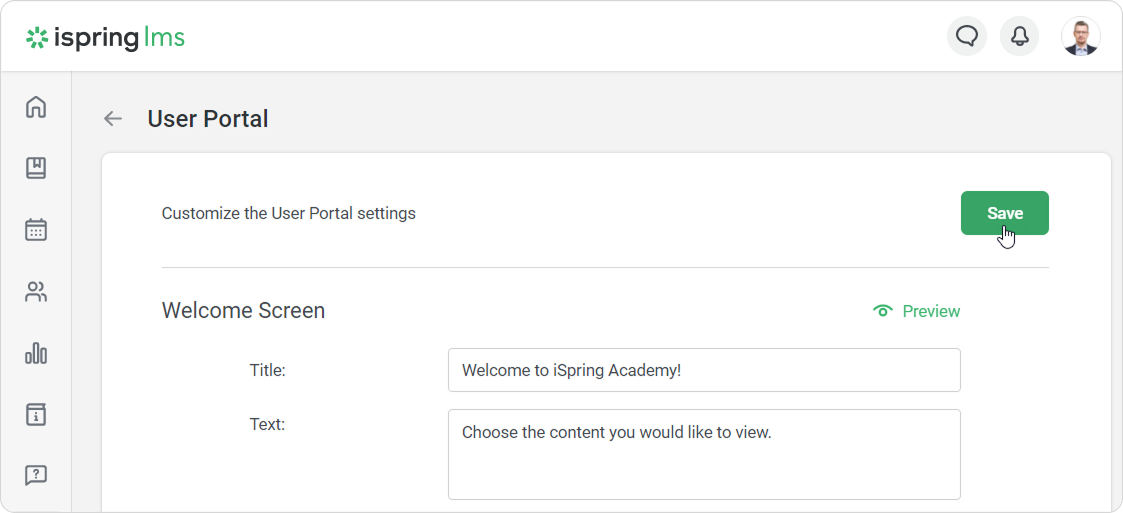
On the User Portal page, start customizing the user interface settings.
Welcome Screen
In the Welcome Screen section you can change the title, instructions, and add a link to a video.
| Option | Description |
|---|
| Title | Change the welcome text that is displayed on the homepage of the user portal. |
| Text | Change the instruction text that is displayed on the homepage of the user portal. |
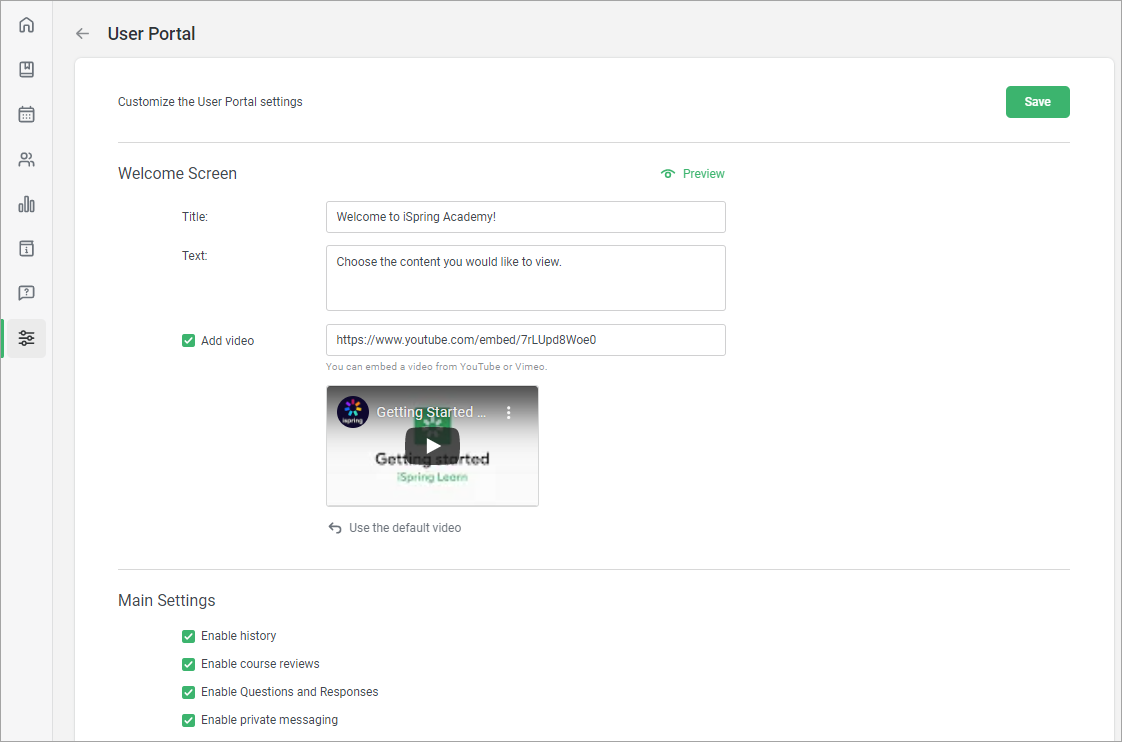
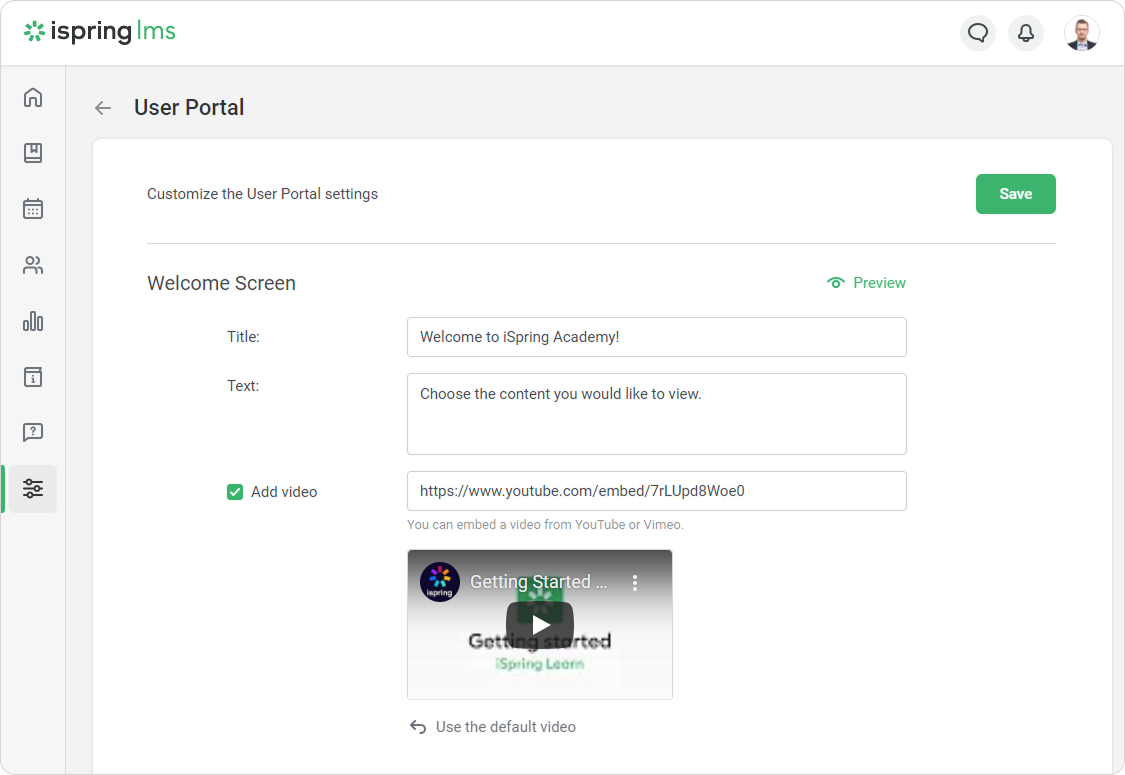
Add a link to video on YouTube or Vimeo to make it easier for employees to adapt to the learning portal. To do this:
- In the Welcome Screen section, select the Add video box.
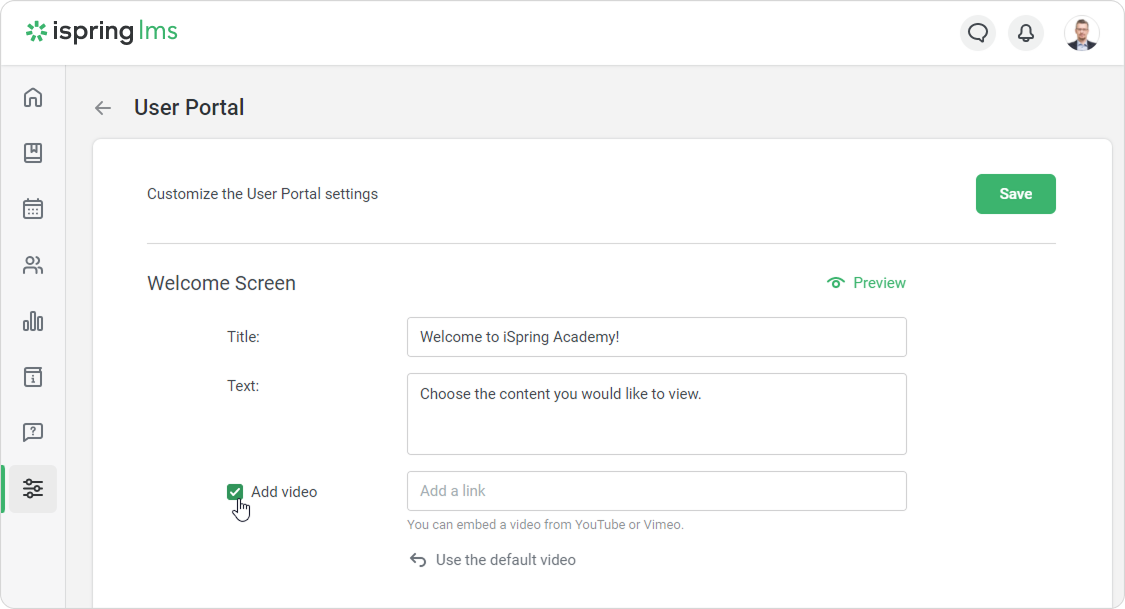
- Then add a link to a video on YouTube or Vimeo.
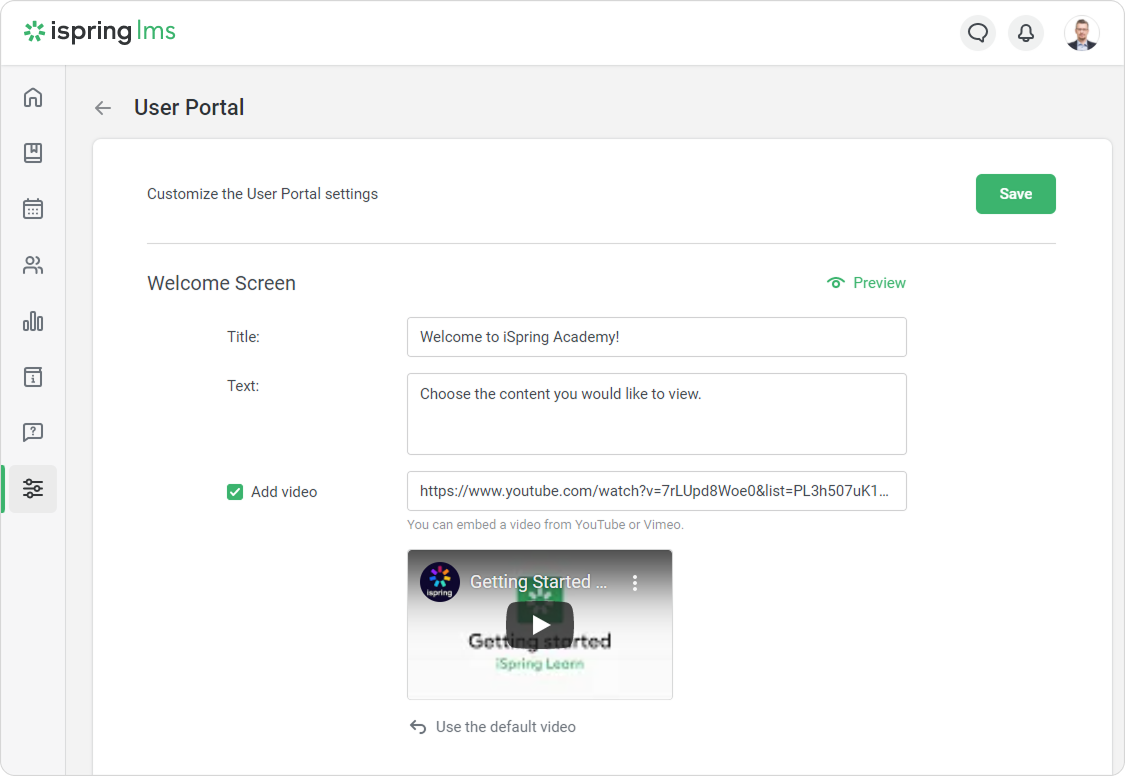
- Click Save.

Done! You`ve added a video to the welcome screen.
To see how the welcome screen looks, click on Preview.
Main Settings
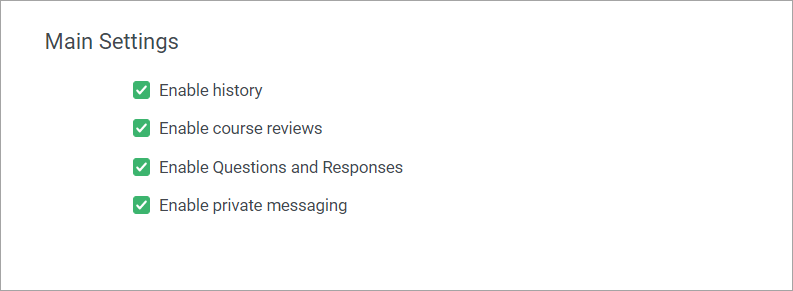
To keep all the changes applied, click Save.