Here you can specify a due date that will be used by default for all enrollments of the course.
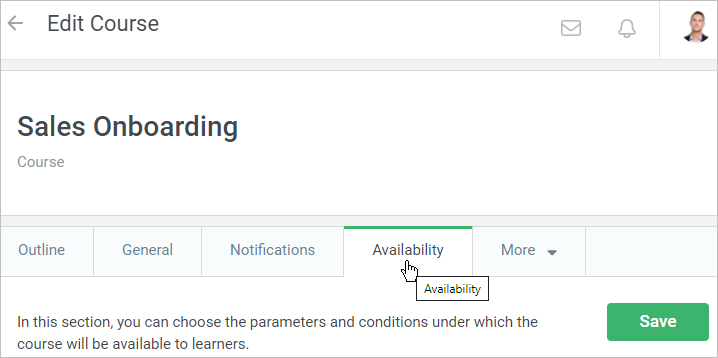
The content item can be unrestricted by time or be time-limited. Choose one of the values in the Due date menu.
| No due date | Users will be able to view the course with no time limitations. |
|---|
| For a period | The course will be available to learners during the specified number of days since the assignment date. |
|---|

You can keep the course available for view after the due date passed or close the access.

The second way to set up the course due date is when enrolling a user into it.
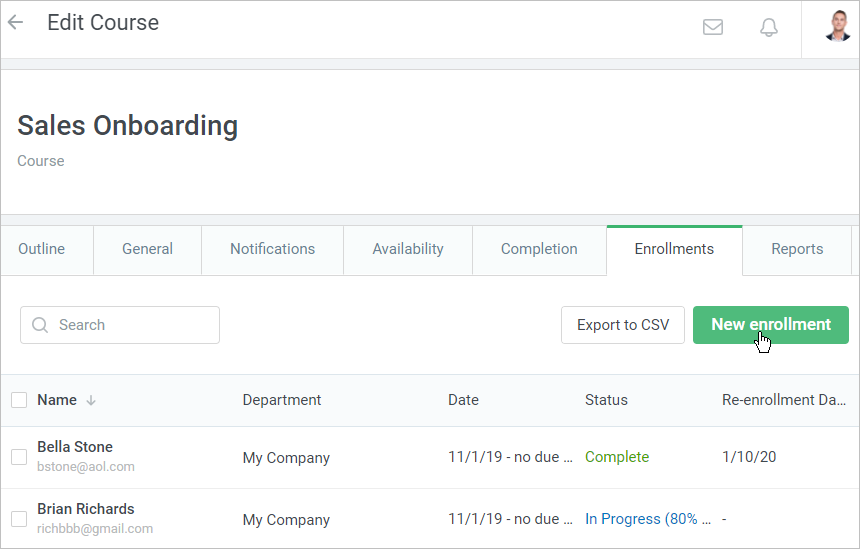
- On the Edit Course page, open the Enrollments tab. Then, click New Enrollment.
The course to be assigned will be chosen in the opened window. Select users who will be enrolled in it and go to the Parameters step.
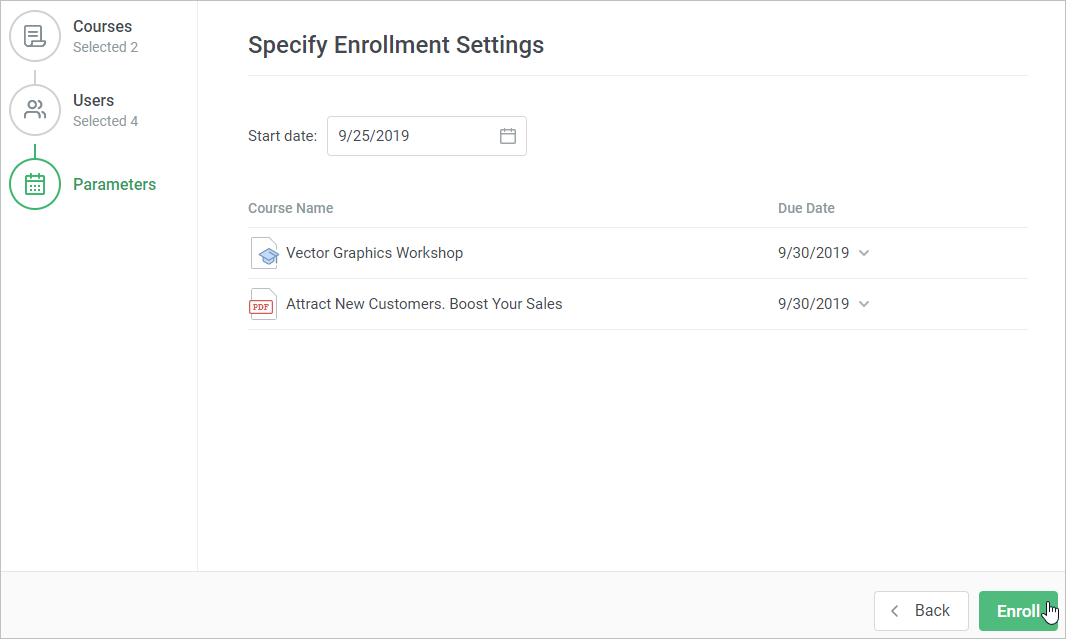
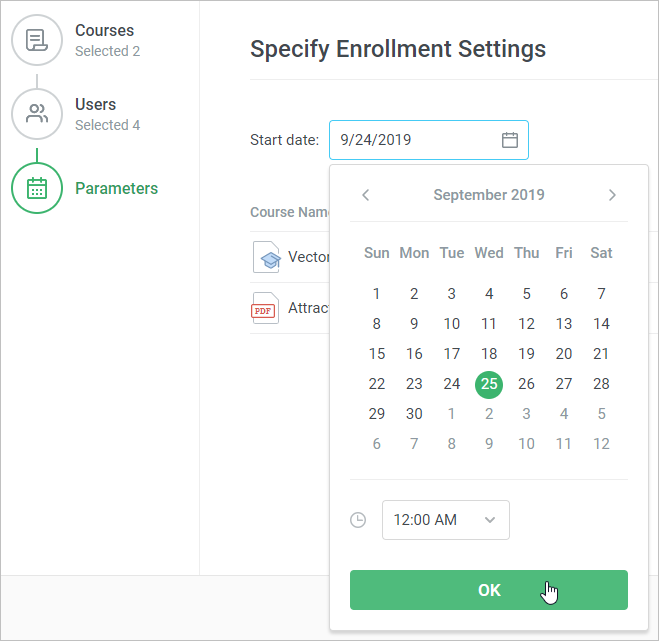
At this step, you can set up the start date and time.
The second parameter which you can manage at this point is the content item due date. Select one of the available options.
| Use course settings | The value set in the Availability tab is auto-populated. |
| By Date | You specify the date and time by which the course should be passed. |
| For a period | Set up the number of days or weeks after which learners should have the course completed. |
| No Due Date | The content item is not time-limited and students can study it as long as they wish. |
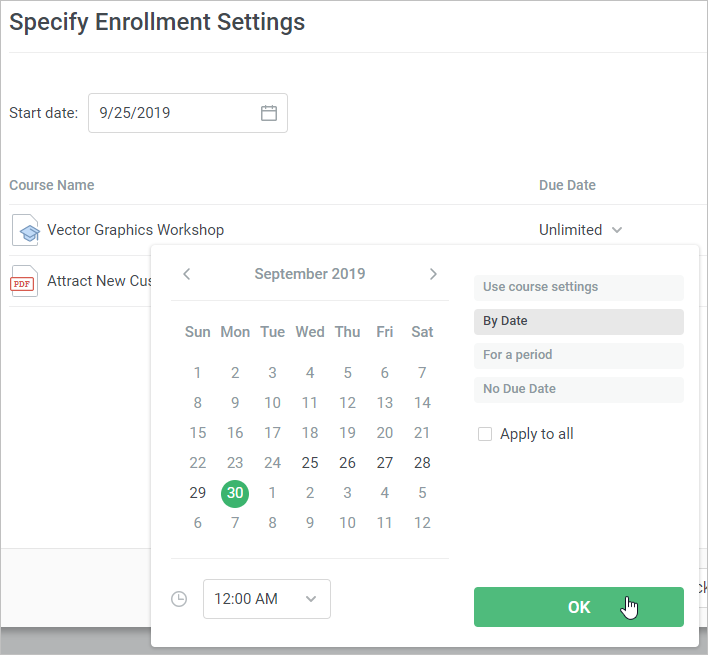
If you want to apply the specified due date to all assigned courses, check Apply to All.
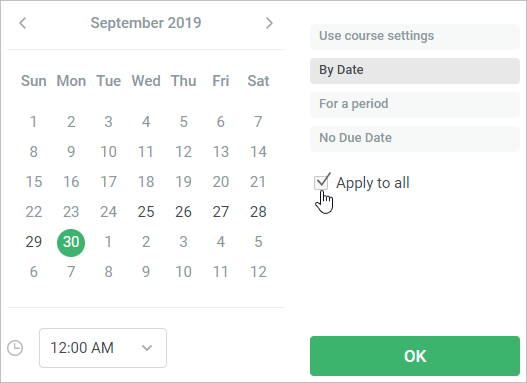
In this case, all assigned items will have the same due date.

- Click the Enroll button. Now your students will receive an enrollment notification in the user portal and to their emails (if both are enabled) and will start their studies.
