JWT Authorization
One of the ways to perform single sign-on in iSpring LMS is to use JSON Web Token (JWT). It is an open standard for passing claims between parties in a web application environment. It is used to encrypt and pass the identity of authenticated users between an your corporate website and iSpring LMS. In other words, it provides a fluent and secure login data transfer from your website to iSpring LMS.
JWT works with the mobile application.
Requirements
- Access to your hosting with the Administrator role
- An iSpring LMS account
- An LMS user with the Account Administrator role
To authenticate a user on the iSpring LMS side, a JWT message should contain the user’s email. Password and other user information is not required for SSO.

A full link with a JSON token looks like this:
https://yourcompany.ispringlearn.com/sso/login/jwt?jwt=XXXXXX.YYYYYY.ZZZ
Parts of JWT
The JWT Token is encoded and consists of 3 parts, divided by dots:
- 1XXXXXX is an encoded header
BASE64-encoded, it preserves information about the token type (“JWT”) and encryption algorithm (“HS256”). In the JS object notation it looks like this:
{
 "Type": "JWT",
 "ALG":
"HS256"}
CODE YYYYYY is an encoded payload
This is the message body of the token that passes the user ID (email). It is also represented in the BASE64 format. The clean JS notation looks like this:
{ "IAT": 123456789, "JTI": f4as6d5f4as6d54fasd6df4, "exp": 123456849, "email": "username@yourcompany.com"}CODEIAT (Issued At) Stores the time when this token was created. JTI (JWT ID) The token identifier, issued automatically and encoded. exp Expiration time of this token. email Email address of a user (or a user ID) that you want to authenticate. The email address of a user should be the same on both resources, your website and iSpring LMS/ +
ZZZ is a signature
This part contains a key to encrypt the entire message (all 3 parts). It looks like this:HMACSHA256(base64UrlEncode(XXXXXX) + "." + base64UrlEncode(YYYYYY), secret)CODEsecret This is a cryptographic key that is used by both parties of this process to encode the message.
Setting up SSO Parameters
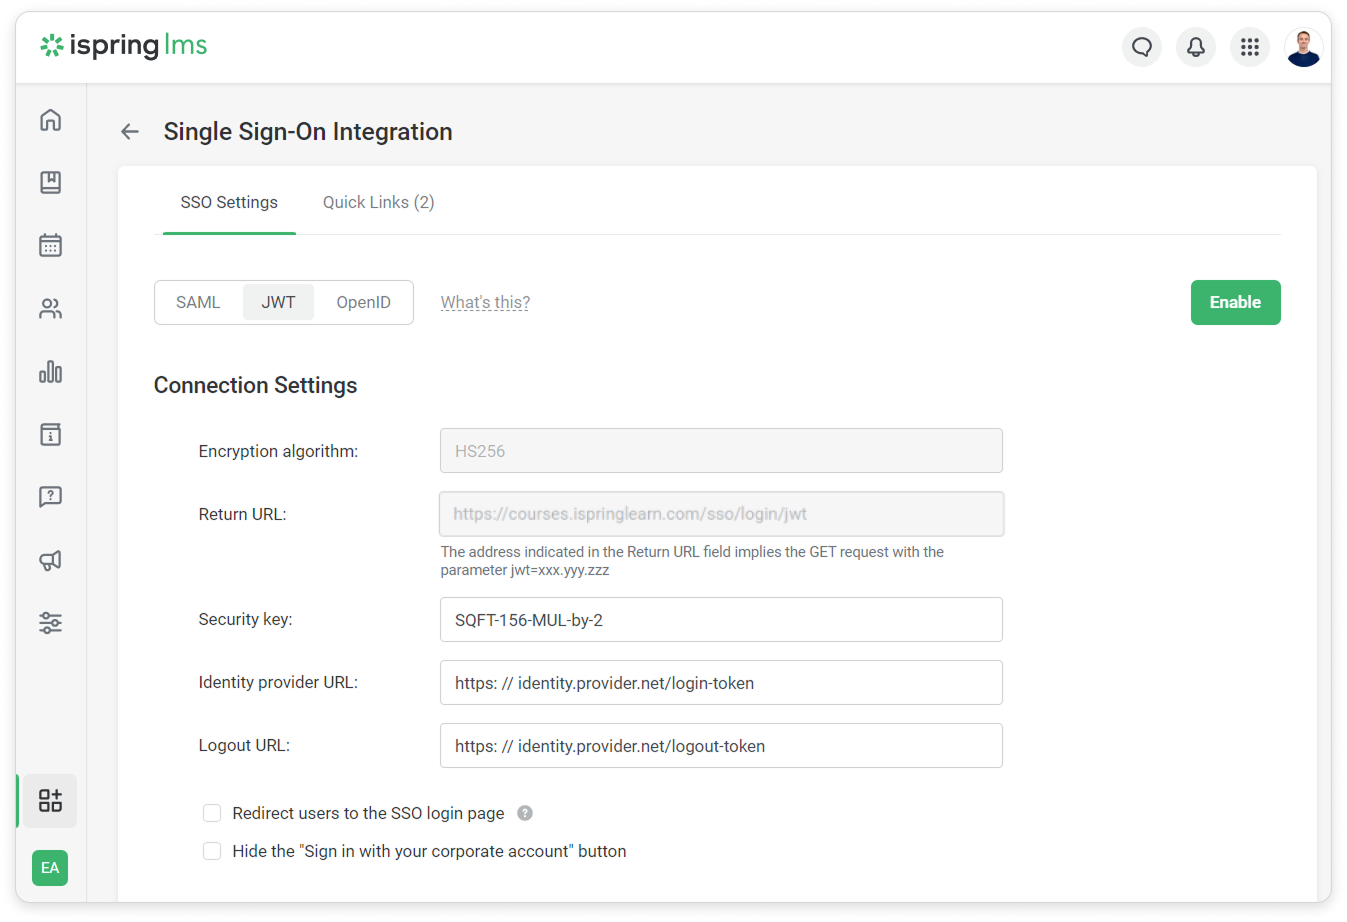
- Log in to your iSpring LMS account. Then go to the SSO Settings and click JWT.
Fill out the form fields.

Encryption algorithm
The algorithm used for signing/encrypting.
Return URL
The web-address of a page where users who have gone through the identity authentication are directed.
Security key
The cryptographic key and the secret part of the JWT token.
Identity provider URL
The web-address of a page where the script generating JWT tokens is kept.
Logout URL
The web-address of a page where the script generating JWT tokens for users' logout is kept.
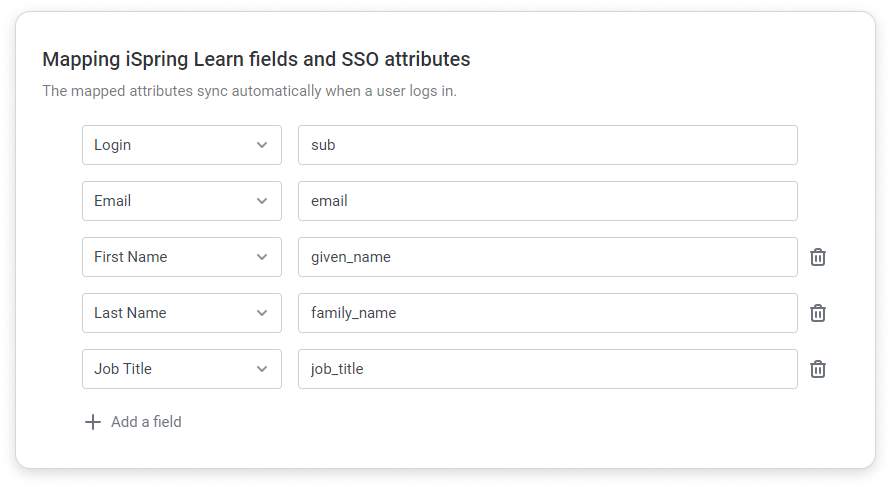
Then, match fields in iSpring LMS and your SSO service.

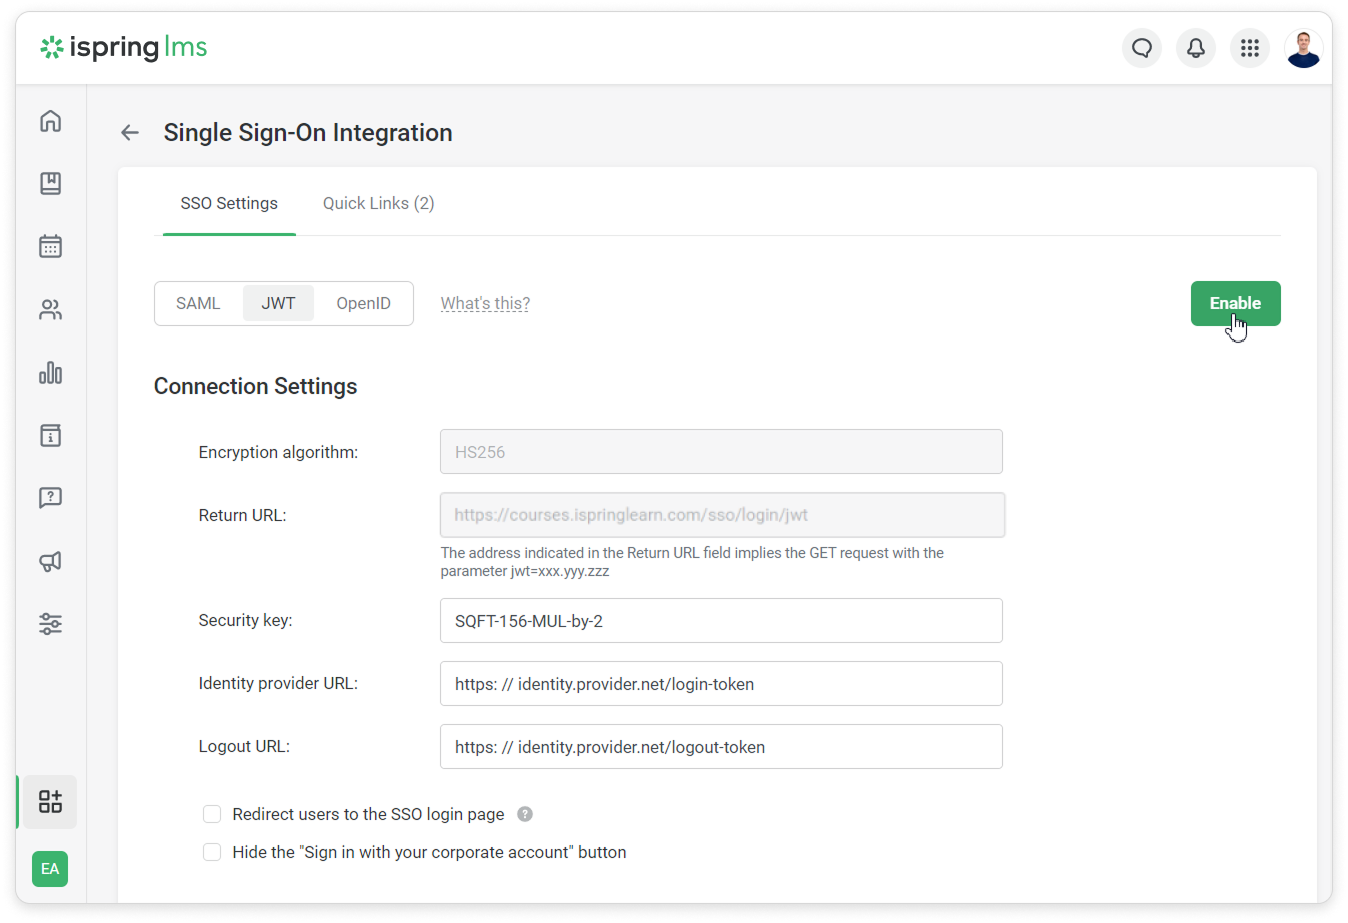
- Finally, click Enable.

We recommend using the HTTPS protocol instead of HTTP for a higher security level.
If you have enabled JWT in your iSpring LMS account and for some reasons can't login using single sign-on, type the following web address: https://yourcompany.ispringlearn.com/login?no_sso. Now you will sign in with the account as usual, using your login and password.
Processing Logic
The whole process is shown on the UML time sequence diagram below:
Authorization example
If users aren't included in the iSpring LMS database yet, when authorizing with JWT, they are automatically added and authorized in the system. The only obstacle for an automatic adding a new user can be your subscription limit.
One more example of an automatic authorization is the case when users signs in with iSpring LMS without a prior authorization on your corporate website. If the JWT technology is enabled in your iSpring LMS account, users will be automatically redirected to a corresponding page of the identity provider website :https://www.yourwebsite.com/login-token/.
After the login and password are entered on the identity provider side, users get authorized in iSpring LMS.
PHP code examples
Authentication service realization (login)
This service should be placed on your website. It authenticates a user and logs this user in remotely on the iSpring LMS side. In this example, iSpring LMS interacts with the authentication service. Possible cases and outcomes:
If the user is authorized, the system redirects this user to iSpring LMS.
If not authorized, the system processes the user input form. If it is successful, the system redirects this user to iSpring LMS.
A sample at GitHub: authentication.php
Logout user request processing
iSpring LMS LMS provides the ability to logout a user from the system as well. This service should be placed on your website. In this example, the script checks an email, performs user logout and shows the respective message.
A sample at GitHub: logout.php
Authorization without JWT
If you have enabled JWT in your iSpring LMS account but are unable to log in using single sign-on for some reason, type the following web address: https://yourcompany.ispringlearn.com/login?no_jwt=1.
Now you will sign in to the account as usual, using your login and password.
