You can generate an image right inside a page by simply describing what you want to visualize. The system automatically enhances your input and produces an image in the selected style, such as watercolor, clay, or 3D.
In the trial version of iSpring LMS, you can generate up to 30 images. This limit is shared across the whole account, not per individual author.
With a subscription, you can generate unlimited images.
How to Open the Image Generation Window
There are two ways you can generate an image:
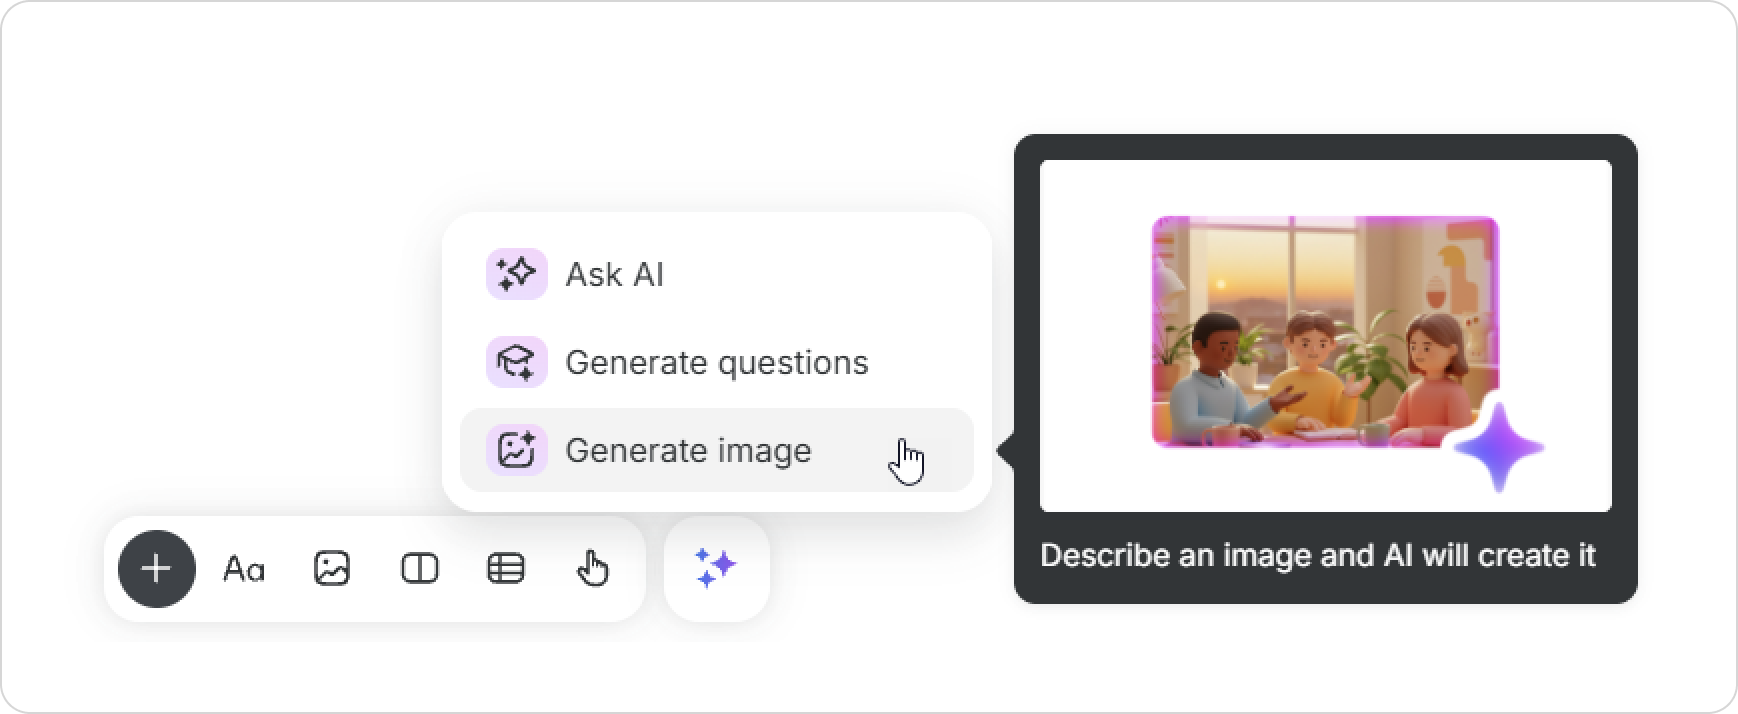
Option 1: Using toolbar
In the toolbar, select AI tools > Generate image.
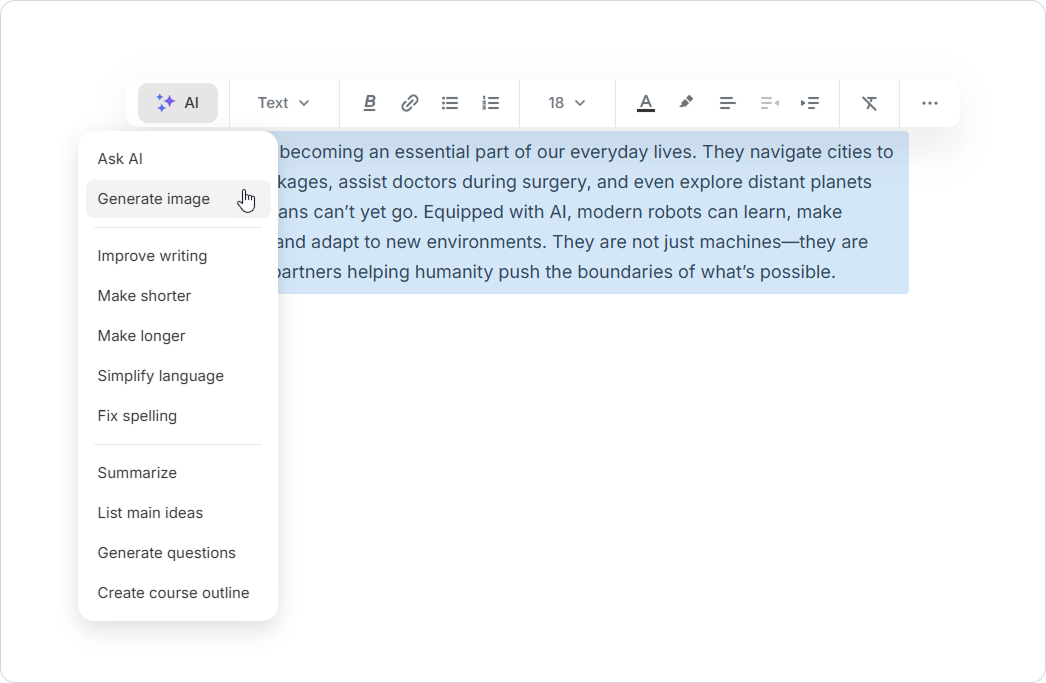
Option 2: Using Text Selection
Highlight any text or an entire block on the page.
On the toolbar, click on AI > Generate Image.
How to Generate an Image
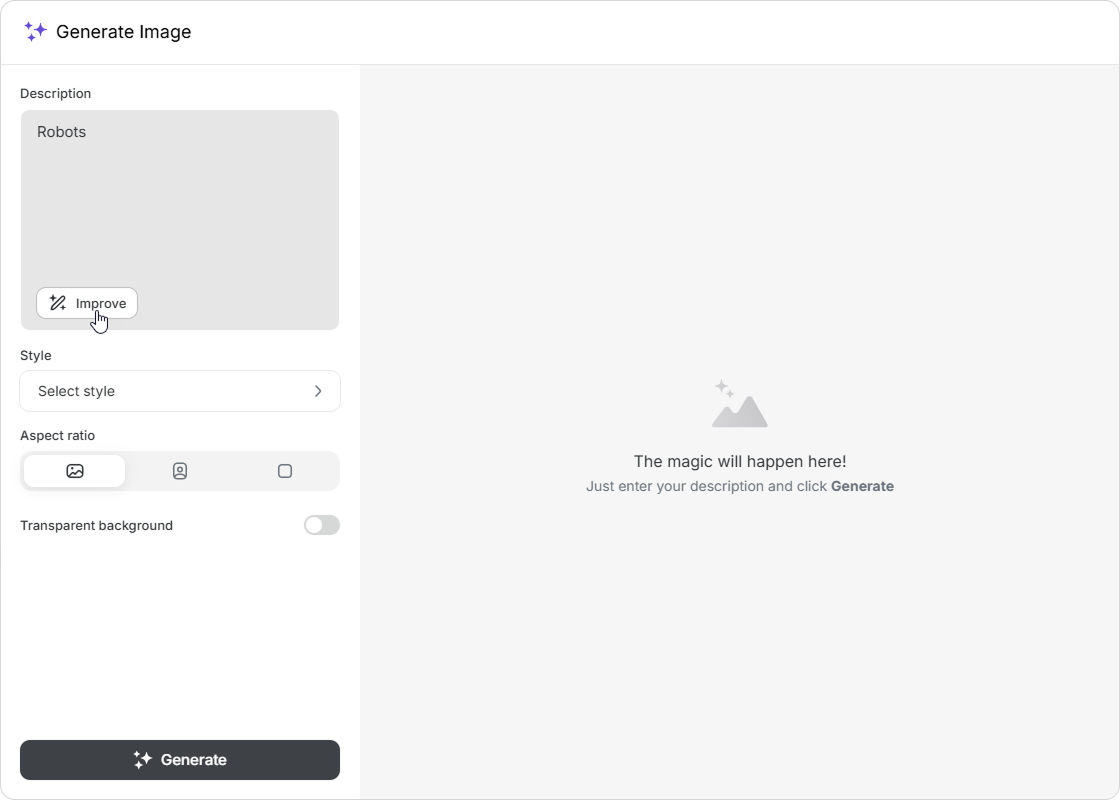
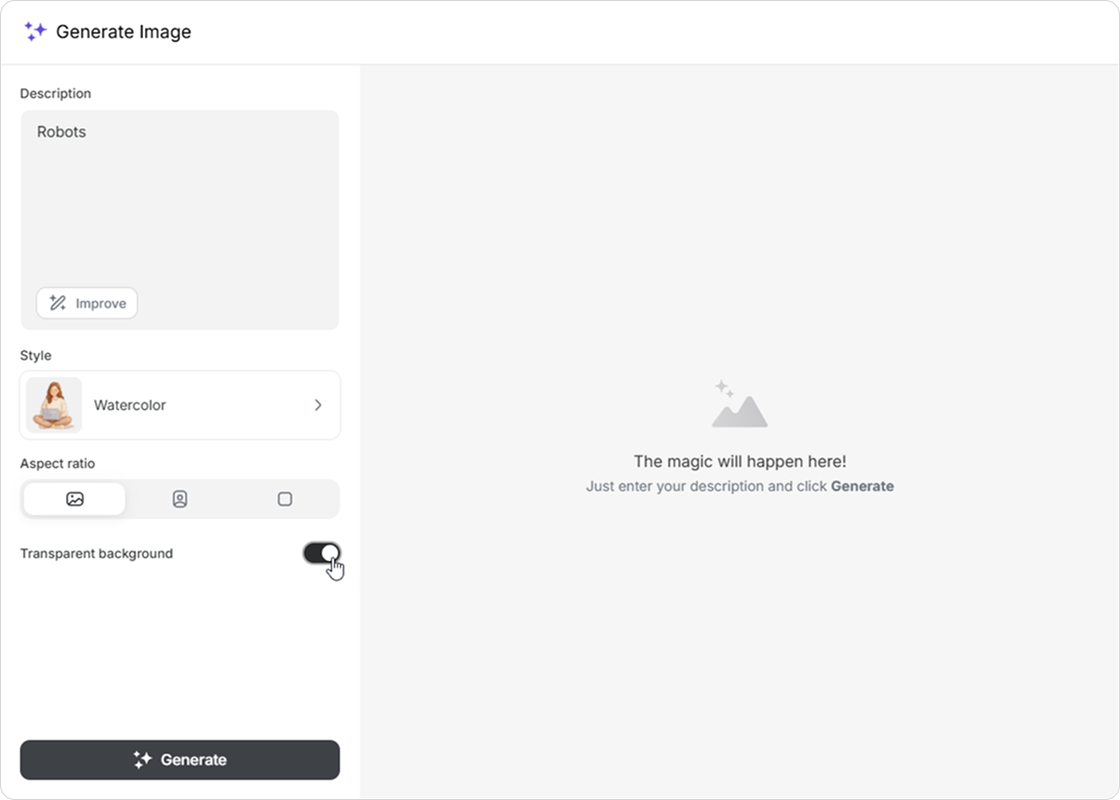
In the Description field, enter a text prompt describing the image you want to create.
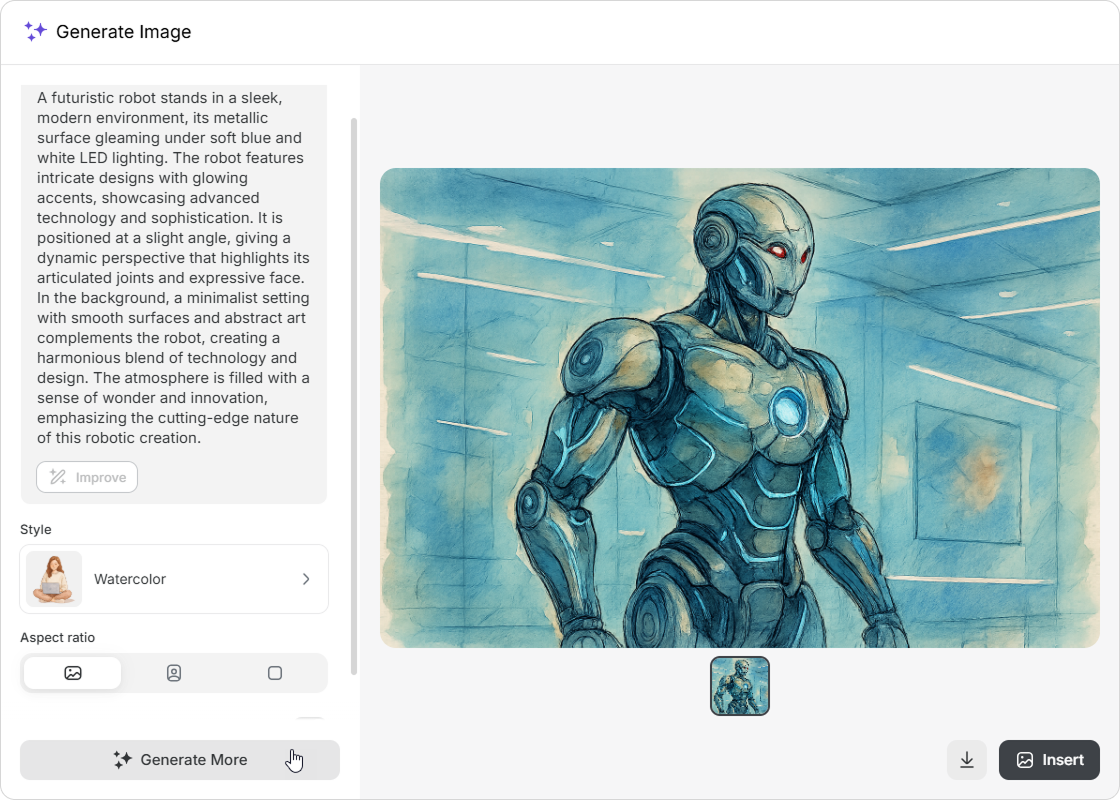
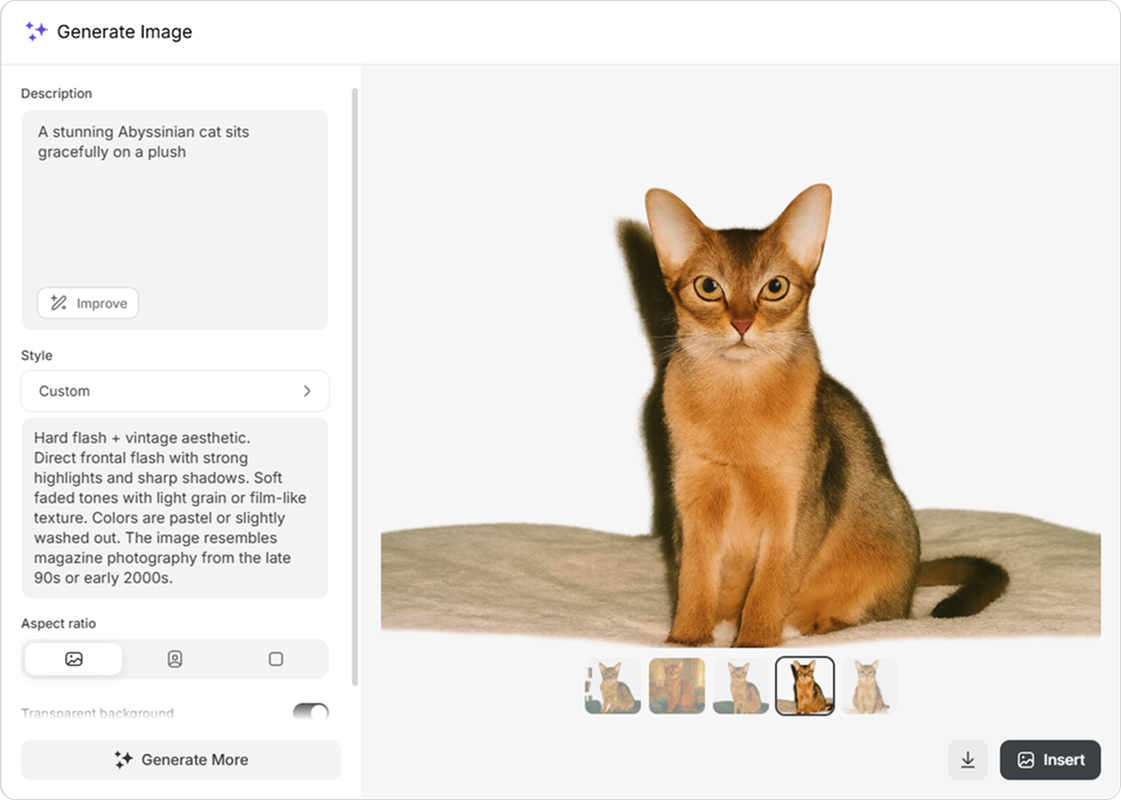
To make your prompt more effective, click on Improve. The description will become more detailed, helping the AI generate a more accurate result.
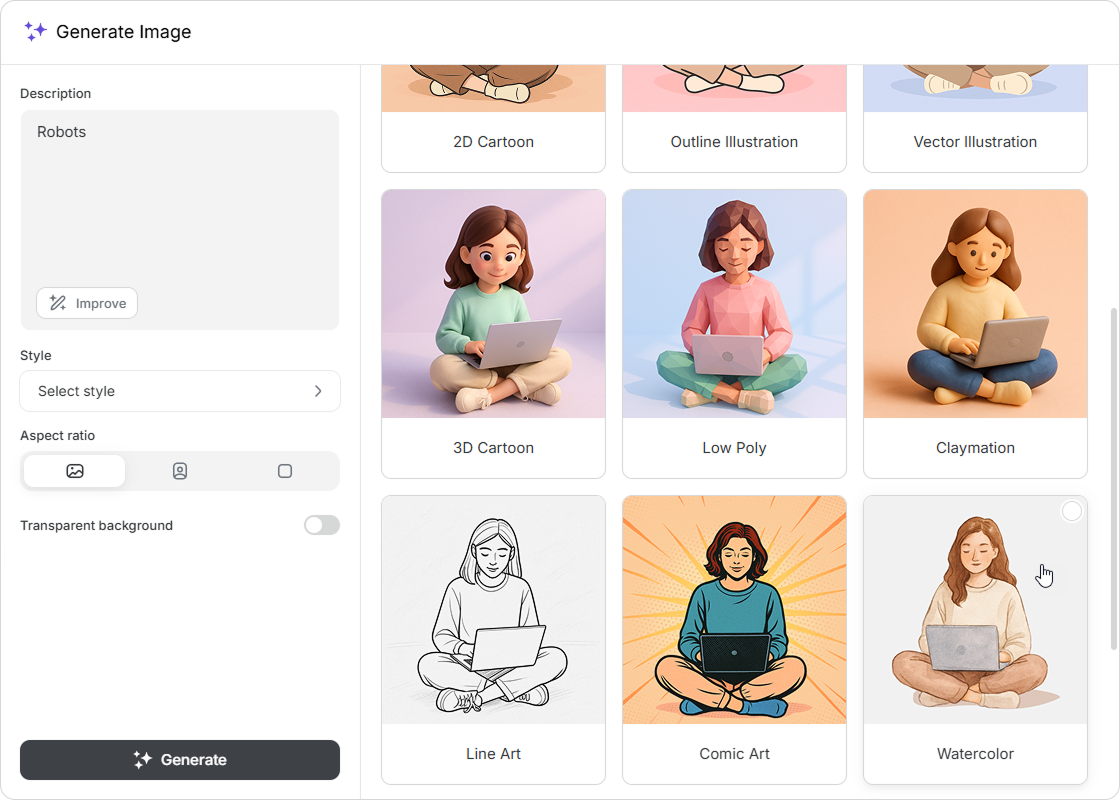
Choose an image style, such as Watercolor or Claymation.
Select the aspect ratio: Landscape (3:2), Portrait (2:3), or Square (1:1).
If you’re creating icons or need a background-free image, enable Transparent background.
Click Generate.
Once the image has been generated, you can:
Generate More to get additional variations using the same description.
Click onInsert to add the image to the page.
Click on the Download icon to save the image to your computer.
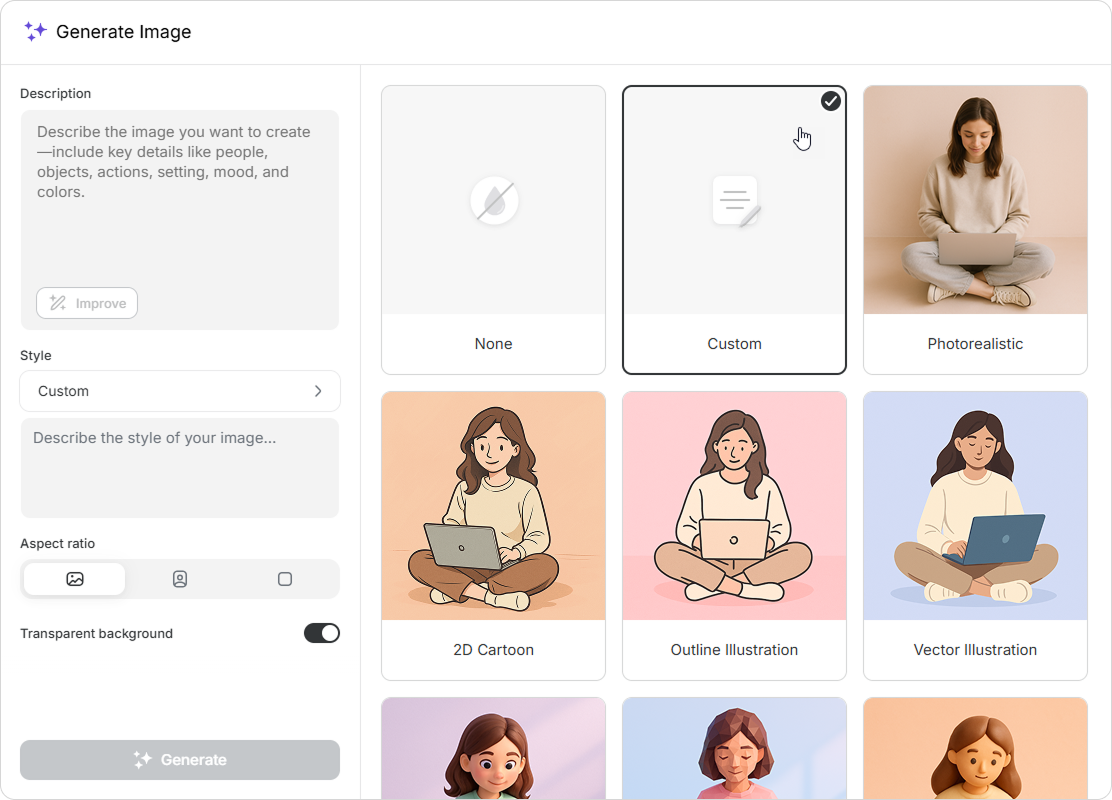
How to Create a Custom Image Style
Open the Generate Image window.
Click on Style > Custom.
Enter a description of your style. You can specify preferred colors, level of detail, mood, or visual characteristics.
Your custom style will be saved for this page and will only be visible to you. To reuse it, select Custom style again.
AI cannot generate images that violate usage policies.
If your prompt contains restricted content, you will see this message: “The content in this description violates the rules of our AI service. Please change your prompt and try again.”