How to Add a Category
You can easily organize your learning content with nested categories of unlimited depth — giving you complete control over your catalog structure.
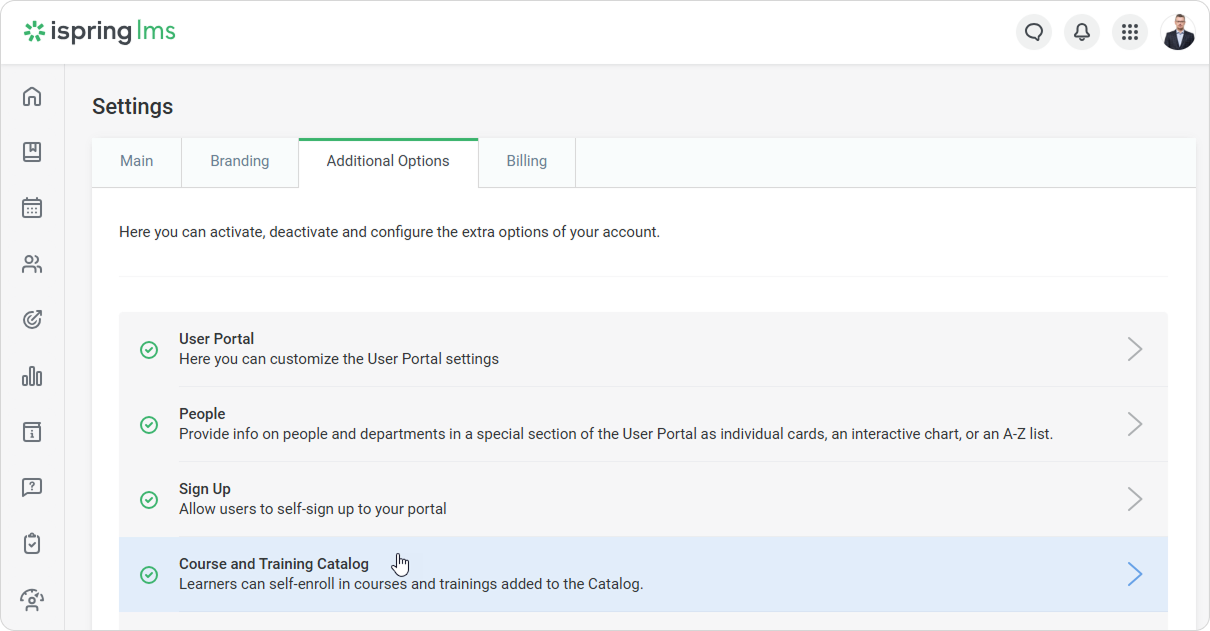
- Go to Settings > Additional Options > Course and Training Catalog.
- Scroll down to Categories and click on Add Category. This will allow you to create a root category and a nested category.
- A root category is a top-level category that can contain other categories.
- A nested category is placed inside another category.
Example: If the root category is “Marketing,” a nested category might be “SMM.”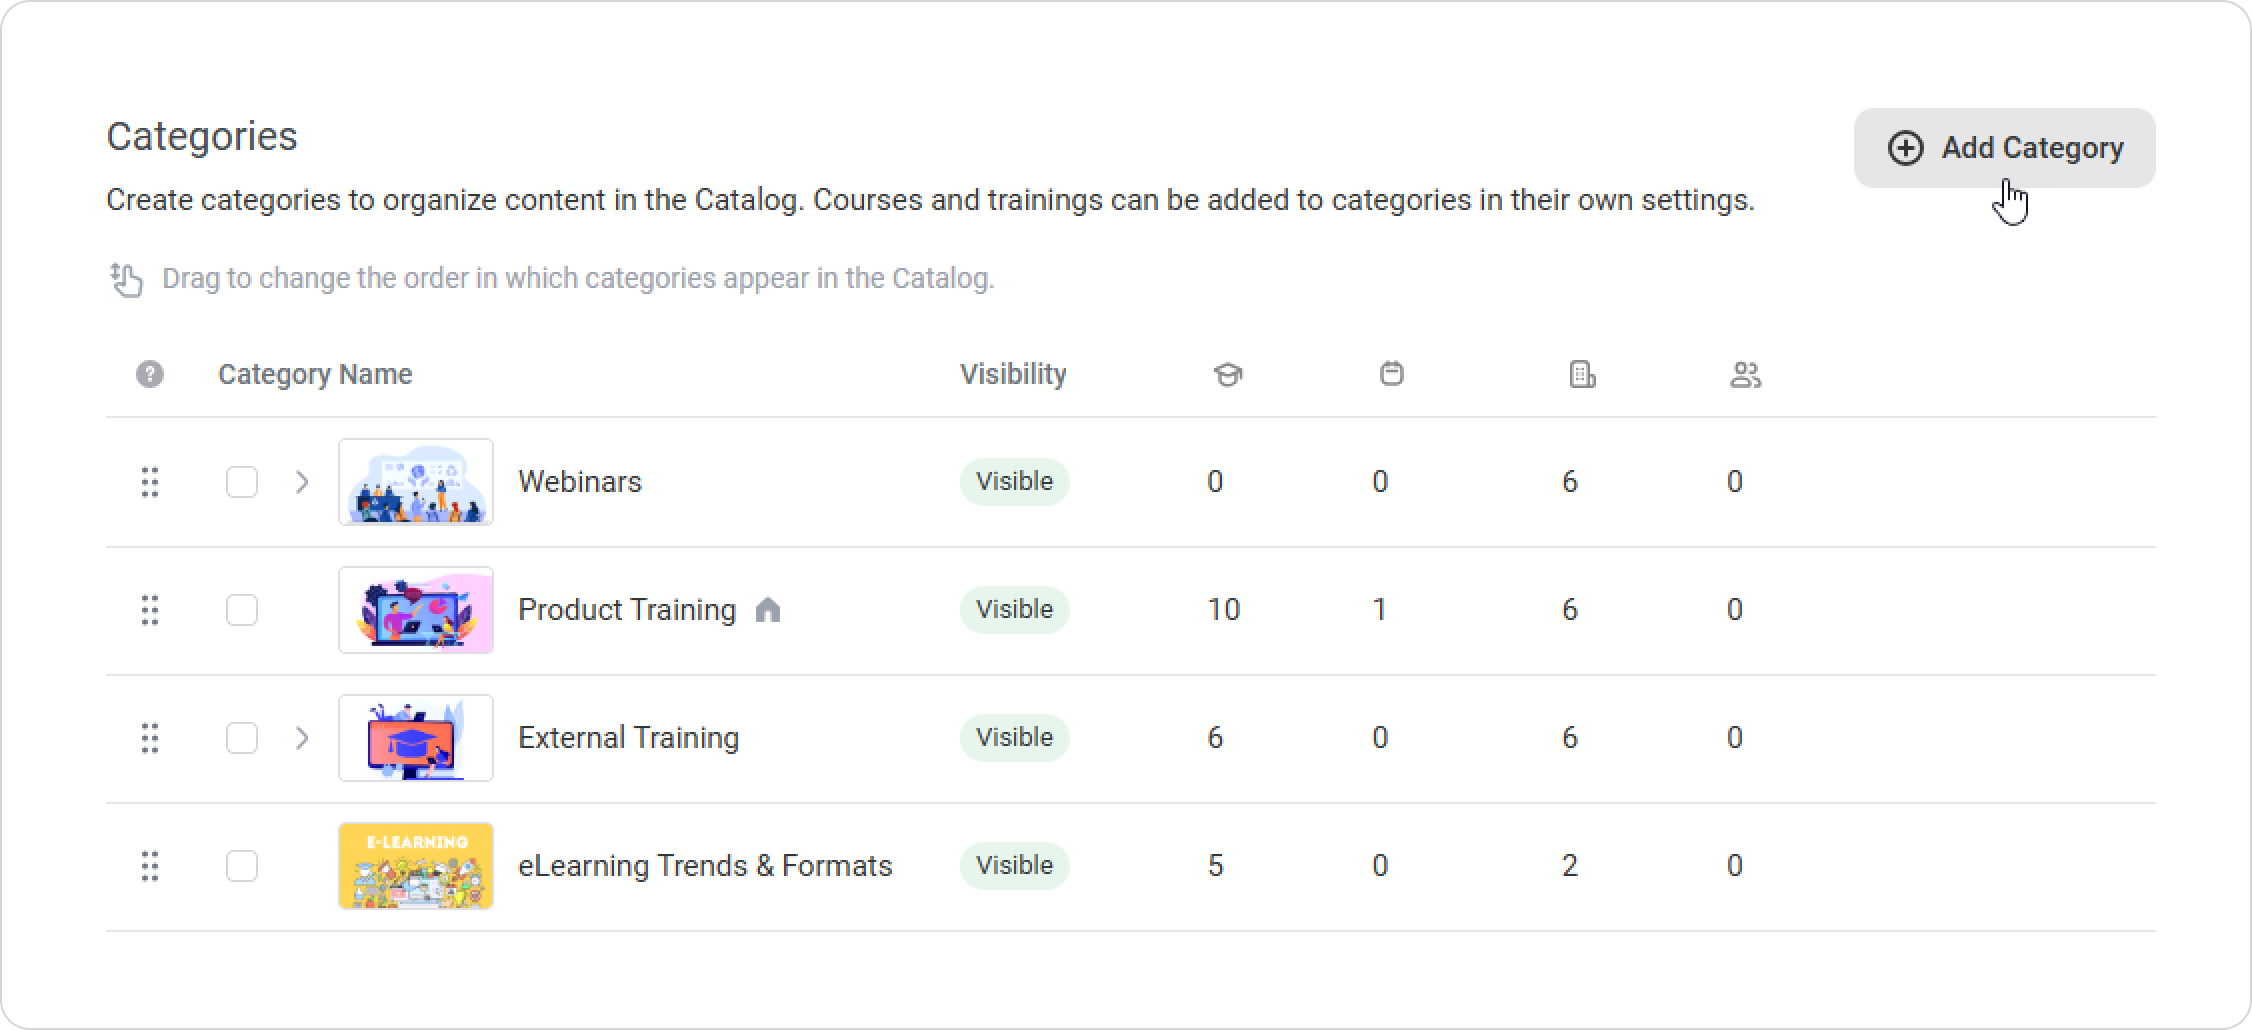
You can also add a nested category by clicking on the + icon next to a root category.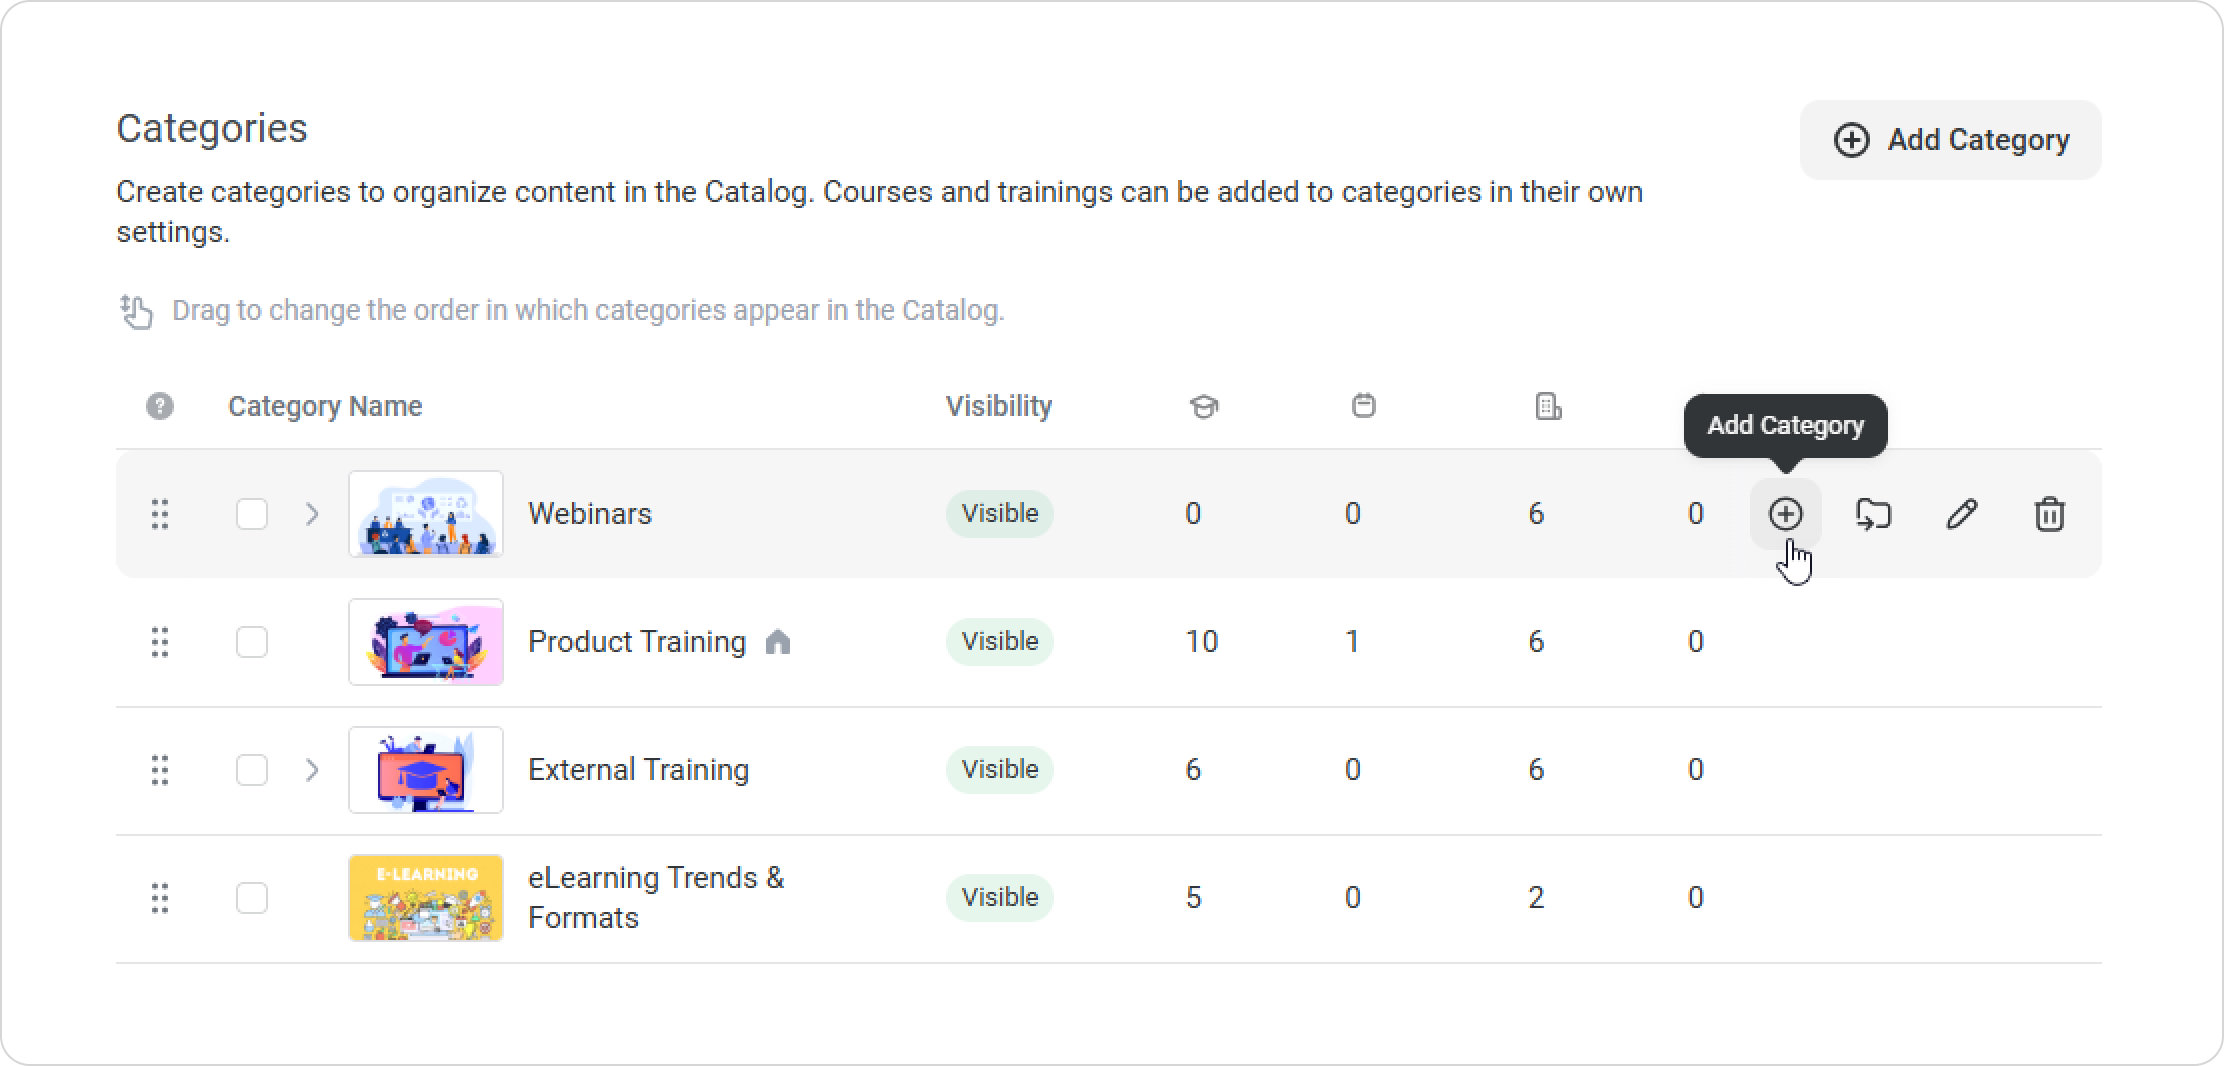
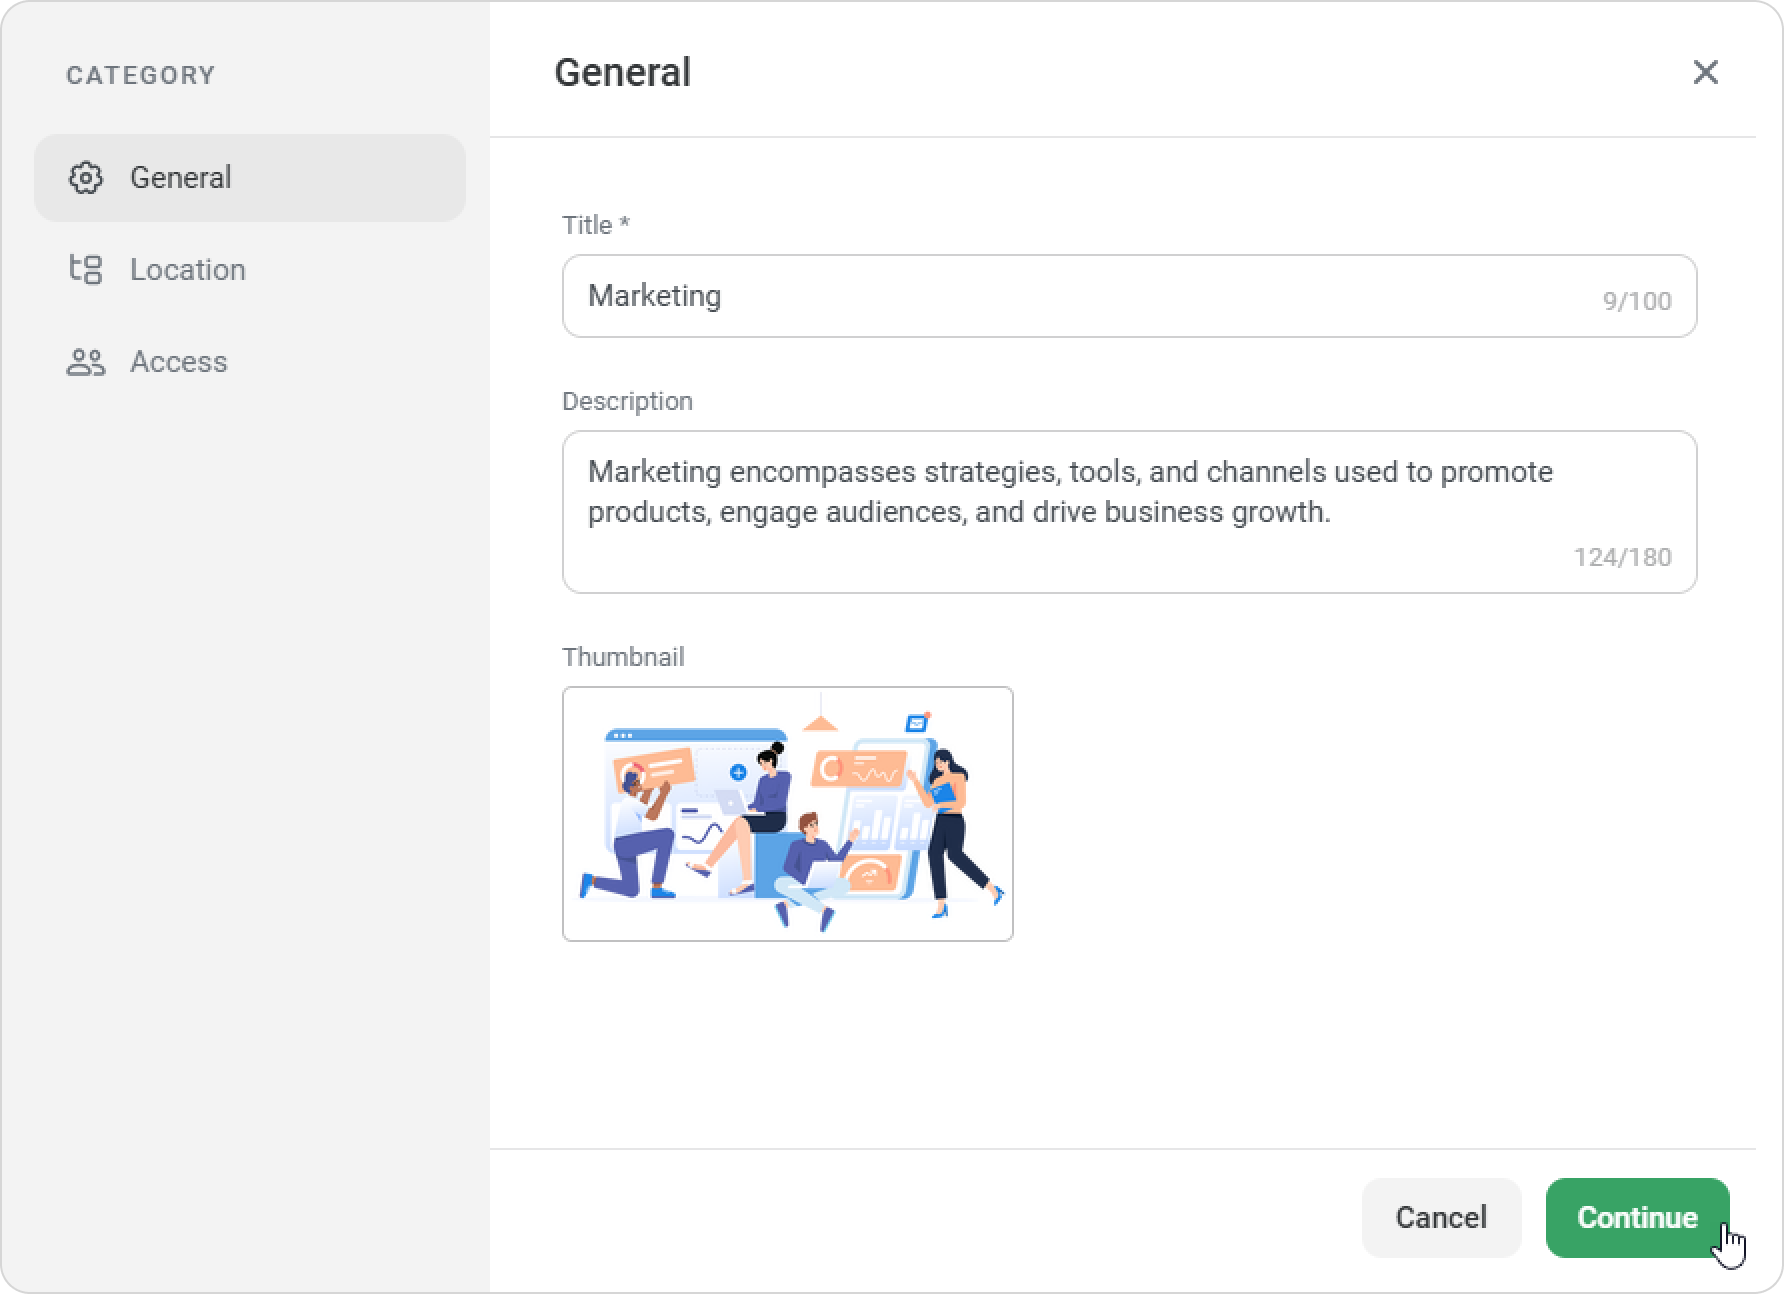
- In the General window, enter a title and description, and upload a thumbnail. Click on Continue.
- In the Location window, choose whether the new category should be a root or nested category. Click on Continue.

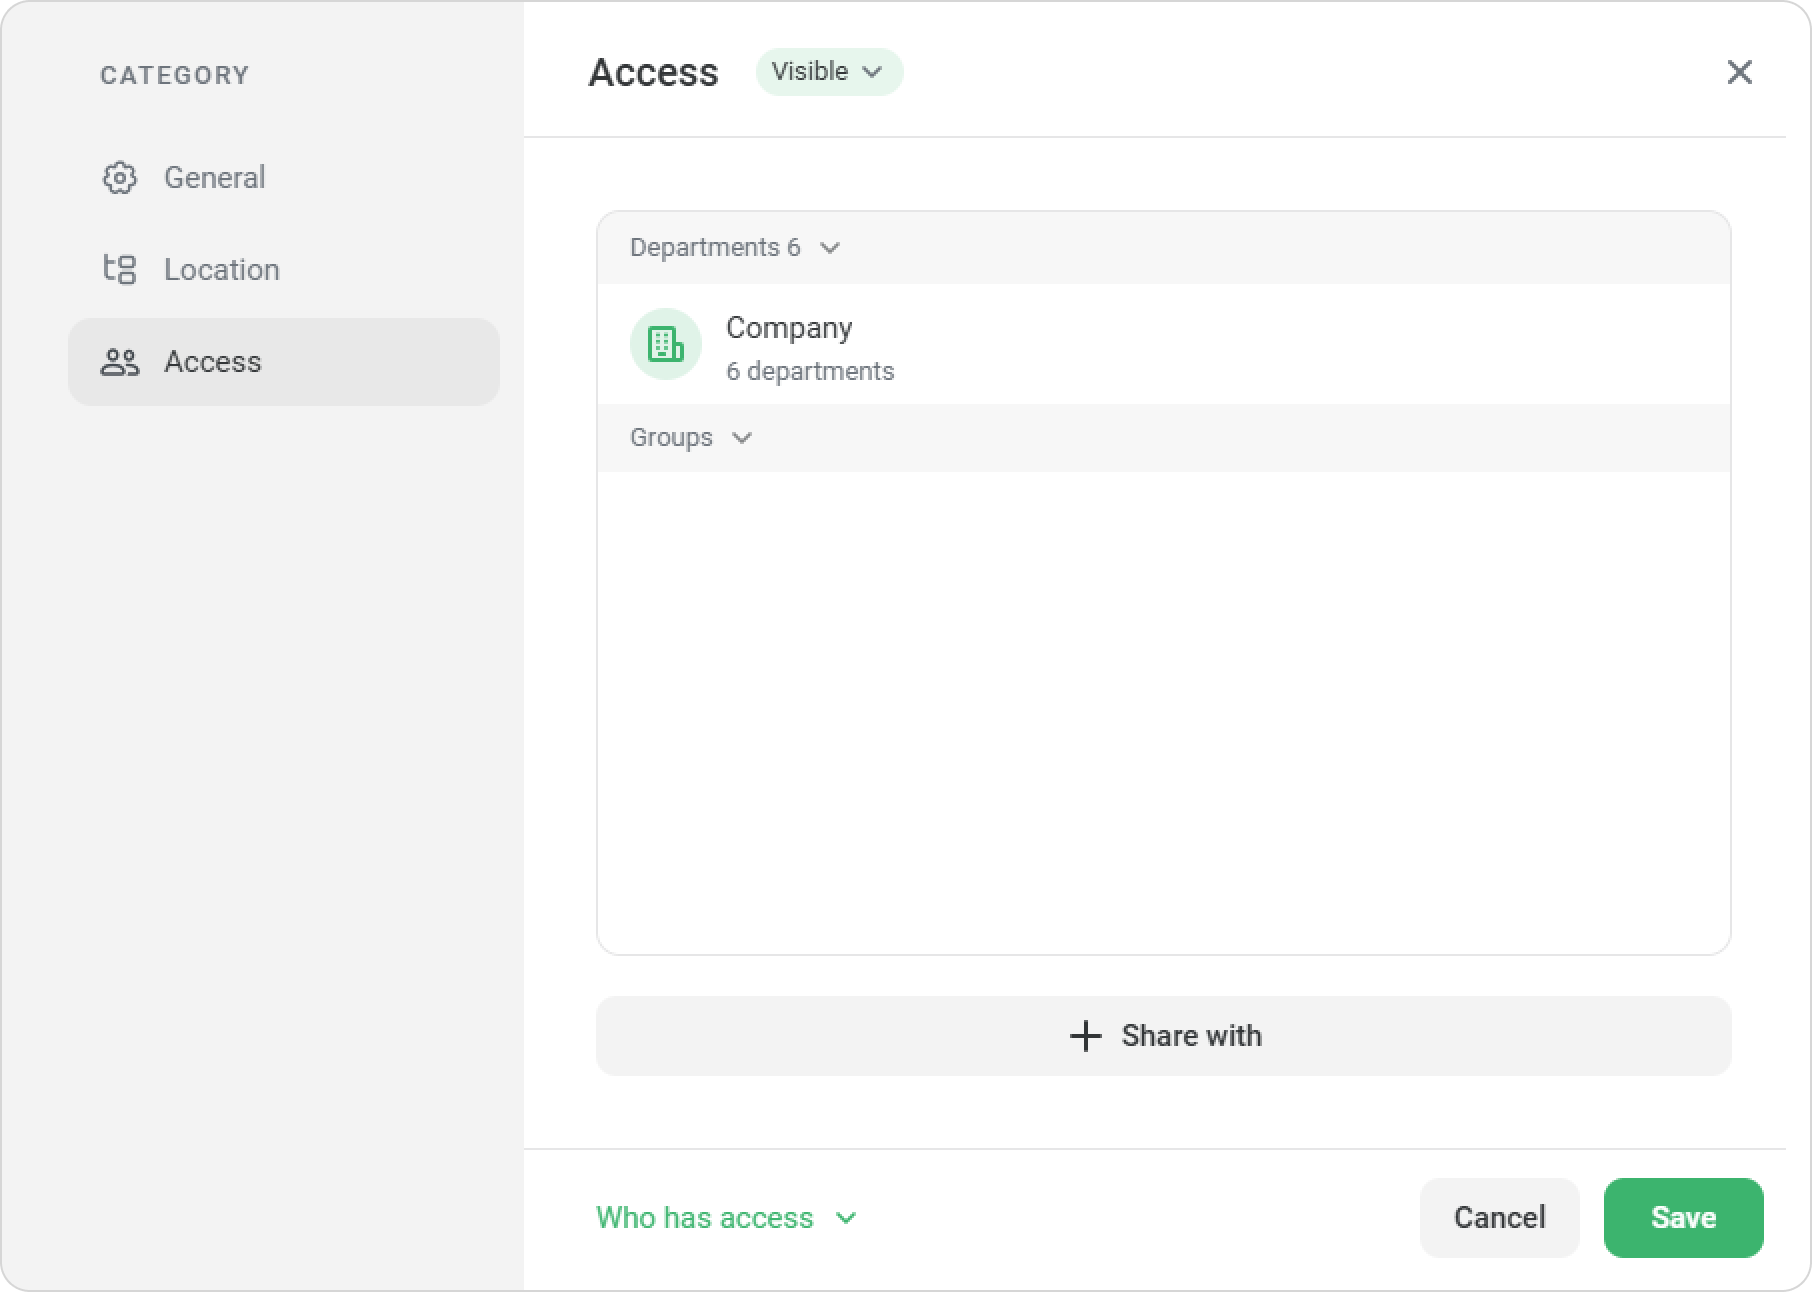
- In the Access window, select which departments and groups will see this category. If you’re creating a nested category, it will inherit access settings from its root category. Click Save.
That’s it! You've added a new category to the catalog. Now, when you add a course or training to the catalog, you’ll see both the root and nested categories.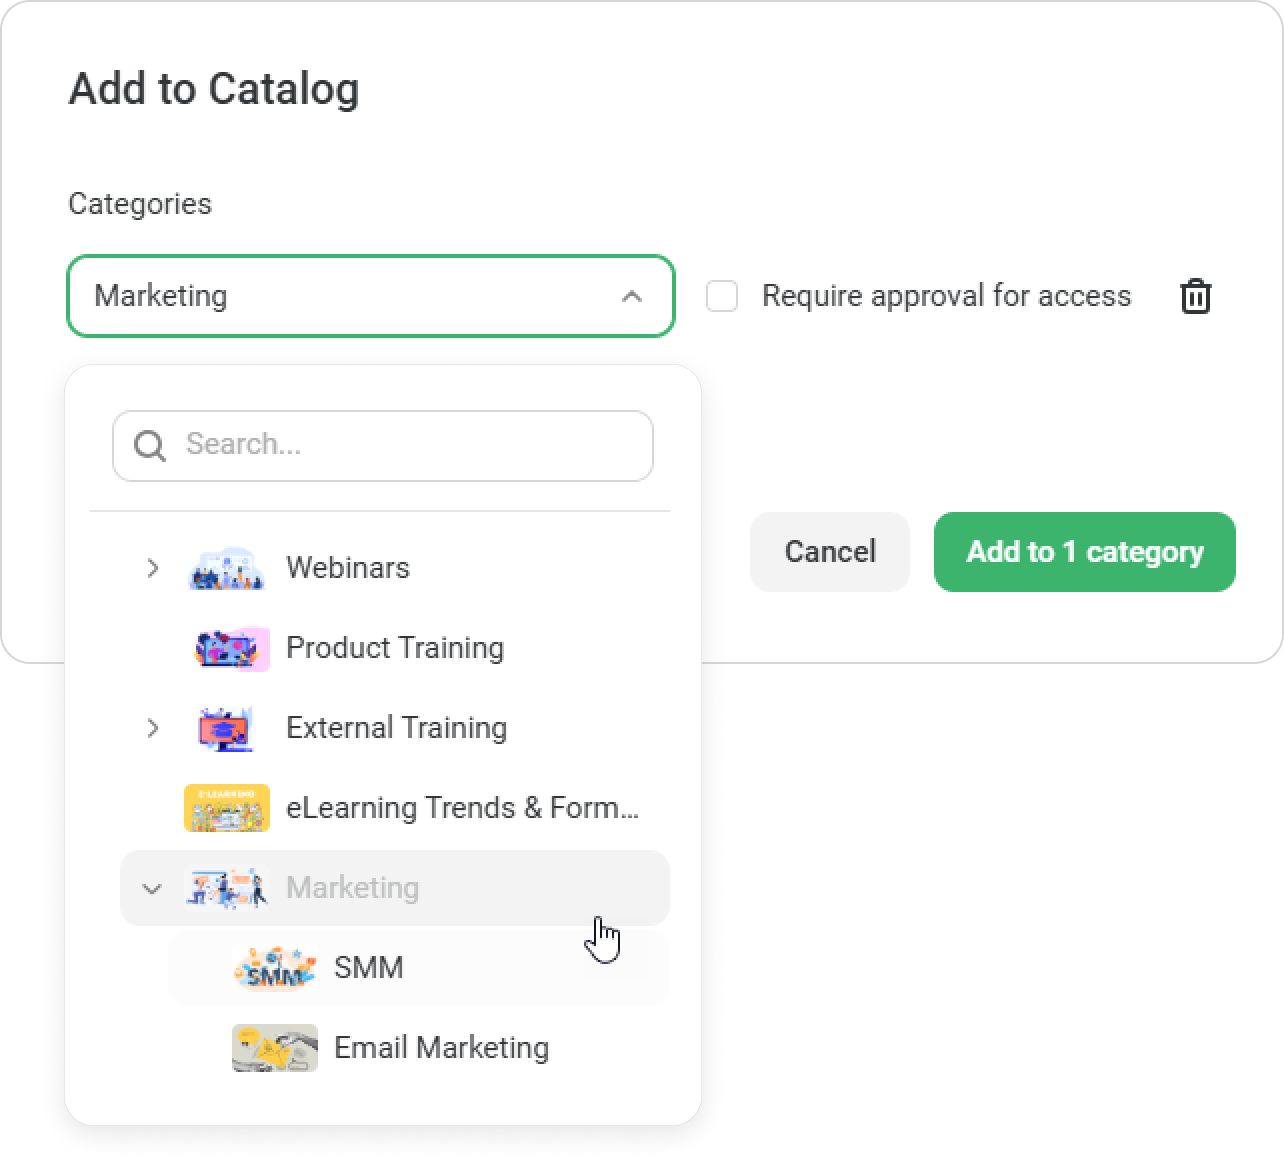
If you hide a root category, all nested categories will also be hidden.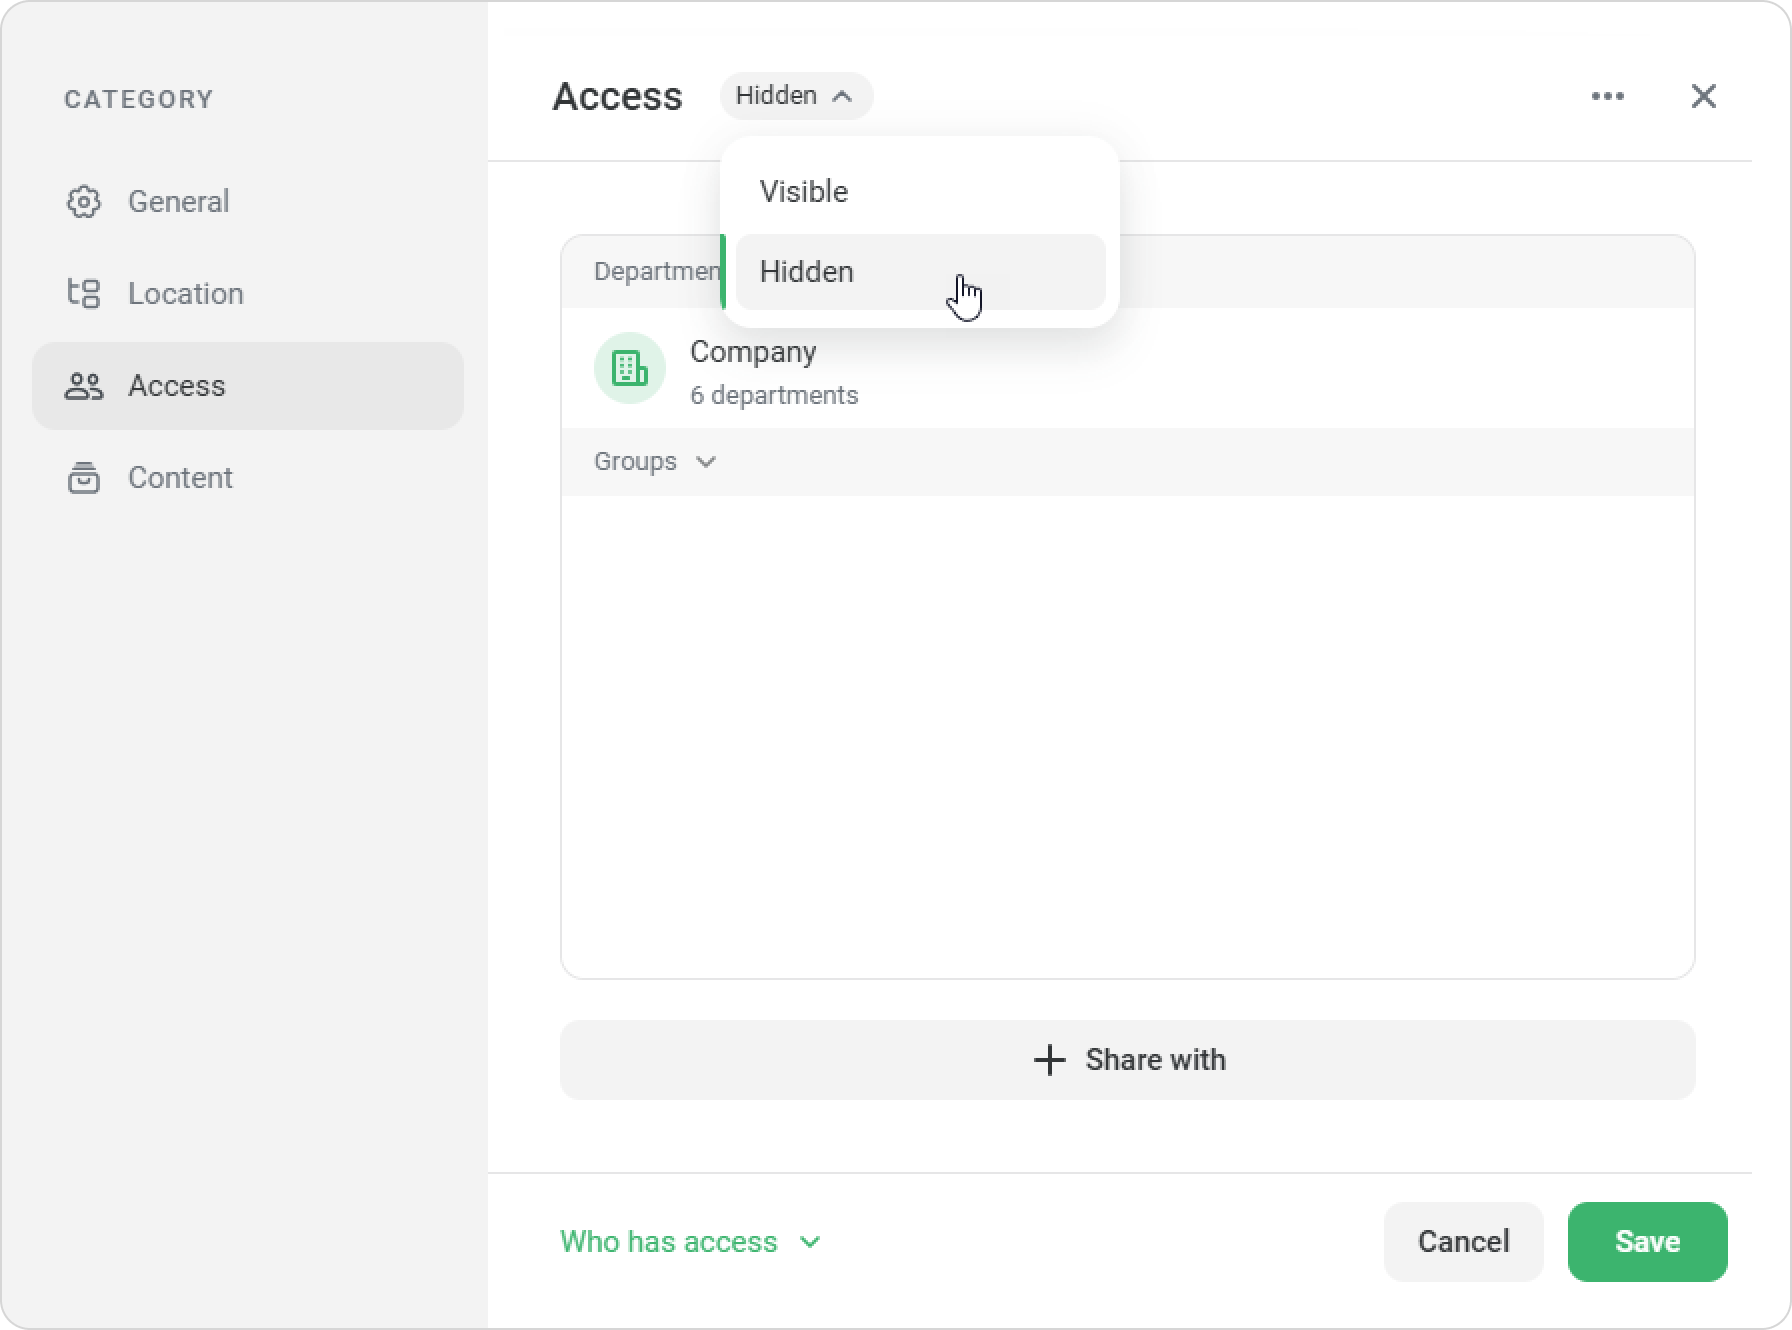
Actions with Categories
- Categories can be moved into other categories, including multiple categories, at the same time.
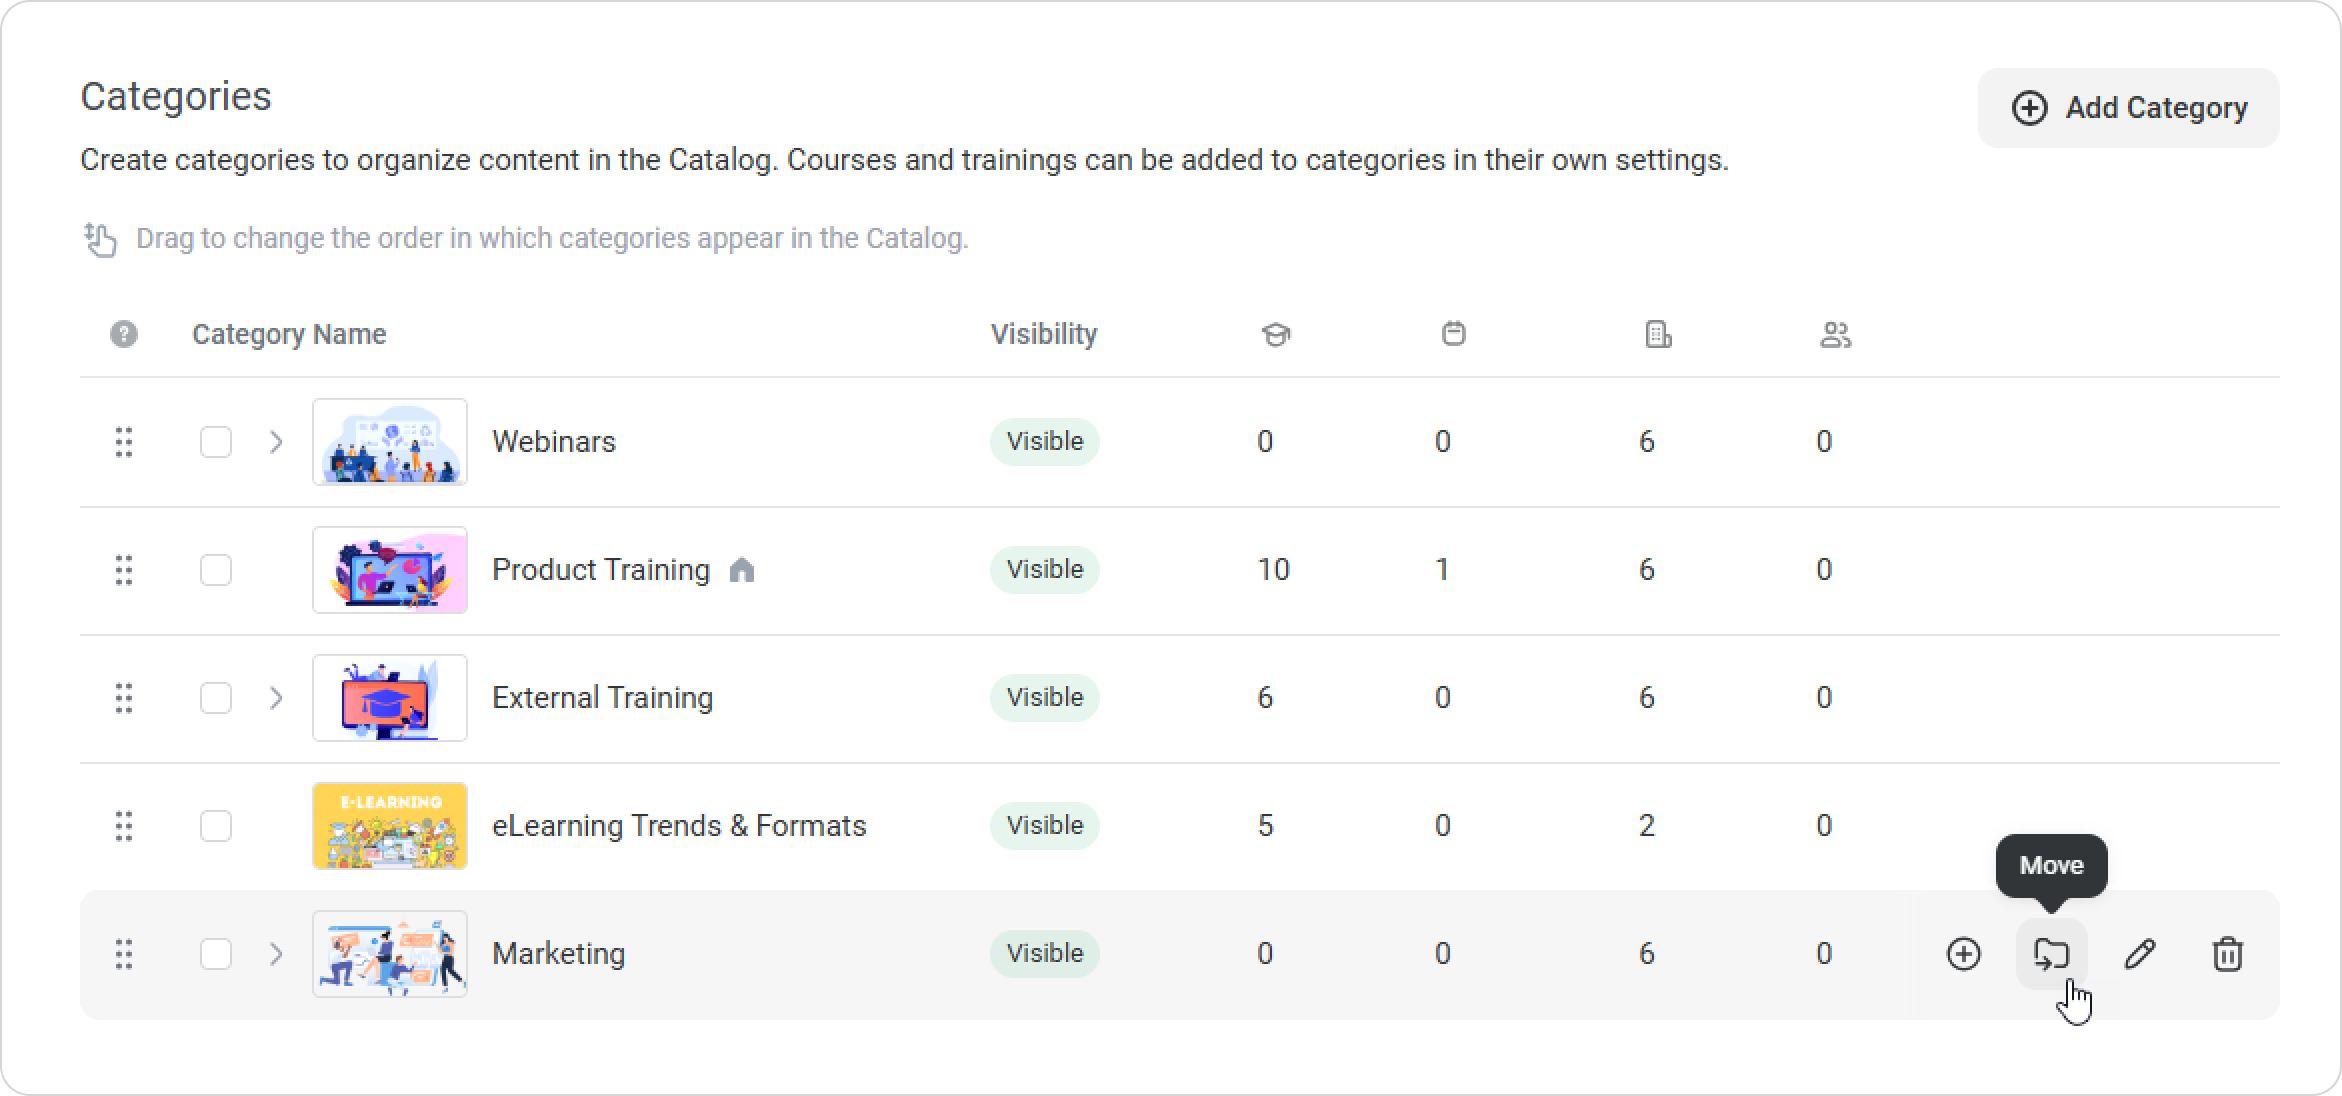
You can also drag and drop categories to rearrange them. Learners will see them in the order you’ve set.
You can only drag and drop categories within their current level: root categories can be reordered among other root categories, and nested categories among other nested categories.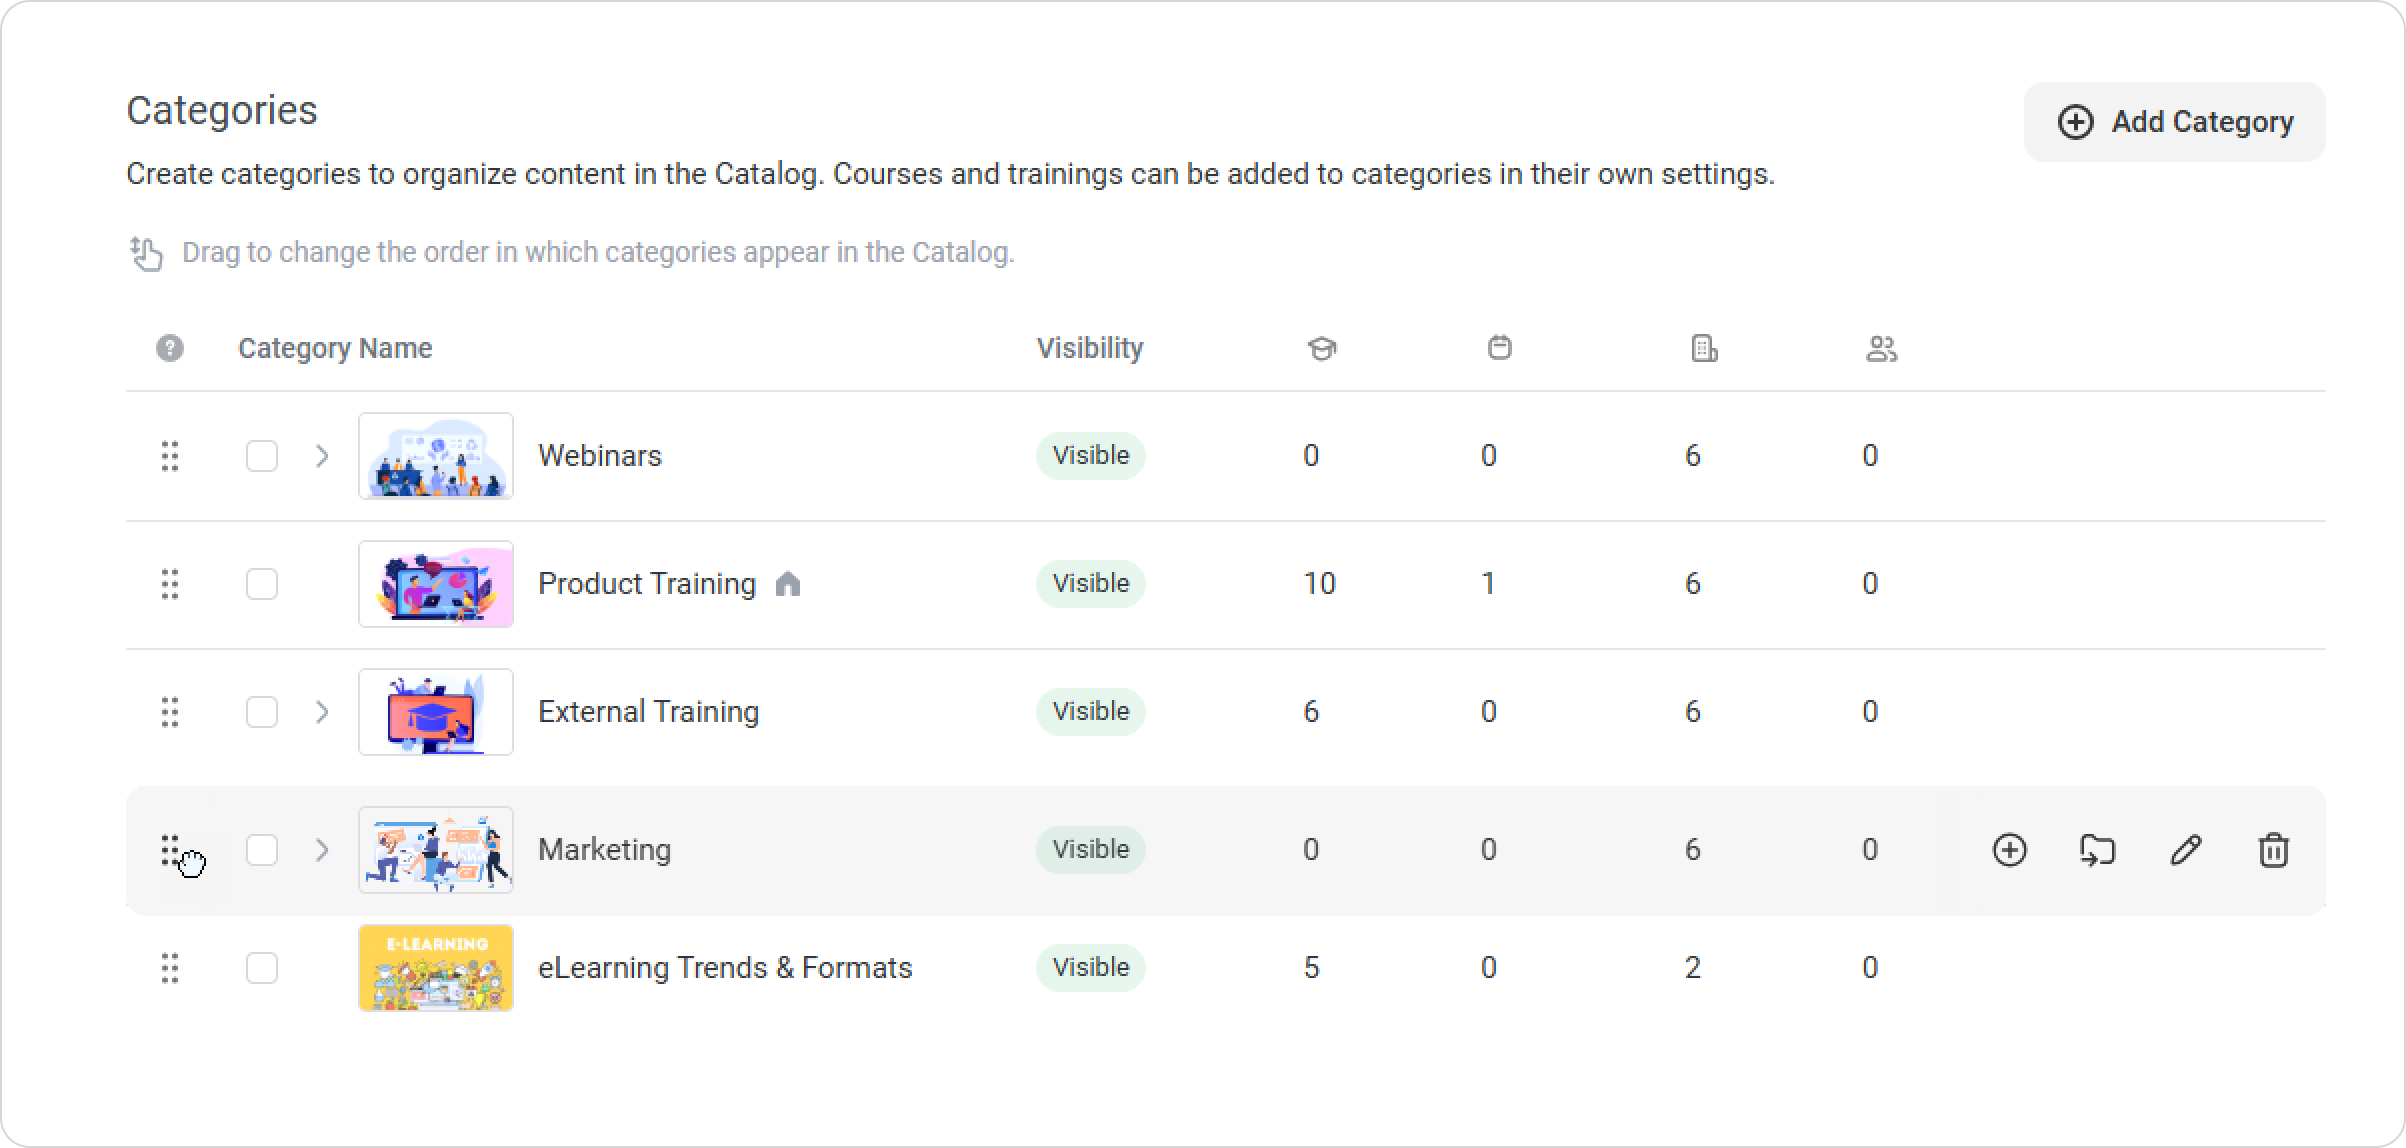
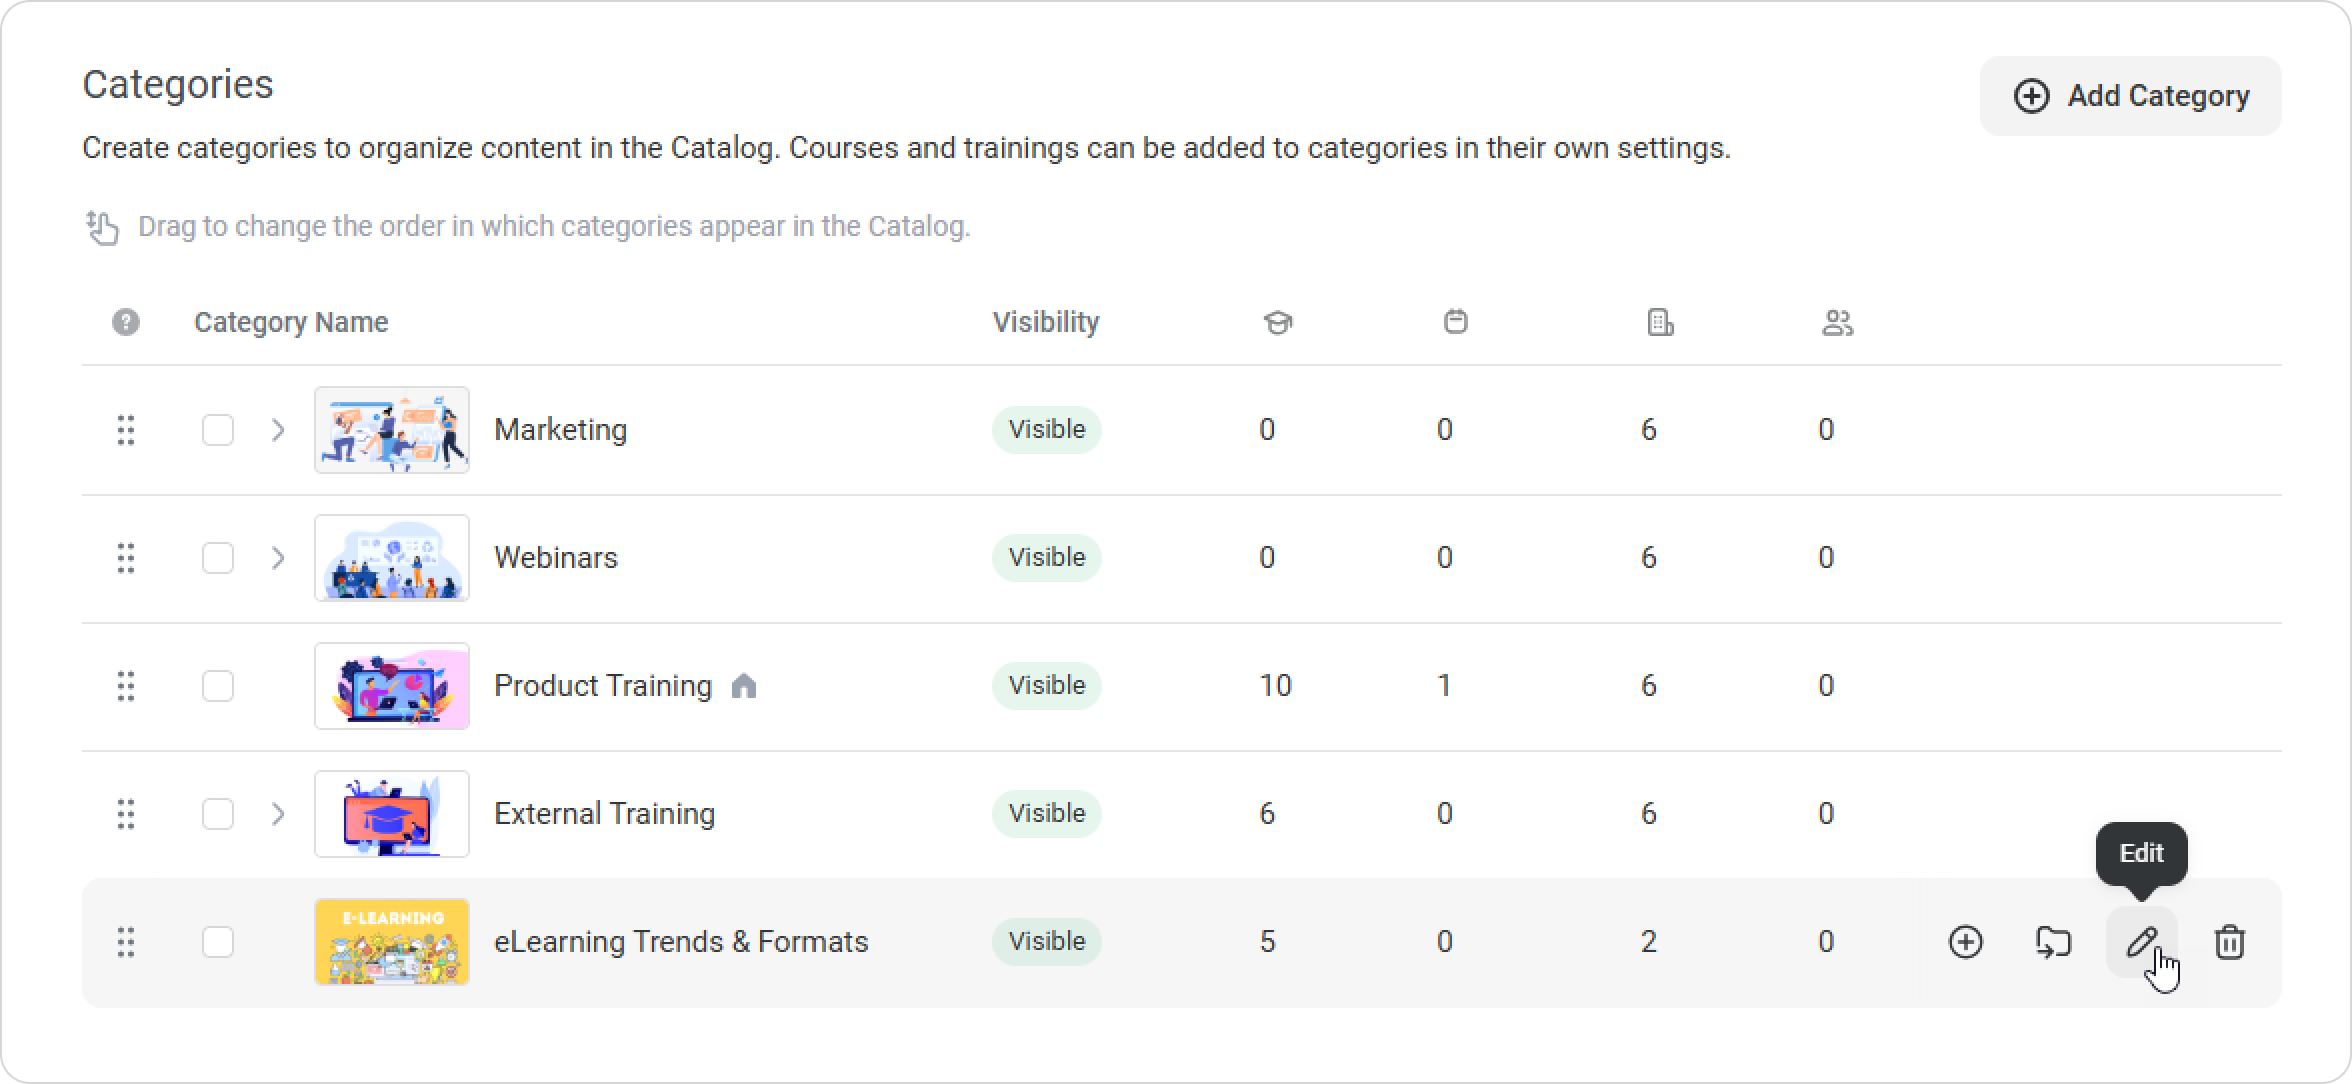
- Click on Edit next to a category to view and manage the order of its courses. In the Content tab, you can rearrange the courses as needed.
You can delete categories at any time.
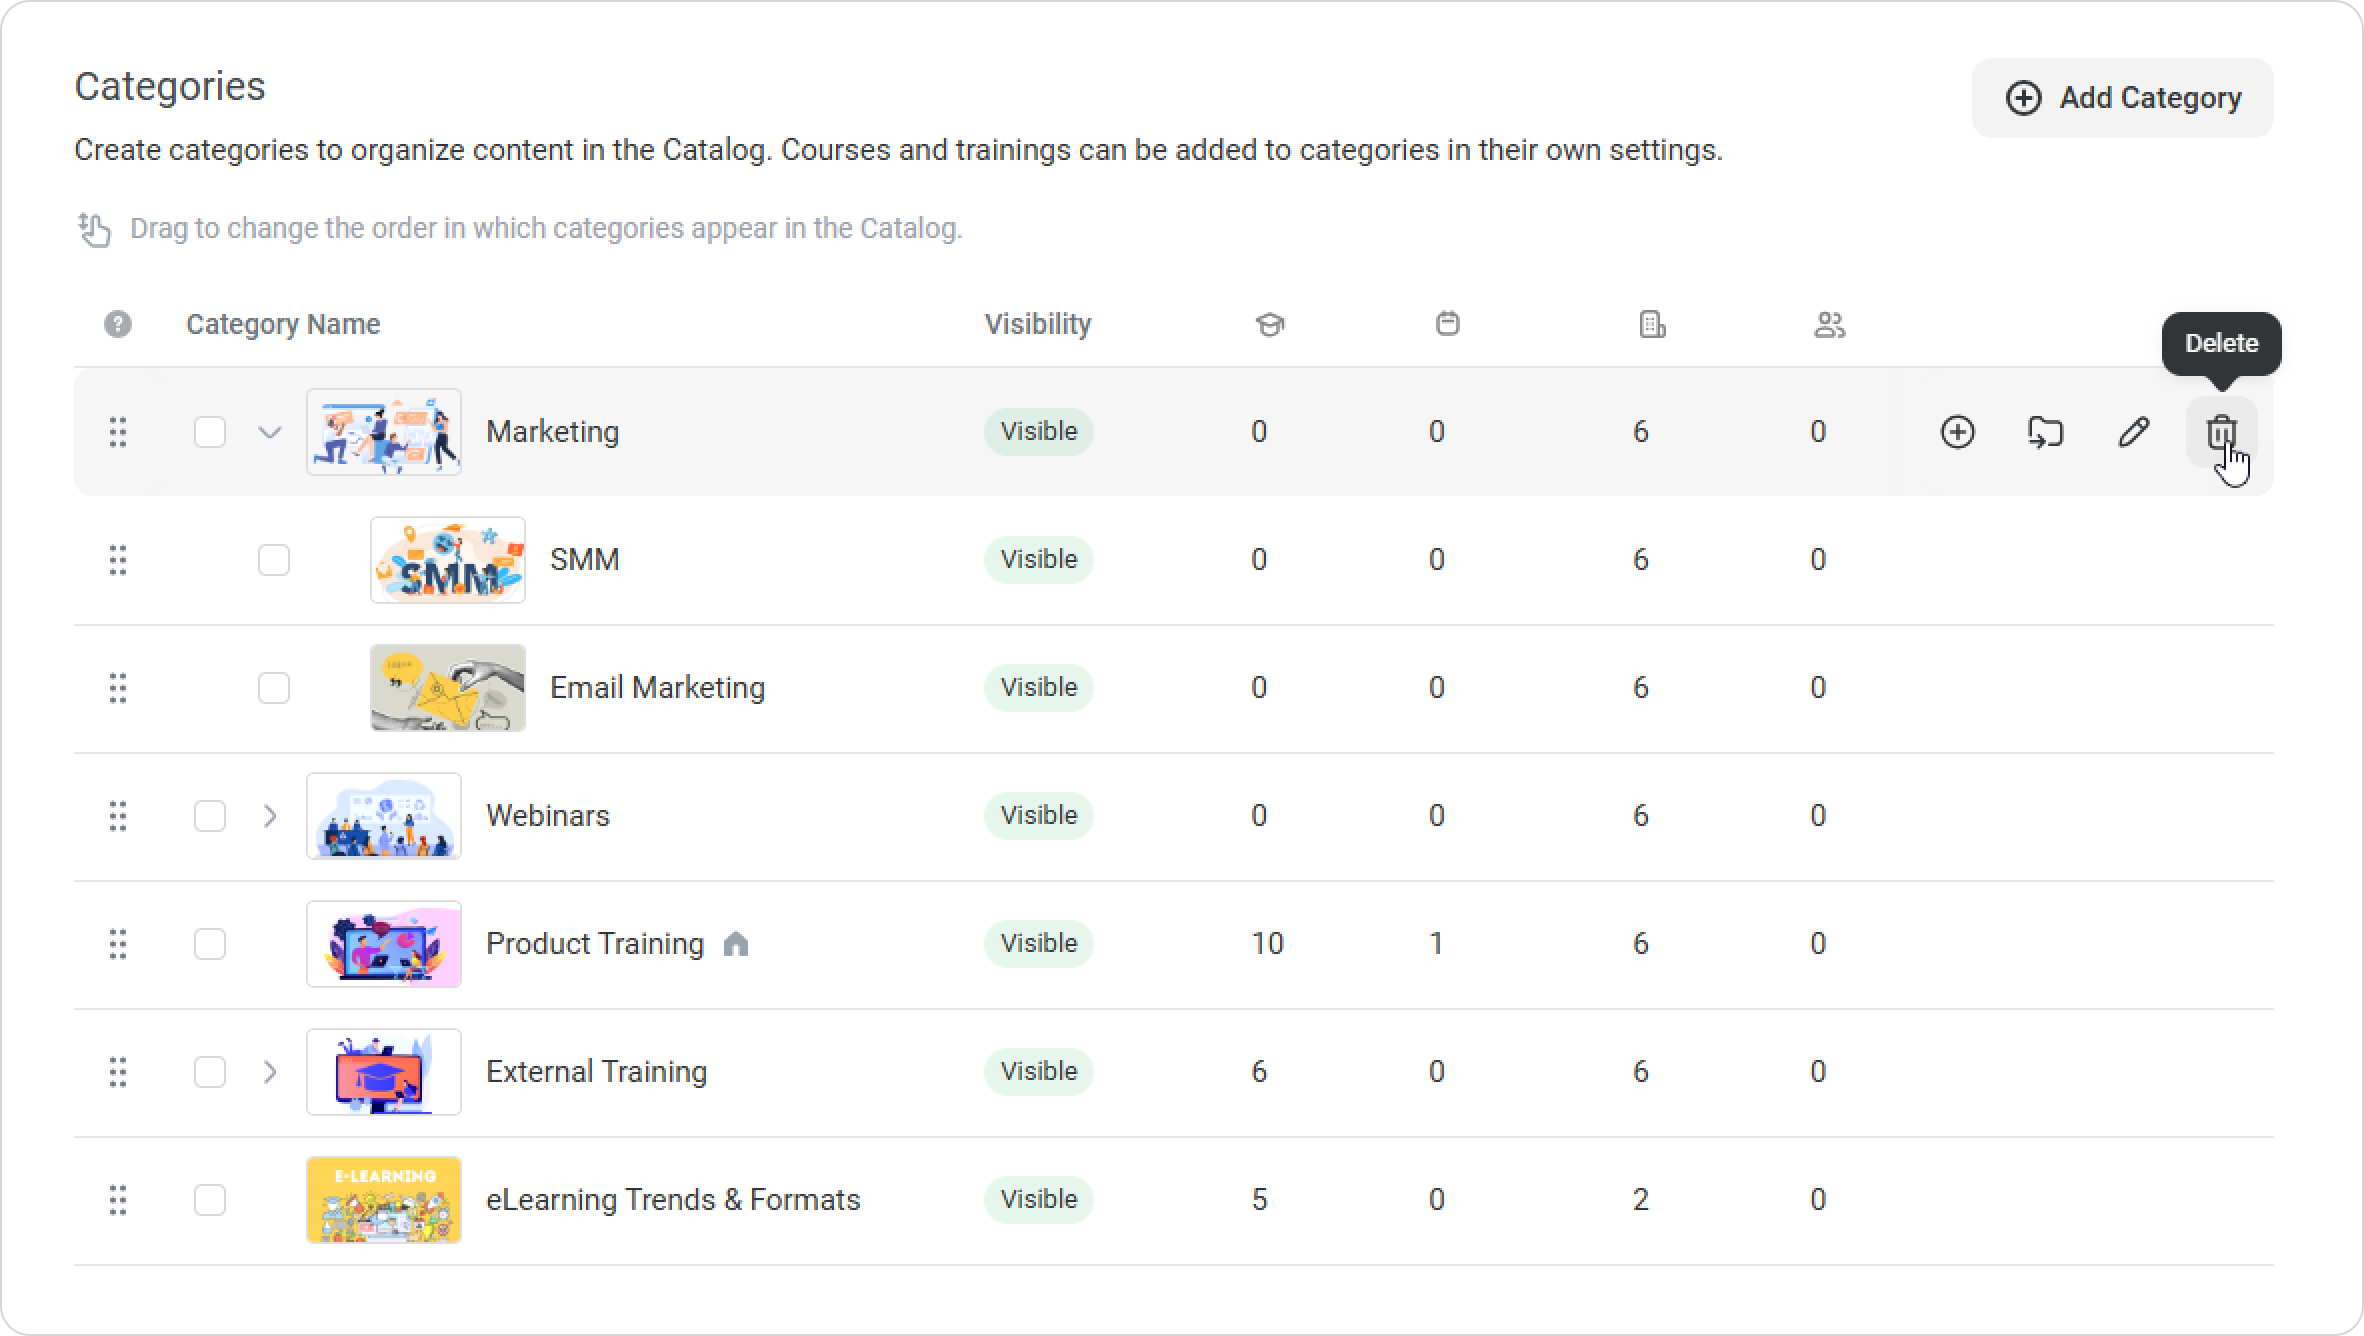
- If you delete a category, its content won’t be lost — it will be automatically moved to the root category.
- You can add an unlimited number of departments who will have access to the category.
- If you delete a department, it will be removed from the category settings.
- If users who had access to the category were moved to another department which is not permitted to view the category, it will be no longer available.
- The requests to take a course will remain active in the admin portal if:
- learners applied to view an item before they were transferred to another department which doesn't have access to the category;
- users sent a request to study a content item, and later the department they belonged to, was removed from the category access settings;
- the course students applied to take was transferred to another category which is not visible to the department they belong to;
- the category the requested content item belonged to was deleted;
- a subdepartment was moved to another parent department which doesn't have access to the category.
For instance, the Product Training category is available for the Sales department and its subdepartment, Sales Reps. John Smith from the Sales Reps department sends a request to take a course from the Product Training category.
Later, the Sales Reps department is moved to another parent department called Marketing which doesn't have access to the Product Training category in the Catalog. However, John's request remains active in the admin portal.
- learners applied to view an item before they were transferred to another department which doesn't have access to the category;
- In all those cases, if the administrator approves an application, the course will appear in the My Courses section of the user portal, and the student will start viewing it.
- If you delete a category, its content won’t be lost — it will be automatically moved to the root category.