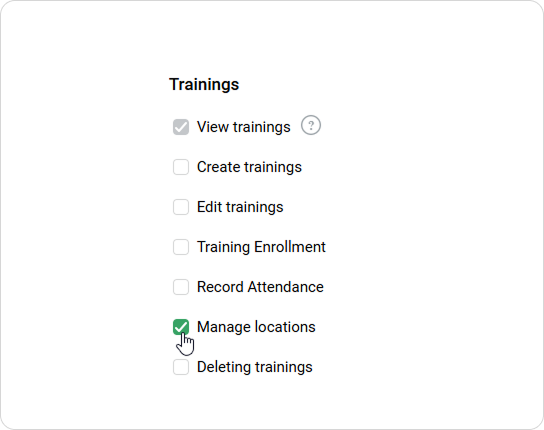
Users with a custom role that includes permission to manage training locations
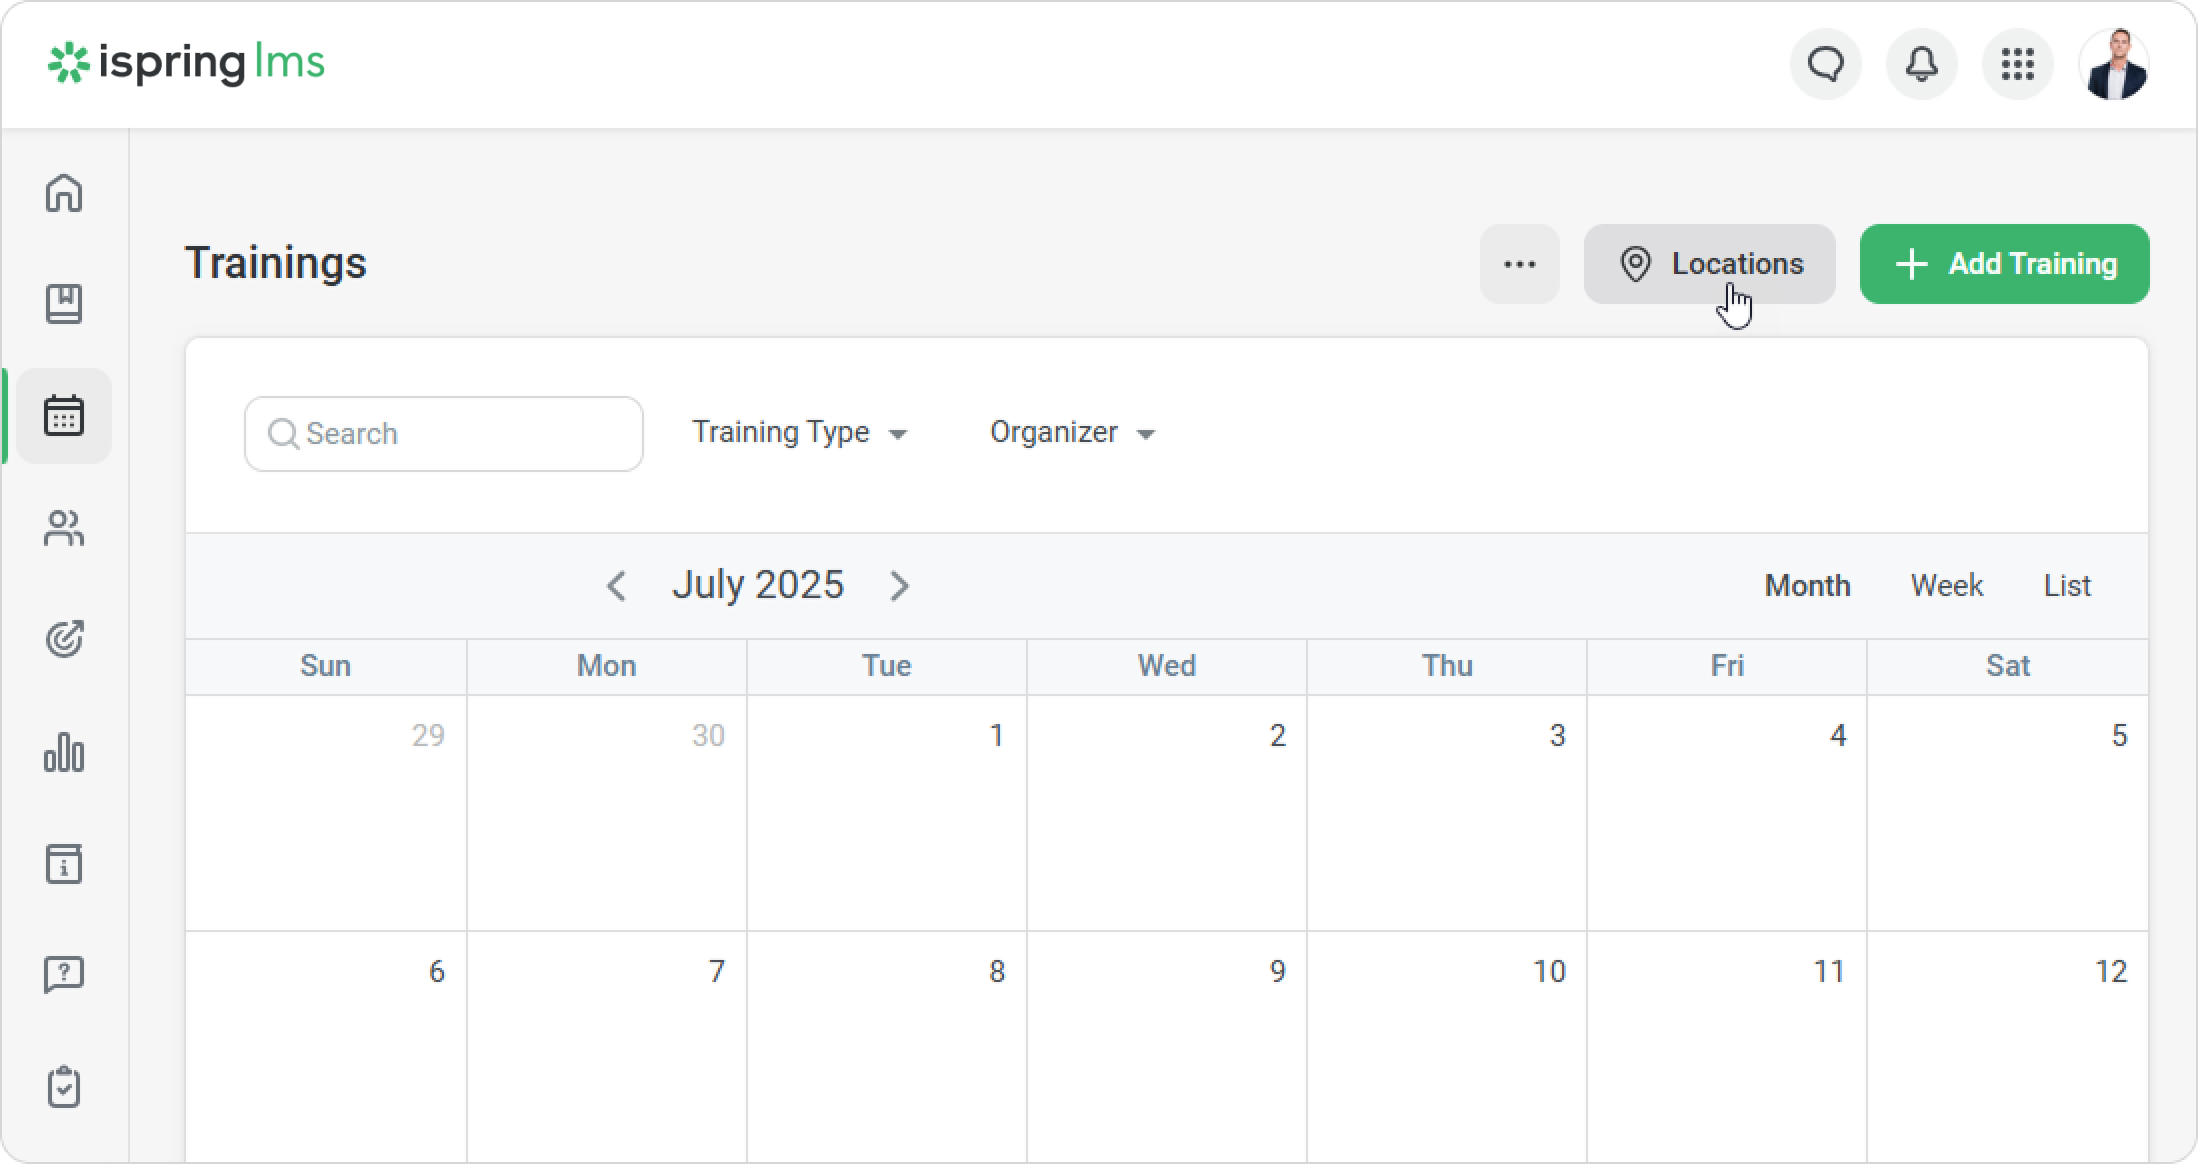
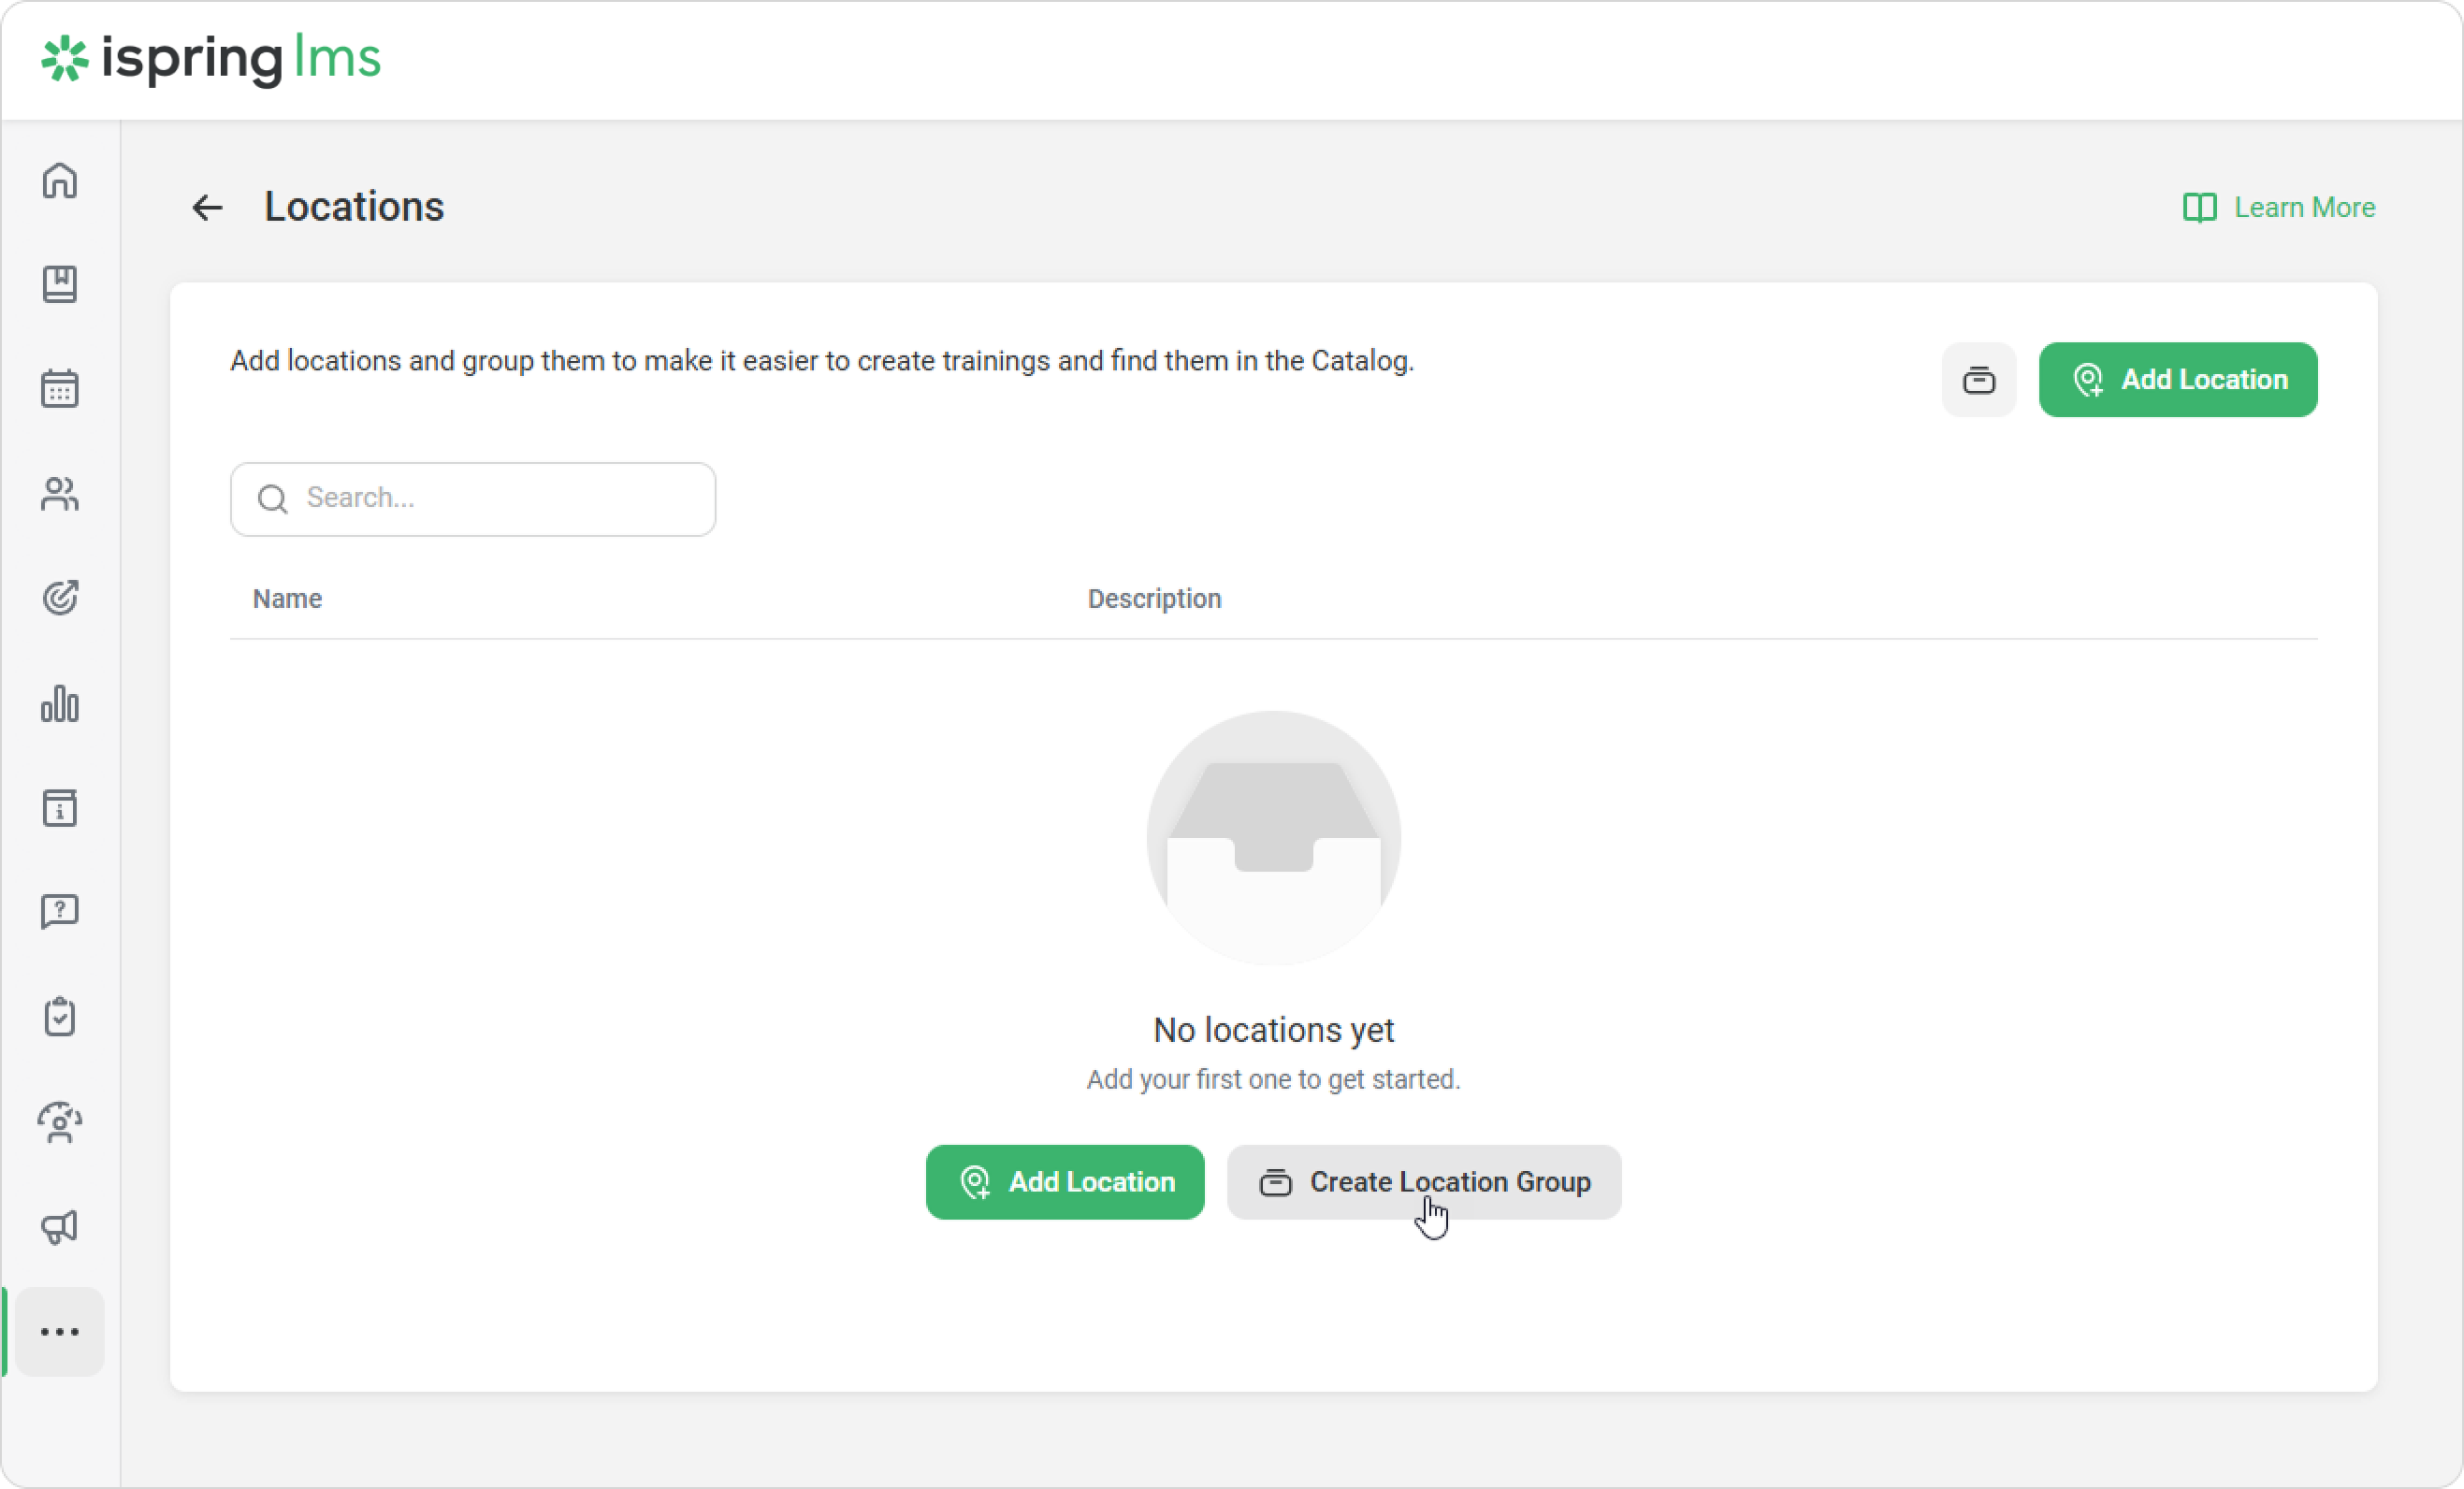
Go to the Trainings section and click Locations.
Or go to Settings > Additional Options > Trainings > Locations.
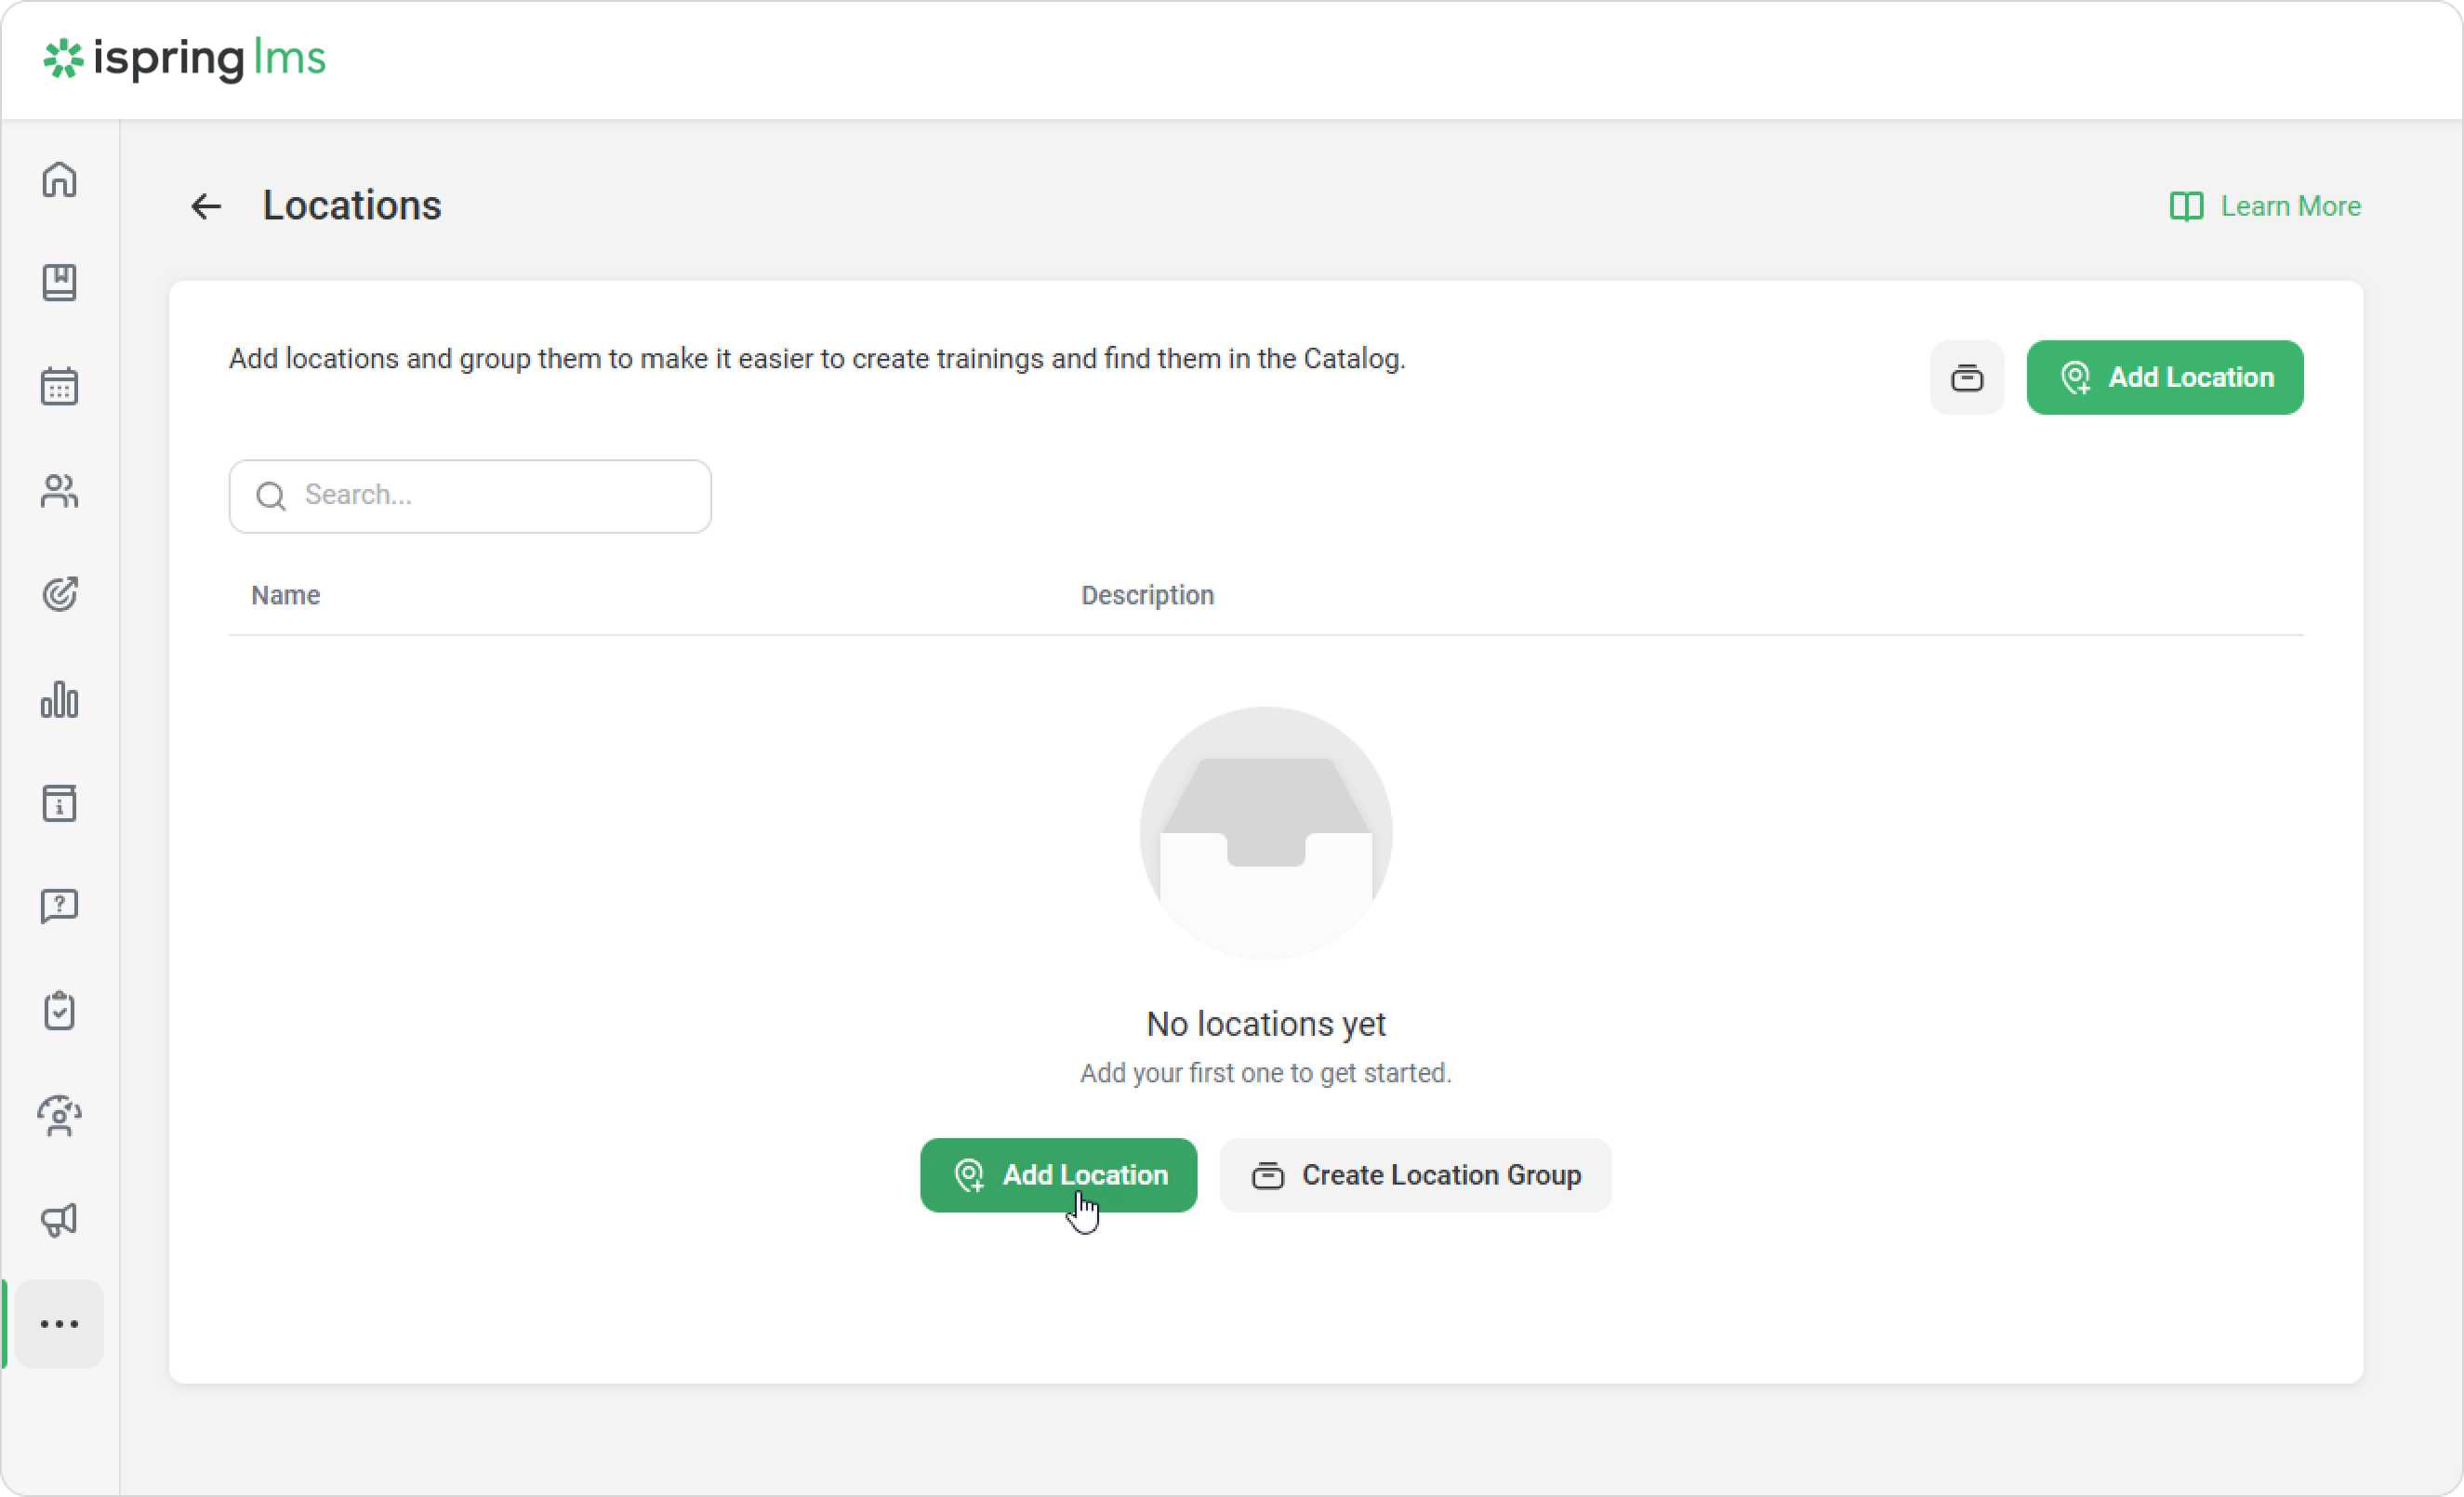
Then click Add Location.
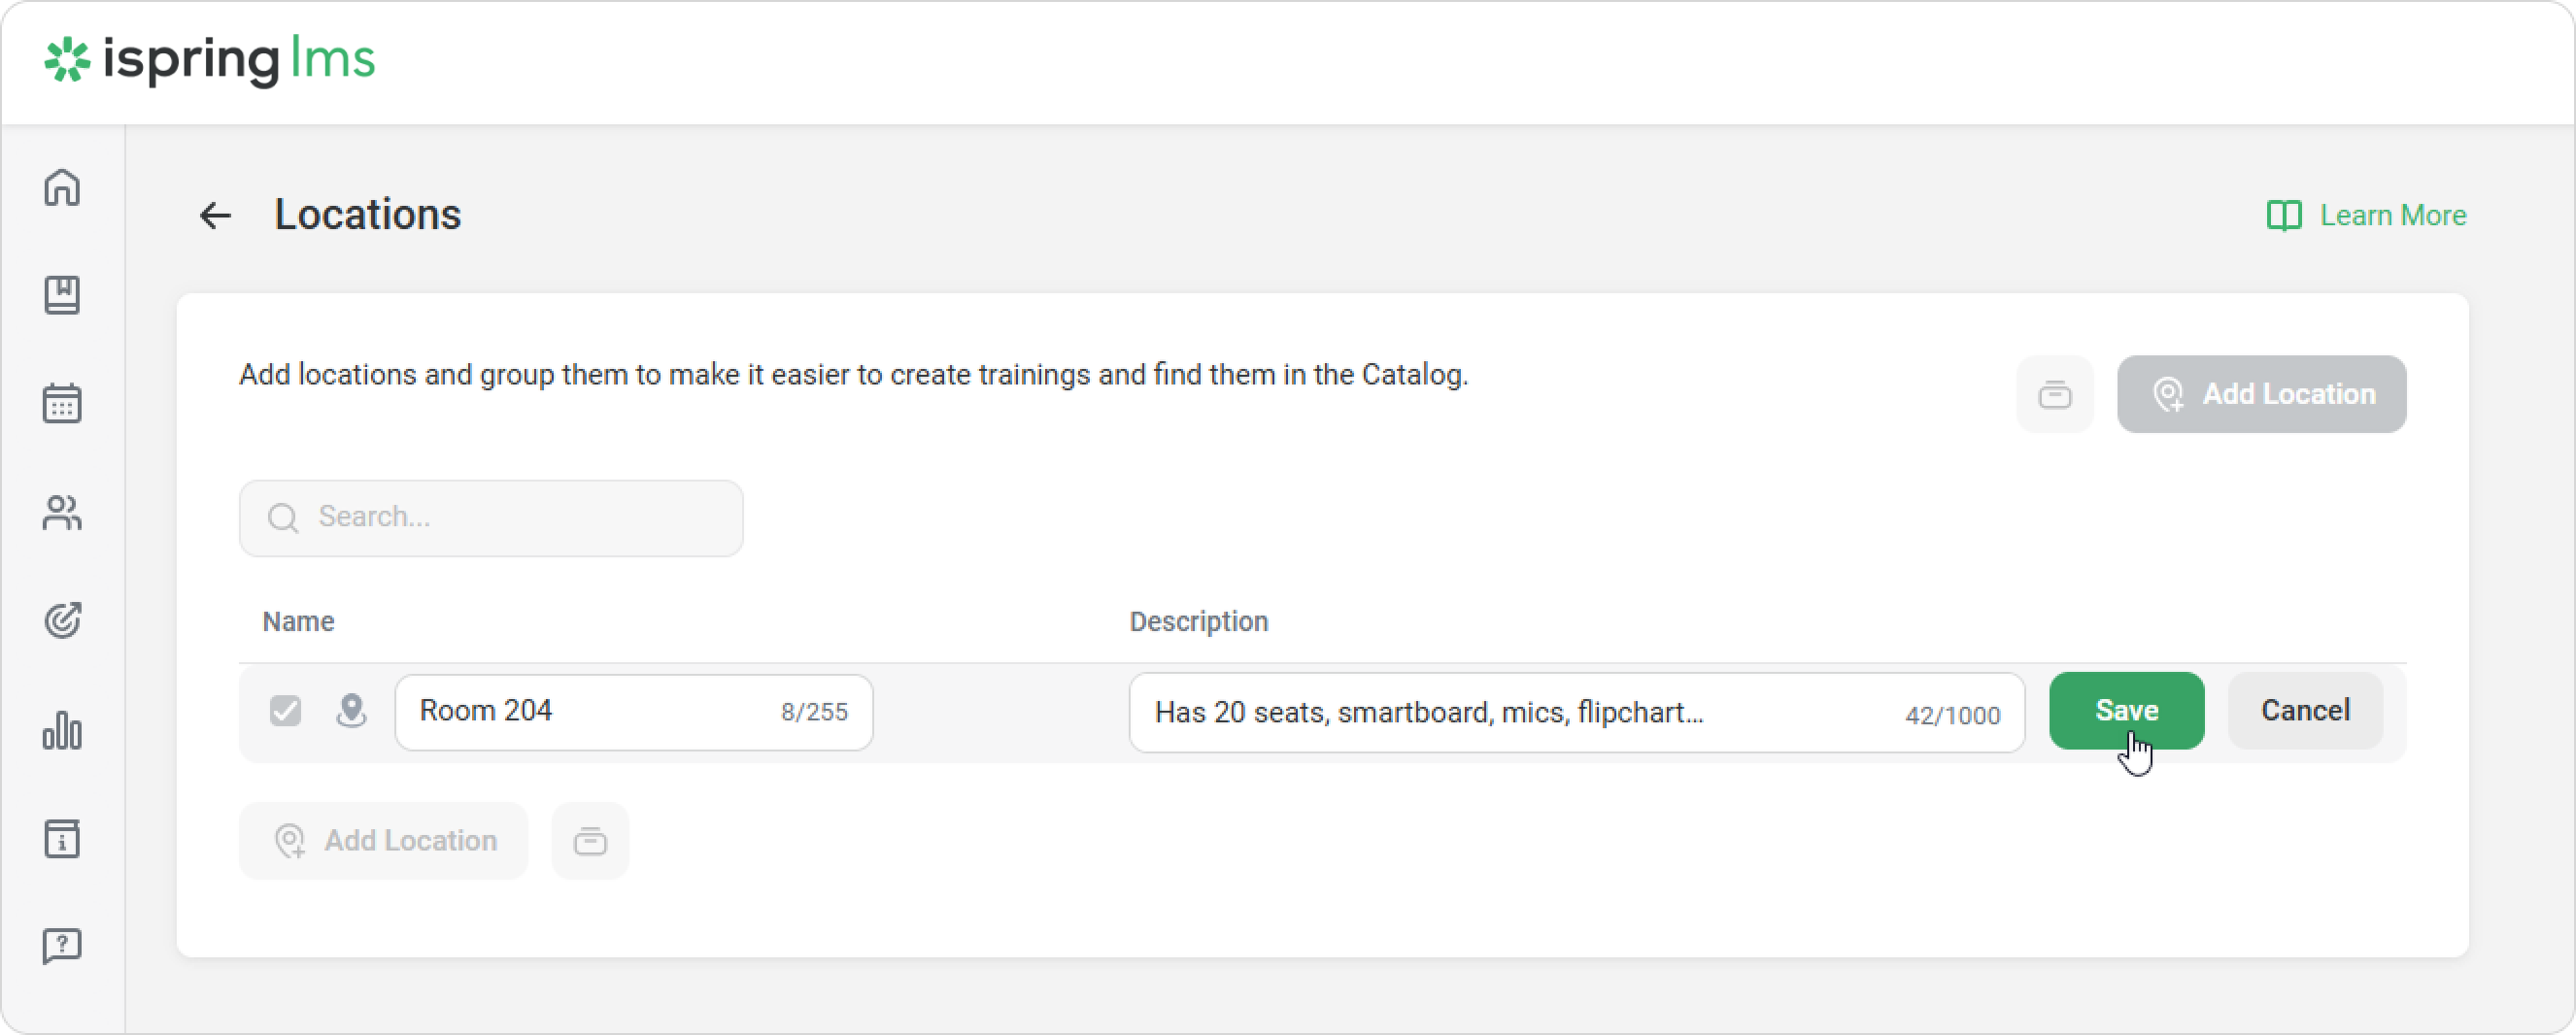
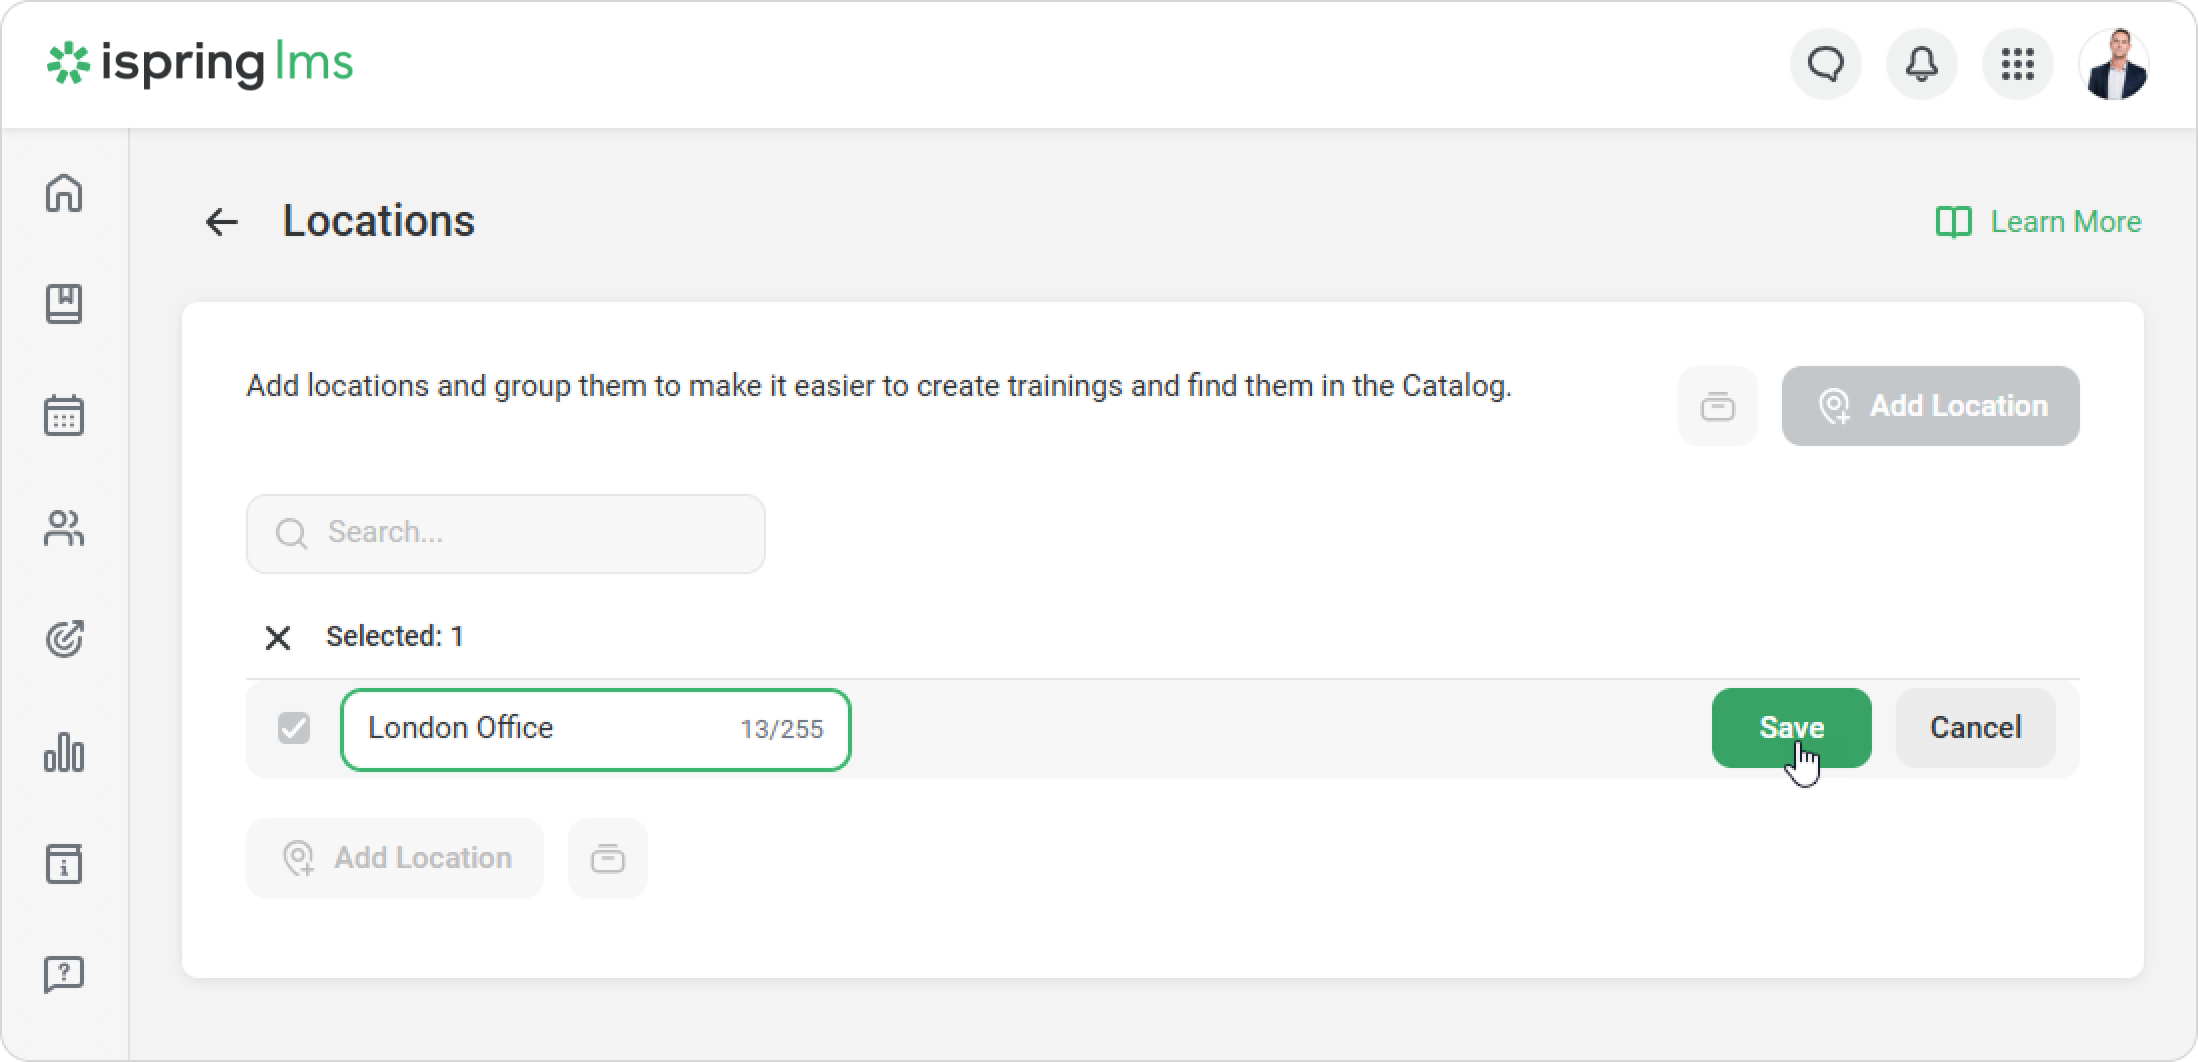
Give the location a name and add a description. Click Save.
Only organizers can see the description. It appears when they choose a location while setting up a training session.
To add more locations, click Add Location again under a group name or in the upper-right corner.
Done! You’ve added your training locations.
How to Create a Location Group
Go to Trainings > Locations, or go to Settings > Features > Trainings > Locations.
Click on Create Location Group or the icon next to Add Location.
Enter a group name and click Save. Done! You’ve created a location group.
How to Add Locations to a Group
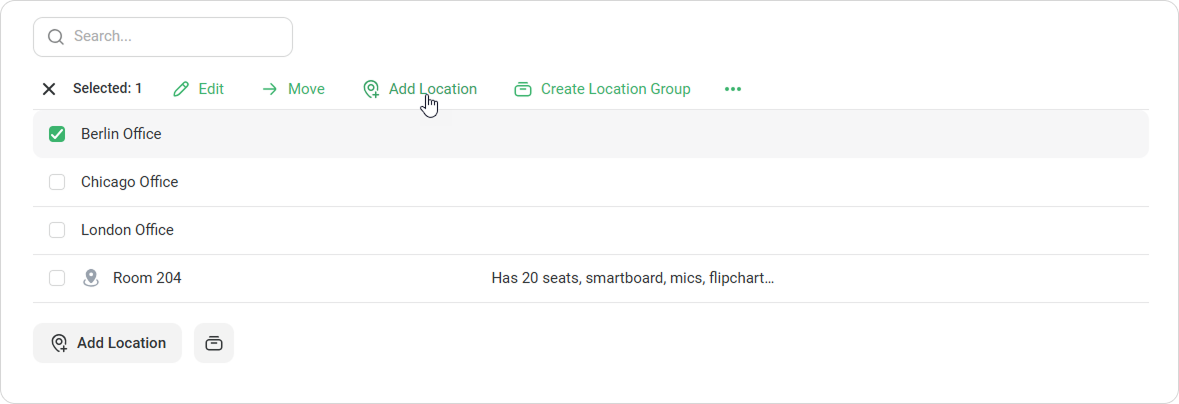
Select the group using the checkbox.
On the menu that appears, click Add Location. The location will be added directly to the selected group.
How to Move Locations into a Group
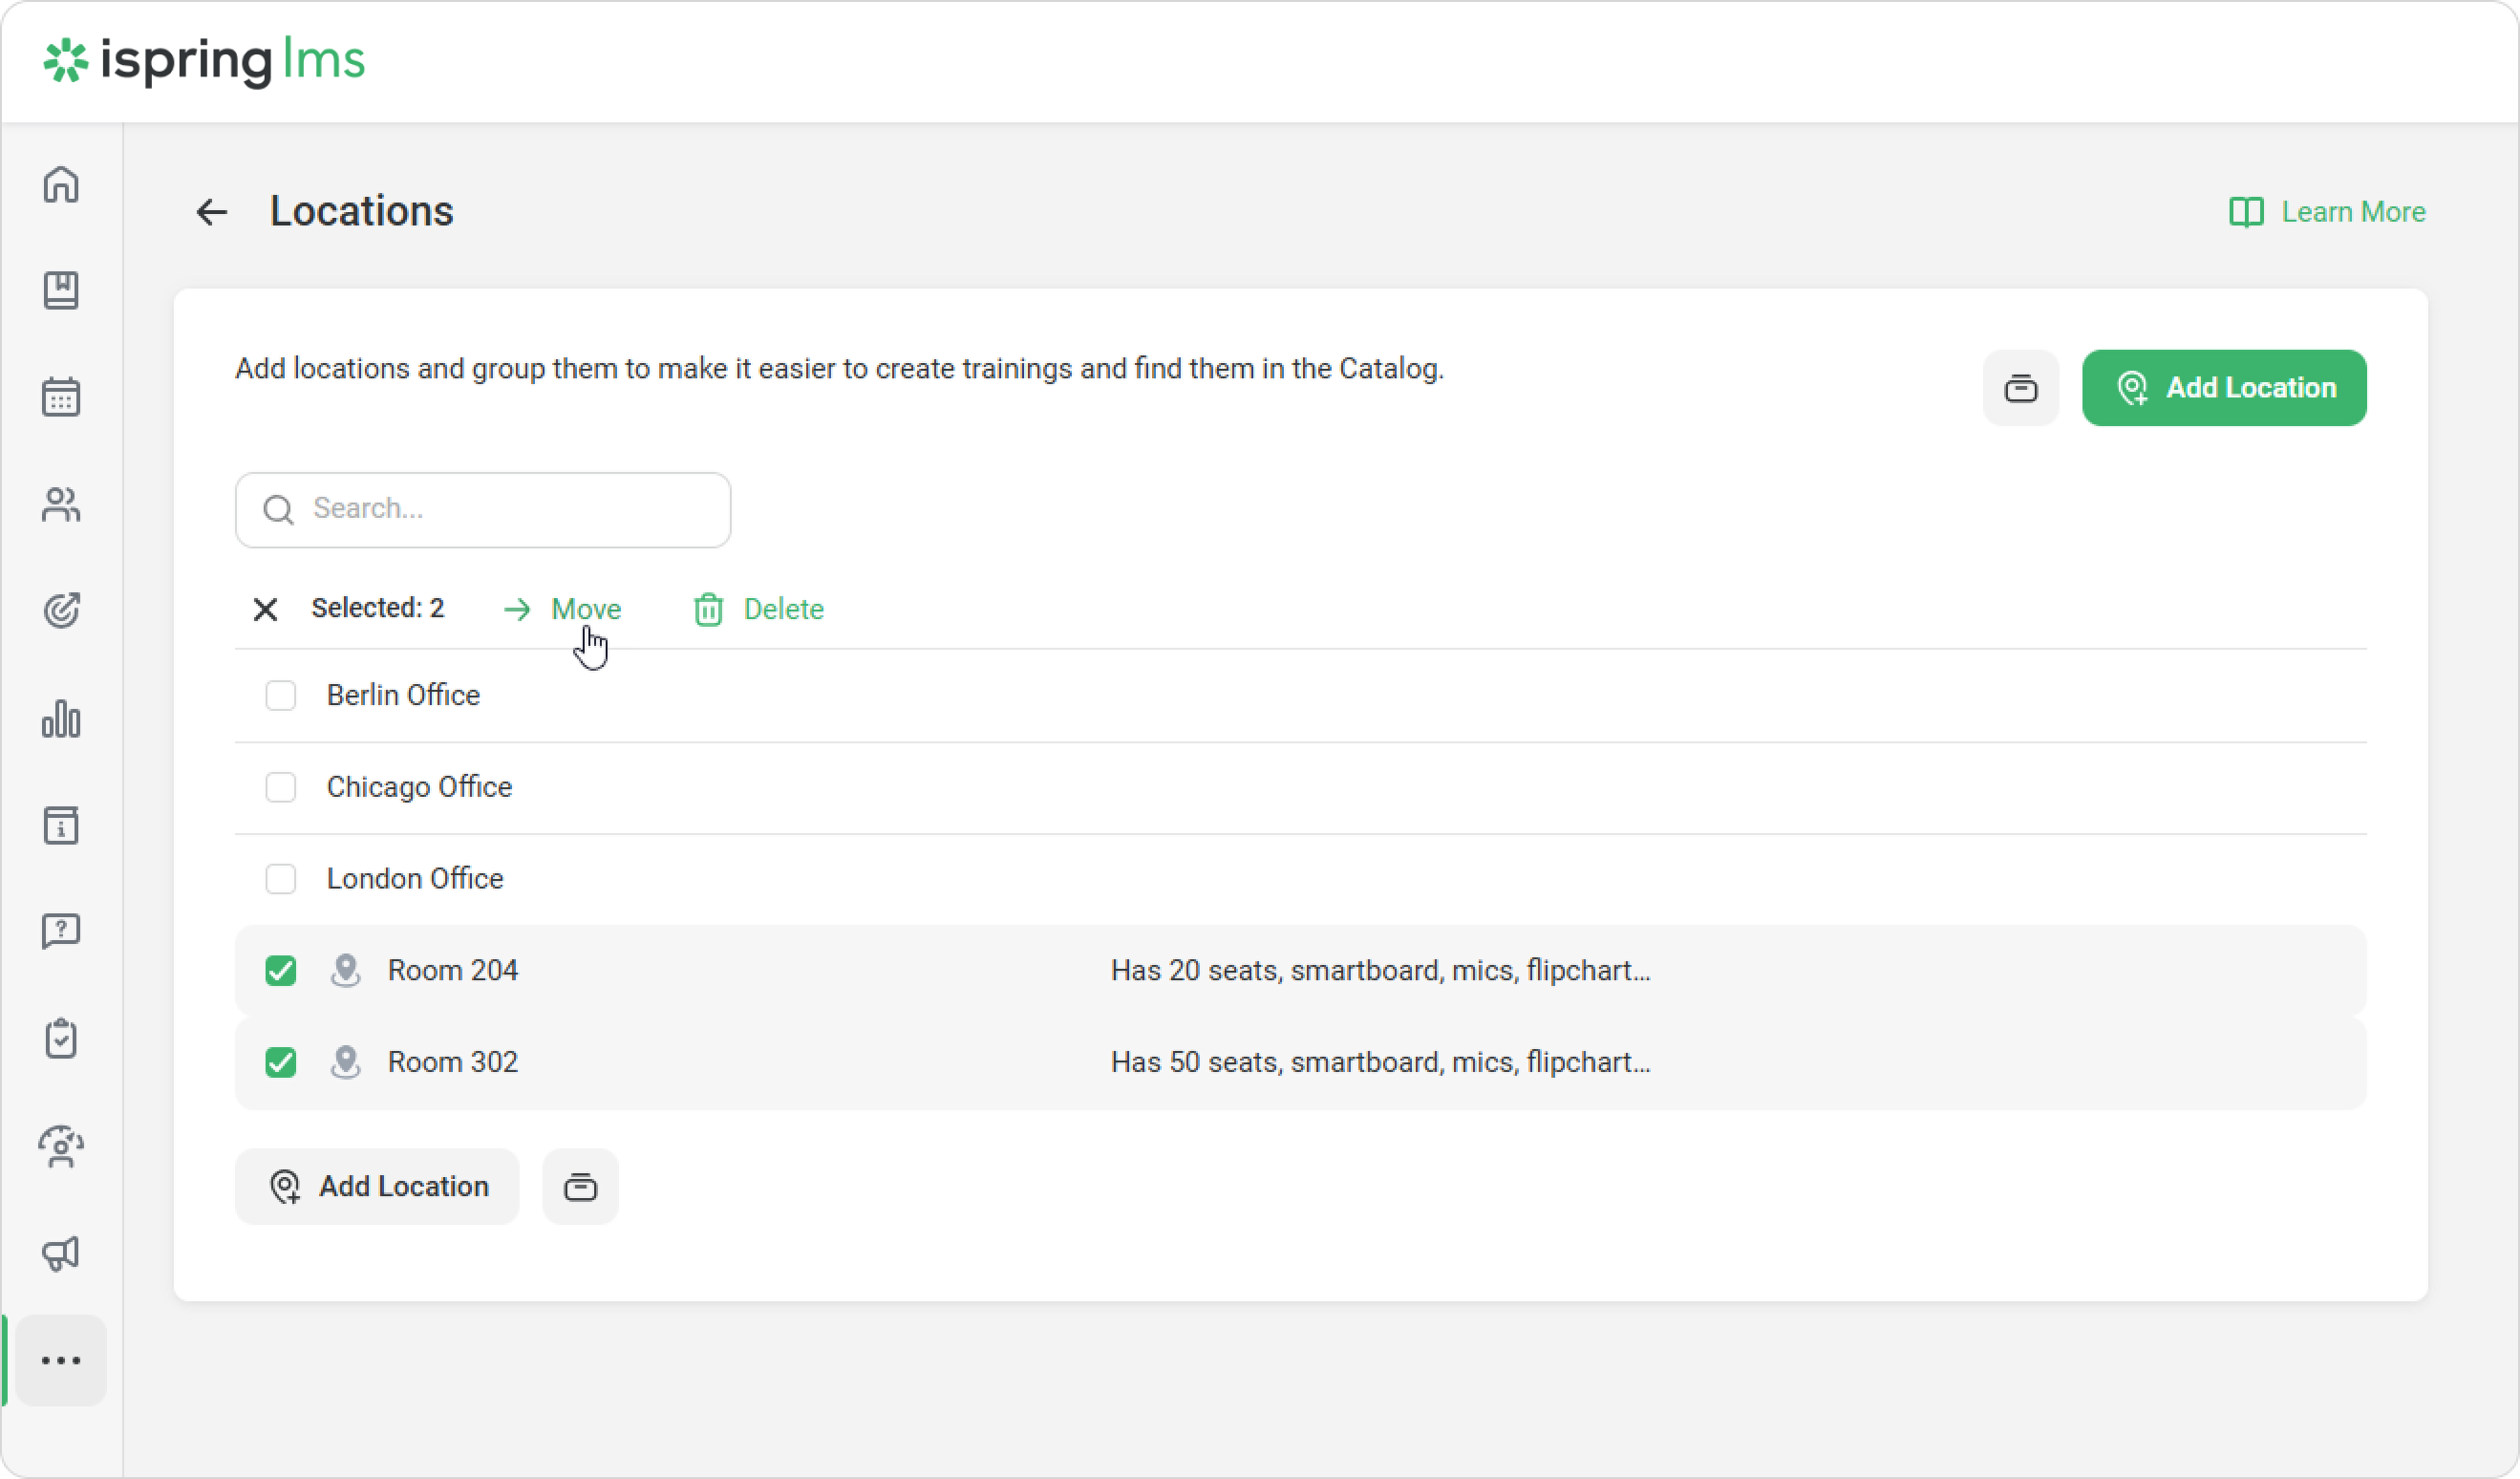
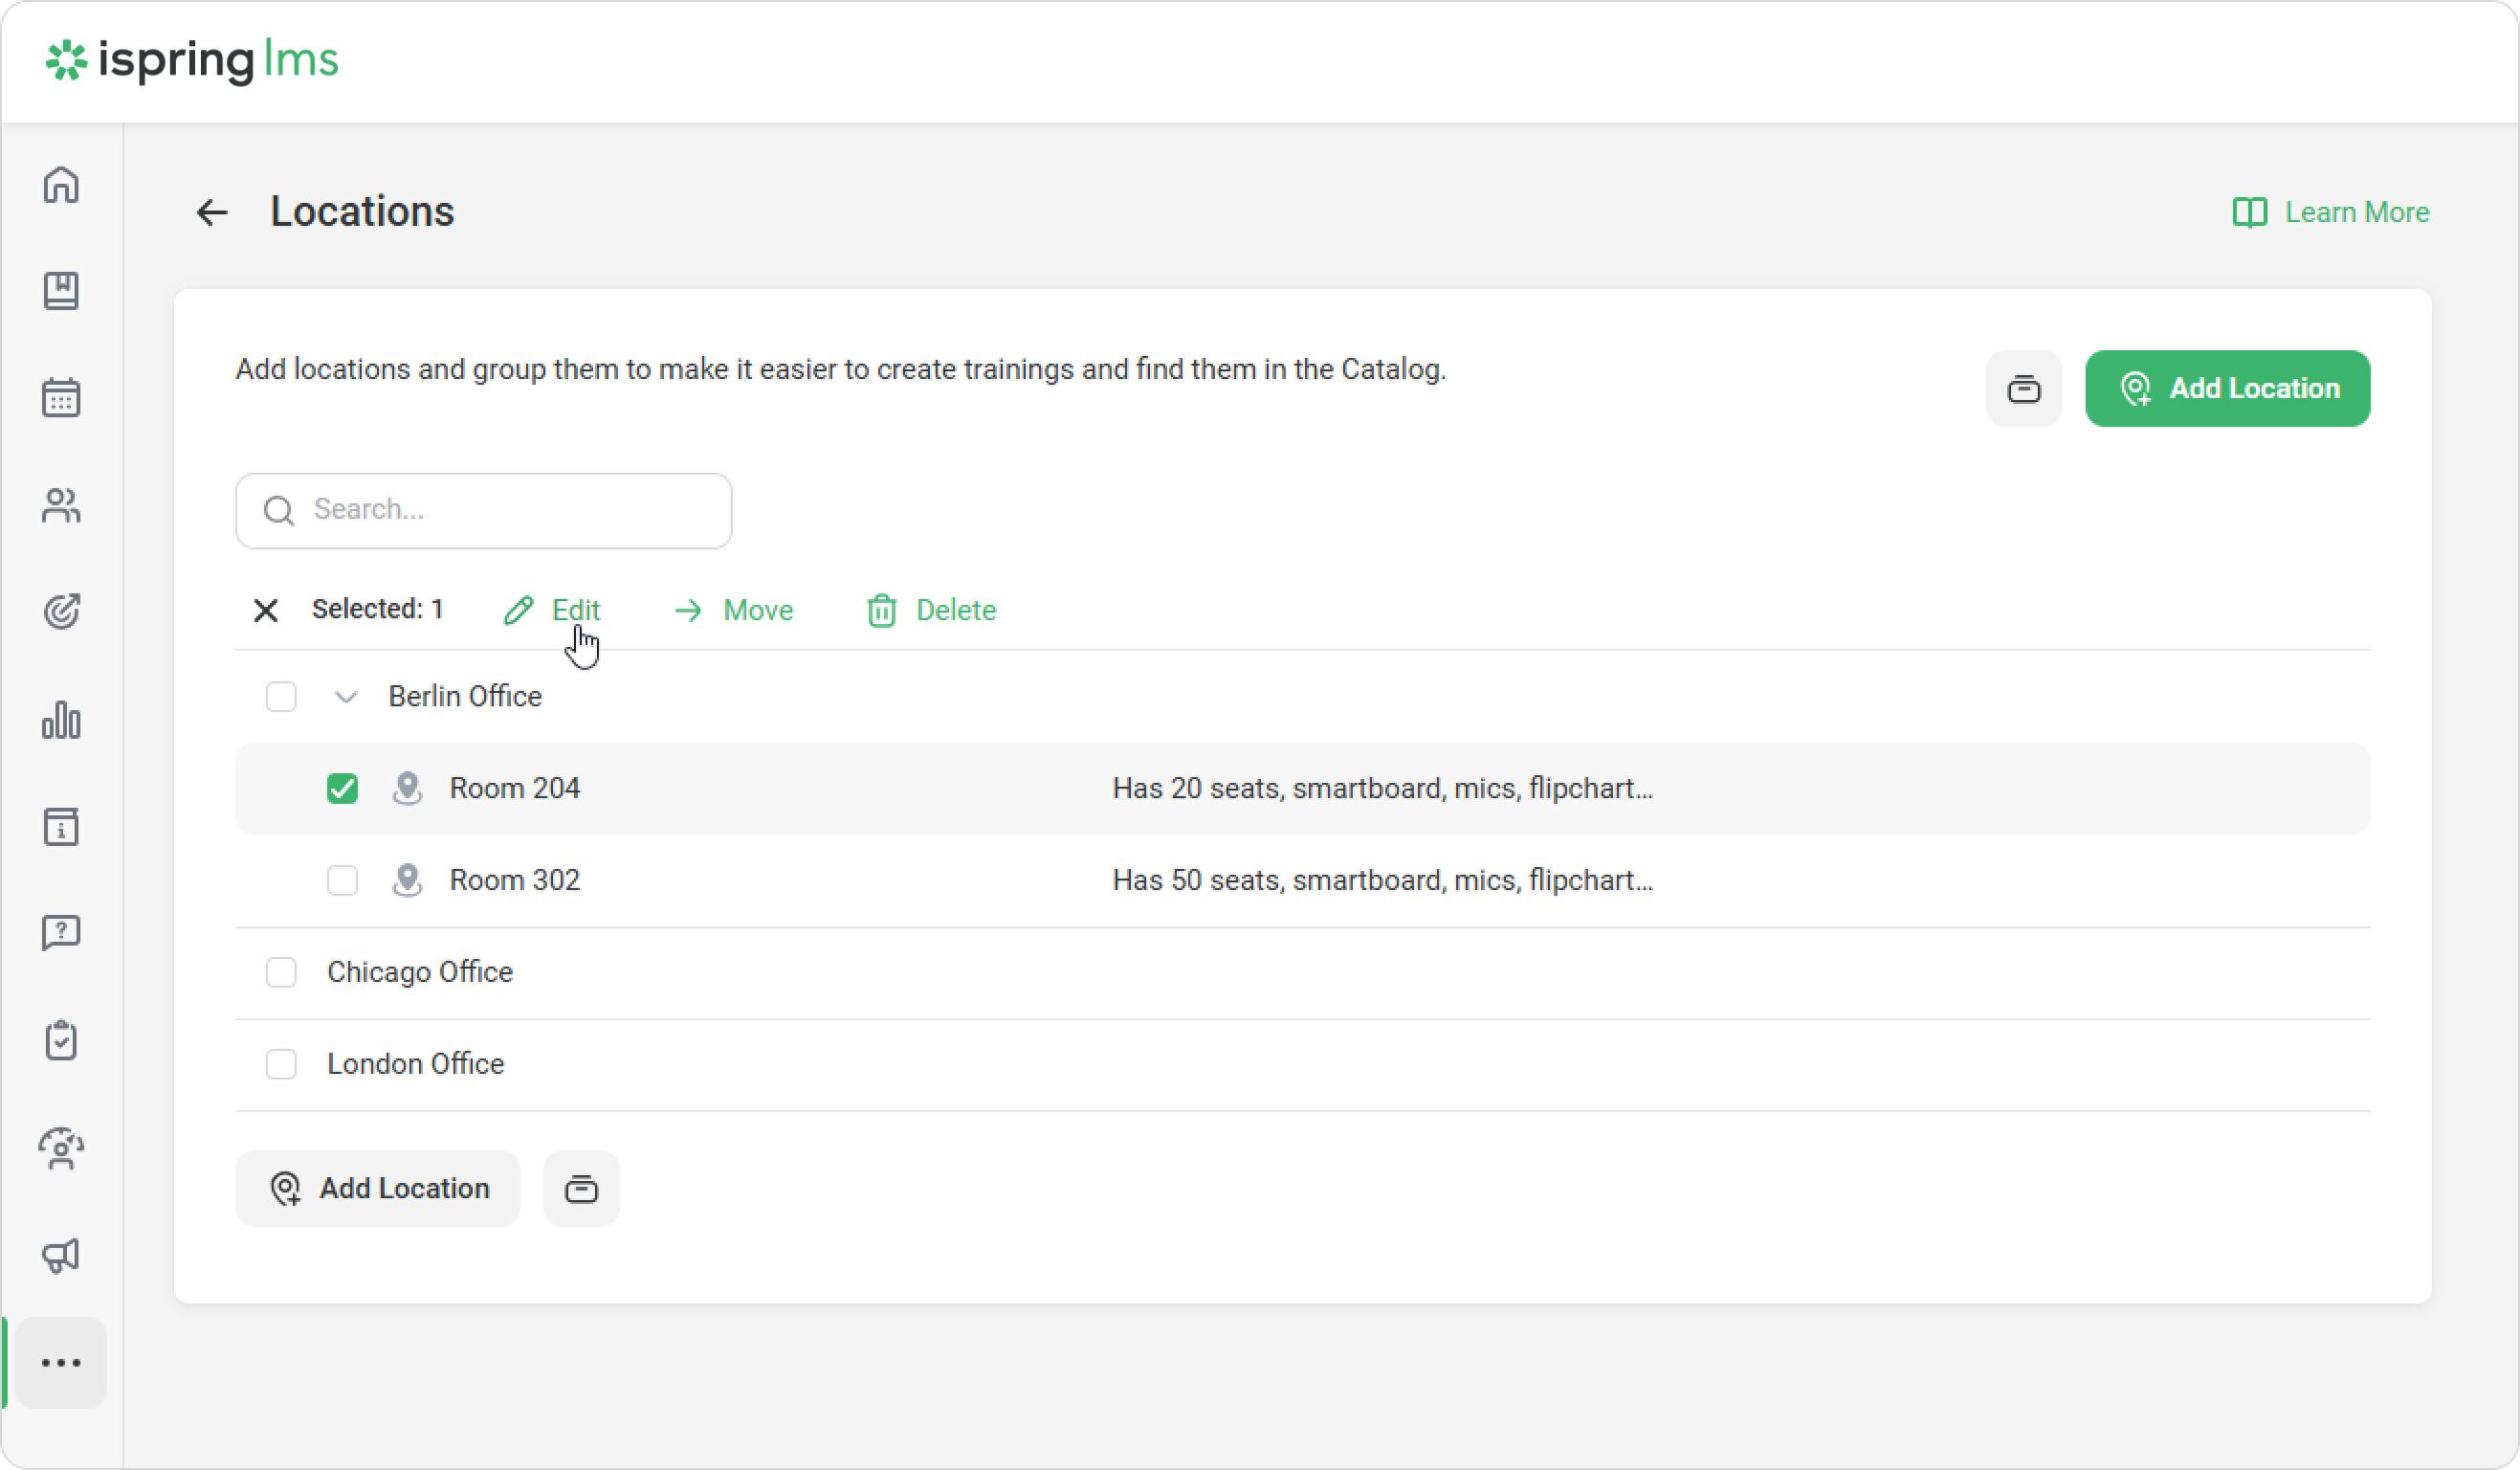
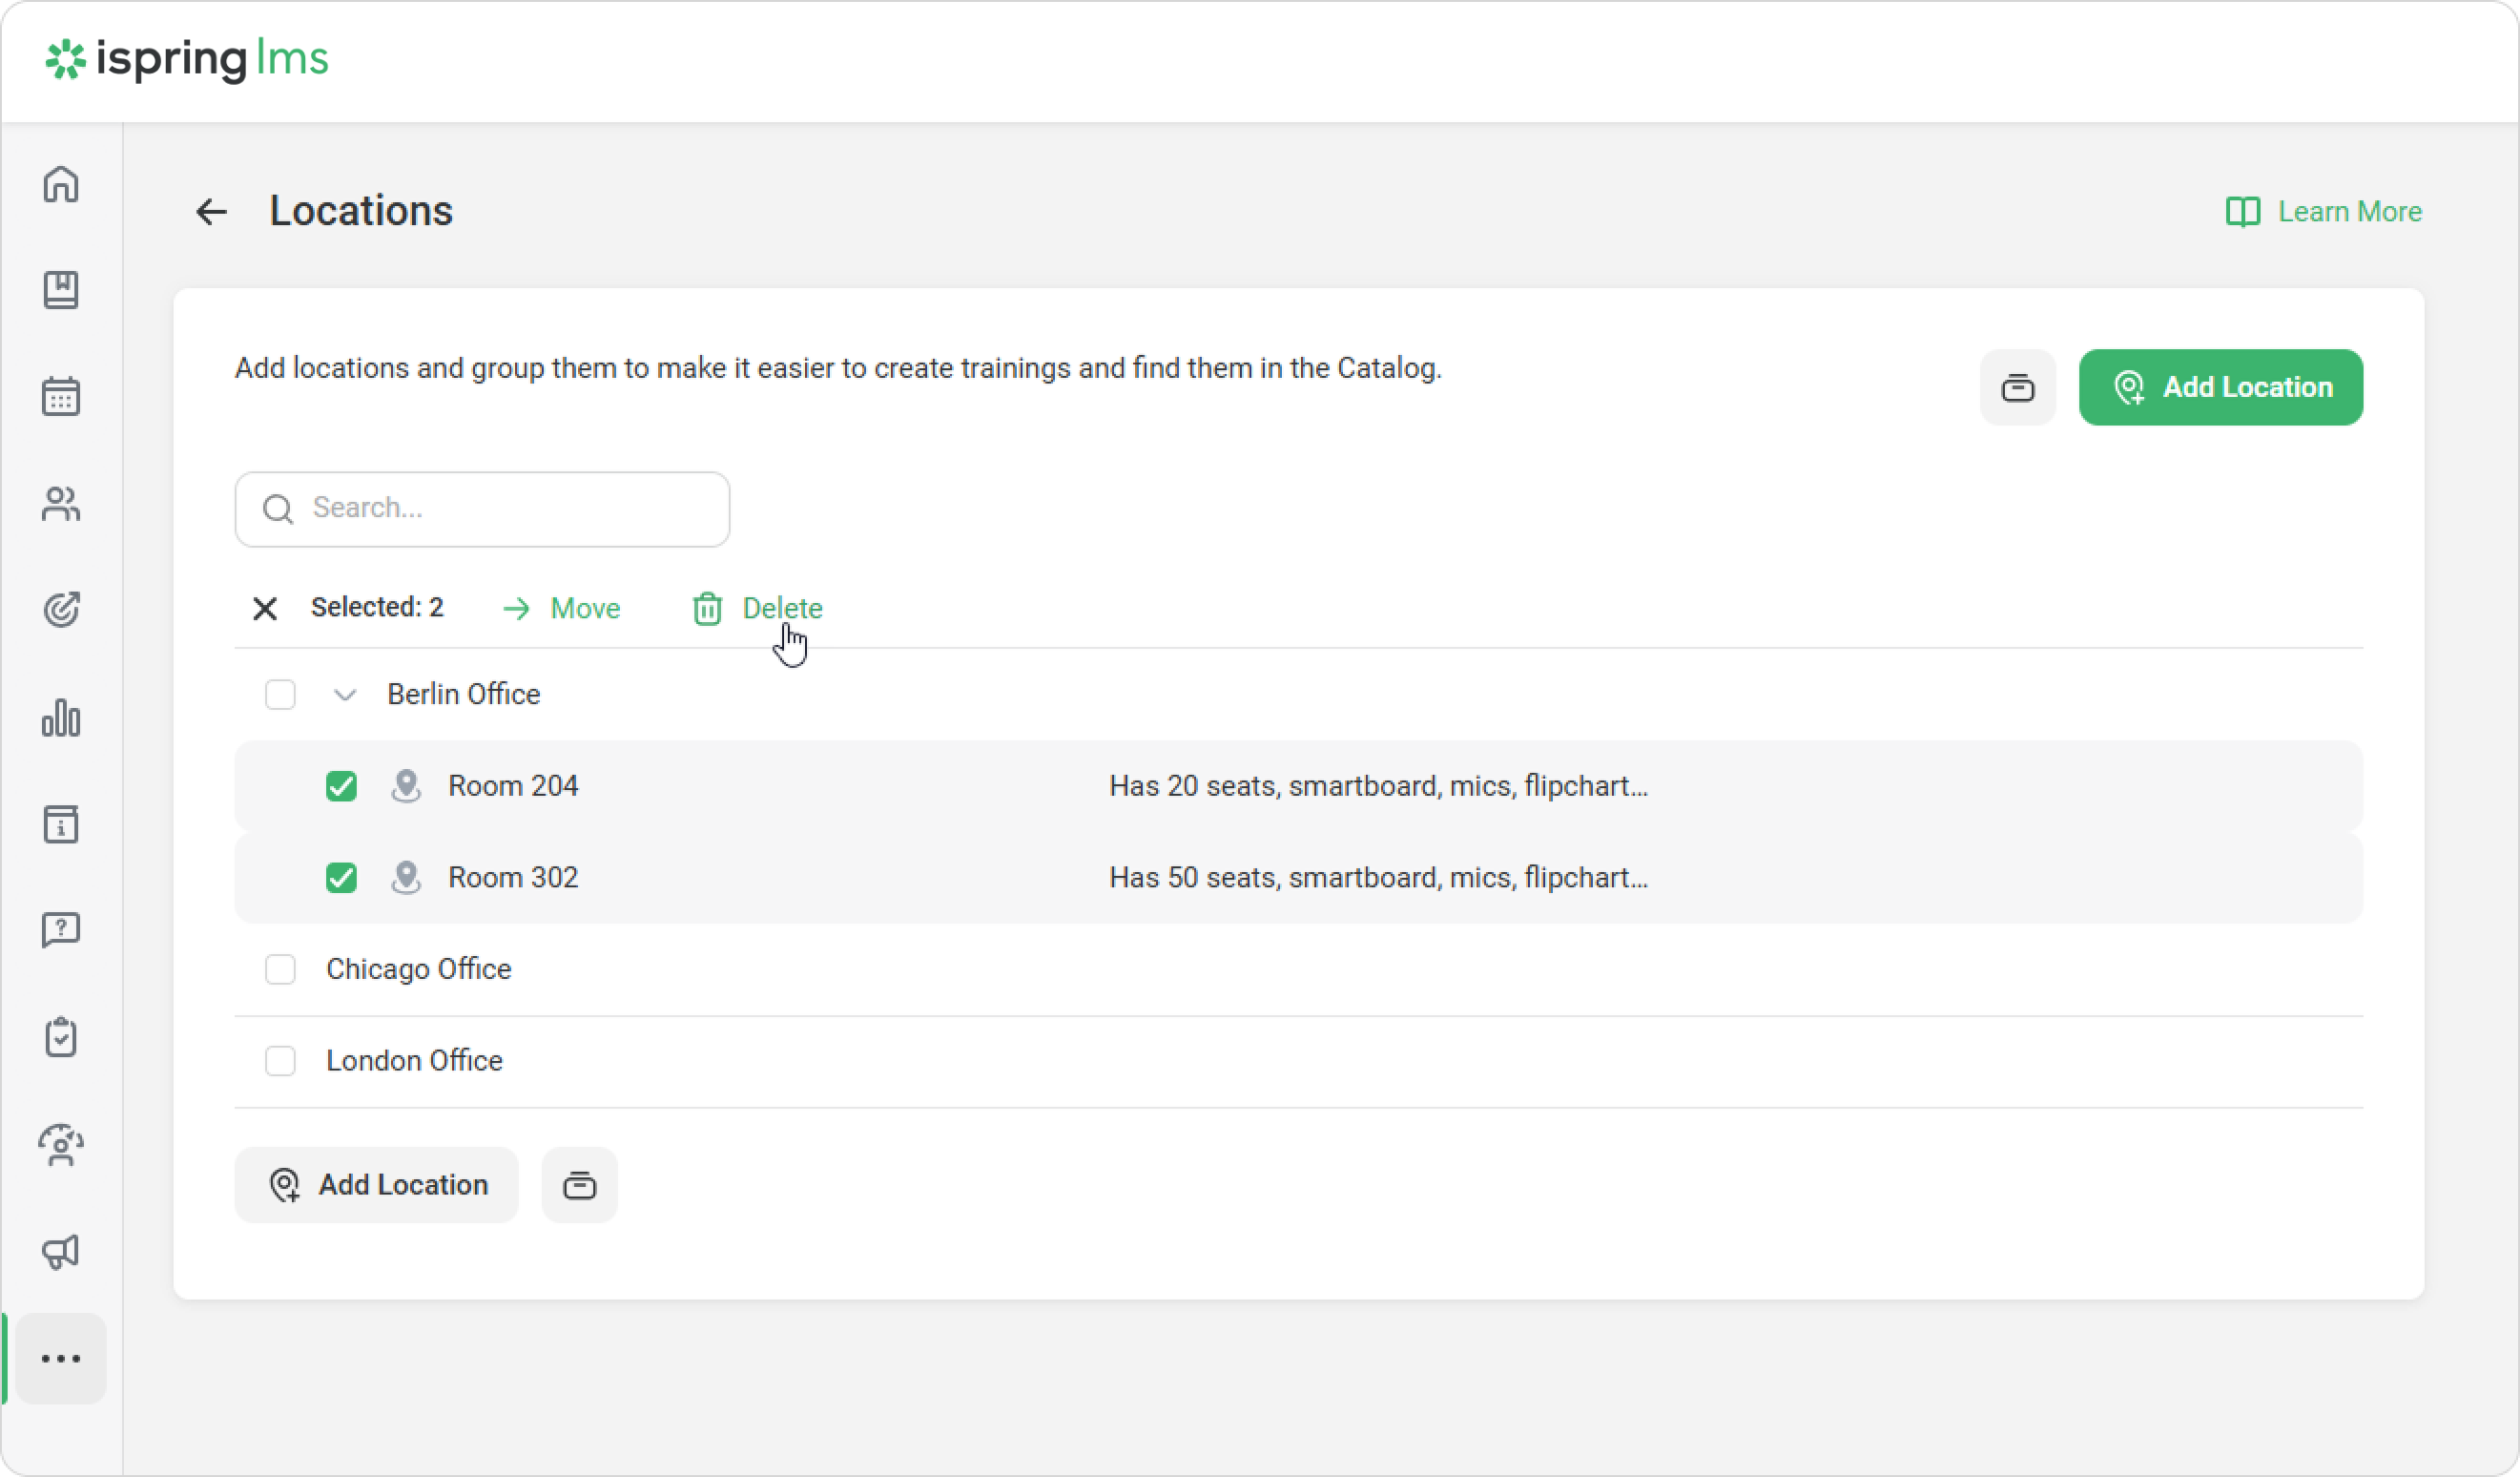
Select the locations you'd like to move.
Click Move on the top menu.
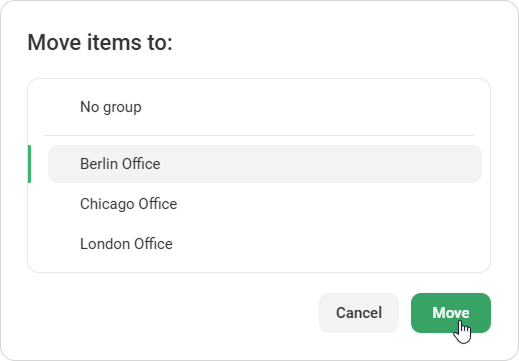
Choose the group and click Move.
Done! Your locations are now grouped.
How to Edit a Location or a Location Group
Select a location or a location group.
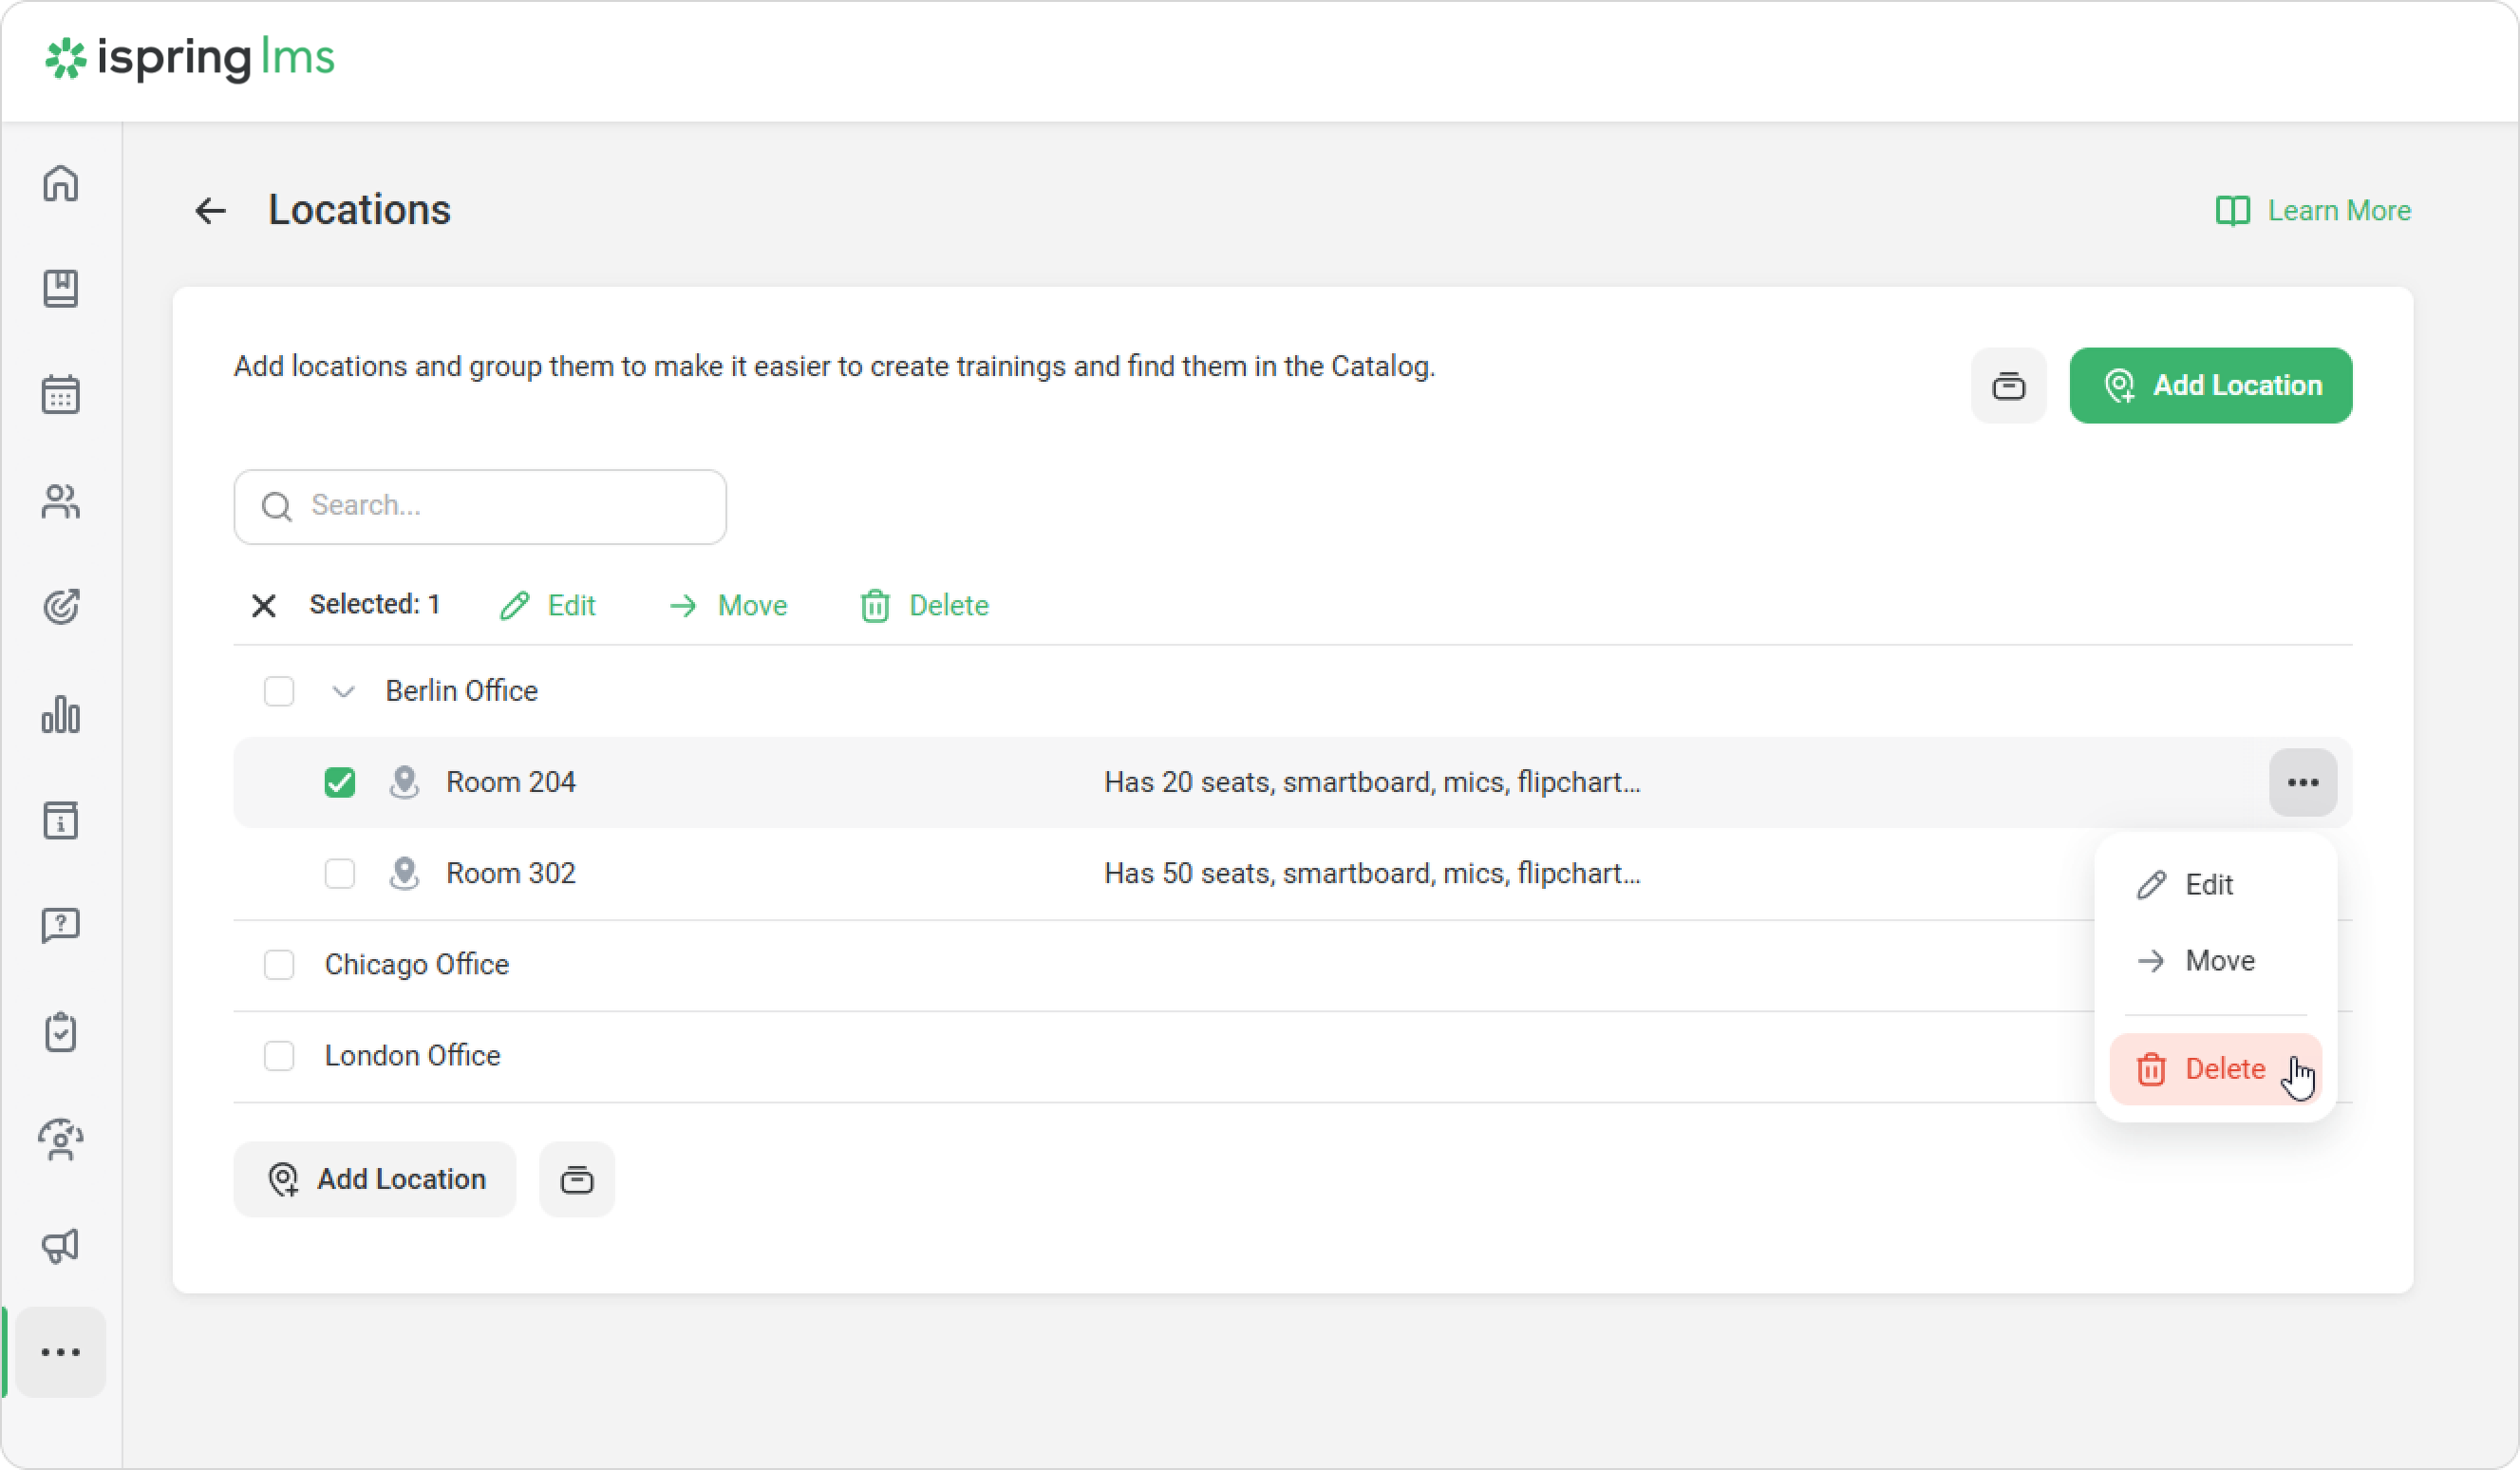
Then either click Edit in the top menu or click the ⋯ menu next to the name, and then choose Edit.
Make changes and click Save.
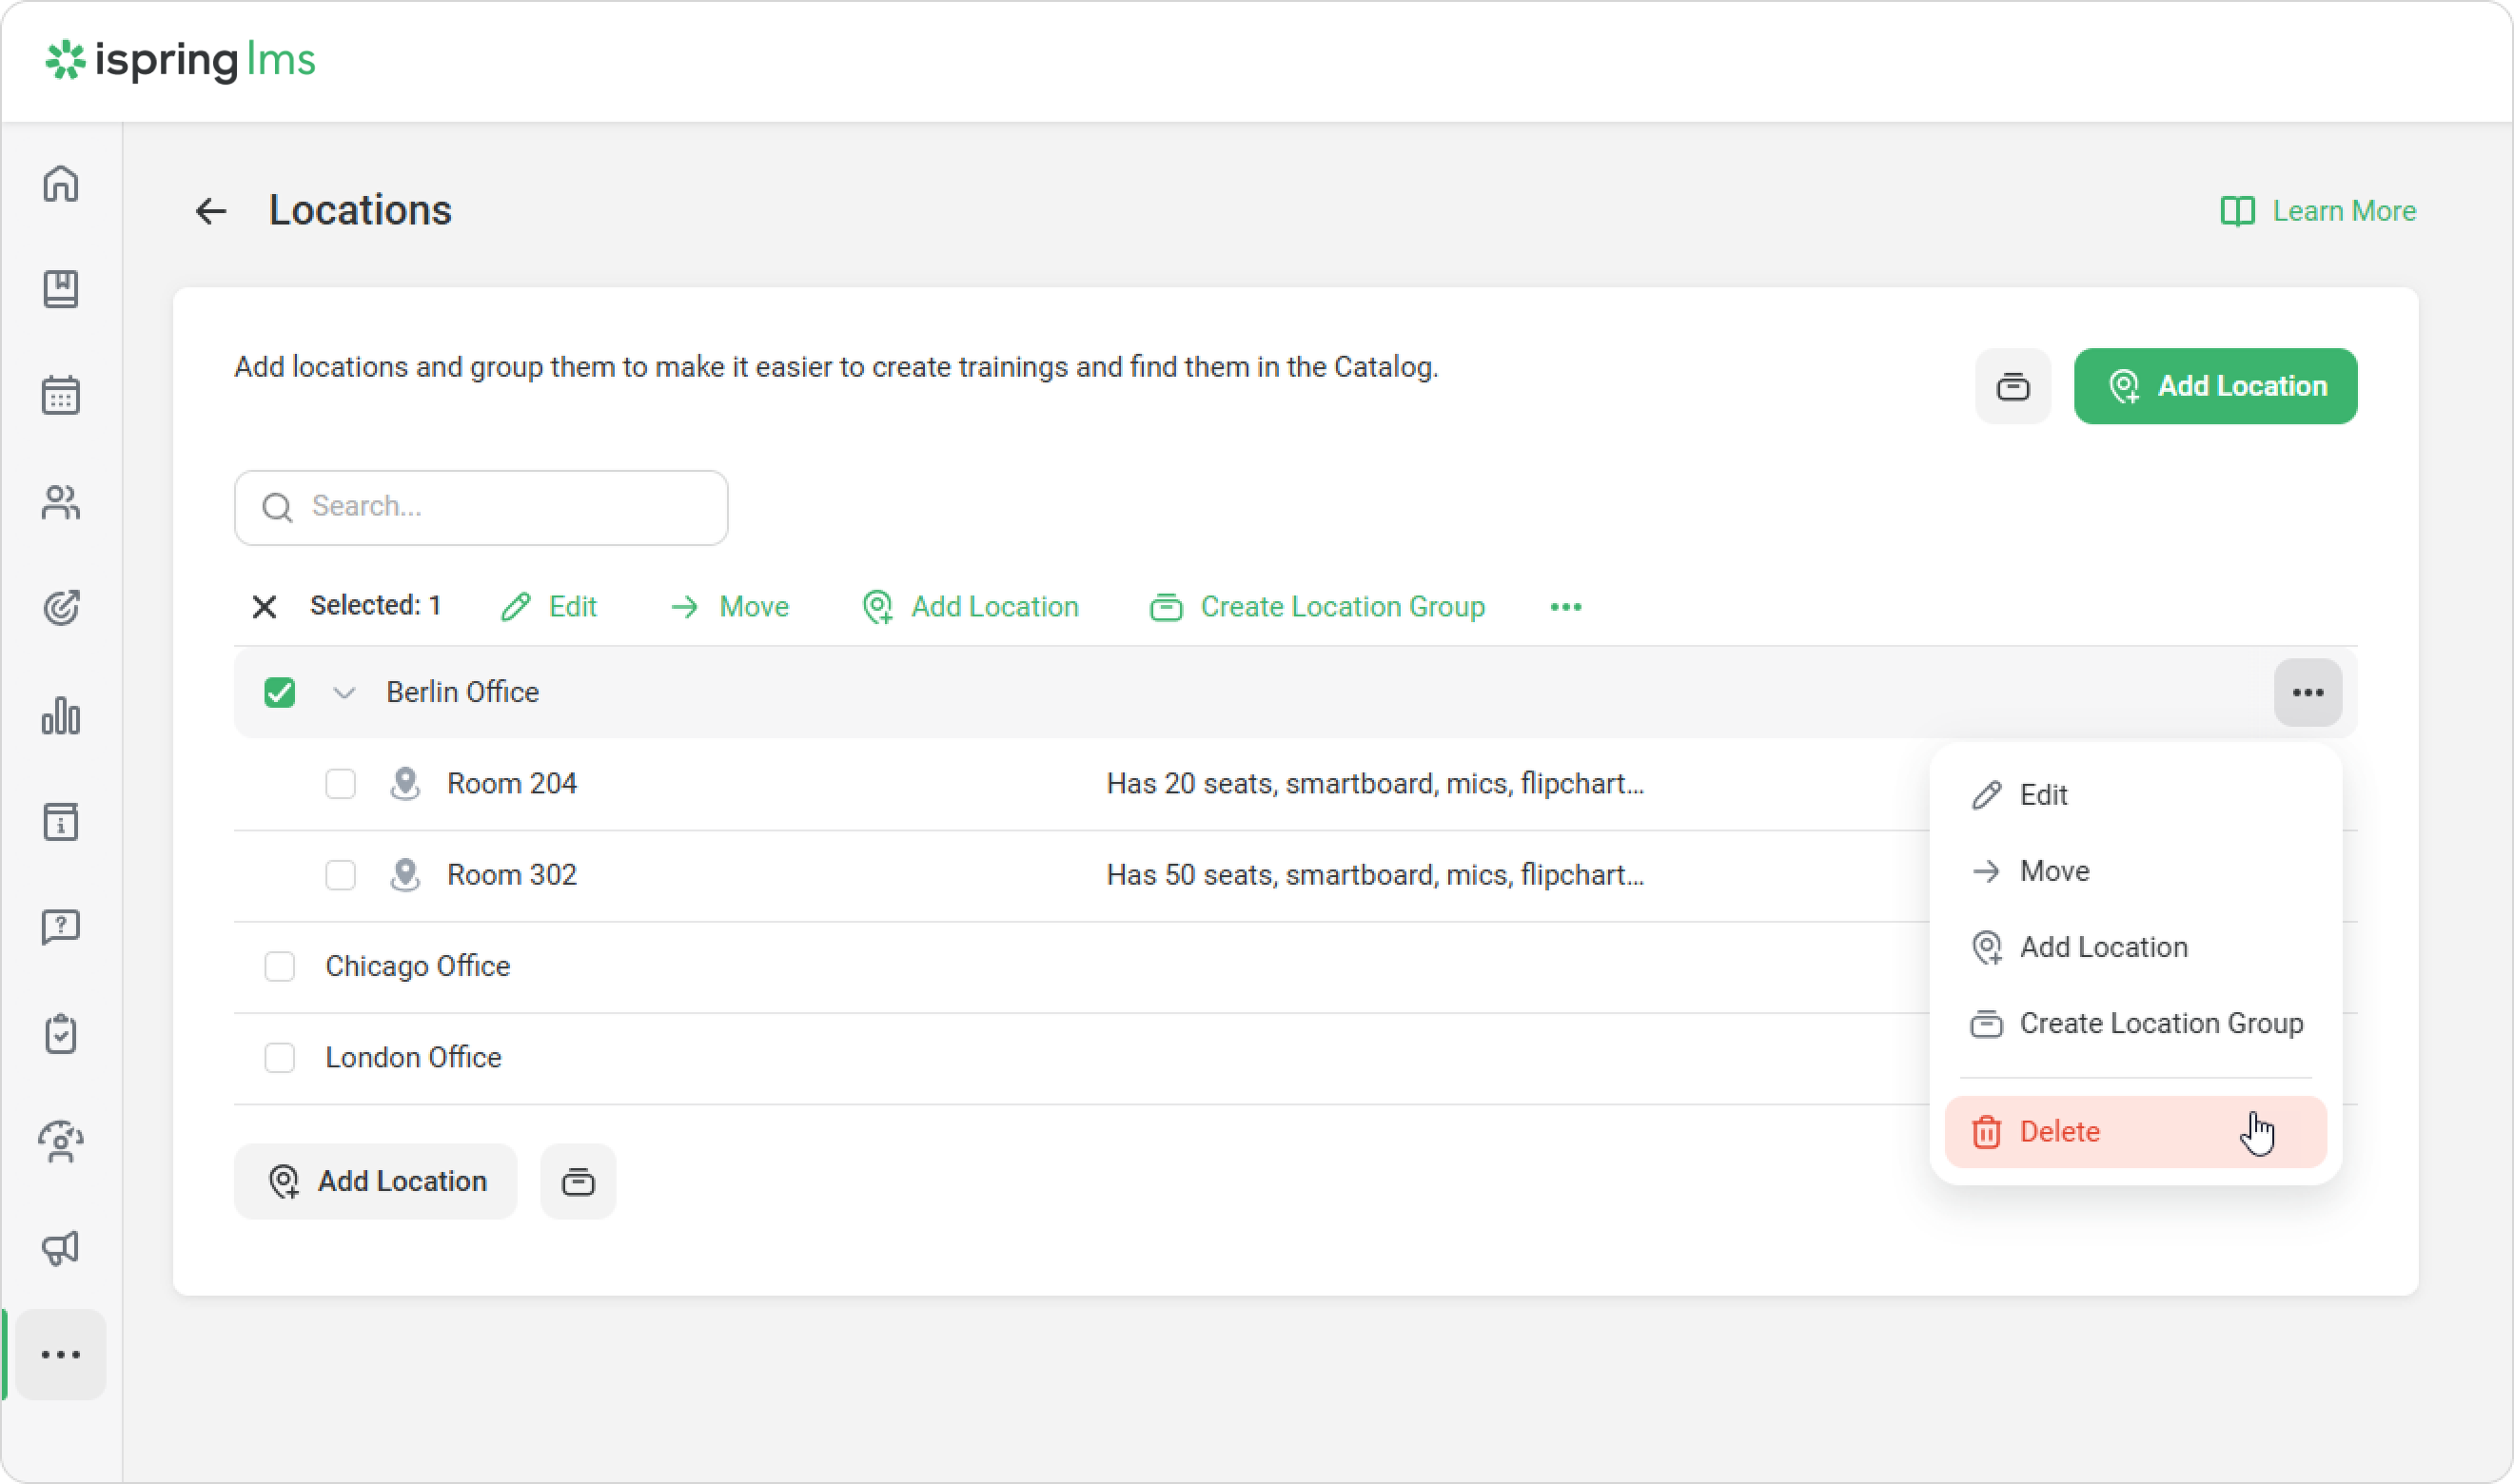
How to Delete a Location
You can delete one or multiple locations simultaneously.
Select the locations and click Delete on the top menu. Or click ⋯ next to the location name > Delete.
Confirm the deletion.
How to Delete a Location Group
If you delete a group, all locations within it will also be deleted. If you want to keep the locations, move them to another group or to the main list first.
Click ⋯ next to the group name or in the top menu > Delete.