iSpring Suite includes the iSpring Flip tool that allows you to create flipbooks from PowerPoint presentations, and Word and PDF documents. A flipbook cannot be added to a course but can be sent out to learners so they always have this information at their fingertips.
To create a flipbook:
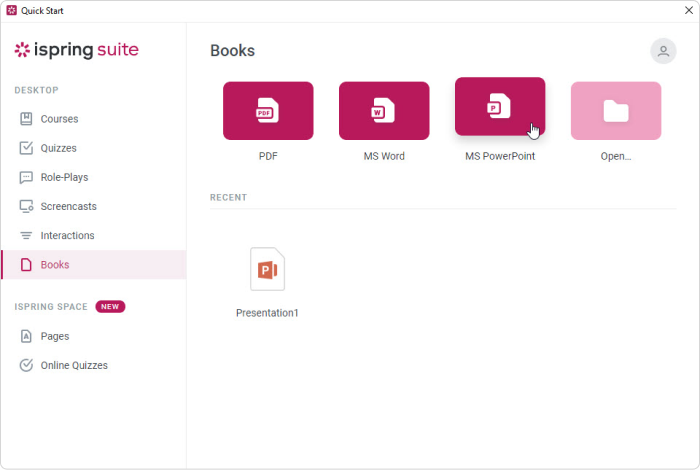
- Launch the iSpring Suite program and, in the Quick Start window, select the Books tab. Next, choose the type of document that you would like to convert to a flipbook and open it.
- Locate a document on a computer and click Open.

- Next, take a look at the document and publish it. To do this, click Publish on the toolbar.

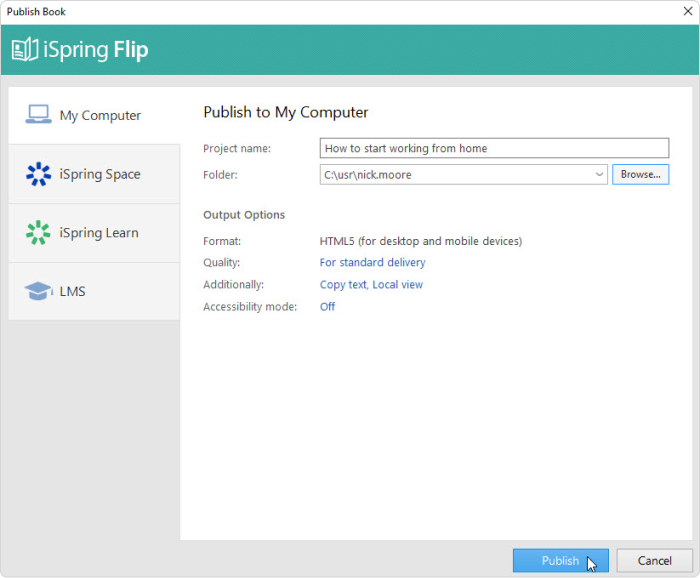
- Then select a publishing option in the Publish Book window and select the output parameters you need. Next, click Publish.
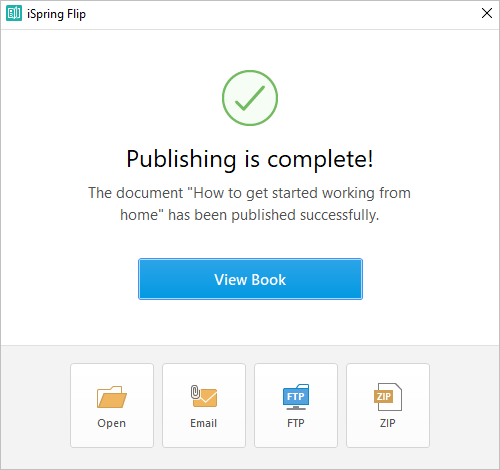
After the publishing is over, you will see the window with all possible actions you can perform over the published flipbook.