If you were using the keyboard and the mouse to enter information and press hotkeys while recording, you can include them in the video tutorial as the hint text pop-ups or annotations.
How to record a video tutorial with annotations
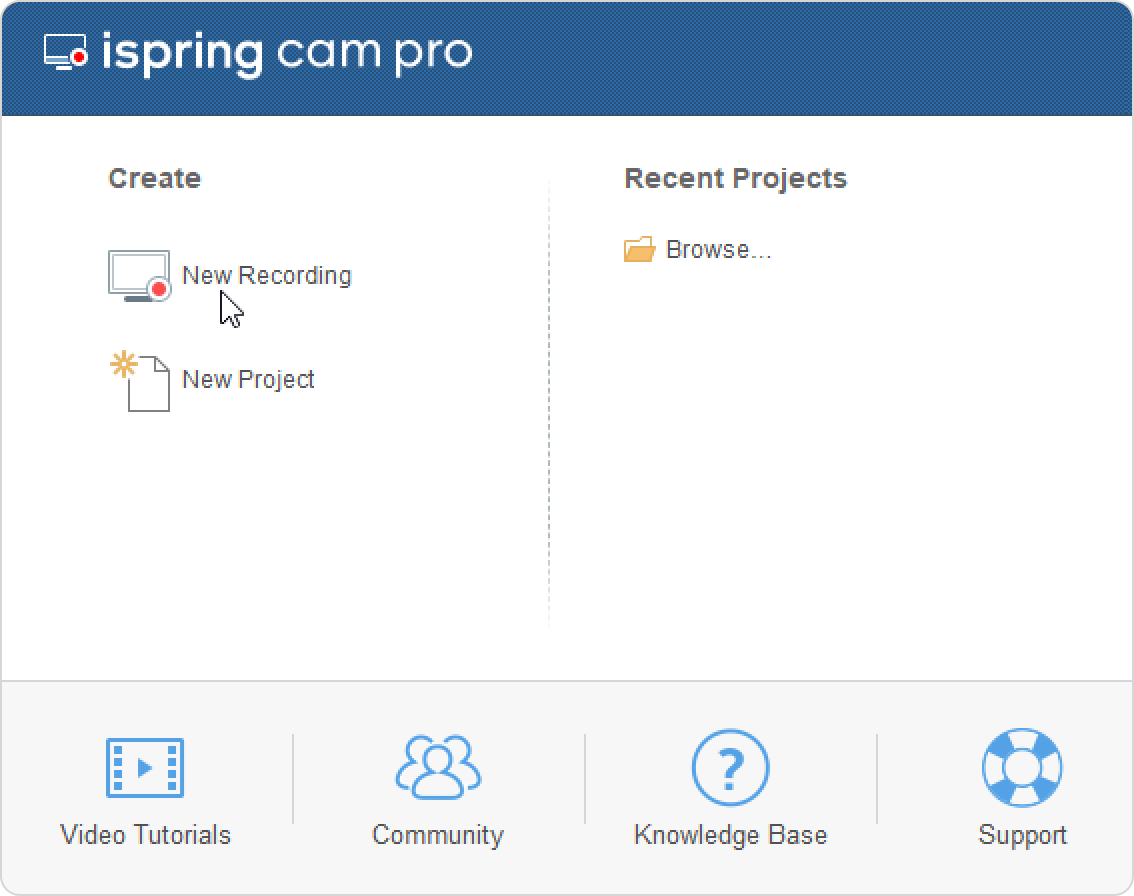
- Click Screen Recording.

- To start a new screencast, click New Recording.
- Select the area you want to record and click the Start Recording icon.
Then, iSpring Cam Pro will capture all the mouse and keyboard actions and adds annotations to the screen recording. You can customize the look and feel of the annotations after the recording process is complete.
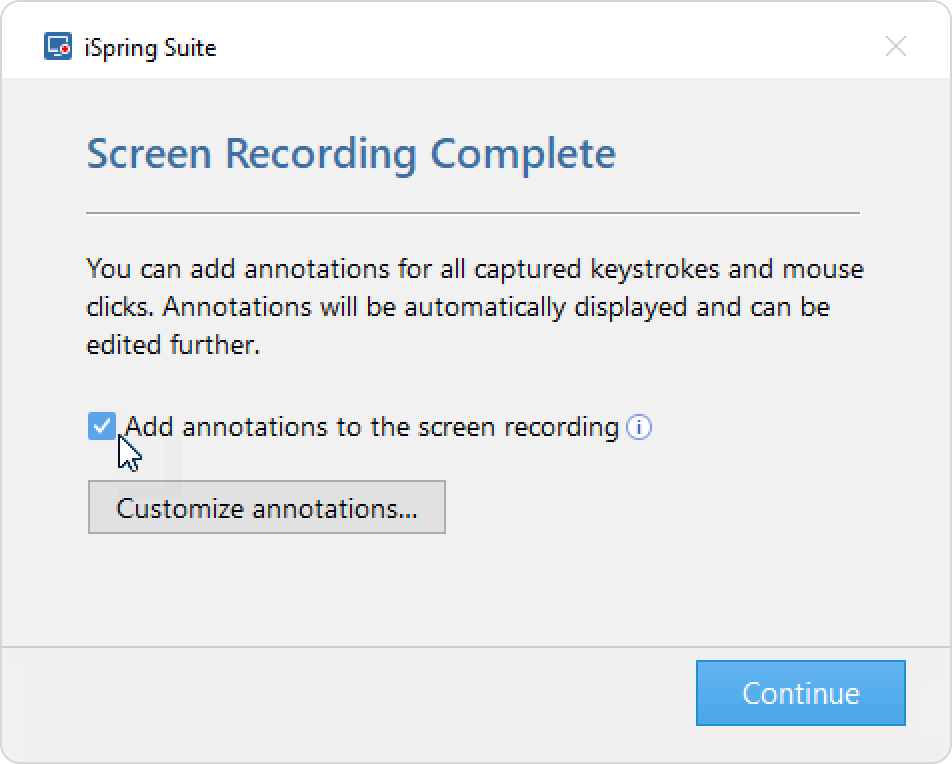
- To finish your recording, press the F10 key. When the recording process is finished, a dialogue window will pop up. Check Add annotations to the screen recording.
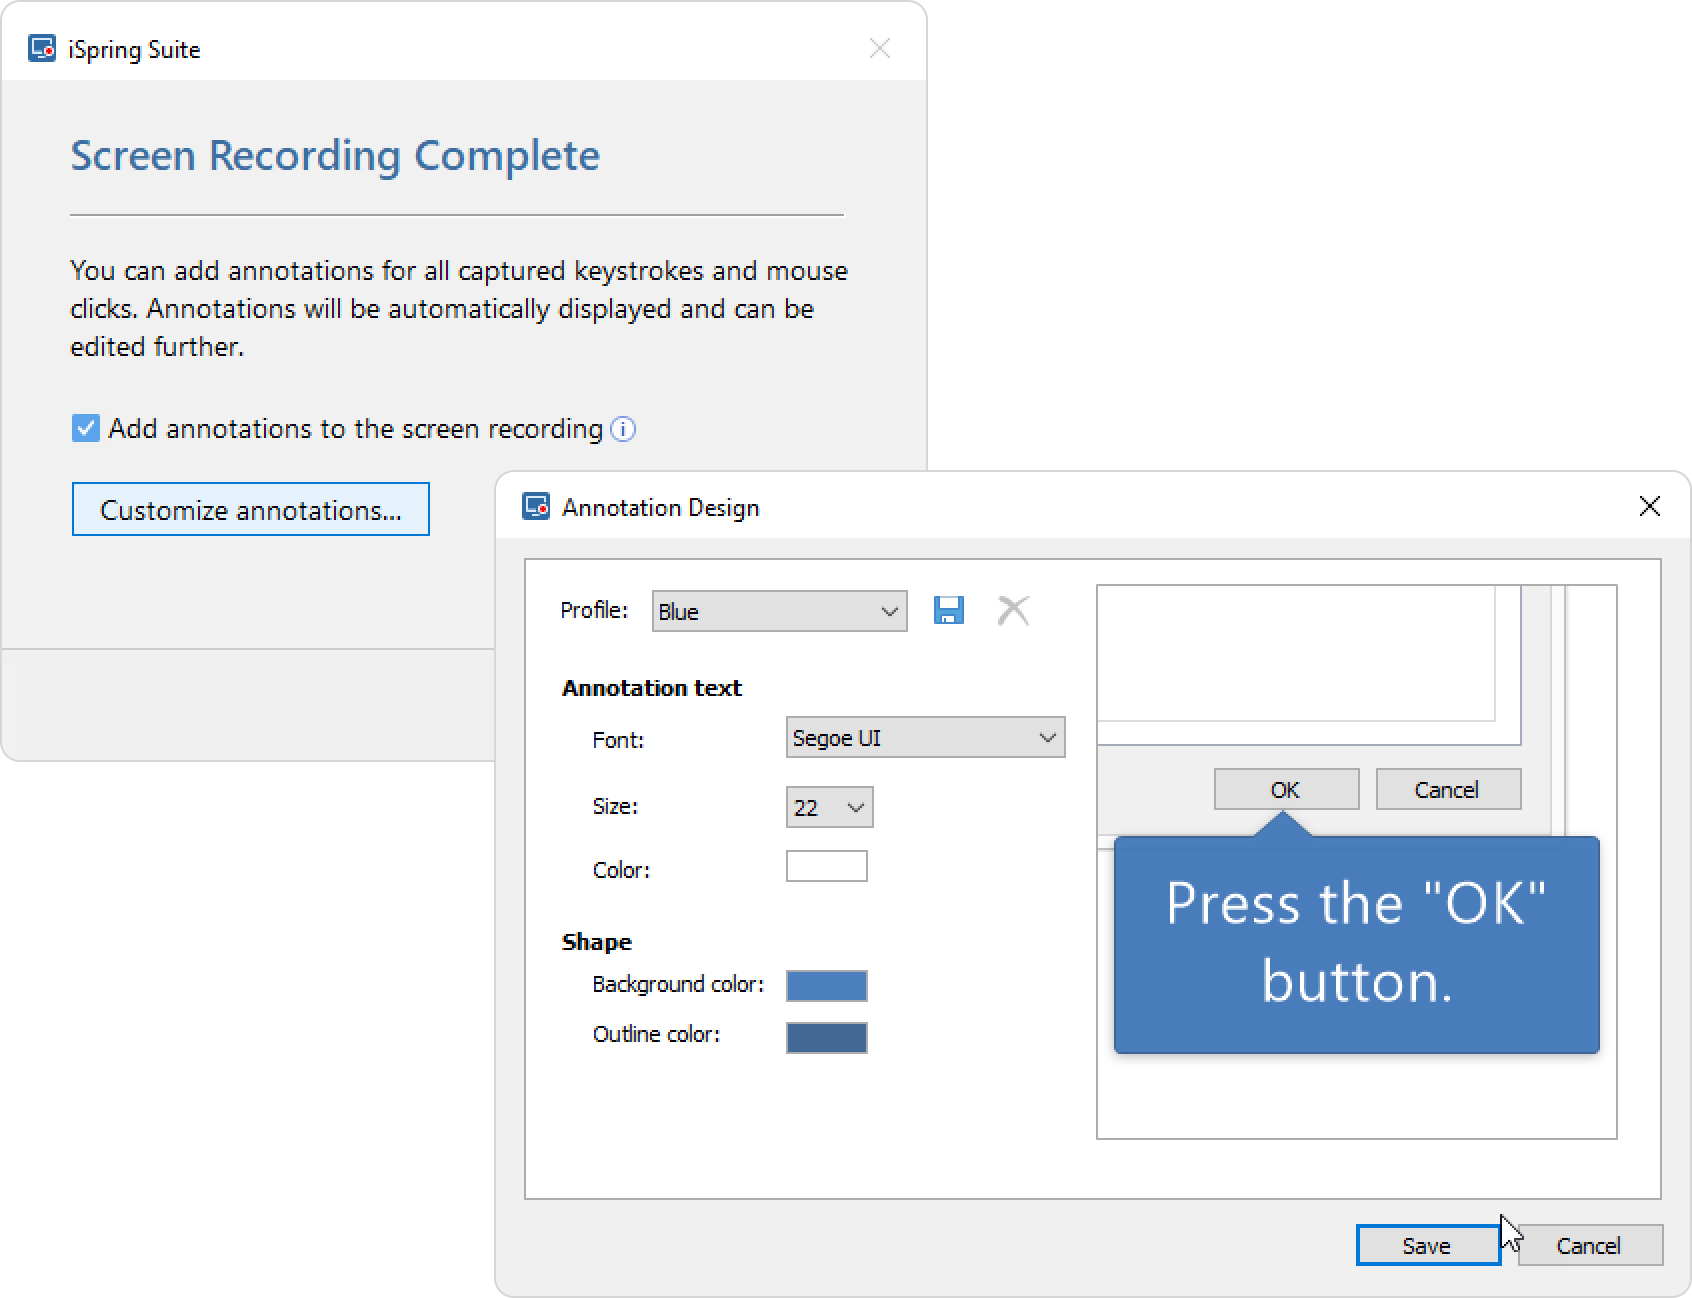
If you include annotations to your screen recordings, you can customize their look. To customize the appearance of annotations, select Customize annotations… In the Annotation Design window, select one of the pre-set color schemes or create a custom one. Click Save.
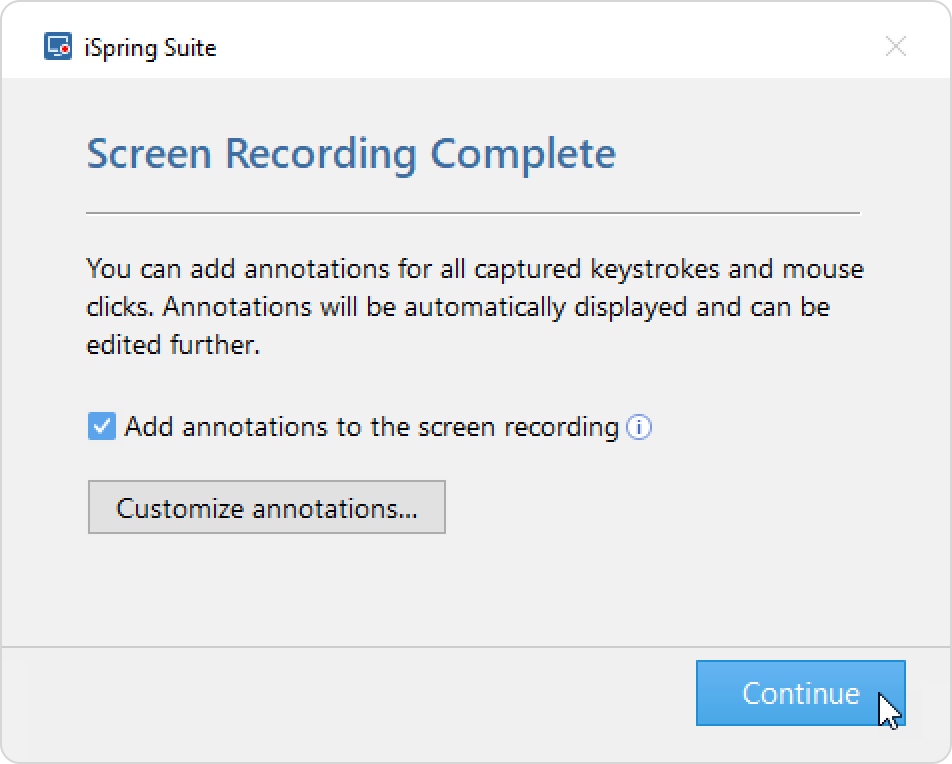
Next, click Continue.
The recorded video, as well as audio and annotations, will be added to the timeline. Each media element like video, audio and annotations will occupy its own track on the timeline.
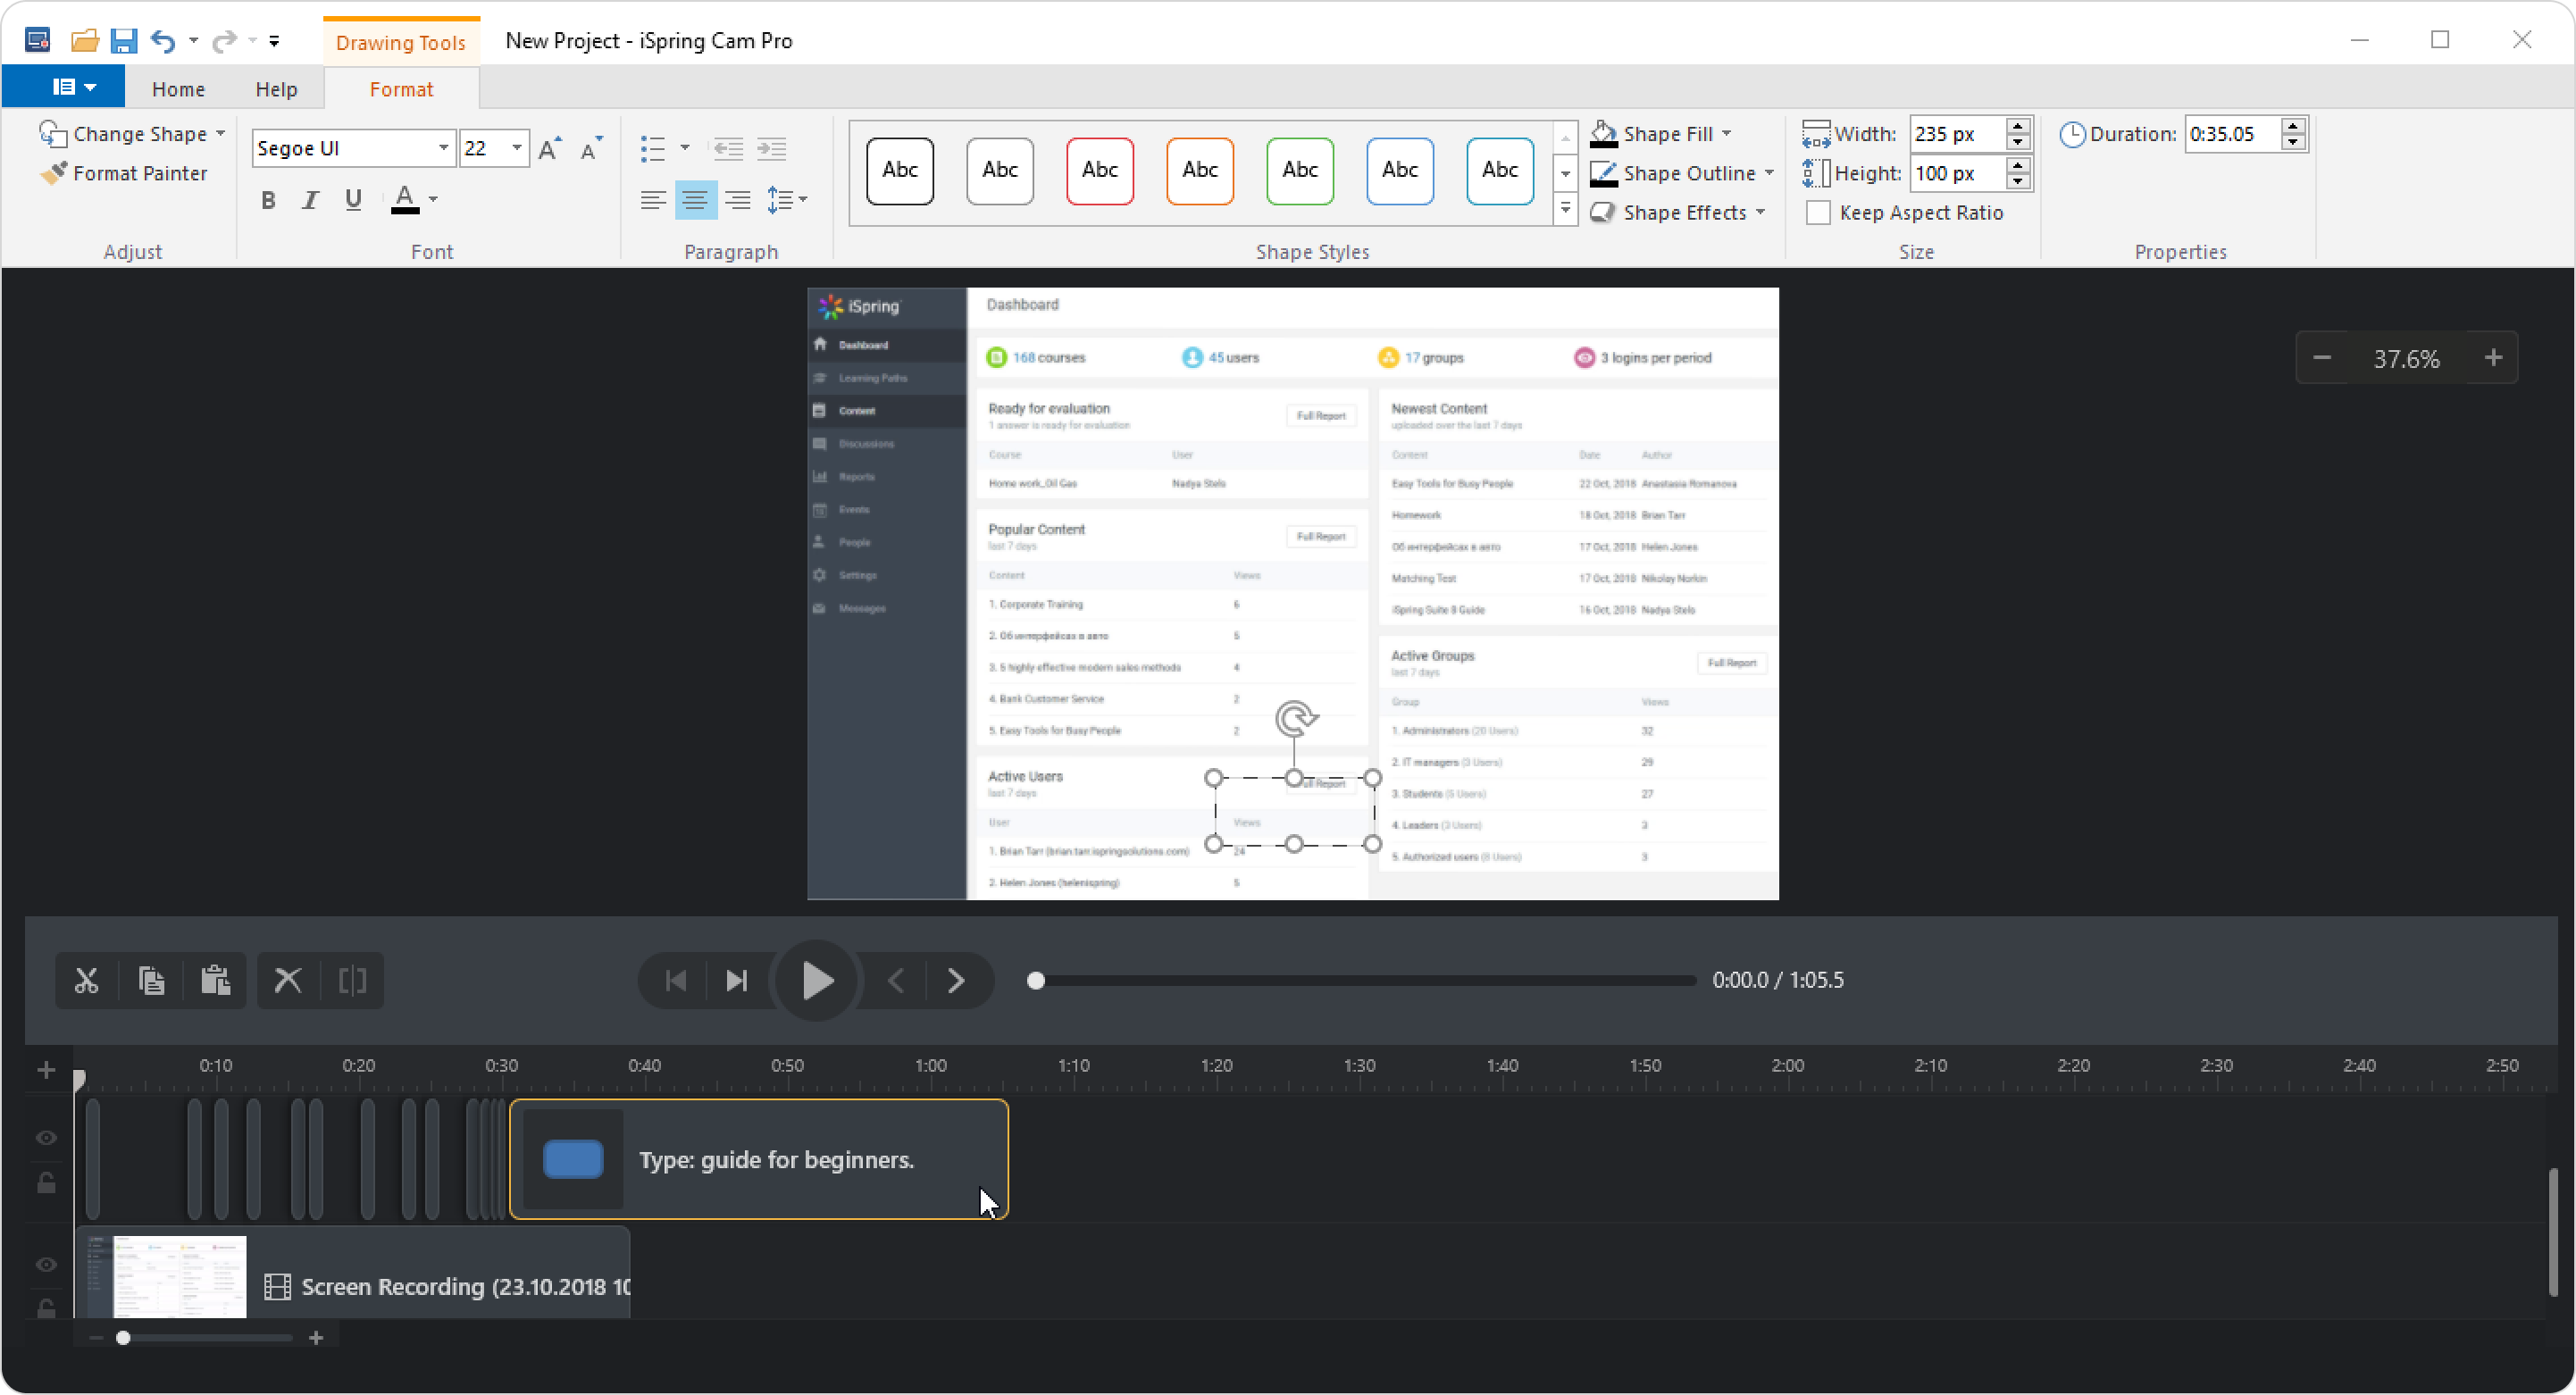
That's it! Now, you can start editing the recorded content or add new media objects.
Resolving Issues
- I’ve enabled annotations, but they aren’t visible in the recorded project.
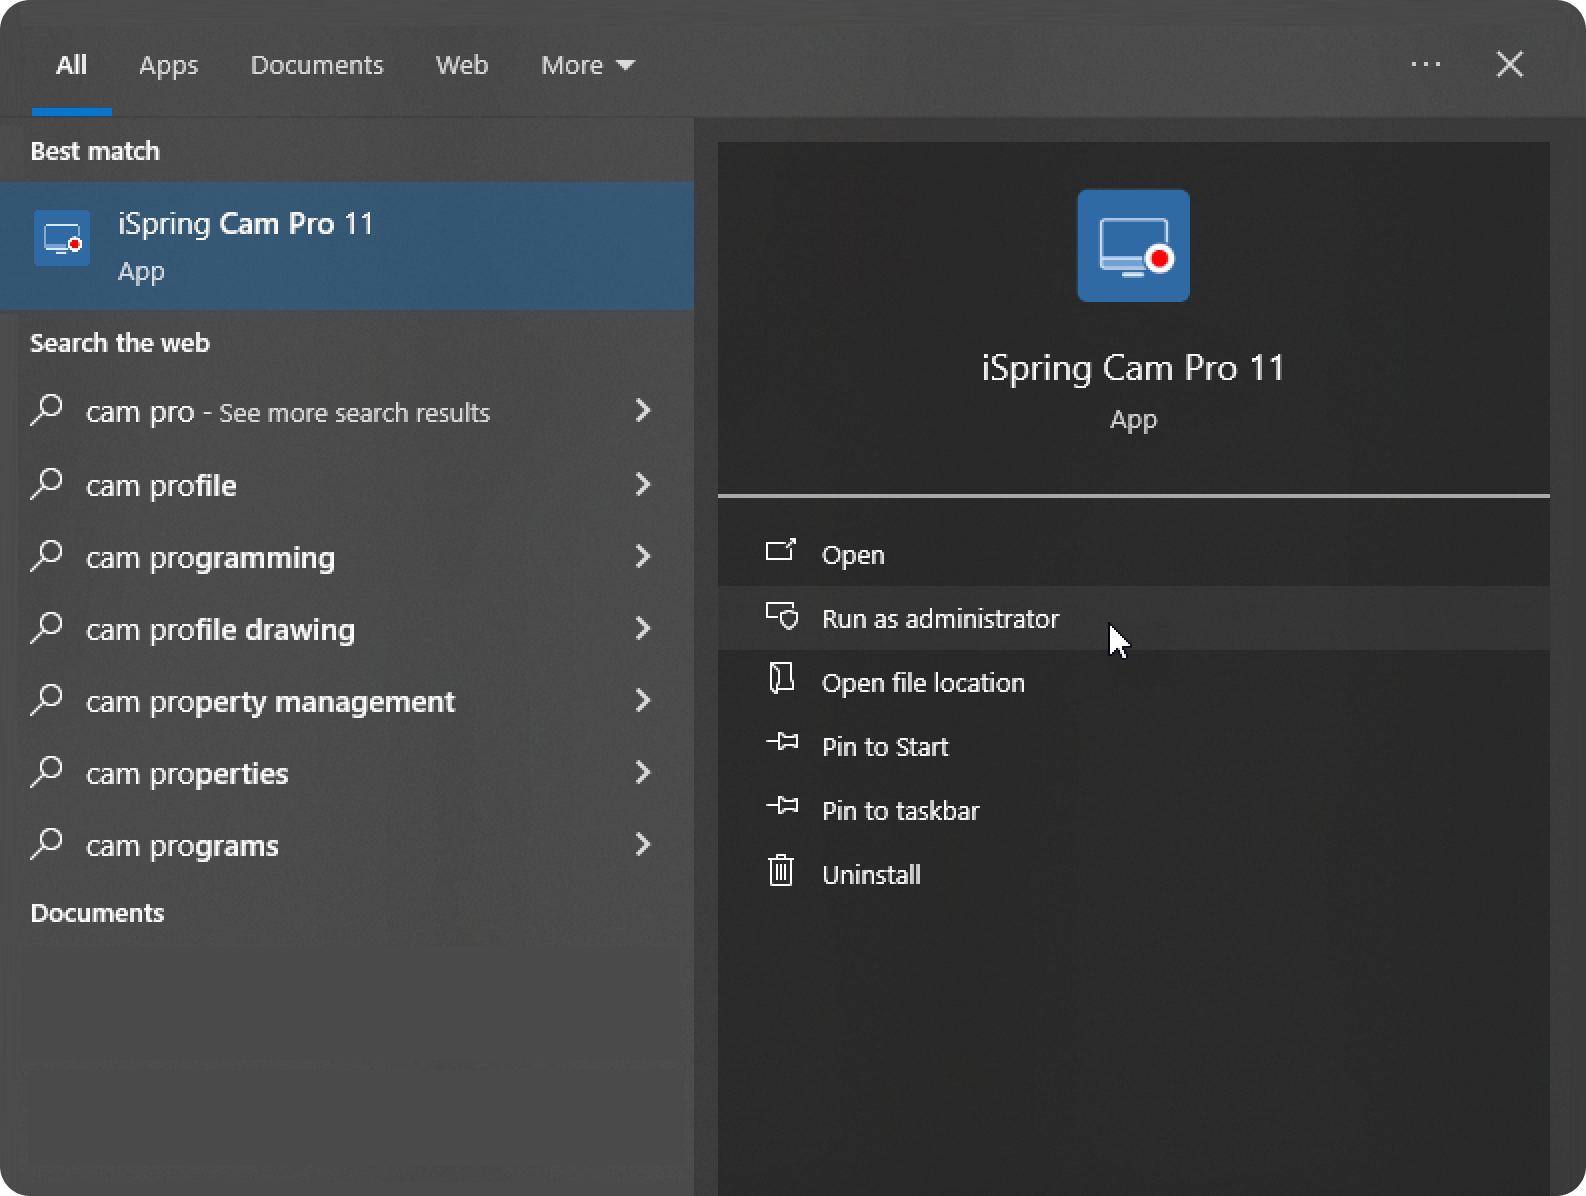
To correctly record annotations, you have to run iSpring Cam Pro as an administrator on your PC. If your screen recording is intended to be a part of a PowerPoint-based course, run PowerPoint as an administrator.
To run an application as an administrator, right-click on the application shortcut and select Run as administrator.
- iSpring Cam Pro does not record annotations for some clicks or adds incorrect titles to them.
This issue can happen when you’re trying to capture actions from an application which is not Section 508 compliant.
Please enable annotations, and add manually any hints which haven’t been recorded.