The screen and camera recording mode available in iSpring Cam Pro allows you to record the video on the screen and webcam simultaneously.
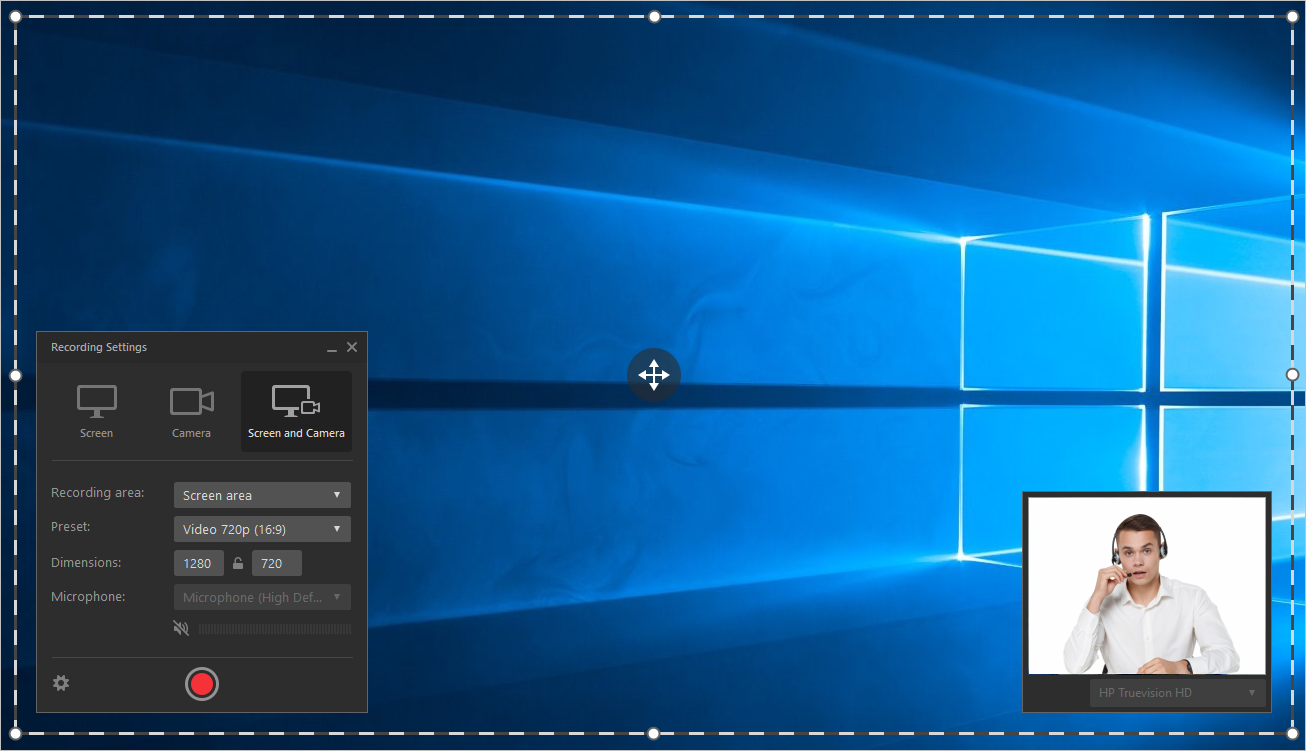
First, switch to Screen and Camera tab in the Recording Settings window.

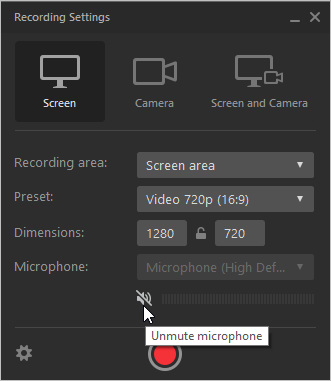
From the Recording area drop-down menu, you can select:

Screen Area
If you choose this type of the recording area, you can select a custom area to be recorded.
To move the recording area, click the icon in its center and drag it across the screen.
To change the size of the recording area, drag one of its corners of sides mouseovering the white points.

The Preset drop-down menu allows you to select the video size.

Full Screen
If you select this type of recording, you can record the entire screen. If there are multiple screens, choose the one to be recorded in the Monitor drop-down menu.

Application
The Application recording mode enables you to choose one of the launched applications you want to record. The recording area will get adjusted to the application window size. In the Application drop-down menu, select the application to be recorded.

The Dimensions option allows selecting and fixing the screen size of the application that will be recorded.
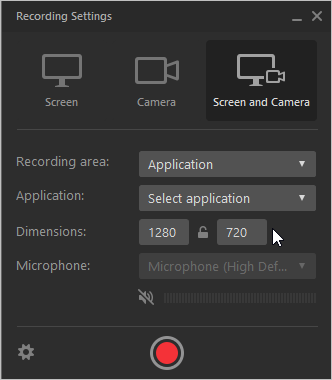
The Dimensions menu will be unavailable if the application doesn’t support screen resizing.
The Microphone menu allows you to select the microphone that will be used during the recording.
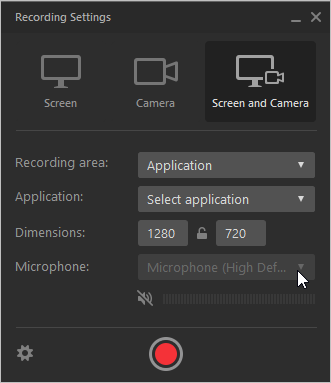
To turn off audio recording, click the speaker icon. This will made the icon crossed which confirms the mic is muted.
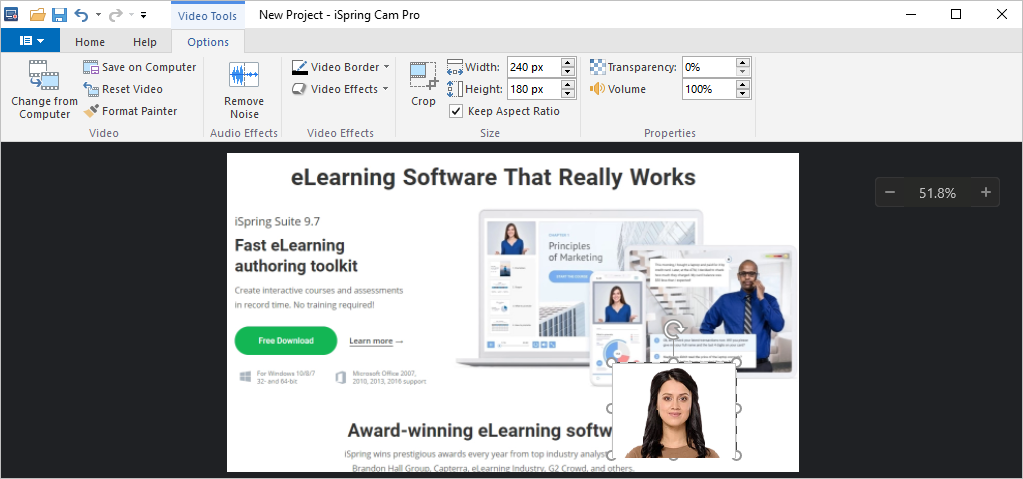
While recording, the webcam image will be seen in a separate window. In the menu under the webcam image, you can select the image source in case there are multiple web cameras connected to your PC.

When the recording is finished and the editing process started, you can move the webcam image over the screen, rotate, or remove.