Publishing to iSpring Cloud
Once you are done editing your interaction, upload it online to iSpring Cloud hosting and sharing service from the iSpring Visuals interface.
This option is available only if you launch iSpring Visuals separately from iSpring Suite. If you publish a quiz from the iSpring Visuals app included in iSpring Suite, upload to iSpring Cloud will not be available.
Learn how to manually upload an interaction to iSpring Cloud if online publishing cannot be completed because of an antivirus program or a proxy server error.
To upload your interaction to iSpring Cloud:
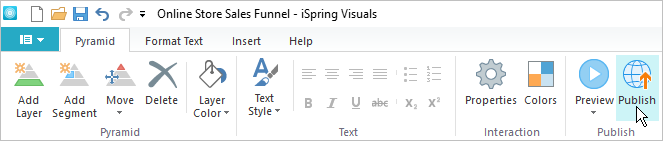
- First, click the Publish button on the iSpring Visuals toolbar.
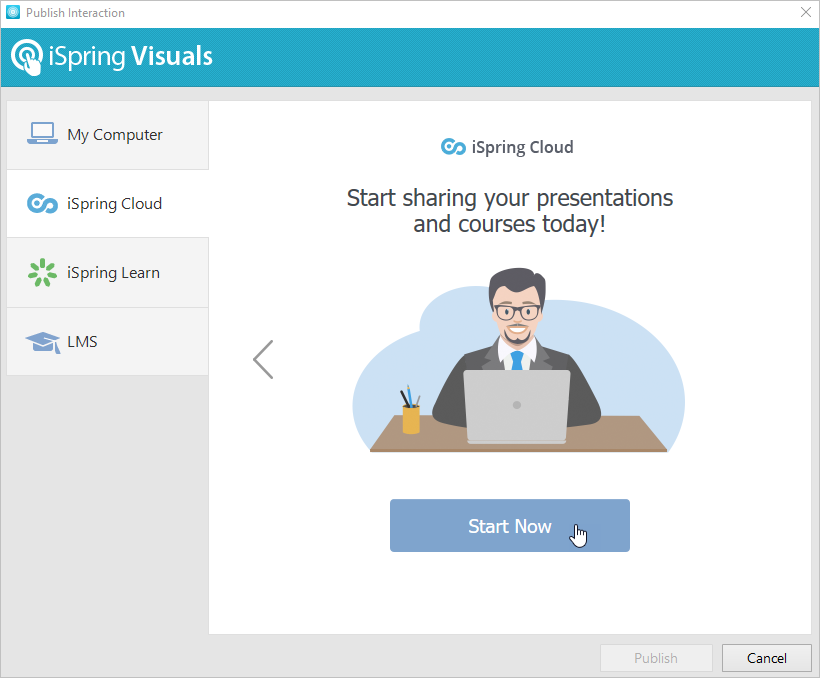
- Second, in the Publish Interaction window, choose the iSpring Cloud tab. Flip through the picture gallery and click Start Now.
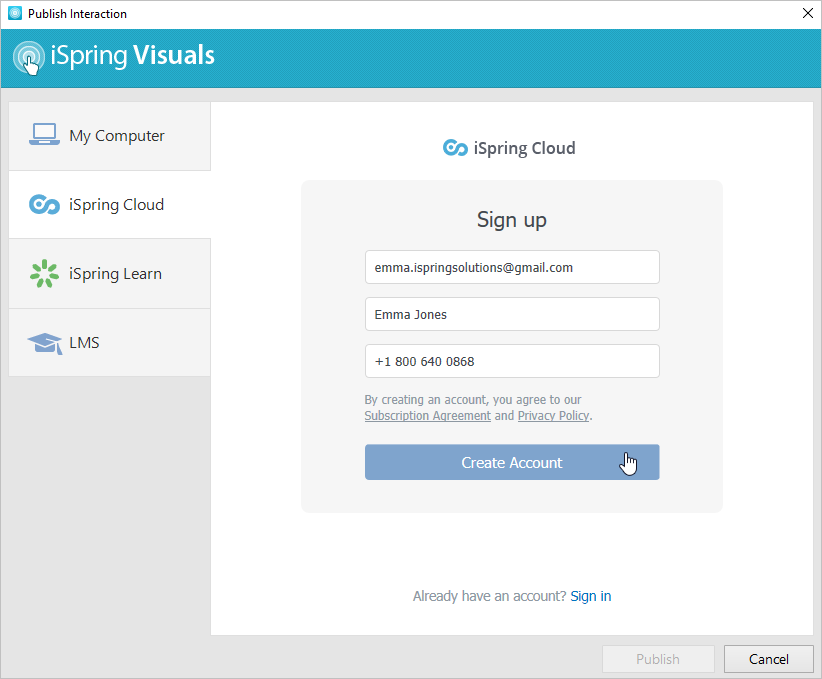
- Next, sign up for a free trial account. Enter your email, name and phone number, and click Create account.
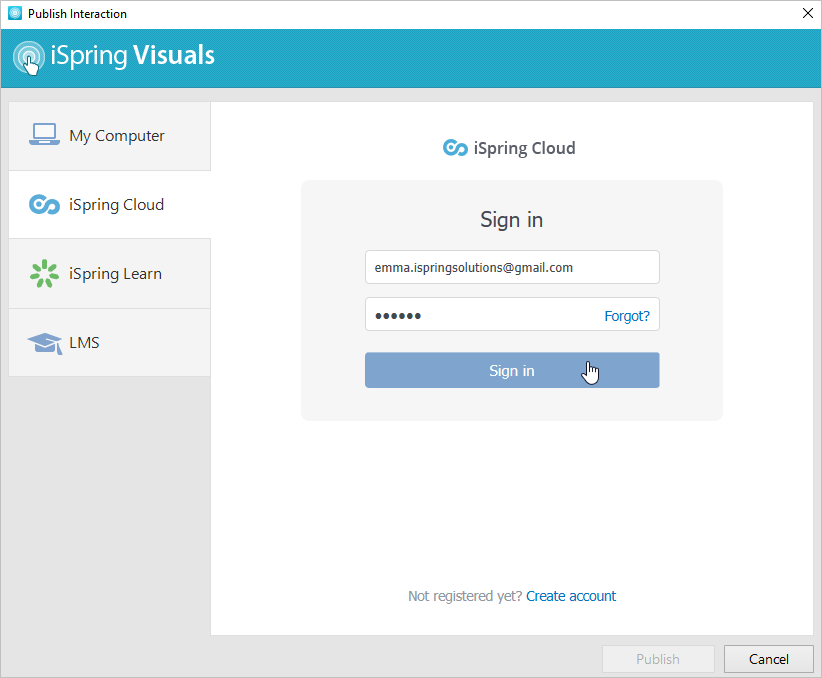
- If you already have an account, click the Sign in link at the bottom, and enter your existing iSpring Cloud account details (Email and Password).
- When you enter your account details, iSpring validates this data, and you will see your name and email address in the Account field.

- Enter the title of the interaction in the Project name field. By default, the title is the same as the one of the PowerPoint presentation.
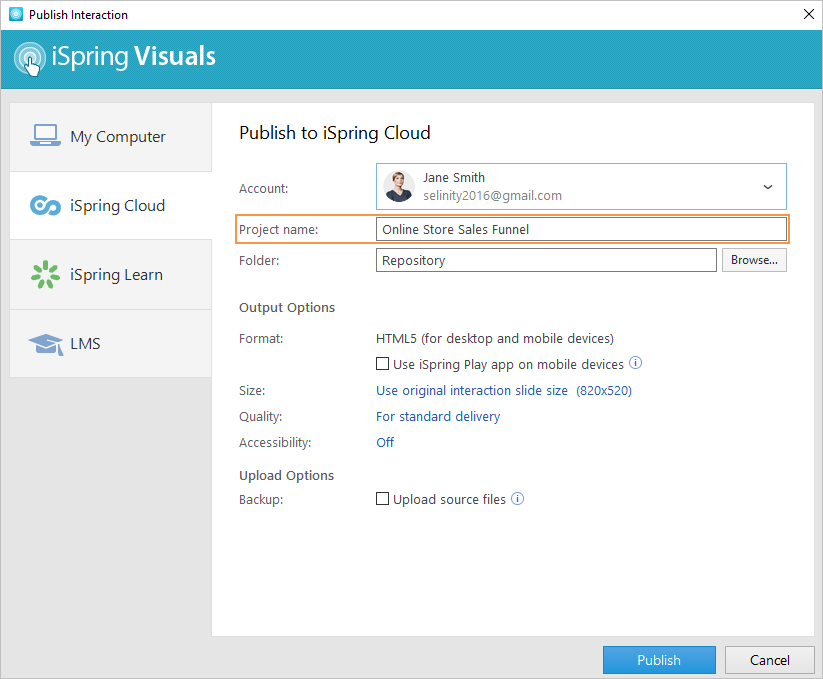
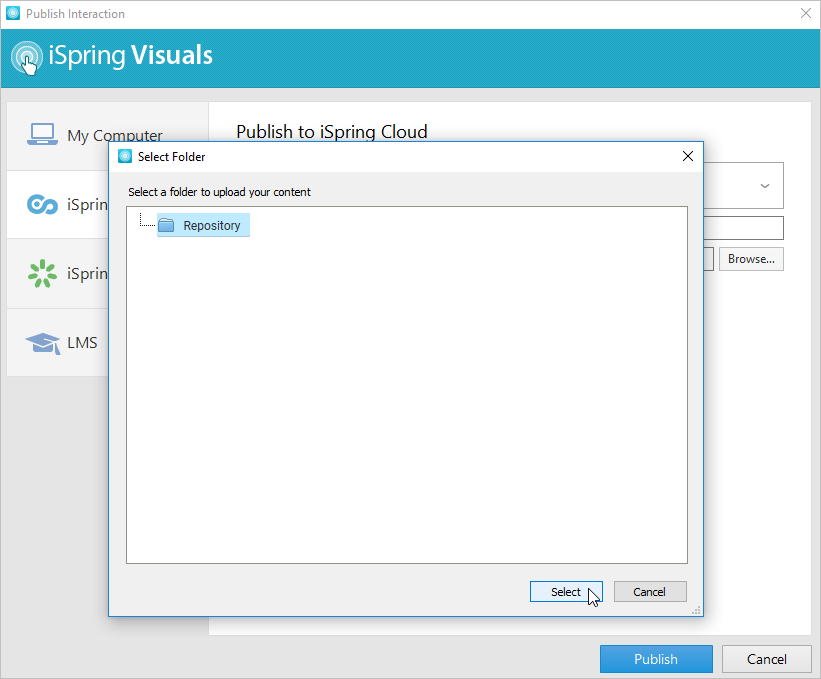
- Click Browse... to the right of the Folder field, choose the folder to upload your content, and click Select. By default, your presentation will be uploaded to the general content list (Repository).
- Then, set up output options:
- specify how the material behaves in a browser,
- select the quality level of images, audio and video files,
- make the interaction accessible for users with visual impairments.

In the Upload Options, select Upload source files if you would like to upload the source files of your interaction to iSpring Cloud.
You can use this option for collaborating with a team on the project and for creating backups of source files.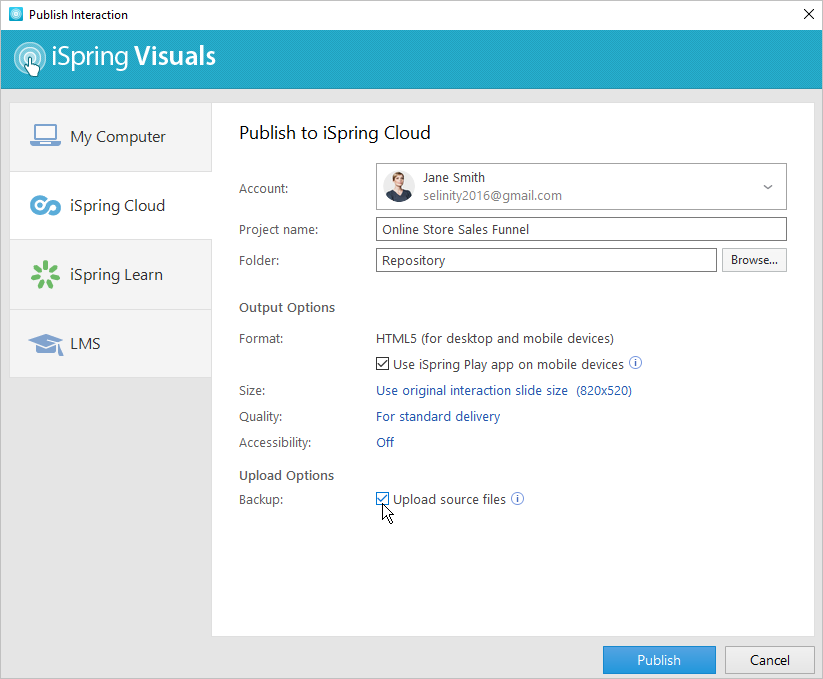
- Finally, click the Publish button.
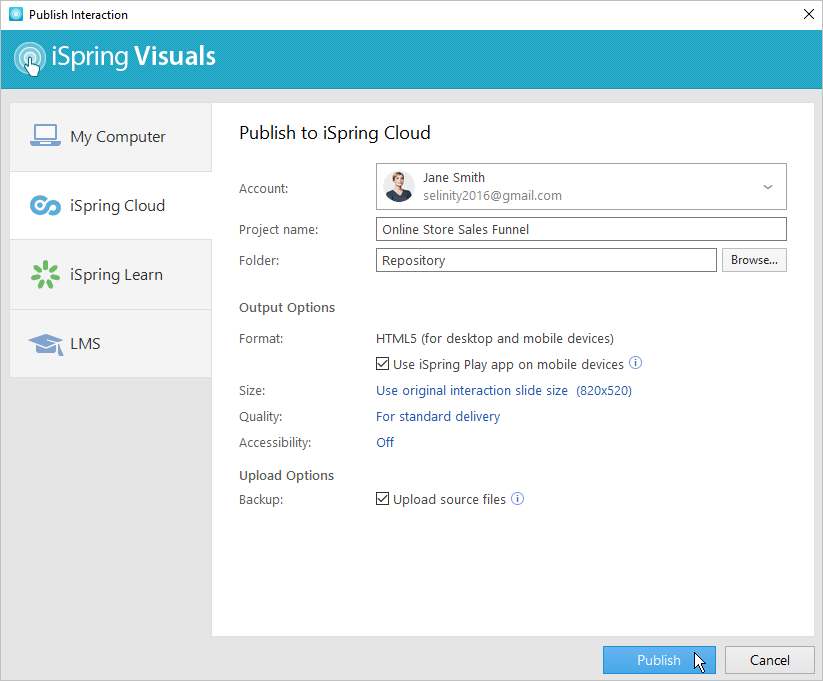
- iSpring Visuals will convert your interaction to online format, and it will be available for viewing on any device from a computer to a smartphone. The program will upload your interaction and it will appear in the iSpring Cloud Repository.
When the publishing process is successfully completed, a new window will come up. To open the published interaction in the iSpring Cloud interface, click View Interaction.
You will see your interaction preview in the iSpring Cloud account. From there, you can share the material with your students and colleagues or download it to your computer.
If the content uploading process fails, please refer to the iSpring Knowledge Base or iSpring Community Forum, or contact our Support Team.
Every content item in your iSpring Cloud account has to have a unique title. If you put in a title that has already been given to any other materials, iSpring asks you to either replace the existing files or rename the newly uploaded file.