Adding and Formatting Text
All the texts of the interaction can be added in the text editing area. Select the slide in the list and enter the title and description in the text editing area.

iSpring Visuals features a simple visual editor which enables you to easily format the text of the interaction. You can see the quick text formatting settings on the first tab of the interaction.

The advanced text formatting settings are located on the Format Text tab.

Text Style
Highlight a text area and apply one of the pre-made styles to it – Heading 1, Heading 2, Text.

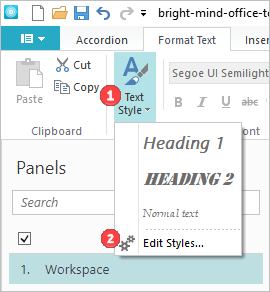
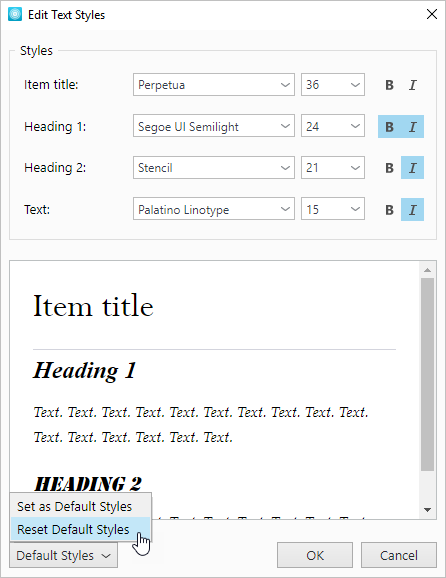
To edit text styles, first, click the Text Style button, then, the Edit Styles link.
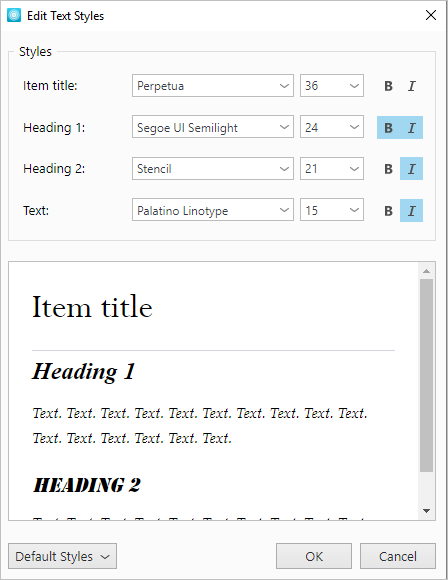
Manage the settings for the Item title, Heading 1, Heading 2 and Text: choose the font type, size, and type of the highlighting. Click the OK button to save the changes.
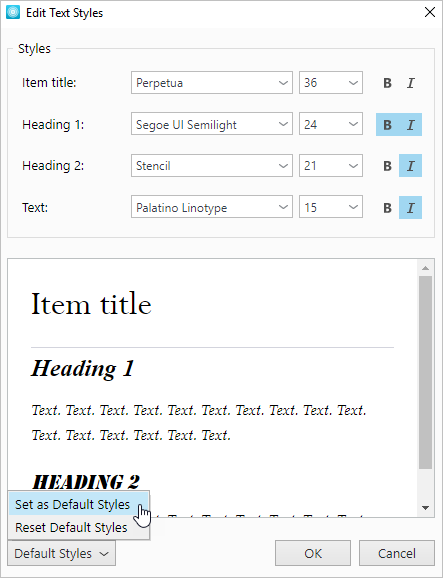
To apply the changes, click the Default styles button and choose the Set as default styles option. To save, click the OK button.
To save the settings, click the OK button. To return back to the initial styles, click the Default styles button and choose the Reset default styles option. To apply the changes, click OK.
Font Type
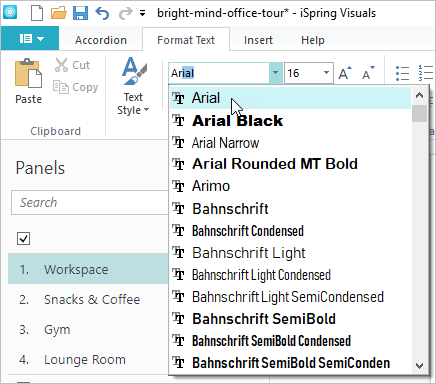
To change the font type, choose a font from the list or start entering the font name in the field: the wording will be auto-filled to the first matching record.
Font Size
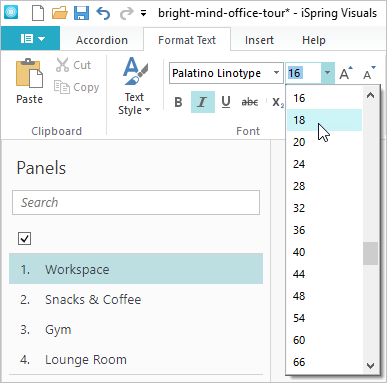
To change the font size, choose a value from the drop-down list or type any size you want in the font size field. Also, you can increase and decrease the font size by clicking uppercase and lowercase A letters next to the font size drop-down list.
Text Highlight
The following highlighting options are available: bold, italics, underline, and strikethrough.

Superscript and Subscript
The superscript and subscript are symbols that are displayed above or below the standard text line. To switch the text to the superscript or subscript, click the corresponding buttons on the toolbar.

Font Color
Choose one of the standard colors in the Theme Colors window.
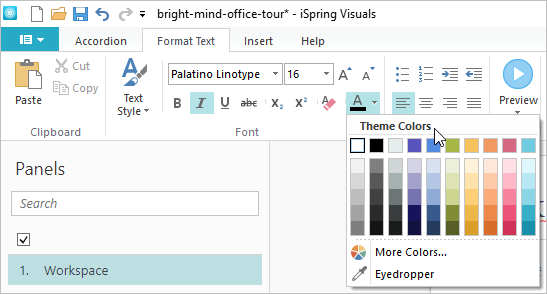
If you haven't found an appropriate color, pick a freehand one in the More colors window.
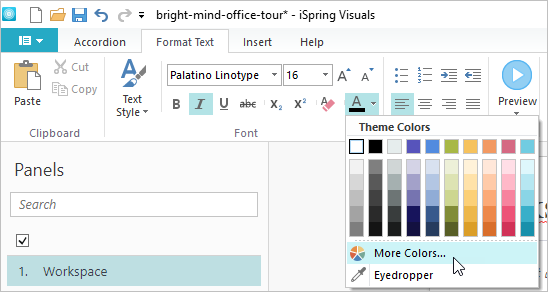
The Eyedropper tool is designed to identify the color of any particular area of the slide and apply it to the text.
- Highlight the text you want to change the color of.

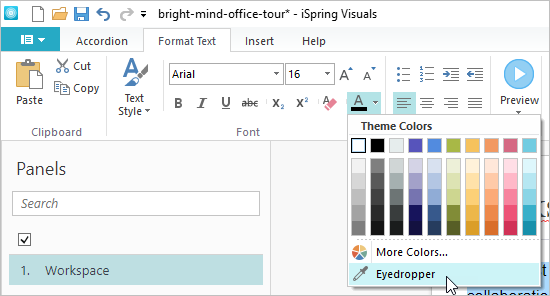
- Choose the Eyedropper tool in the Theme colors window.
- Place the tool onto the slide area you want to copy the color of.
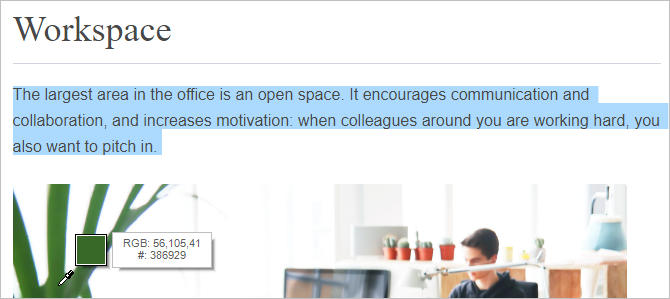
- Left-click and the highlighted text will change its color.

The Eraser tool helps to reset the initial color of the text.
- Highlight the text you want to reset the color of.

- Click the Eraser tool icon on the toolbar.

- The text color will be reset back to the initial value.

Bullets and Numbering
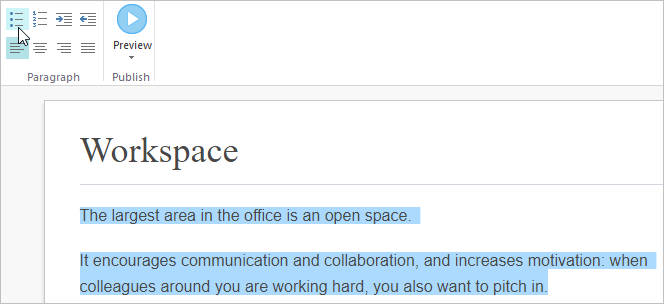
Add bullets or numbers to the text lines. Highlight the text you want to convert into a list and click the bulleted or numbered list icon on the toolbar.
Indentation
You can move the left or right margin. To do this, place the cursor on the line and click the corresponding buttons on the toolbar.

Alignment
Place the cursor inside the paragraph and click on one of the alignment buttons. You can align the text left, right, or center, or match the width.

Spacing Options
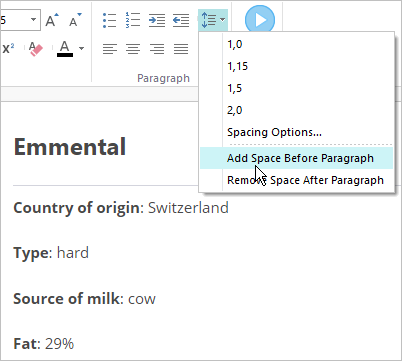
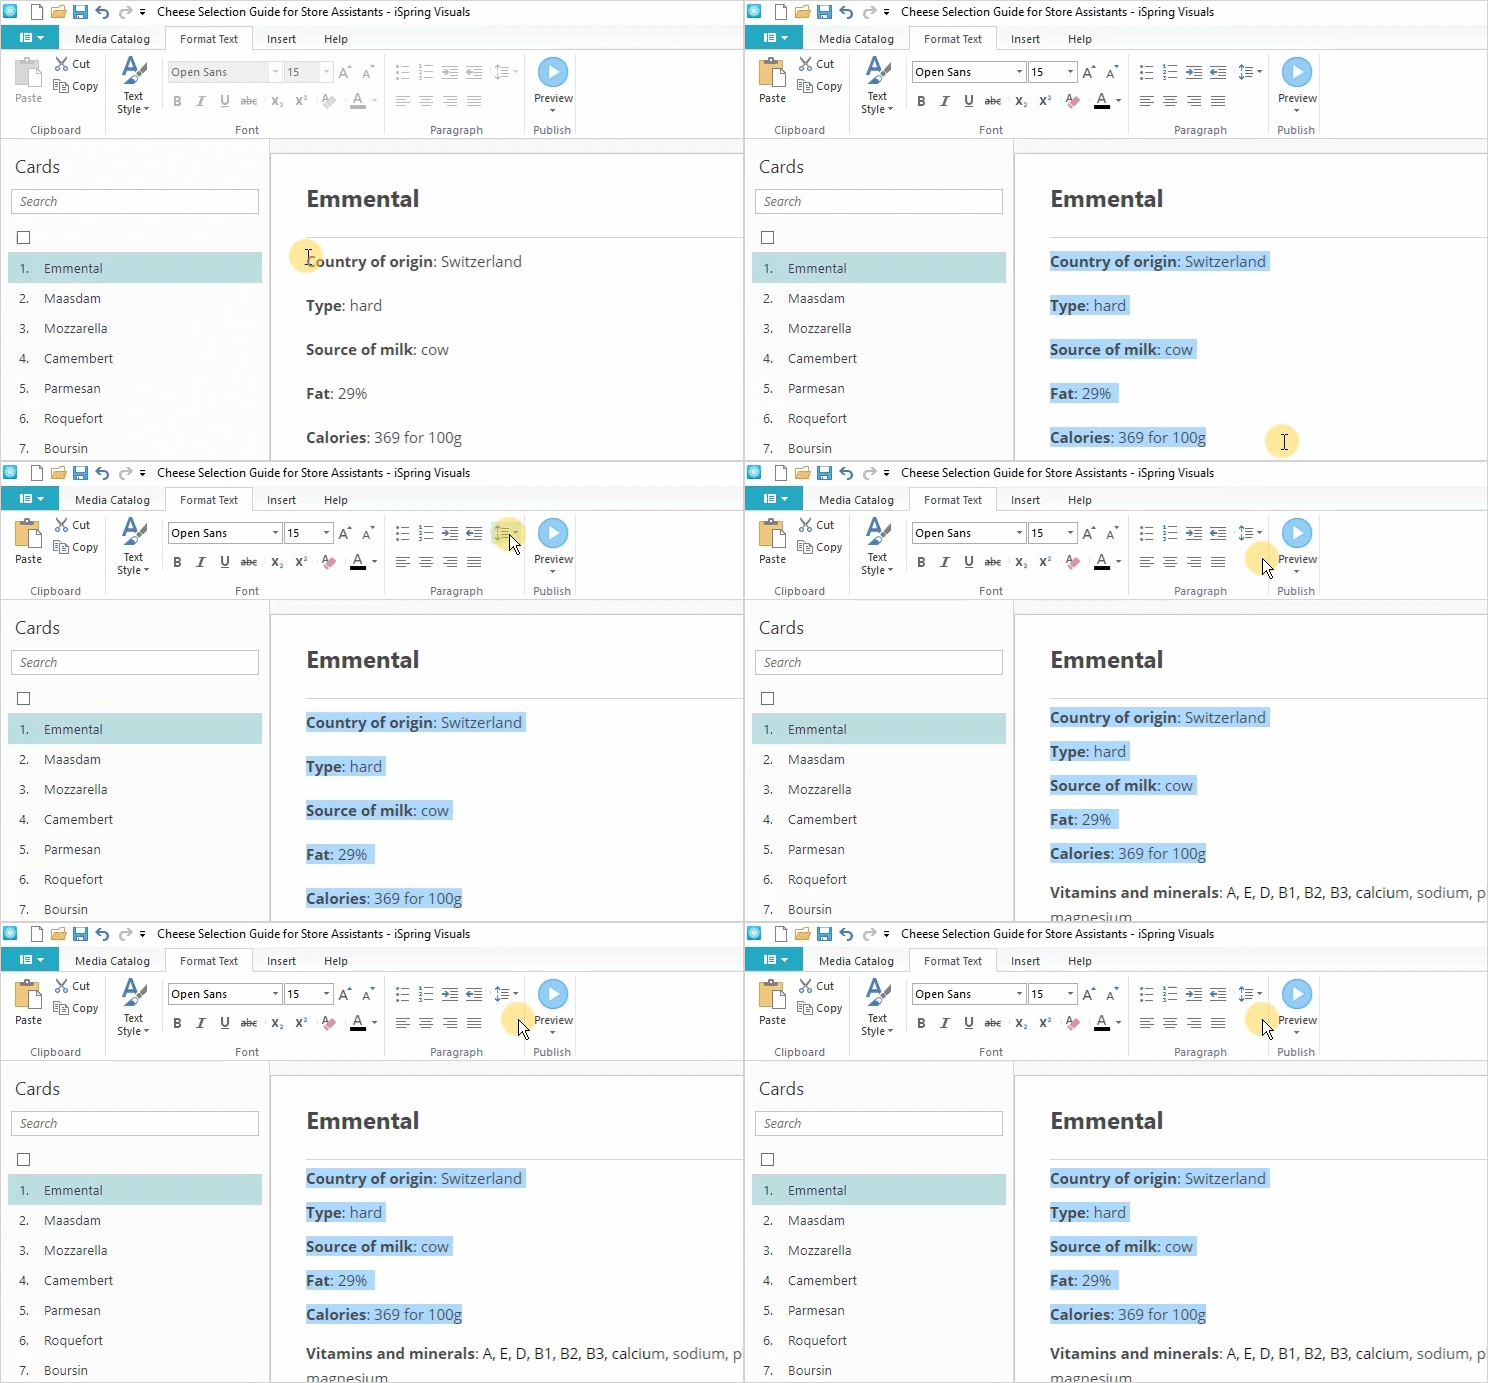
Set up spacing options for the interaction texts.
- Select one of pre-installed spacing options.
- Configure spacing in accordance with your wishes and also select how large spacing between paragraphs will be.
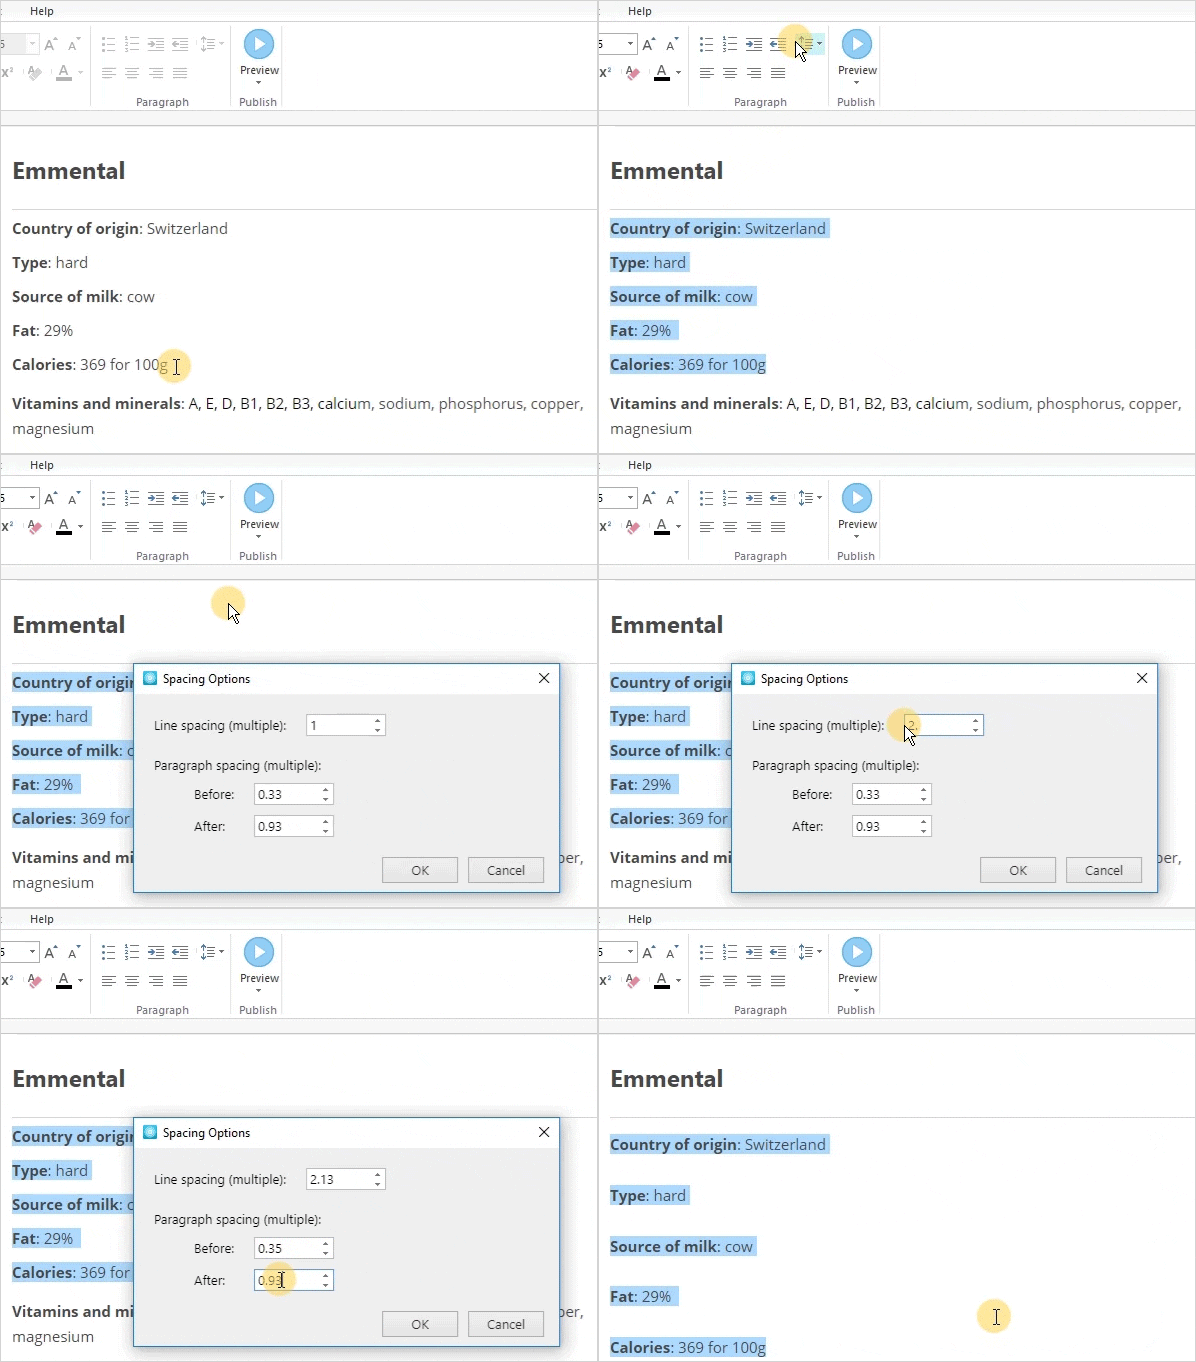
- Also, you can add or remove an extra spacing before a paragraph or after it.
