To add a screen and/or camera recording to the project:
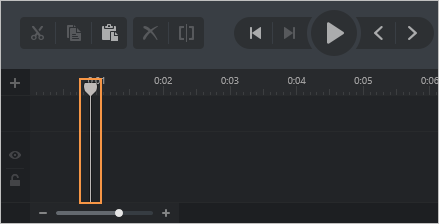
- On the timeline, place the cursor at the point where the recording will be added.
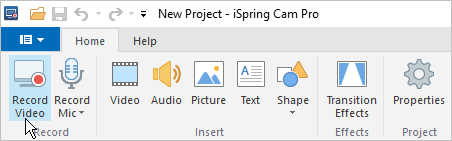
- On the iSpring Cam Pro panel, click Record Video.
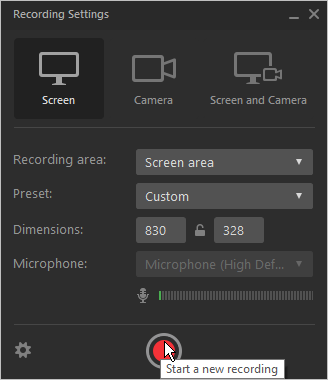
- In the Recording Settings window that opens, select the recording mode and additional recording settings.
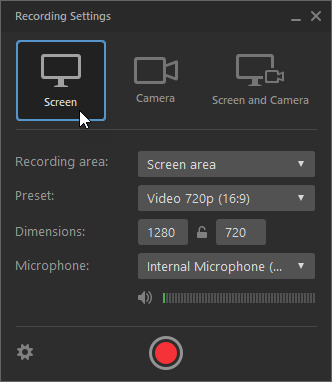
- Click Start a new recording (red circle button) in the Recording Settings window. For more information about the process of video recording, see the article Recording Screen.
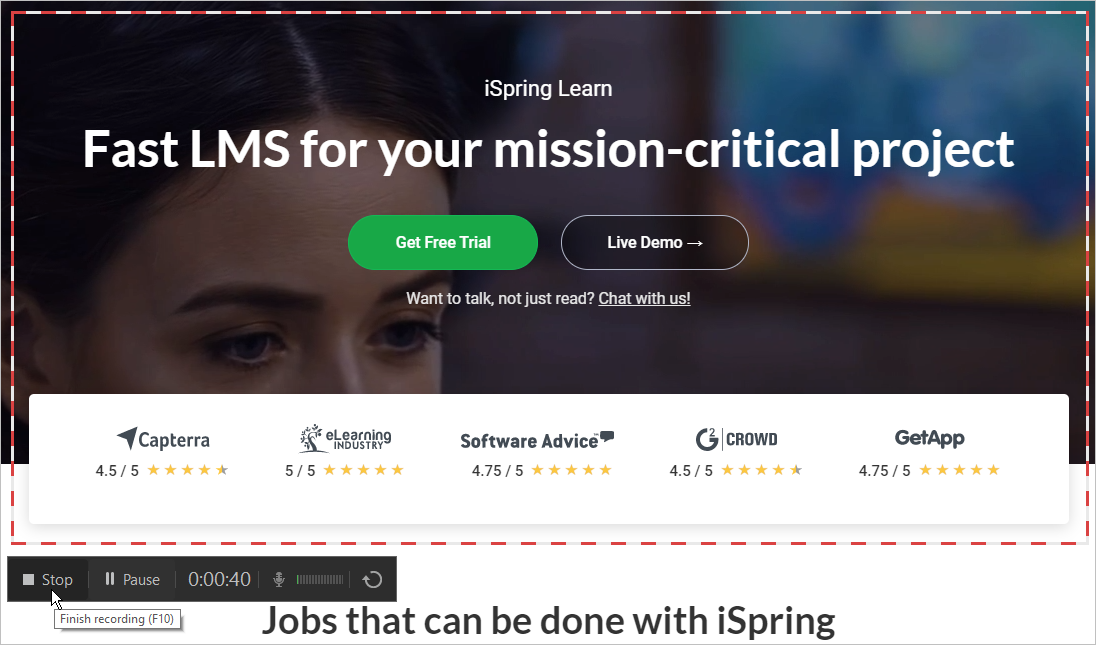
- To end the recording and go to edit, click Stop on the control panel or press F10 on the keyboard. (Note that F10 is the default hotkey, but you may change it in the settings. The hotkey to stop the recording will be shown during the countdown).
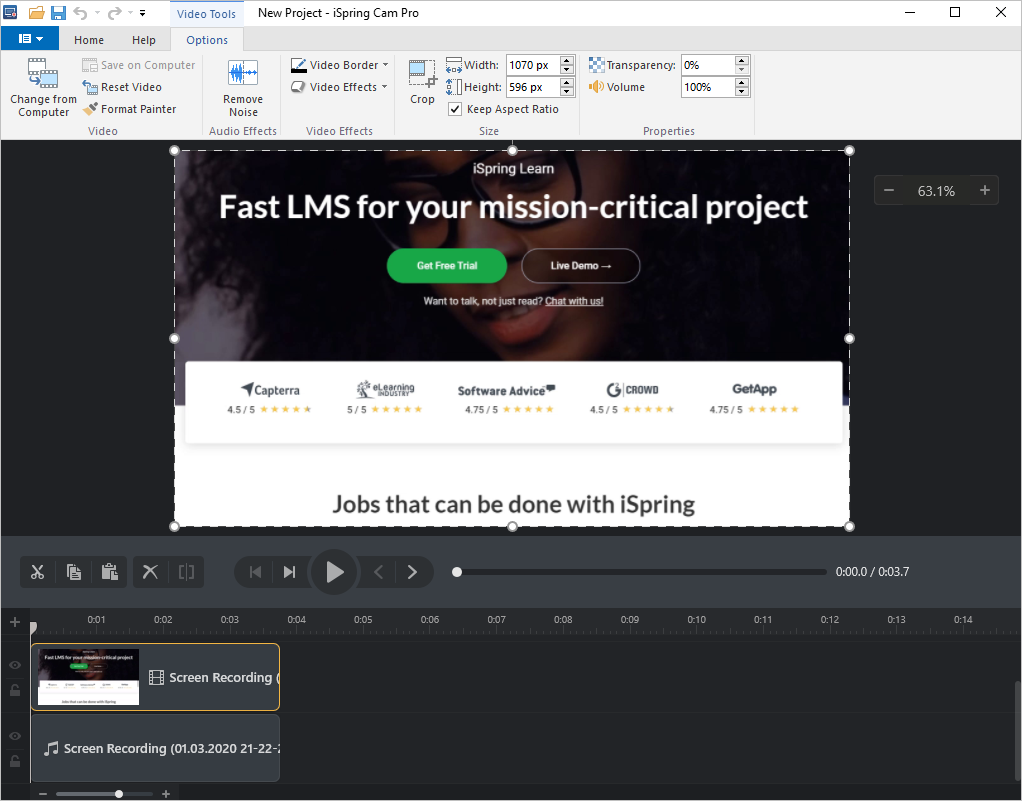
- After the recording is completed, the iSpring Cam Pro video studio will open. Click Continue to go to the editor.
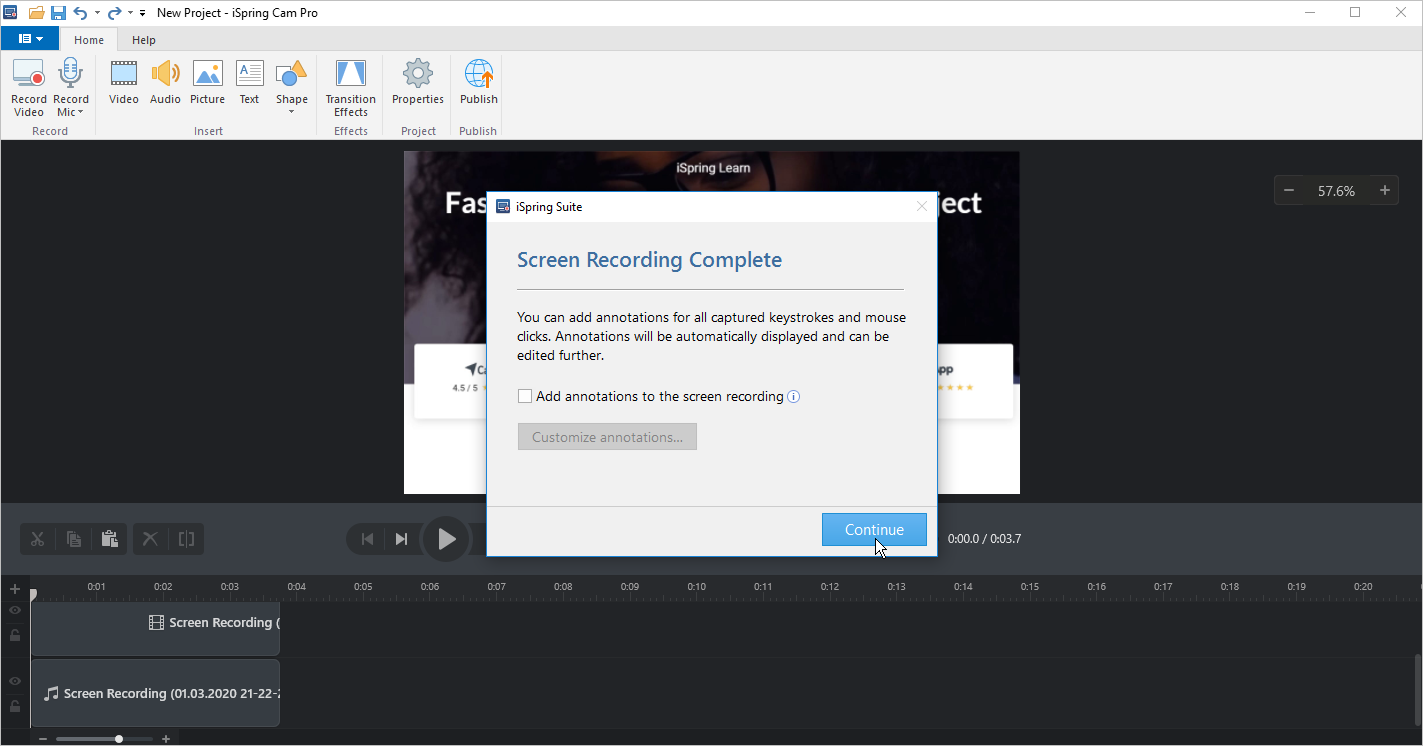
- Recorded video, as well as audio and annotations if they are included, will be added to the timeline. Each media element: video, audio, and hints, will have its own track on the timeline. Now you can start editing the recorded material or adding new media objects.