To add smooth transitions between video clips, text blocks and images, add transition effects to them, such as Fade, Wipe, Split, etc. Transition effects can be added to the beginning and end of each object on the timeline. Also, transitions are automatically added when objects intersect.

Adding a Transition Effect
To add a transition effect:
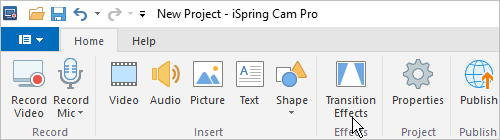
- On the iSpring Cam Pro toolbar, click the Transition Effects button.
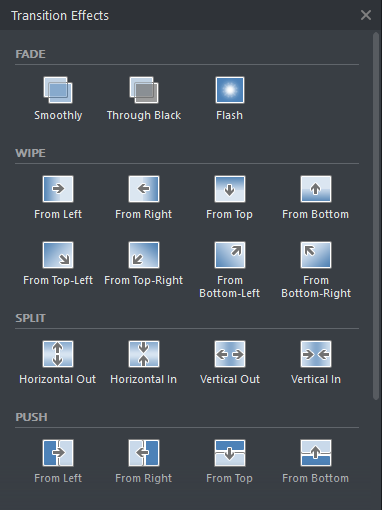
- A menu with a list of transitions will appear on the left side of the video editor.
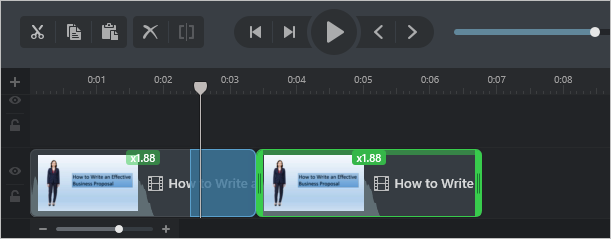
- Select the desired transition with the left mouse button and while holding it, drag the selected effect to the beginning or end of the desired clip.
If you transfer the transition to the middle of the element, it will appear at the beginning and at the end.
- To find out which transition effect was applied and its duration, move the cursor over it.
Replacing and Deleting a Transition Effect
Replace the selected transition effect with another or delete it from the context menu. To do this, right click on a transition and select an action from the menu.

Transition Duration
The default transition time is one second. If you need to slow down or speed up a transition, you can easily do so.
To change the duration of a transition:
- Click on it on the timeline.
- Drag it by the border to increase or decrease its duration.
Applying Transitions to Multiple Elements
You can apply the same transition effects to all the elements in the project or to the selected ones.
- Select the desired items on the timeline. To select all the elements, press Ctrl + A on the keyboard.
- On the iSpring Cam Pro toolbar, click the Transition Effects button to open a list of all available transitions.
- Select the desired transition with the left mouse button and, while holding it, transfer the selected effect to any selected object.
- The effect will be applied to all the selected items.