You can put your video project on YouTube right from the iSpring publishing window.
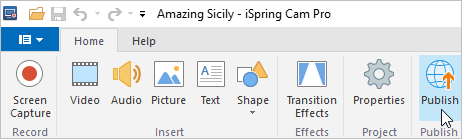
- Click Publish on the iSpring Cam Pro toolbar.
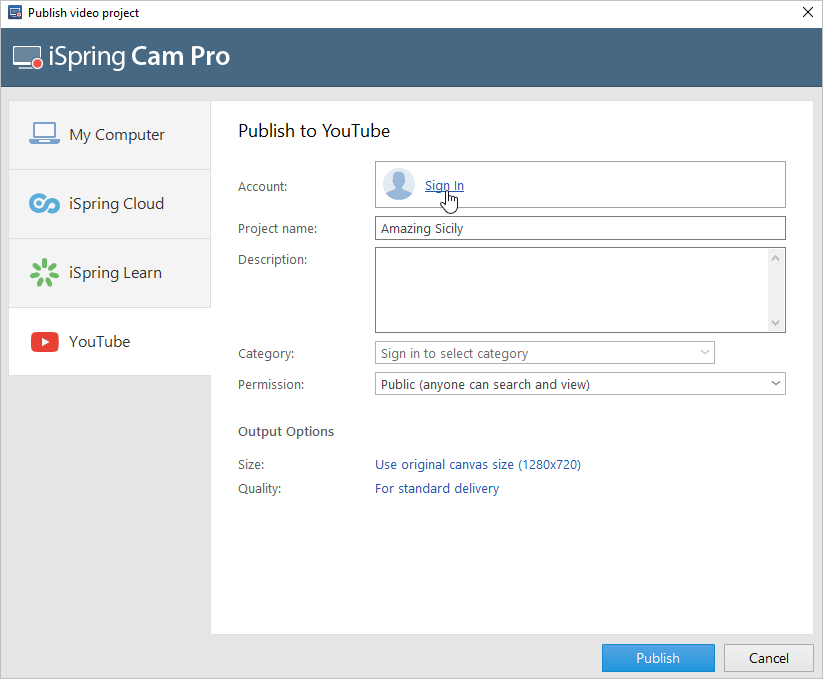
- In the Publish video project window, click the YouTube tab on the left.

- Now you need to log in to your YouTube account. To do this, click Sign In in the Account field.
You will see a window where you can enter login details for your YouTube account. Enter the email and password you chose when registering your account on YouTube (Google).
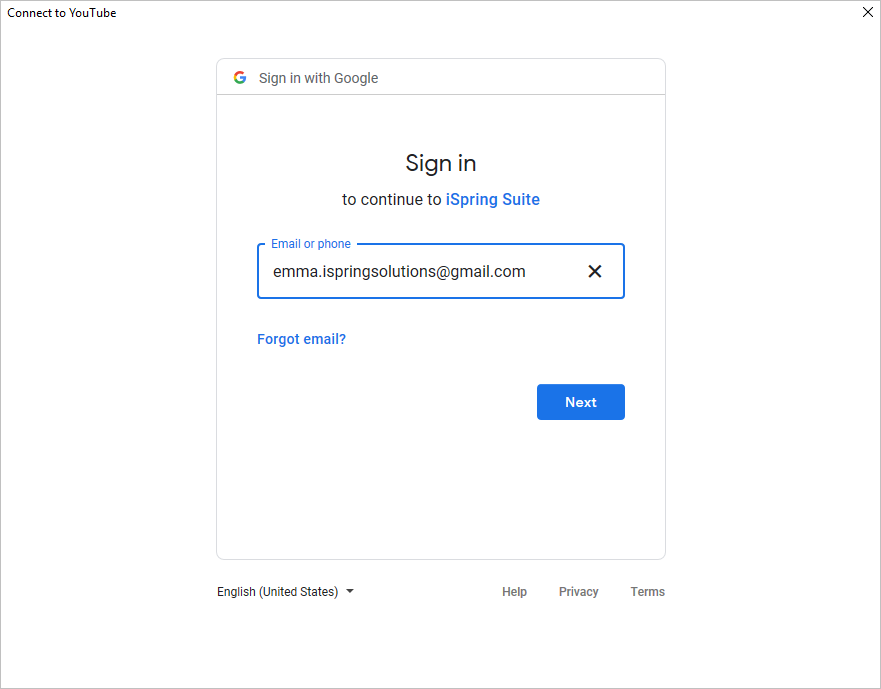
If you do not have a Google account yet, register and create your own channel.
Additional information: Create a new YouTube channel.
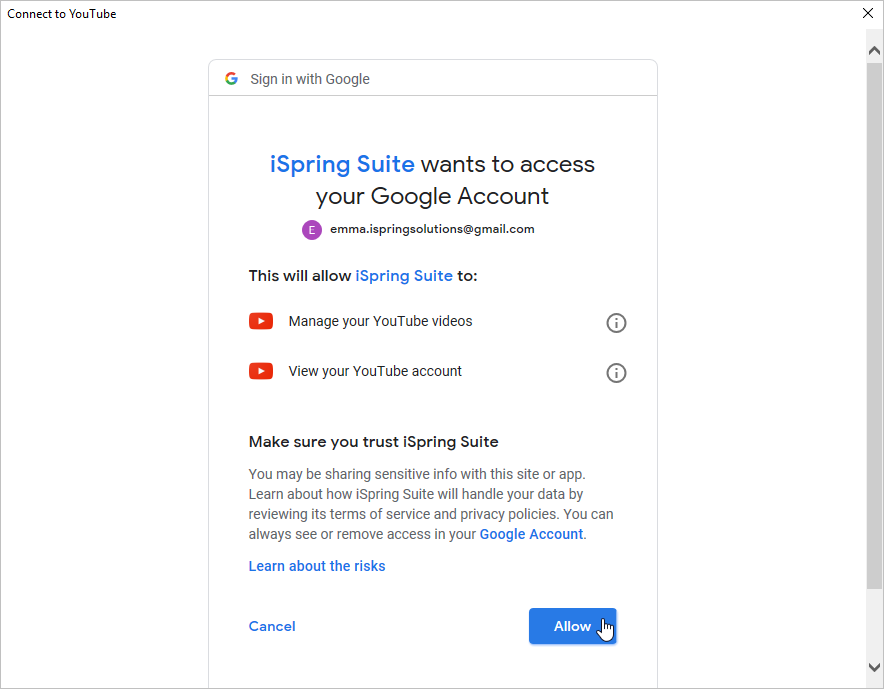
During the authorization process, click Allow to give iSpring Cam Pro access to upload files to your YouTube account.
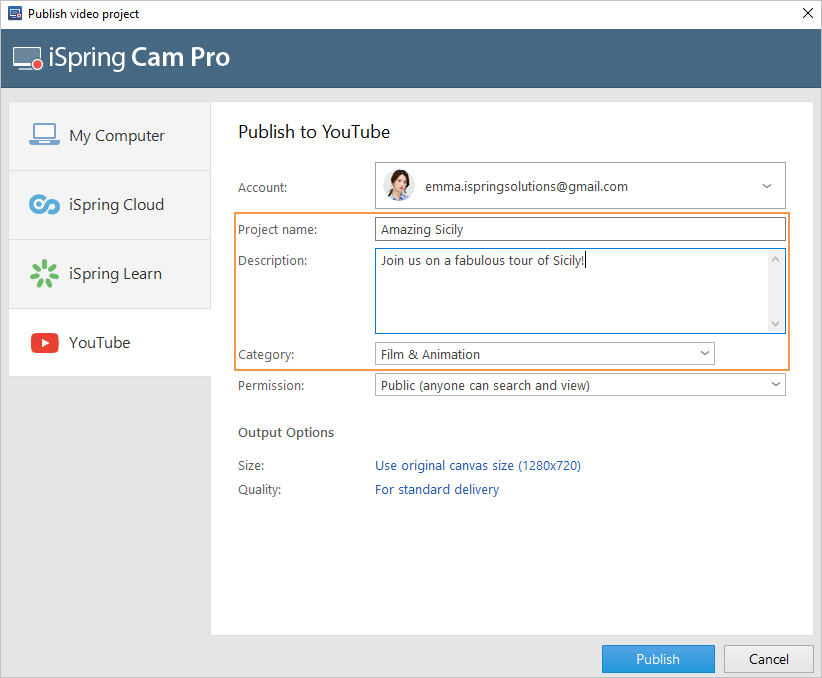
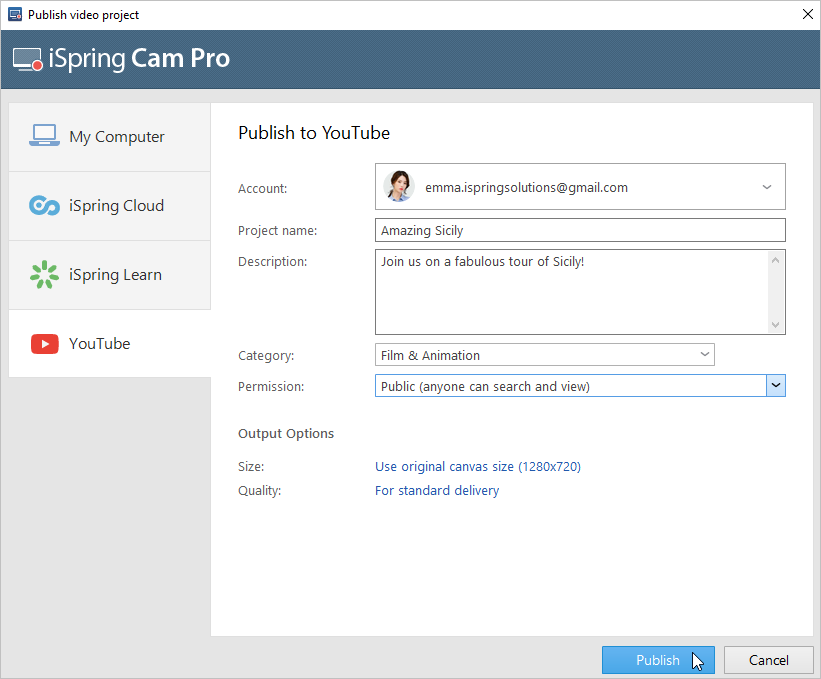
- After you sign in, iSpring will check your YouTube account information, and if your login details have been entered correctly, you will see the account information in the Account field. The information is saved in the system, so you do not have to re-enter it the next time you publish content.

- Enter the project name and description, and select the category.
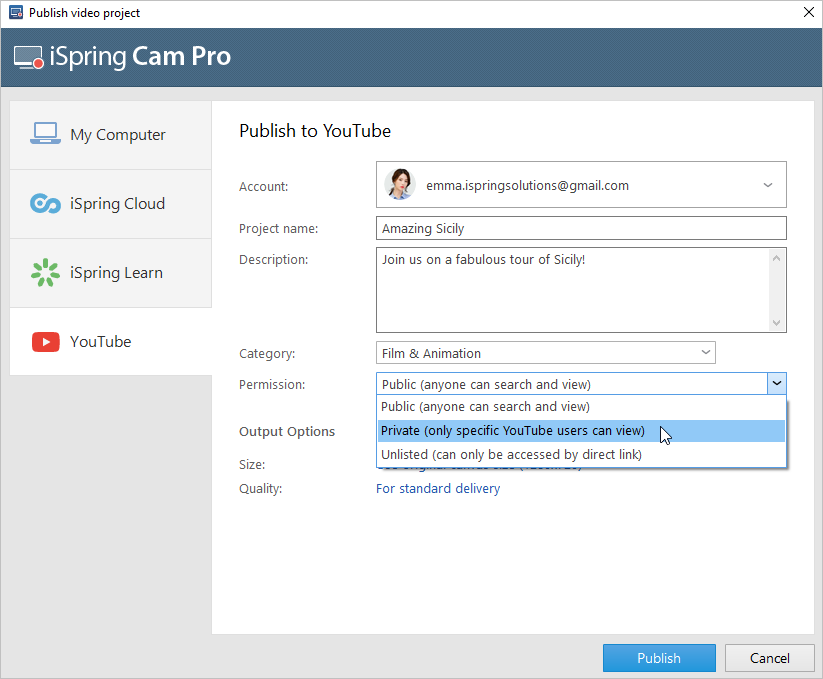
- In the Permission menu, select who will be able to view your video course.
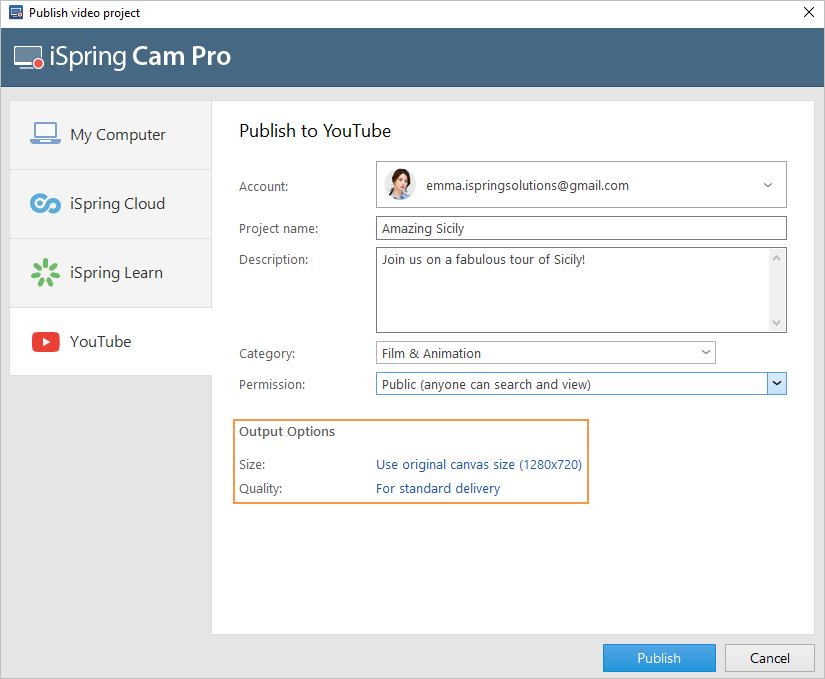
- Then, set up output options:
- Click the Publish button to send the video to YouTube. Be sure to pay attention to the recommendations in the window that appears.
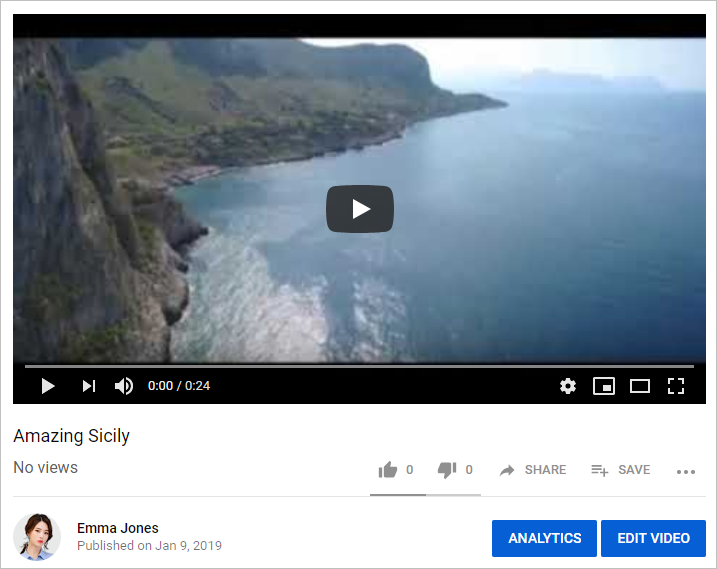
- After the publishing process is complete, you will see a window with the option to play the video in your YouTube channel.
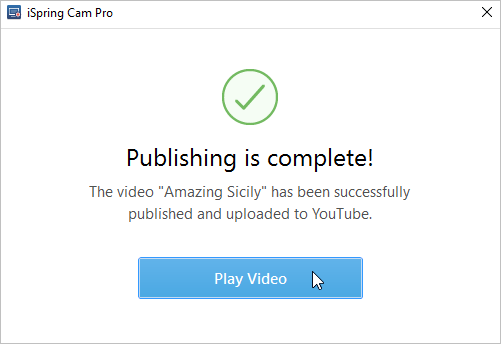
After you click Play Video, it will be opened in your Youtube account. From there, you can share it with your users, edit it, track analytics, etc.