Publishing to My Computer allows you to save the published video on a local disk for further distribution via the Internet. The resulting resource files can be placed on your website or on the internal network of your school or organization.
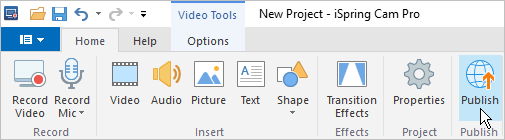
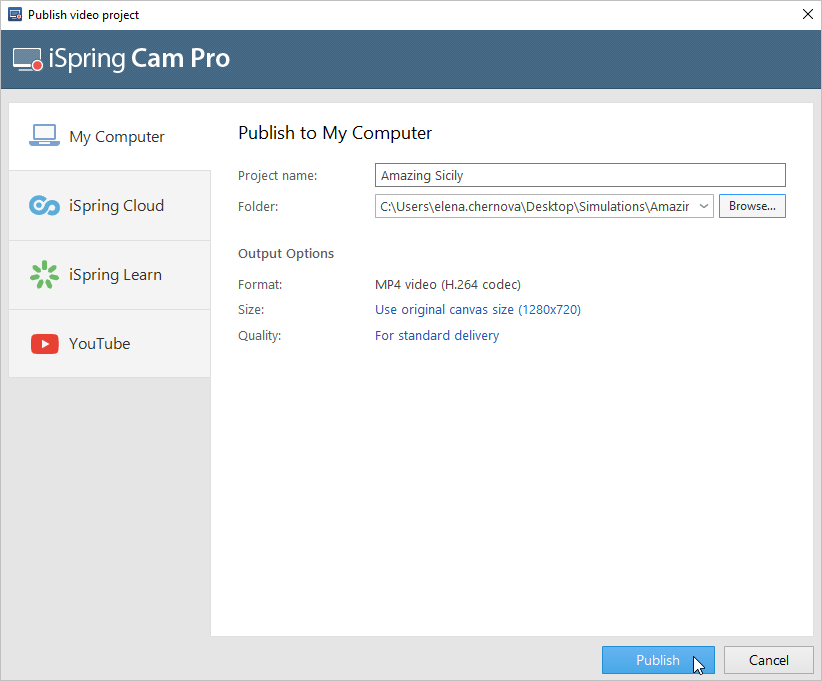
When you have finished editing the video project, click Publish on the iSpring Cam Pro toolbar.
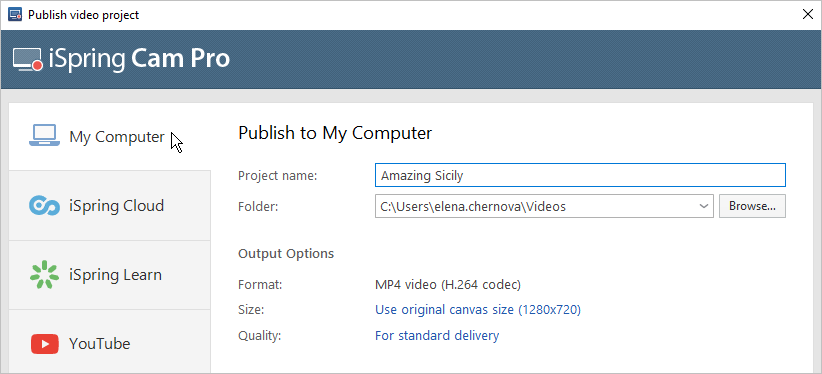
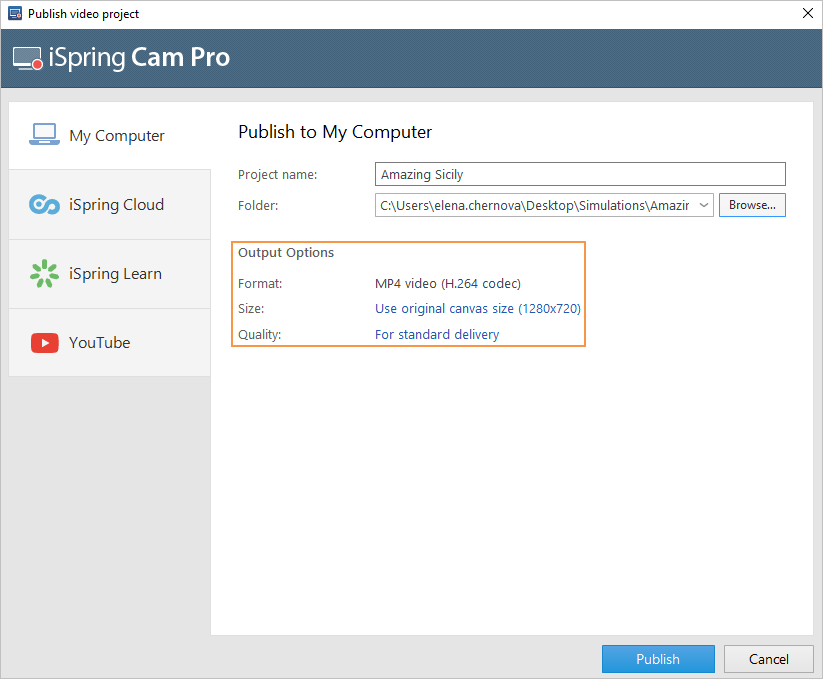
On the left side of the Publish video project window, click My Computer.
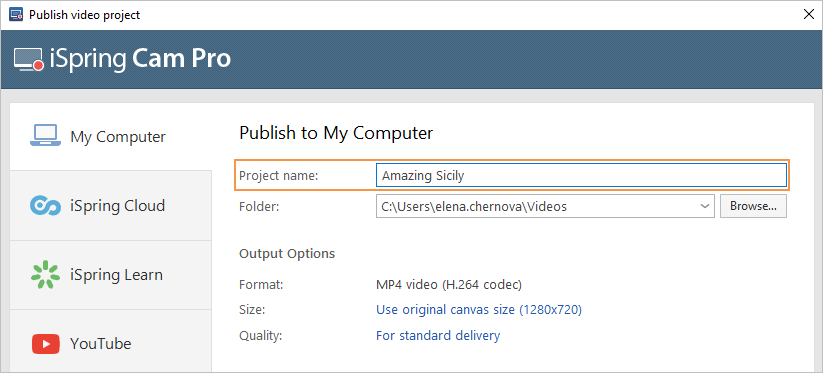
Enter the title of the video in the Project name field.
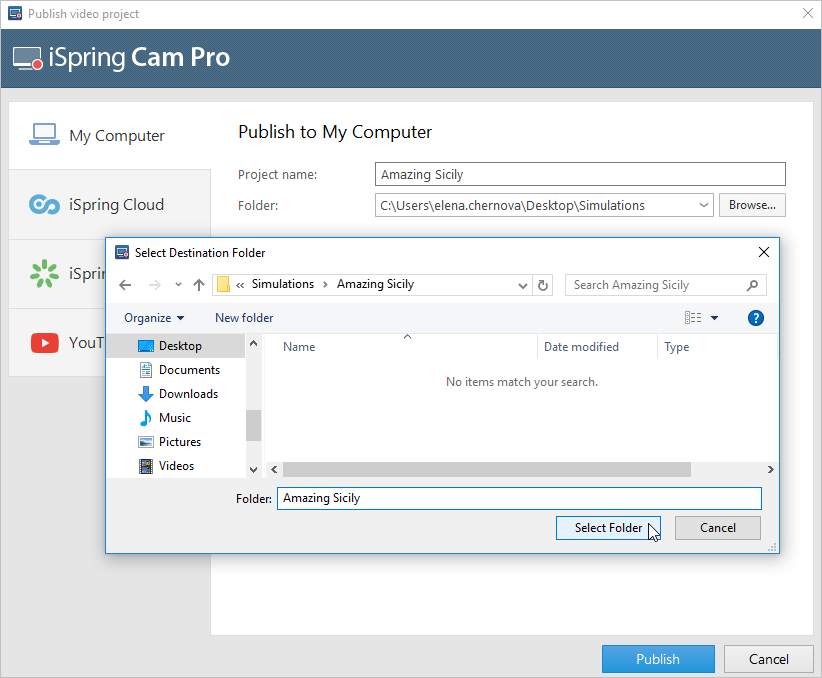
Specify the local or network folder in which the video will be saved to in the Folder field. To do this, click the Browse... button, navigate to the desired folder, and click Select Folder.