Enhance your course with external resources like links to web pages and supplementary files. They will be visible to users who will take your course.
Adding a Hyperlink
To add a link to a website:
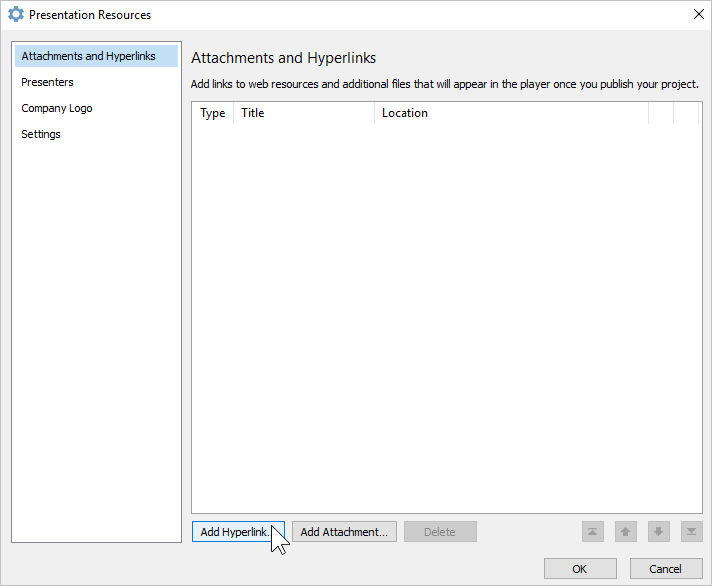
- Click on the Presentation Resources button on the iSpring Presenter toolbar.

- In the Presentation Resources window, select the Attachments and Hyperlinks tab. Next, click Add Hyperlink.
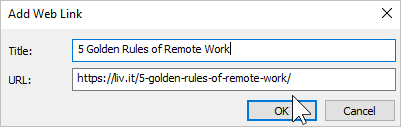
- Finally, enter the web link title, insert the URL, and click OK.
Attaching a File
To attach a file to the course:
- Click on the Presentation Resources button on the iSpring Presenter toolbar.

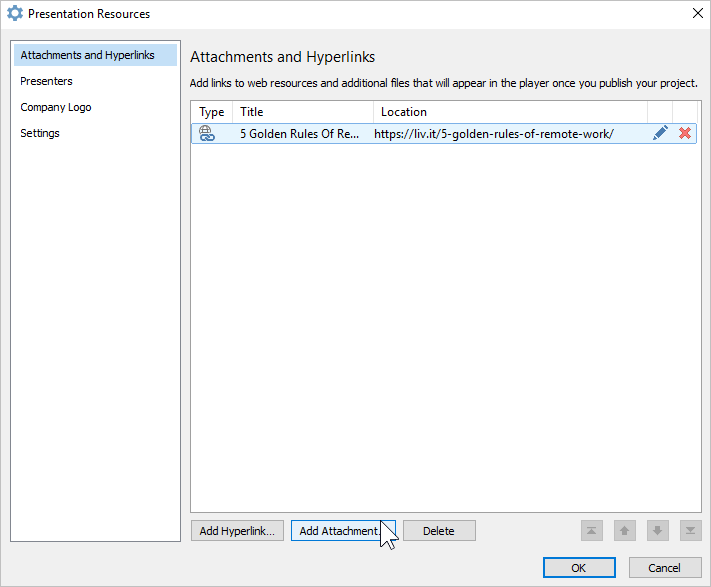
- In the Presentation Resources window, select the Attachments and Hyperlinks tab. Next, click Add Attachment.
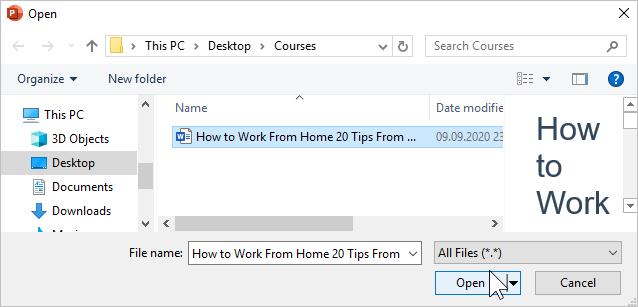
- Locate the file on your computer and click Open. These file formats are supported: PDF, DOC, XLS, and JPG.
- Change the filename if necessary and click OK.

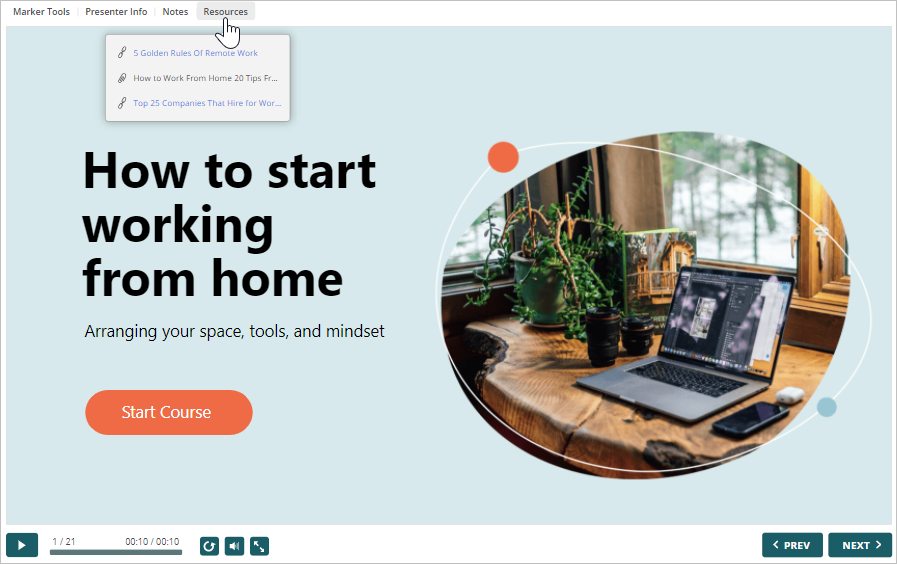
Attachments and Hyperlinks when Viewing a Course
Learners will see files and links when viewing a course if the top bar is enabled in the player. They only need to click on the Resources tab and open or download materials.
Managing Attachments and Hyperlinks
- Click on the Presentation Resources button on the iSpring Presenter toolbar.

- In the Presentation Resources window, select the Attachments and Hyperlinks tab. Here you can find all the added materials. You can perform the following actions:
- Editing
Click on a file or a link or click on the pencil icon.
- Deleting
Click on the red cross icon next to an item. This method will work if you delete only one file or link.
To delete multiple items at once, select them by holding the CTRL or SHIFT key and click Delete.
- Checking
Click on the link in the Location column.
- Organizing
You can sort links by the Type, Name, or Location columns.
- Moving
Change the order of materials using the navigation buttons.
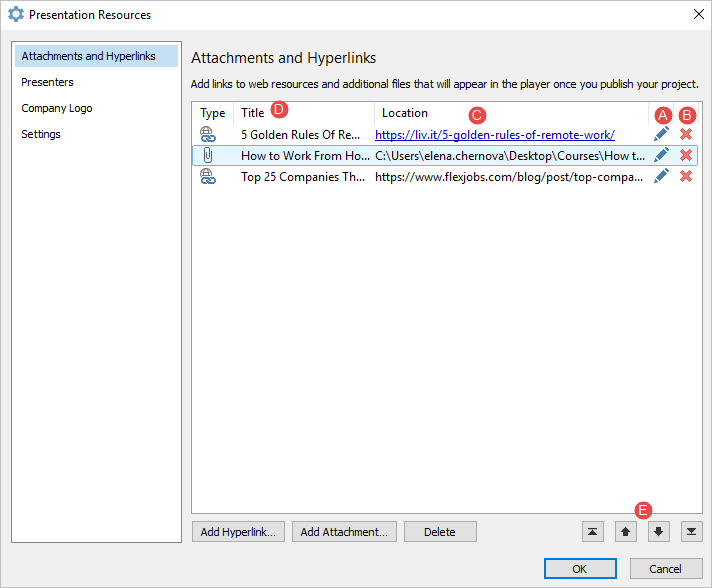
- To apply changes, click OK.