Create playlists to add background music to your course and upload an unlimited number of audio tracks to them.
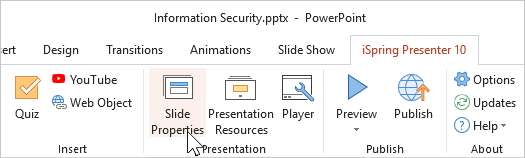
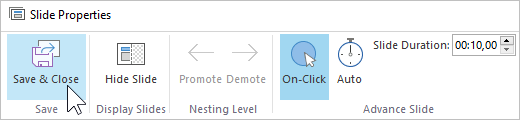
Click the Slide Properties button on the iSpring Presenter toolbar.
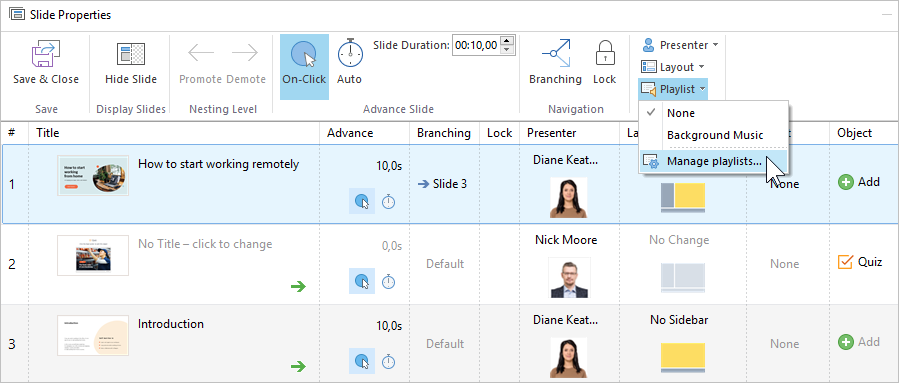
Open the Playlist menu and click Manage playlists.
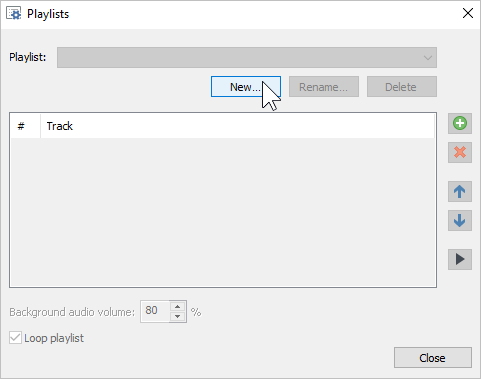
In the Playlists window, click the New button.
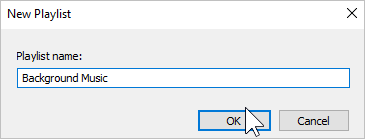
Enter the playlist’s title and click OK.
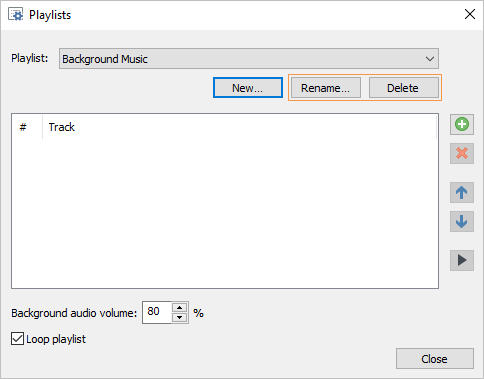
The playlist has been created. You can rename or delete it at any time. The next step is to add audio tracks.
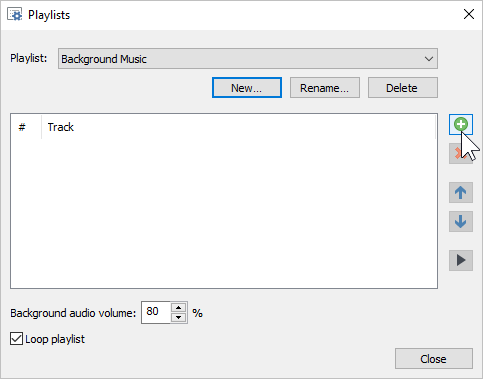
To add audio tracks, click on the green plus symbol. You can add audio files of the following formats: WAV, MP3, and WMA.
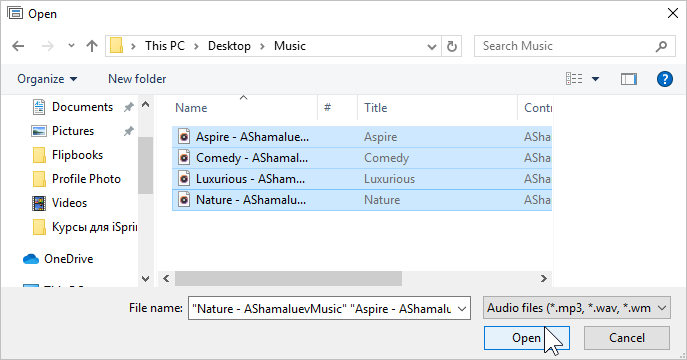
Locate the audio files on your computer and click Open.
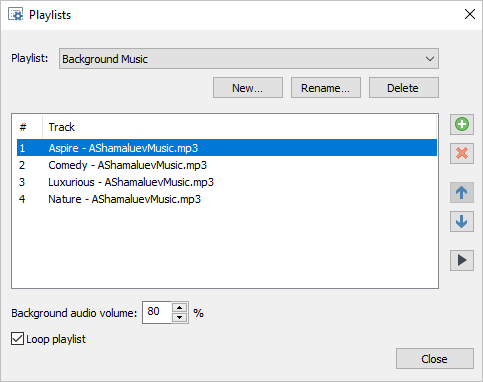
The selected audio tracks have been added to the playlist. Now you can manage them: • Delete tracks by clicking on the red cross symbol • Move a track by clicking on the up or down arrows • Play a track by clicking on the Play button • Configure a comfortable volume level in the Background audio volume field • Select Loop playlist to loop the playback To finish editing the playlist, click Close.