Publish to YouTube
Convert your course to a video and post it to YouTube right from iSpring Presenter. All applied PowerPoint and iSpring Presenter effects will be preserved.
To upload a video to YouTube:
- Click Publish on the iSpring Presenter toolbar.
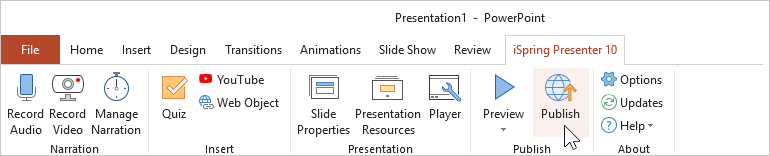
- In the Publish Presentation window, click the YouTube tab on the left.
Now, you need to log into your YouTube account. To do this, click Sign in from browser.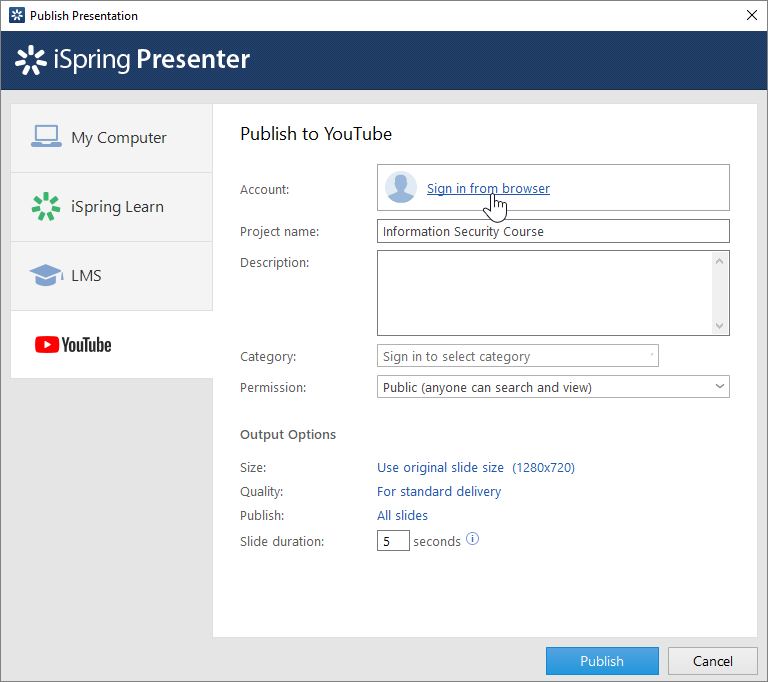
- Next, enter your Gmail email and the password. If you don't have a Google account yet, register it and create a new YouTube channel.
- During the authorization process, click Allow to give iSpring Presenter permission to upload files to your YouTube account.

- After you sign in, iSpring will check your YouTube account information, and if your login details have been entered correctly, you will see the account information in the Account field. The information will be saved in the system, so you don’t have to reenter it next time.
- Enter the project name and description, and select the category.
In the Permission menu, select who will be able to view your video course. - Then, set up output options:
- Specify the course size in a browser
- Select the quality level of images, audio, and video files
- Choose which slides you would like to publish (all or only the selected one)
- Specify the default duration for slides that don't have any time elements, such as audio, video, and animations
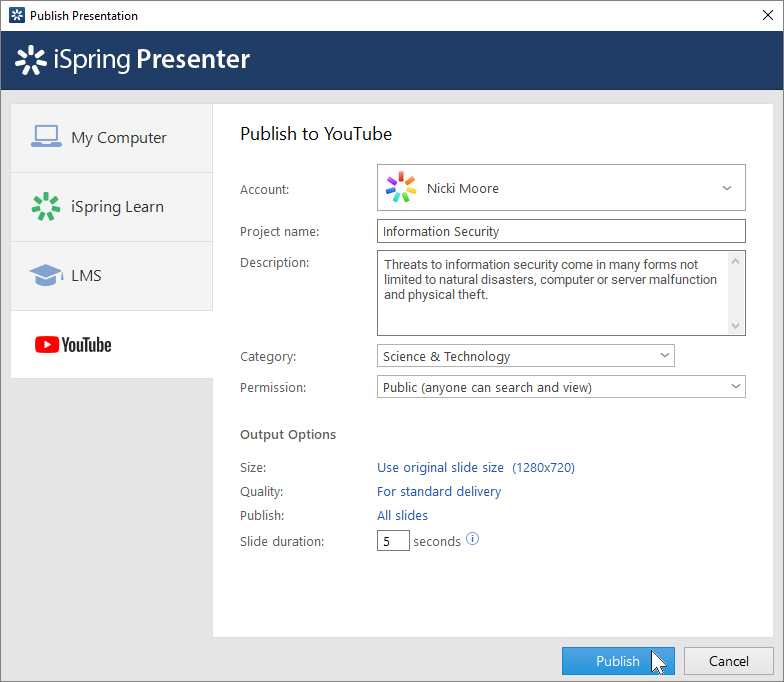
Click the Publish button to upload the video to YouTube.
Be sure to stop audio playback in other programs; otherwise, it will be recorded in the video.After the publishing process is complete, you will see a window with the option to play the video on your YouTube channel.
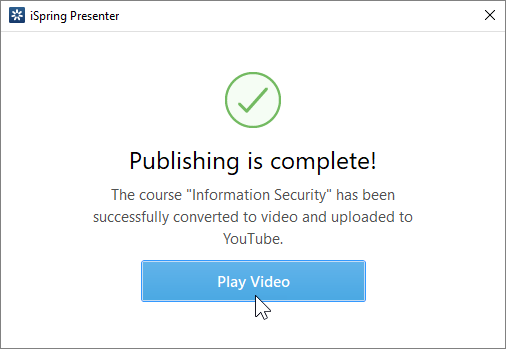
Click Play Video, to open it in your YouTube account. From there, you can share it with your users, edit it, track analytics, etc.

Please note:
- The video duration is equal to the total duration of:
- Slides
- Transitions
- Animations
- Animation delays
- Slide duration can be specified in the Slide Properties section on the iSpring toolbar and under the Transitions tab in PowerPoint.
- Transition duration can be set under the Transitions tab in PowerPoint. To make duration equal for all transitions, click Apply to All.
- The duration of animations and their delays can be specified under the Animations tab in PowerPoint.
- If your presentation contains animations and/or transitions, we recommend that you use the following settings for each slide:
- Change the start option for each animation effect on the Animations tab in PowerPoint: choose Start With Previous or Start After Previous.
- Set the Duration and Delay options of each effect (if necessary).
- Select the On Mouse Click option on the Transitions tab to advance the slide when you click the mouse.
- The video duration is equal to the total duration of: