To insert a local HTML file:

  1. Click the Web Object button on the iSpring Presentertoolbar.


  2. In the Insert Web Object window, select Local path in the menu and browse for a file on your computer.


  3. Next, choose how your web object will be displayed.
    1. Display in slide
      The web object will appear on the slide. You can change its size and position.

    2. Display in a new browser window
      The web object will be opened in a new browser window. Additionally, you can configure dimensions of the browser window or make a web object show in full-screen mode.

  4. Specify when the web object will appear in the Show after field. The default delay is 0 seconds, which means the video clip will appear as soon as the slide is opened.

  5. Click OK to insert the web object into your slide.

Note:

  • Make sure you've saved the inserted HTML file in UTF-8 encoding. If the encoding is different, all the file texts might appear as unreadable characters.

    Let's outline how to save a Word file as a web page in UTF-8 encoding.  

    1. Click on the File tab on the Microsoft Word toolbar.

    2. In the opened window, click Options.

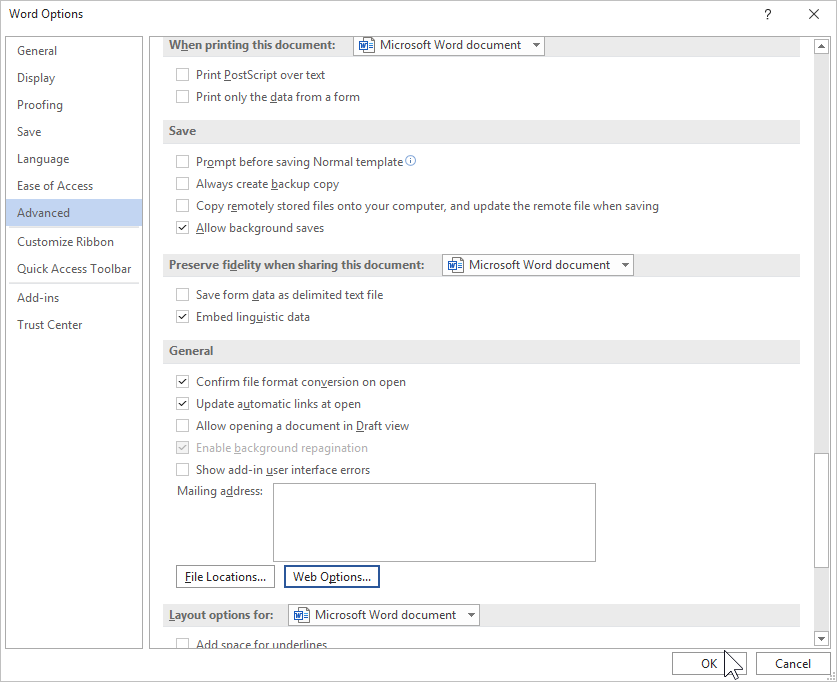
    3. In the Word Options window, click Advanced.


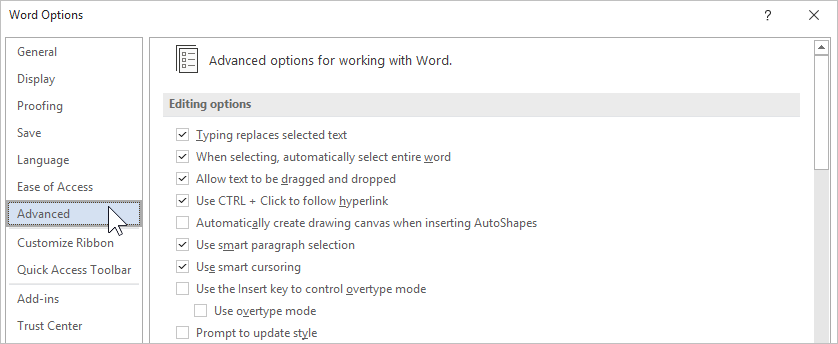
    4. Next, scroll the page down to the General section and click on the Web Options button.


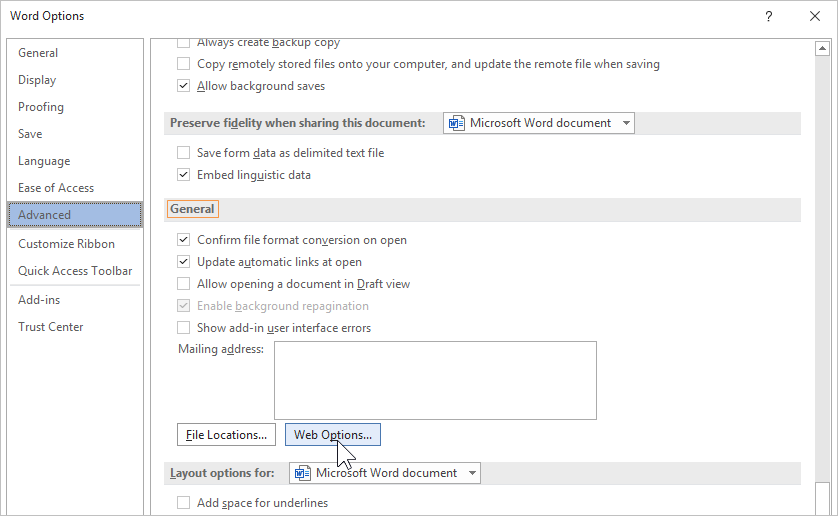
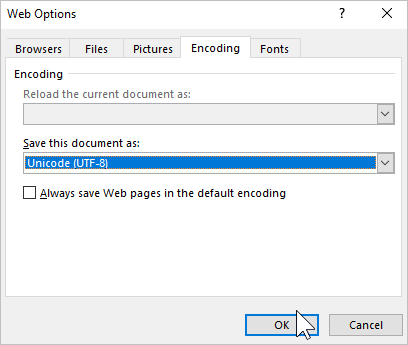
    5. In the Web Options window, select the Encoding tab. Next, in the Save this document as menu, select Unicode (UTF-8). Finally, click OK.


    6. In the Word Options window, click the OK button again.


    7. Now let's save the Word document as a web page. Click on the File tab on the Microsoft Word toolbar.

    8. In the opened menu, click Save as.

    9. Select the destination folder on your computer, enter the filename and select the file type: Web Page or Web Page, Filtered. Finally, click Save.

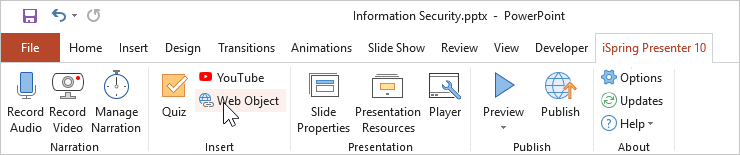
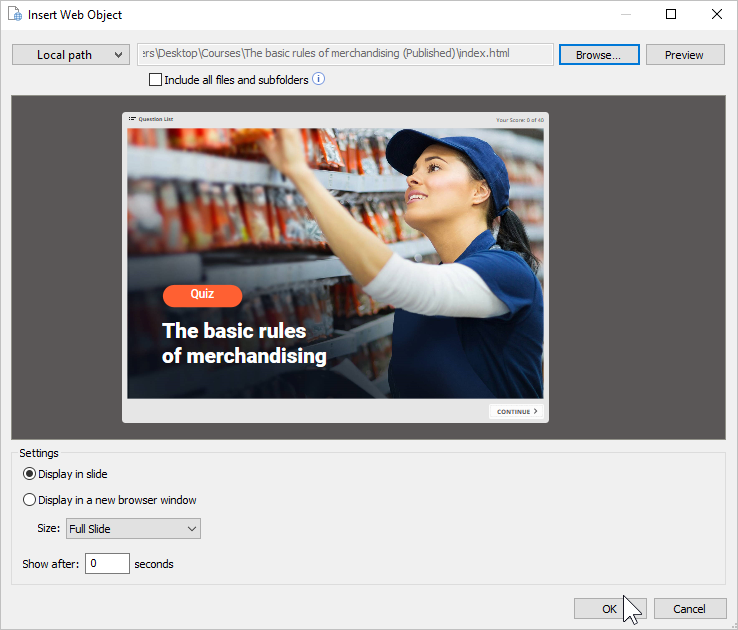
    10. The HTML file is saved to your computer. Now you can insert it as a web object into your iSpring Presenter course.