Sometimes an organizer needs help in organizing meetings. In your Zoom account, you can assign or delegate a user or multiple users to schedule online events on your behalf.
Only users whose types are Licensed or On-Prem can be granted with scheduling privilege.
Setting Scheduling Privilege
- Sign in to the Zoom web portal.
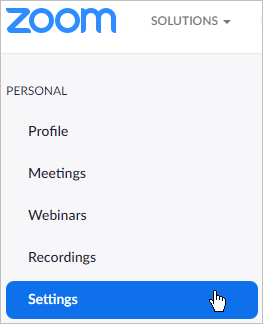
Next, open the Settings section.
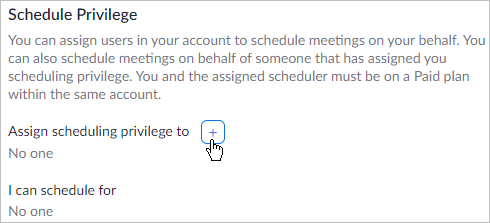
- Scroll the page down to the Schedule Privilege section and, once there, click on the plus next to Assign scheduling privilege to.
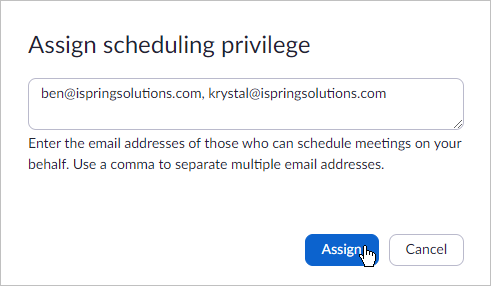
- Enter one or more email addresses in the window, separated with a comma. Once finished, click Assign.
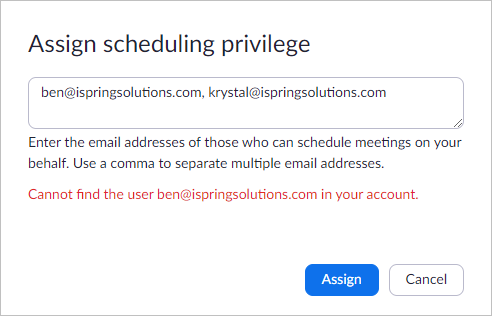
If scheduling privilege cannot be assigned because the user is not on your Zoom account or is not a Licensed or On-Prem user, you will receive an error message.
- If the user was assigned successfully, they will appear under Assign scheduling privilege to. However, they will need to sign out of the Zoom desktop client and sign in again before they will be able to schedule for you there.

Important Info
- Only users added to your Zoom account can be given the scheduling privilege.
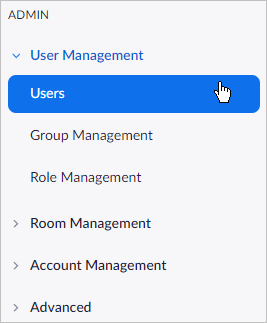
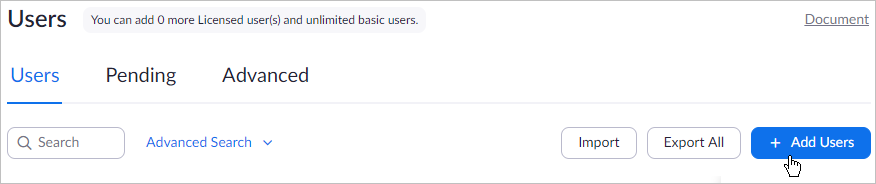
To add a new user, go to the Users section.
Then, click on the Add Users button.
- You can grant with scheduling privilege another user only if your and their types are Licensed or On-Prem.
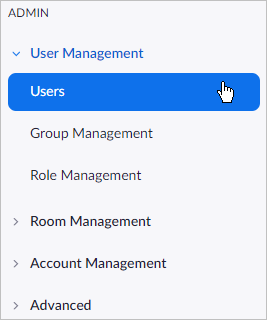
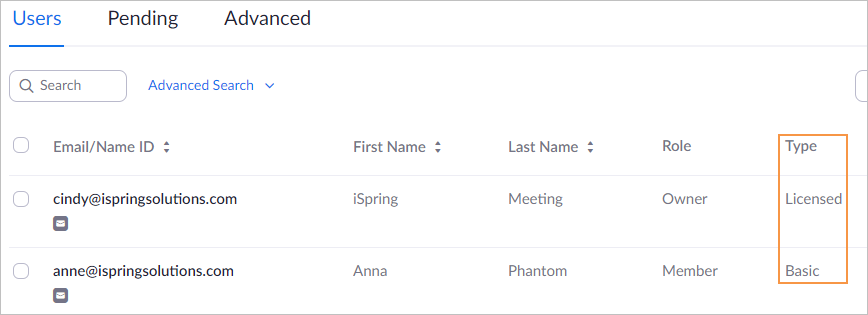
To check a user's type, go to the Users section.
Under the Type column, you will see the user type: Basic, Licensed, or On-Prem.
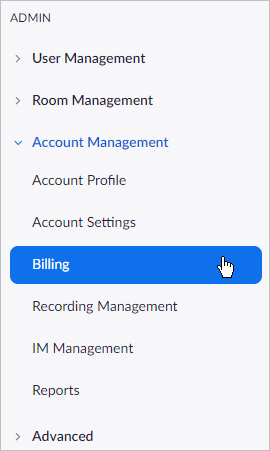
Make sure your membership plan allows you to add more than one user with the Licensed or On-prem types. To check this, go to the Billing section.
Under the Current Plans tab, you will which features and how many hosts your membership plan includes.
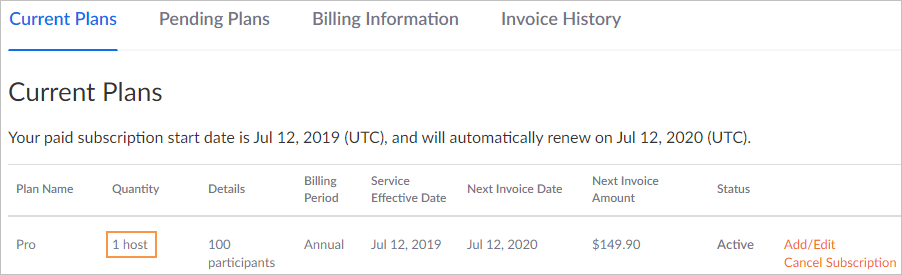
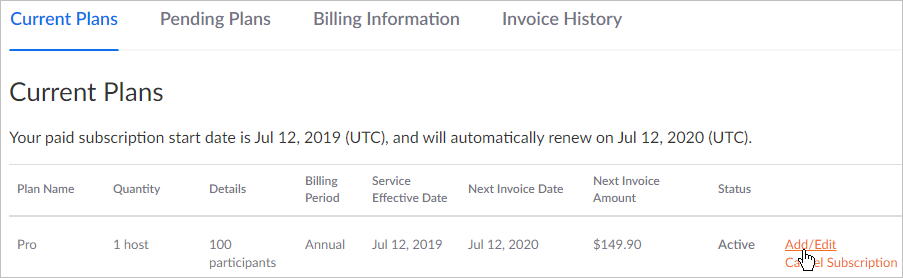
To edit your membership plan, for example, add more hosts to it, click on the Add/Edit link.
- If the user who has been provided with scheduling privilege received a 3003 error when editing or canceling a meeting, check that their permissions haven't been changed.
To do this, go to the Settings section and scroll the page down to the Schedule Privilege section. The user's email should be displayed next to Assign scheduling privilege to.