Adding Form Fields to Personalize Your Certificate
Now you have a basic certificate. If you add it to a course, the item title won't be automatically populated on the issued certificate, nor will the name of the user who receives it.
So, it's more convenient to create a certificate that will include information inserted dynamically. That means the certificate will include the name of the user who has completed the course, the date of completion, or any other parameter you decide to put into it.
By default, iSpring Market currently recognizes the following form fields:
| CERTIFICATE_ID | A unique identifier for every certificate awarded. |
NAME | The name of the student that completed your course. |
| COURSE_NAME | The course title. |
| DURATION | The amount of time the given student spent on completing your course. |
COURSE_DURATION | The recommended amount of time that should be spent on completing a course. |
DATE | The date when the student completed your course. |
| TIME_ONLY | The time when the student completed your course (date value not included). |
EXPIRATION_DATE | The certificate's expiration date (Specify the expiration period when adding a new certificate in iSpring Market. The expiration date will be automatically calculated starting from the date when the certificate was issued). |
| AWARDED_SCORE | The awarded score points. |
| PASSING_SCORE | The passing score (the field will be empty if it is not specified). |
| DATE_EN | The date and time when the student completed your course. |
But, you can also insert any user profile field into a certificate. To do this, you will need to copy a user field ID and insert it in accordance with the instructions listed below.
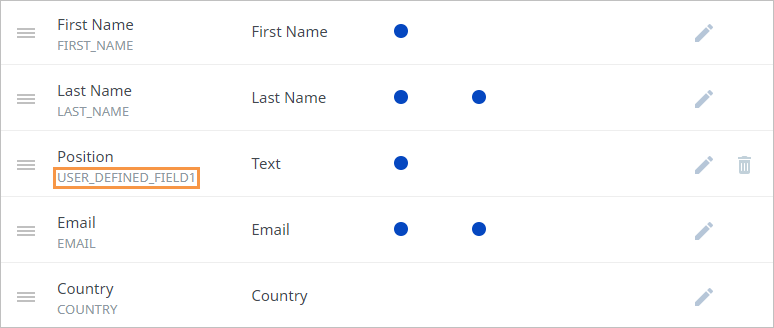
Note:
- Check how to create a new custom field and set up its field ID in the User Profile Fields article.
To add form fields to your PDF certificate, please install Adobe Acrobat DC, which allows you to edit PDF files.
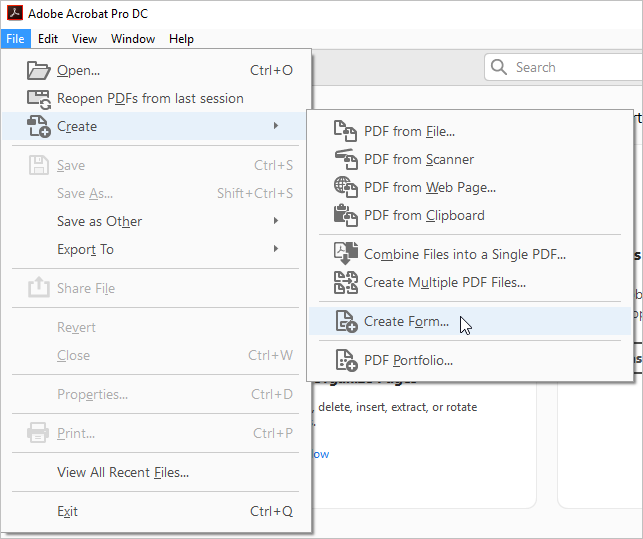
- Launch Adobe Acrobat Pro DC on your computer.

- Click File, then choose the Create option and select Create Form from the menu.
- Next, click Select a file.
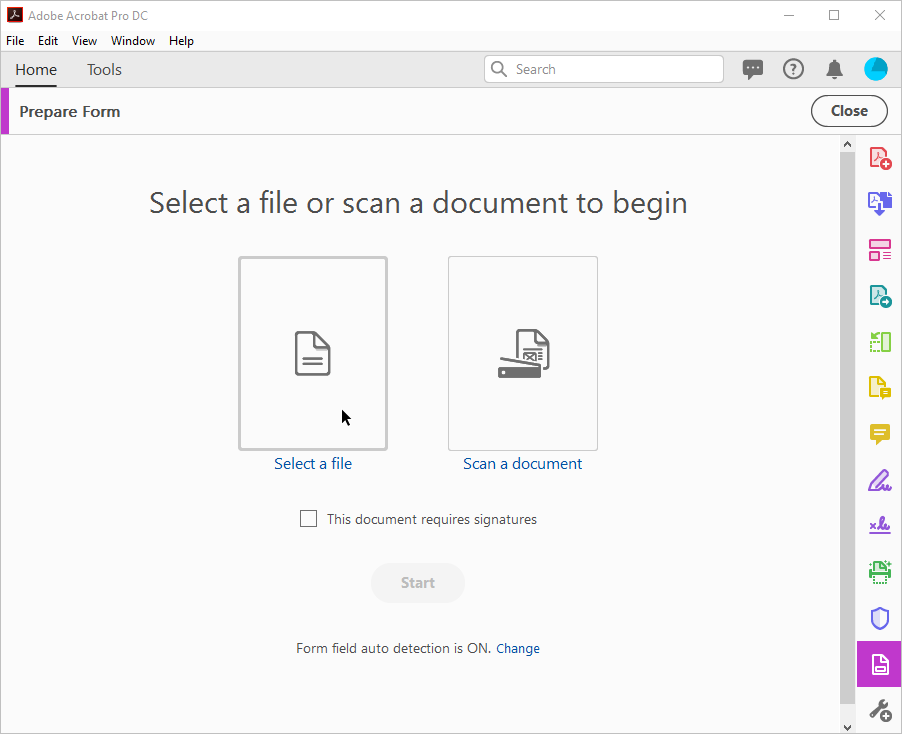
- Locate your static certificate on your computer and hit the Open button.

- Now that you have chosen a certificate to edit, click Start.
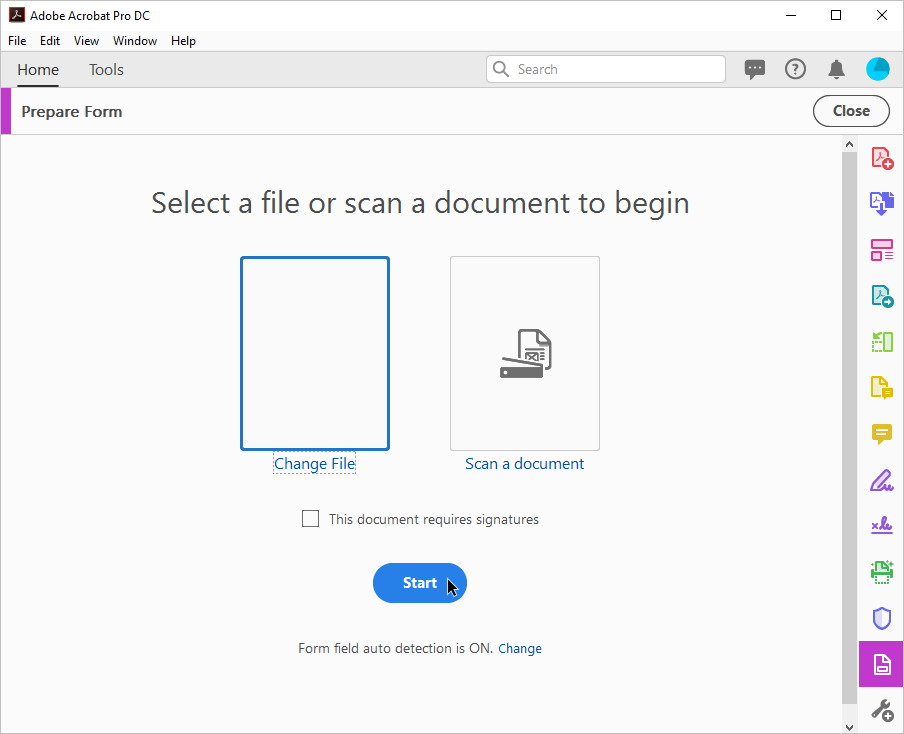
- Your certificate will be opened.
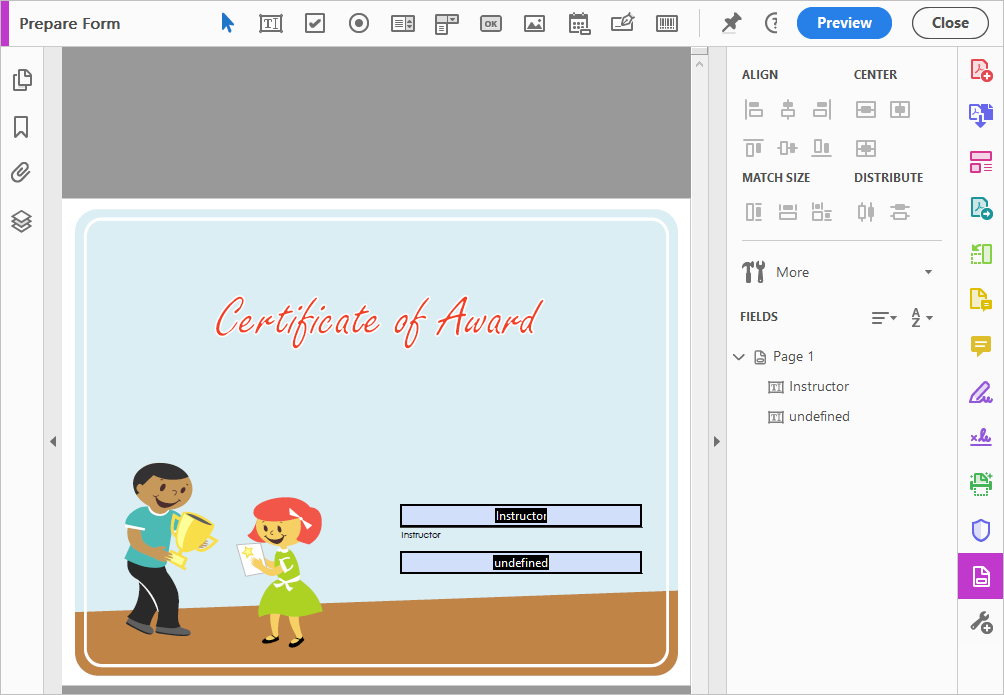
- First, let's edit the placeholders from the original template using the toolbar located on the right pane. In the example below, we have put a static value as the instructor's name (it will be constant, not variable) and used the dynamic DATE value for another field (the date of the course's completion will be inserted there).

- Second, we will add a new text field that was not previously available in the certificate template. To do this, right-click, choose Text Field, select an area where the field will be located and insert the value. In this example, we have added the NAME form field (the name of the learner who completed the course will appear here).
- Finally, save this dynamic certificate to your device.

- Now upload the new certificate to your iSpring Market portal and choose to issue it upon course completion. When the certificate is delivered to users, they will see their names, date of completion, and any other custom form fields.
Important:
1. For your certificate, select a font that is supported by iSpring Learn. Thus, you will be sure that texts on the certificate will be displayed properly.
In the table below, check fonts that will work for English texts. The list of fonts suitable for Portuguese, German, Spanish, Russian, Chinese, Japanese, and Mongolian can be found in the Fonts for Certificates article.
| Courier | Courier Std | Algerian |
| Helvetica | Adobe Ming Std L | Arial Unicode MS |
| Times Roman | Adobe Devanagari | Baskerville Old Face |
| Adobe Hebrew | Kozuka Gothic Pr6N M | Bouhous 93 |
| Adobe Gothic Std B Bold | Minion Pro | Arial Narrow |
| Adobe Fan Heiti Std B Bold | Myriad Pro | Arial Rounded MT Bold |
| Adobe Heiti Std R | Adobe Myungjo Std M | Bell MT |
| Adobe Song Std L | Arial | Berlin Sans FB |
| Adobe Thai | Agenay FB | Bernard MT Condensed |
2. To select a font:
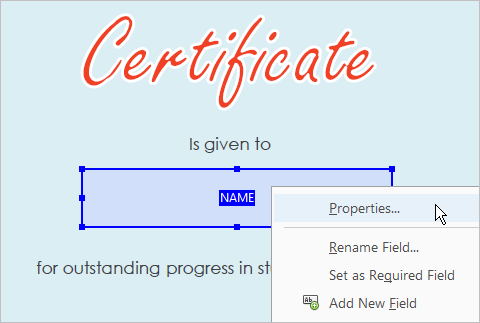
a. Right-click on a custom field and select Properties.
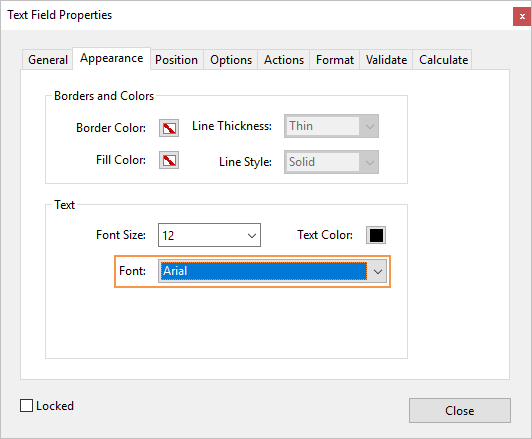
b. In the Text Fields Properties window, open the Appearance tab and choose the font you need in the Font menu.
3. Note that Mac-created certificates use another font encoding that is not always recognized on Windows. To avoid this, change the encoding type to Identity-H when creating your certificate on Mac.