The Account Owner, Administrators, Organization Administrators, and Publishers can all add new trainings.
To add a new training to the events calendar:
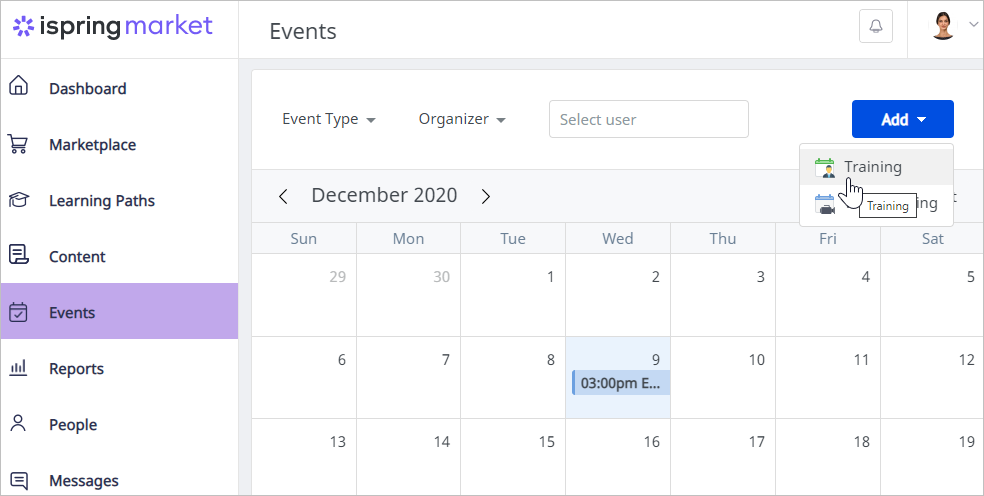
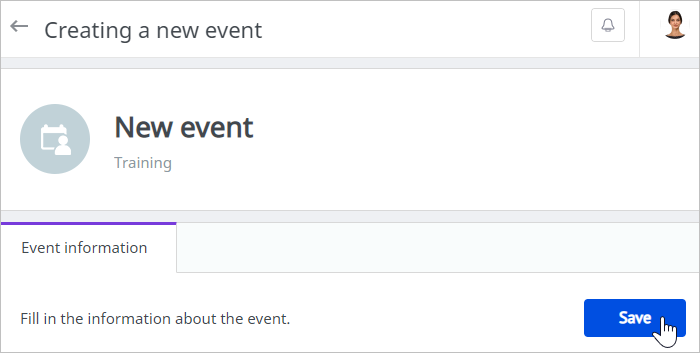
- Open the Events section, click Add, and select Training.
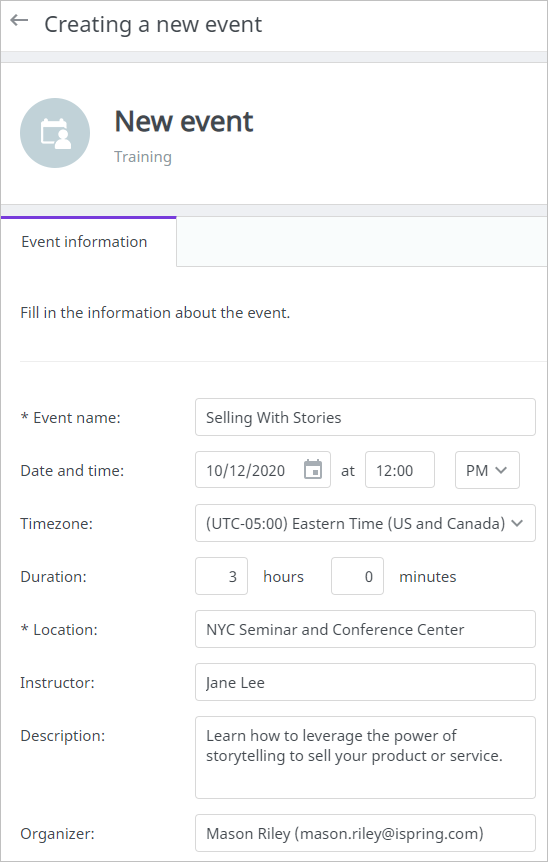
Fill in all the fields with the training's info.
Important:
- The Organizer field will be auto-populated with the training creator's name.
- The training creator can change the name in the Organizer field. They can assign the Account Owner, Administrators, Organization Administrators, or Publishers as an organizer.
- To add a user to the Organizer field, enter their first name, last name, email, or login. As soon as a matching option appears, left-click on it.
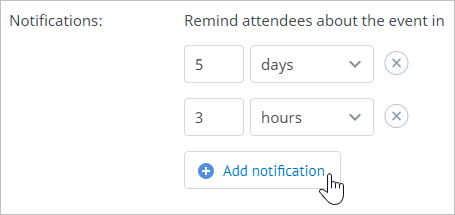
- Add up to 3 notifications that will be sent to participants' emails on the specified date.
Specify if you allow your users to register for the event.
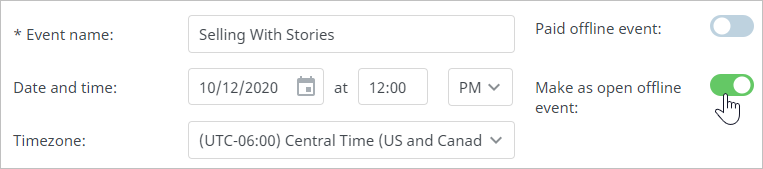
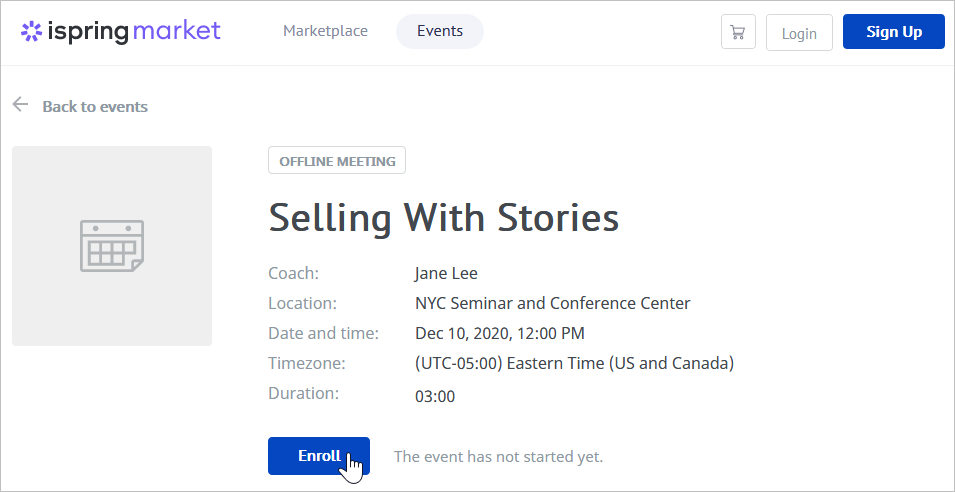
If you enable the Allow users to register for the offline event option, the event will appear on the Marketplace in the Events section and anyone will be able to register for the event.
Note:
- Check if self-registration is enabled in the account. If self-registration is switched off, new users won't be able to register in the account.
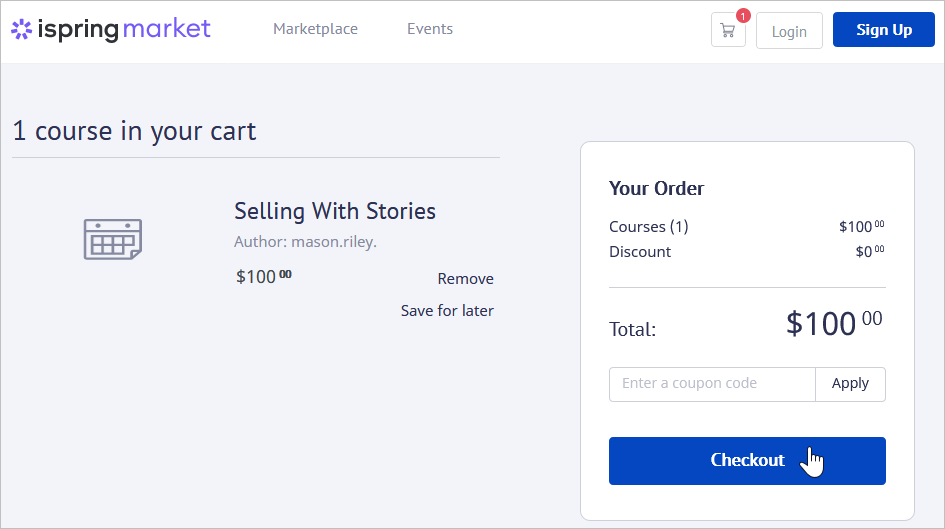
Specify the training as paid and set its price. The account currency is specified in the E-Commerce section.
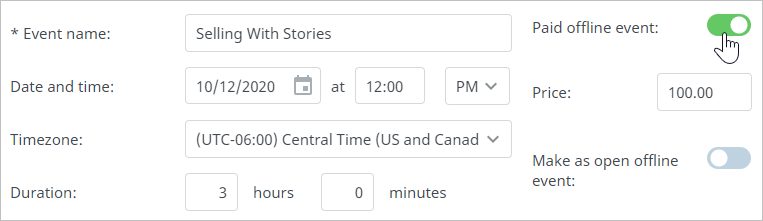
From now, users will need to pay to attend it.
Note:
- To sell trainings, enable one of the payment systems supported by iSpring Market. If no payment system is enabled, there will be no option to make a training paid.
- Hit the Save button.
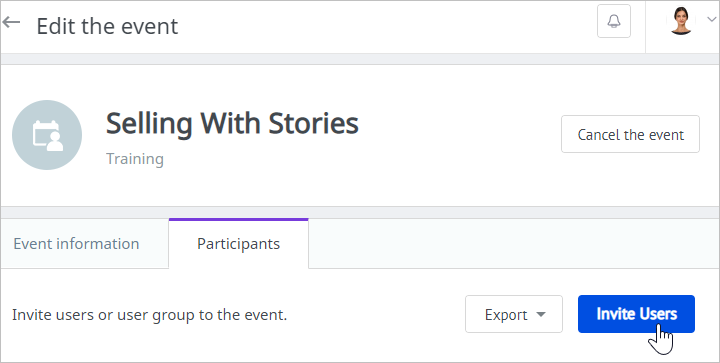
After the training has been created, the Participants tab will appear on the Edit the event page. Under this tab, you can enroll users in your event.