You have successfully chosen a trigger event, a condition in which a certain action will happen. At the second stage, which is called Action, specify what this action will be and which application will perform the action.
- Choose an application where the action event will be performed. In our example, it will be Google Sheets. Start entering the application name in the search bar and click on the appropriate match.

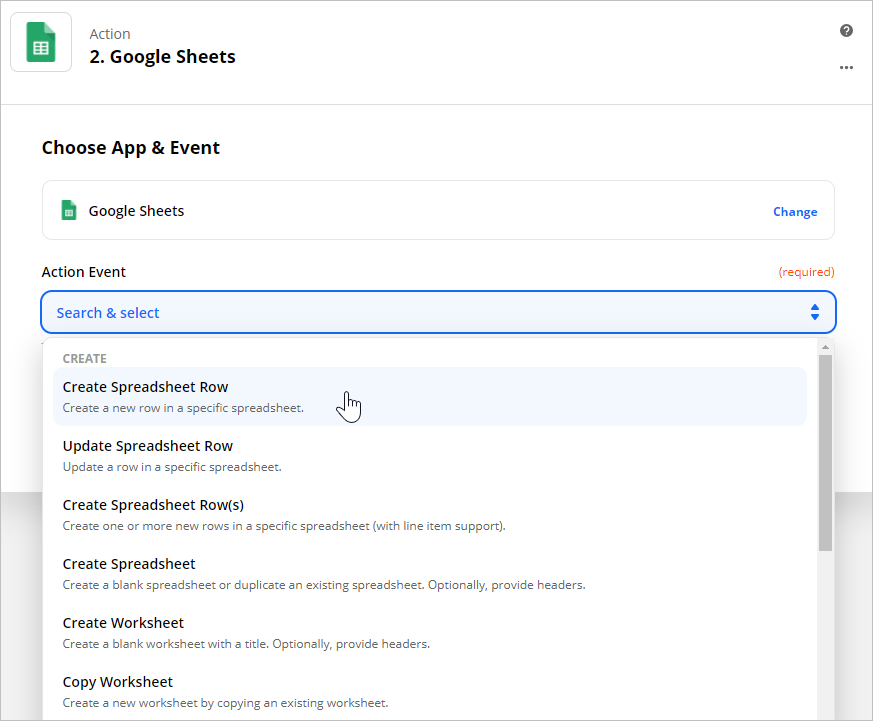
- Next, select an event that will take place when a new user is added to your iSpring Market account. In our example, the first name, last name, email, and login will be automatically added to Google Sheets.
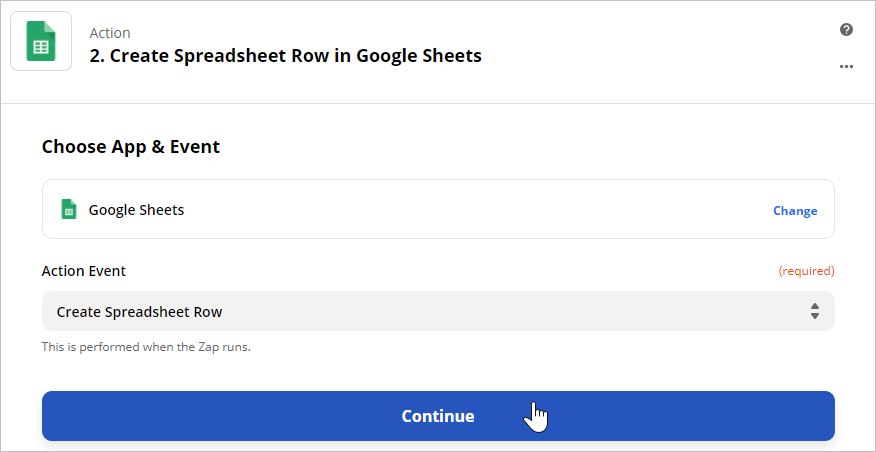
In the Choose Action Event menu, choose Create Spreadsheet Row.
Next, click Continue.
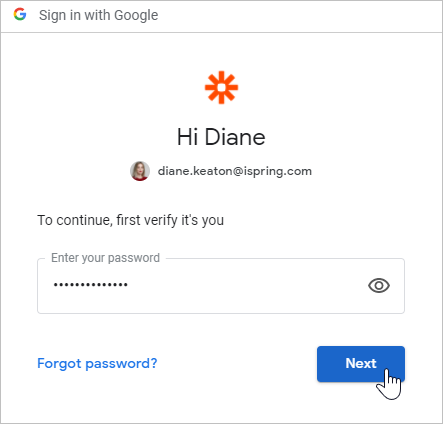
After that, log in to the Google Sheets app. Sign in with your Google account.
- Allow Zapier to perform the following actions in your Google account.
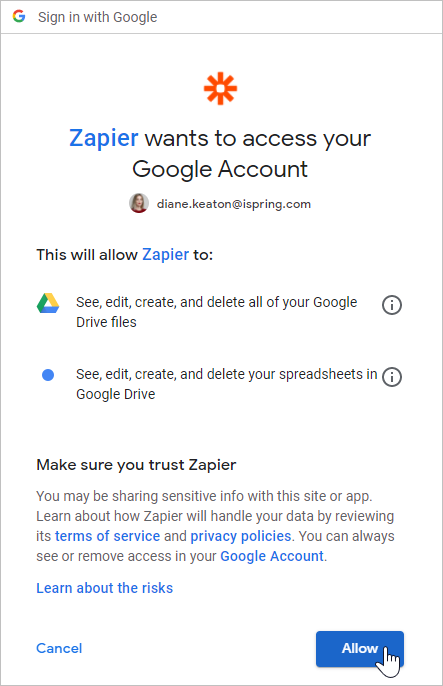
Zapier has received access to the Google Sheets app. Click Continue to set up the Google table to which all data will be saved.
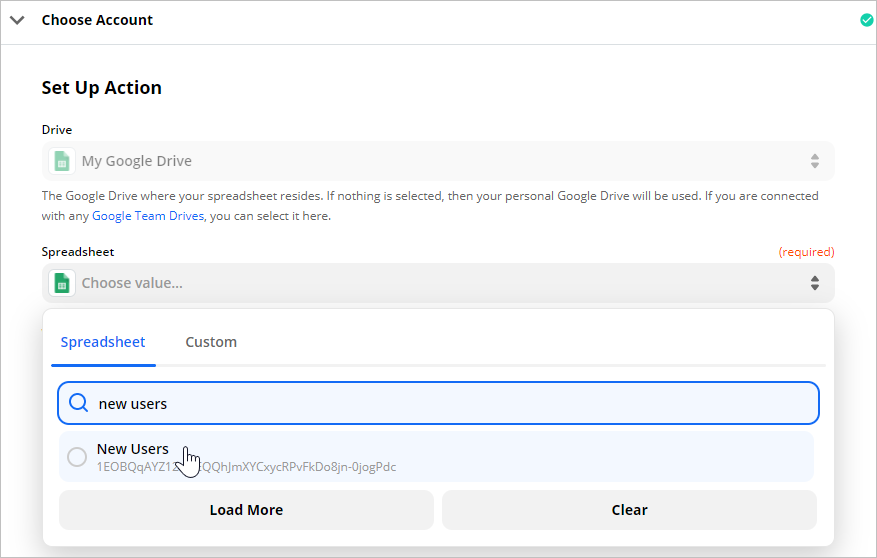
- Choose the Google drive where the info will be stored. Next, specify the spreadsheet to which all user data will be saved.
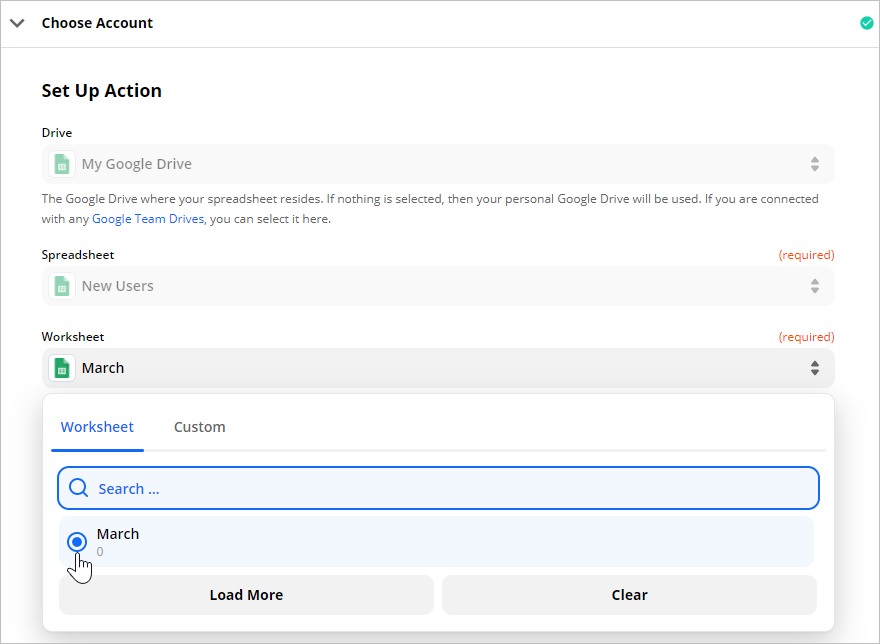
Then select a specific worksheet in this spreadsheet.
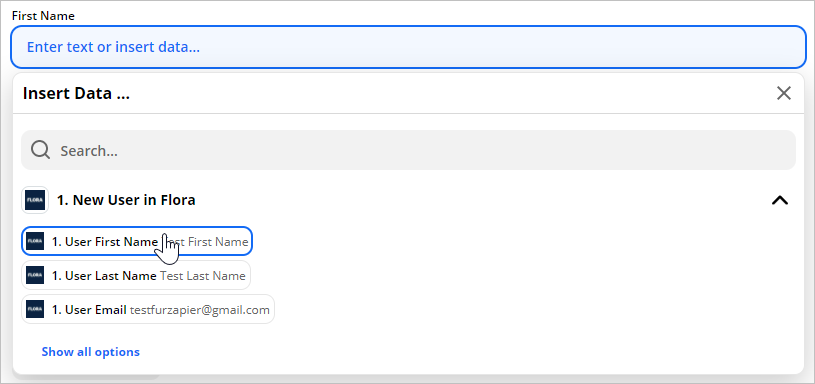
Now match the spreadsheet columns with the user data that will be retrieved from your iSpring Market account.
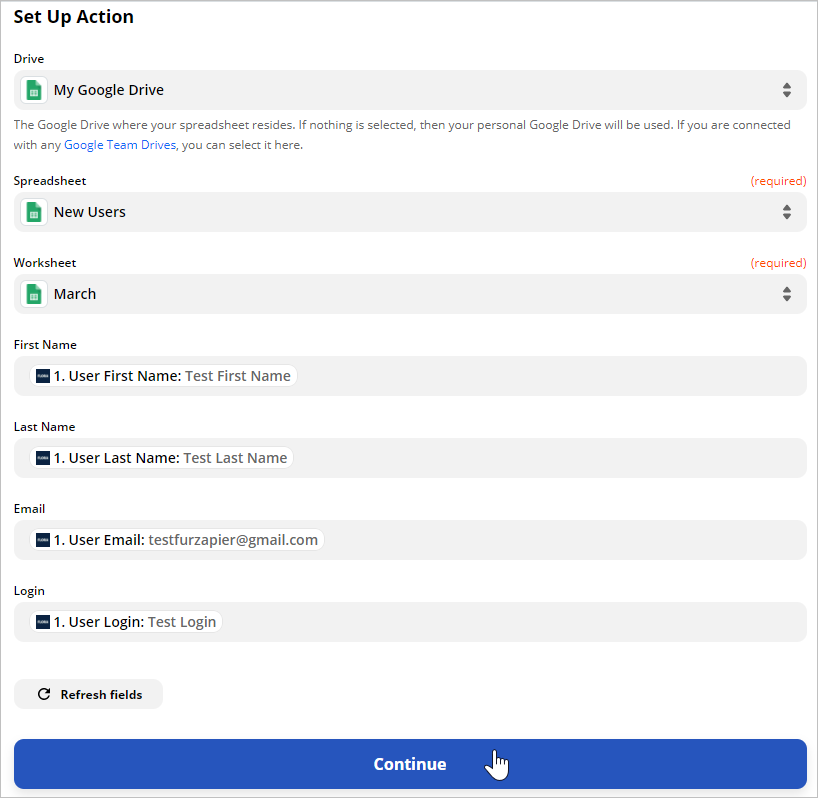
This is how a complete setup action event will look:
- Test the Zap by imitating a user addition to your iSpring Market account. If the test is successful, the spreadsheet will be auto-populated with the first pieces of data.
The only thing that remains is to enable the added Zap.