Content Details
Under the Details tab, you can manage all the main properties of the course. 
Main Properties
In this section, you can:
- Edit the course title
- Change its description
- Set up the content duration
- Check how ‘heavy’ the course is or how many slides it includes

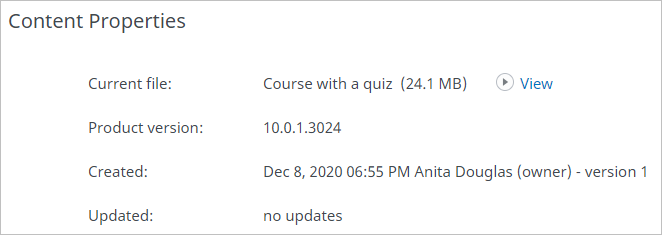
Content Properties
In this section, you can:
- Check the course type
- See how ‘heavy’ the course is
- Find out which version of an iSpring product was used to create it
- See when and by whom the content item was uploaded to the account
- See the course’s current version
- See how many times it was updated
- View, download, or replace the file, depending on its type
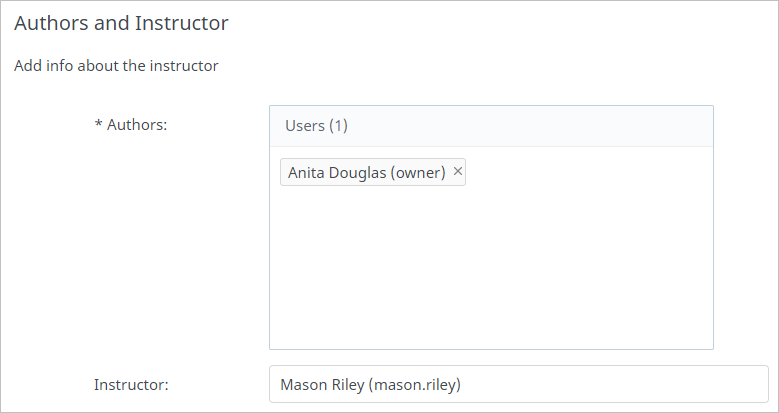
Authors and Instructor
Here you can add the author(s) and the instructor for the course.
By default, the author’s name coincides with the name of the user who added the material. You can assign the Account Owner, Administrators, Organization Administrators, and Publishers as authors. You can add up to 5 authors.
Then, select the user who will be the course instructor. All other users will be able to contact them directly to ask questions related to the course.
To add an instructor, start entering their name, login, or email in the Instructor field. When the system suggests the right match, left-click on the name.
You can assign the Account Owner, Administrators, Organization Administrators, and Publishers as the instructor. Regular users can’t be assigned as instructors.
Additional Properties
Add tags to the course. They will be useful when searching for the course on the marketplace.
Tracking Settings
In this section, you can set the parameters of the progress and completion of the course. This section is available for courses created with iSpring products.
| Rating number of slides viewed | You can select the minimum number of slides that a user needs to view to pass the course. To do this, select Rate number of slides viewed and select a number in the drop-down list. |
|---|---|
| Rating quizzes | If a course contains a quiz created in iSpring QuizMaker, you can select quizzes that the user should pass successfully in order to complete the course. To do this, check Rate quizzes and select quizzes to be passed. |
| Maximum and passing scores | You can set the maximum score that users can receive for passing the course. The default passing score is calculated as a percentage of the maximum score. The percentage is set when creating the quiz in the Quiz Properties section. The passing score can also be set manually. To do this, check Custom passing score and enter a number. |
| Lesson duration and timeout actions | You can set how long users will have access to the course. To do this, enter the number of hours, minutes, and seconds in the Lesson Duration field. You can select what happens when time is up: whether the lesson is terminated or a timeout message appears. |

Link
Here, you can copy the link to the material and share it with your users. To do this, click the Copy button.