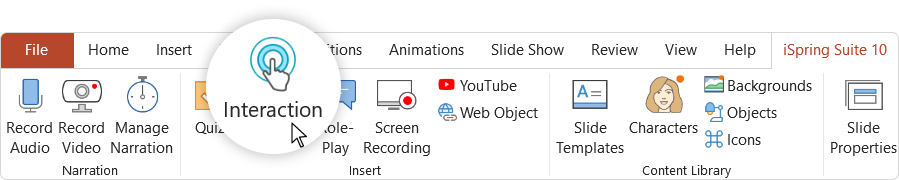
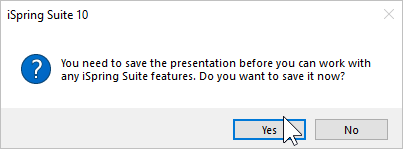
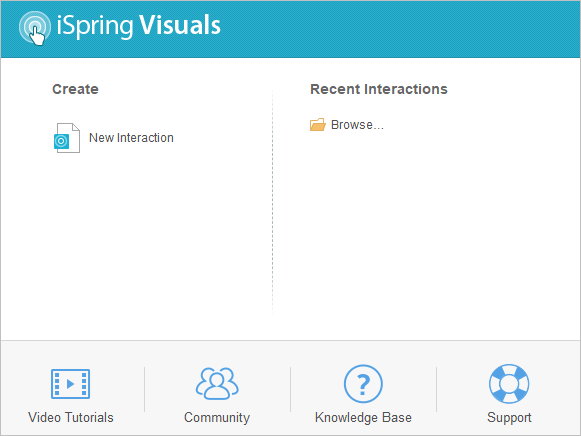
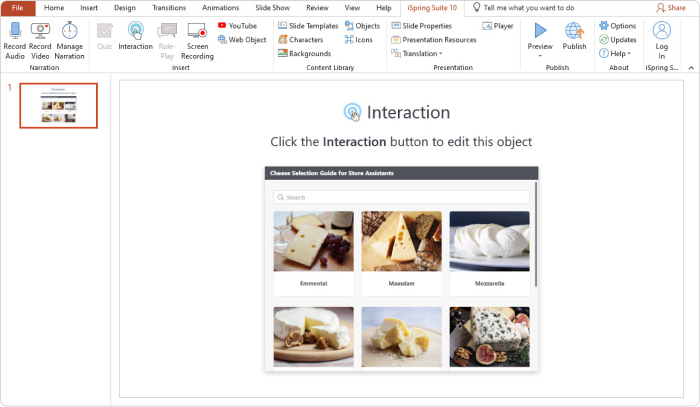
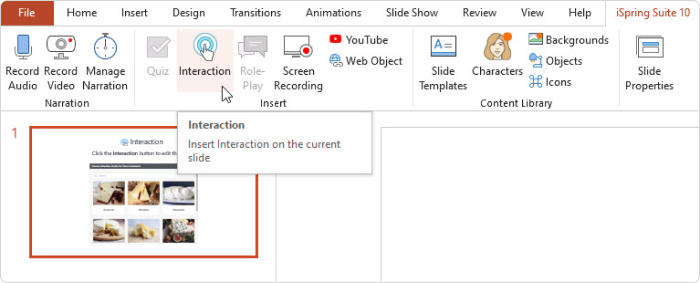
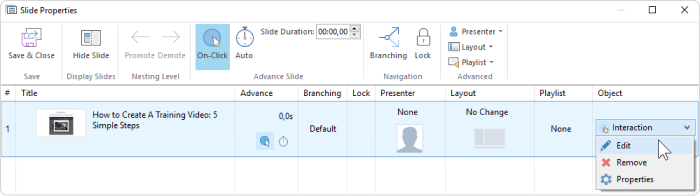
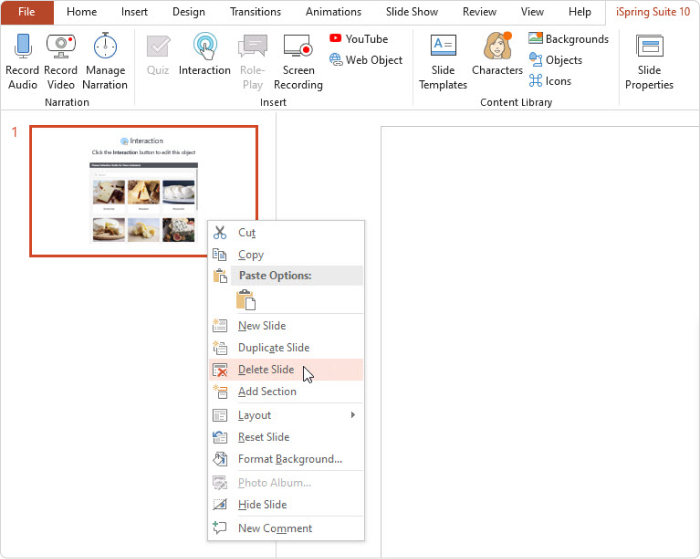
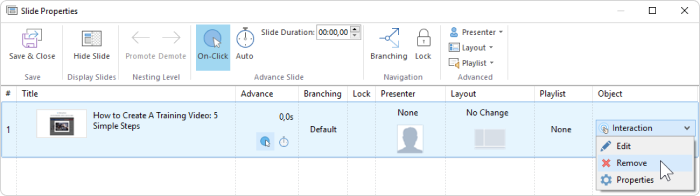
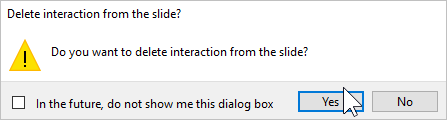
iSpring Suite 10 Adding Content to Courses Current: Inserting an Interaction Inserting an Interaction There are 14 interactive templates built into iSpring Suite. They fit different learning situations and can be easily added to your course. Interactions created with iSpring Visuals help to visualize the hiring process, a sales funnel, product catalog, or anatomy of a complex device. To add an interaction to a course:Click the Interaction button on the toolbar.Before you insert the interaction, save the course on your computer if you haven't done so already.Create a new interaction or select an interaction that was previously created with iSpring Visuals.After you finish working on the interaction, click Save and Return to Course on the toolbar.Your interaction will be added to the specified slide of your presentation.Editing an InteractionThere are two ways to edit an interaction that has been inserted into a presentation:Select the slide with the interaction and click the Interaction button on the toolbar.Open the slide with the interaction and click the Slide Properties button on the toolbar.Under the Object column, open the Interaction menu and click Edit.Edit the interaction and click Save and Return to Course on the toolbar.Deleting an InteractionThere are two ways to delete an interaction from the presentation:Delete the entire slide from the presentation.Open the slide with the interaction and click the Slide Properties button on the toolbar.Under the Object column, open the interaction menu and click Remove.Next, confirm your choice.Click Save and Close on the toolbar.Learn how to create interactions in iSpring Visuals by browsing the User Guide and watching the following video: ×