Installing iSpring Suite 10
The iSpring Suite 10 application is installed on your computer when installing the entire iSpring Suite Max package.
- Fill in the form on our website with your personal data: first name, last name, email, and phone number.
Enter your actual data, as we will use them if/when you purchase an iSpring Suite Max license. Your first and last name will be used as the owner's name, the phone number will be the contact number, and the email address will be the one we will send account access and purchase details to.
Finally, click Download for Free.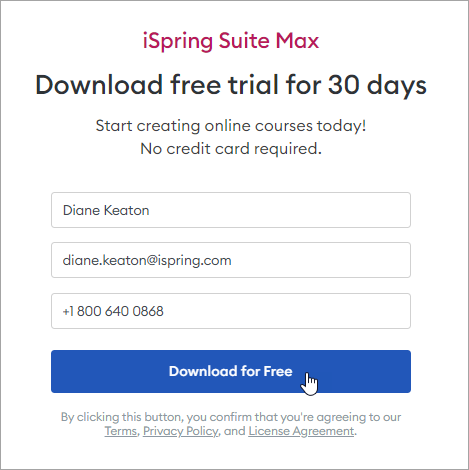
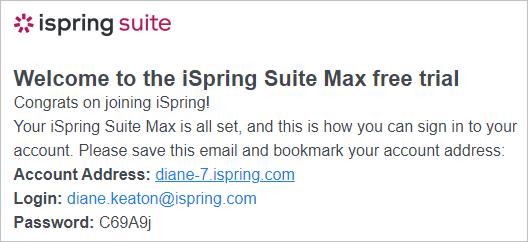
- The iSpring Suite app download will start automatically. We will send your iSpring Space account login info to you by email. You will need the credentials a bit later after you install the iSpring Suite app on your computer.
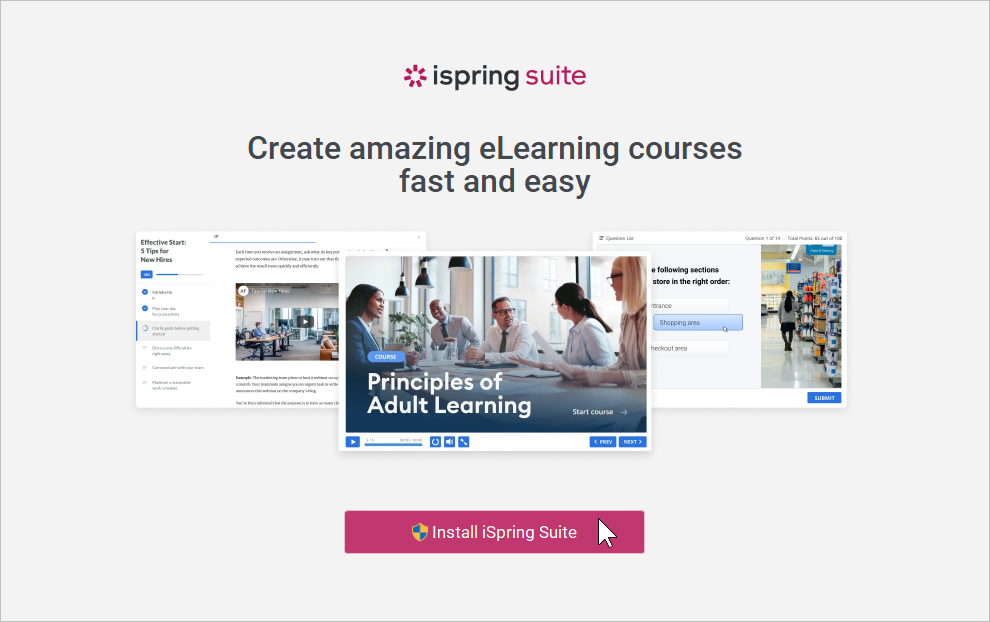
- As soon as the file has downloaded, click on it to launch the installation. In the opened window, click Install iSpring Suite.
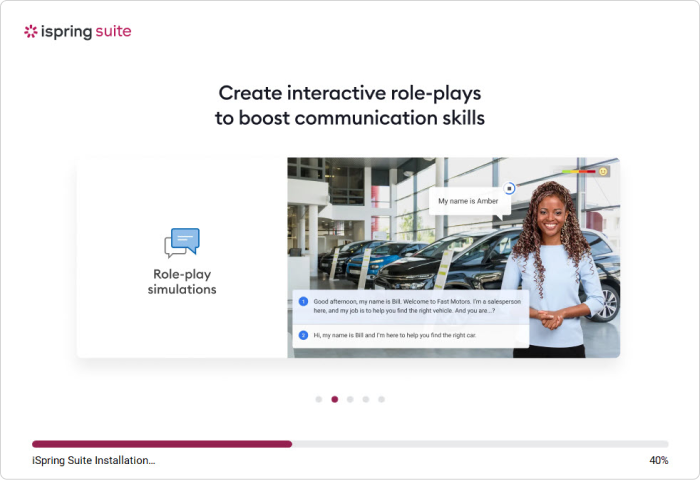
- The installation has begun, and you can track its progress.
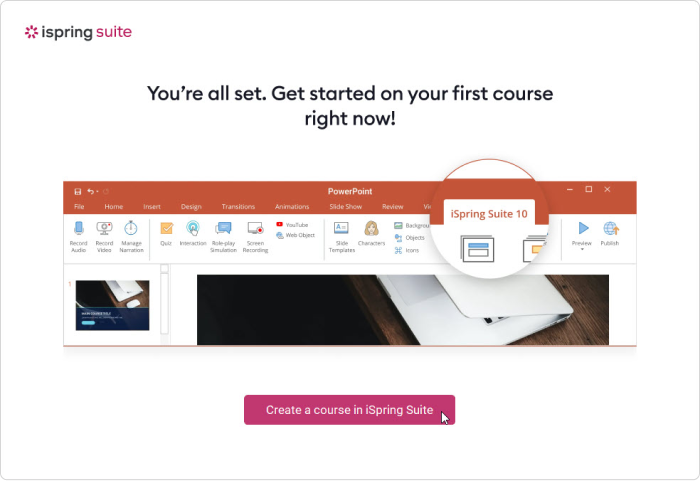
- The installation is complete.
- If you want to create courses both in the iSpring Suite app and the iSpring Space cloud service, log in to your iSpring Space account.
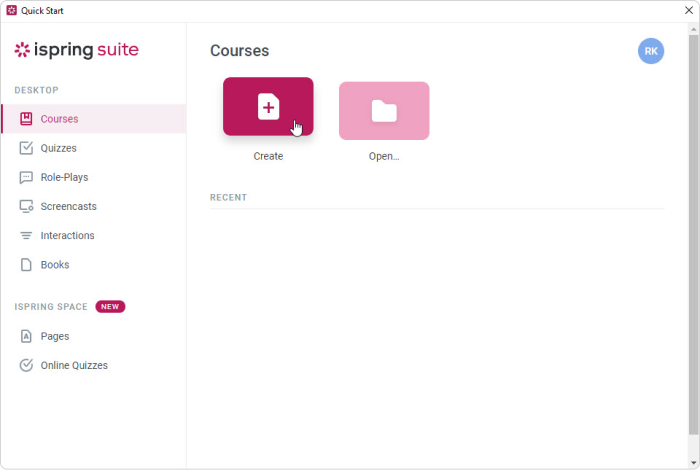
To do this, open the iSpring Suite app and click on the icon at the top right corner.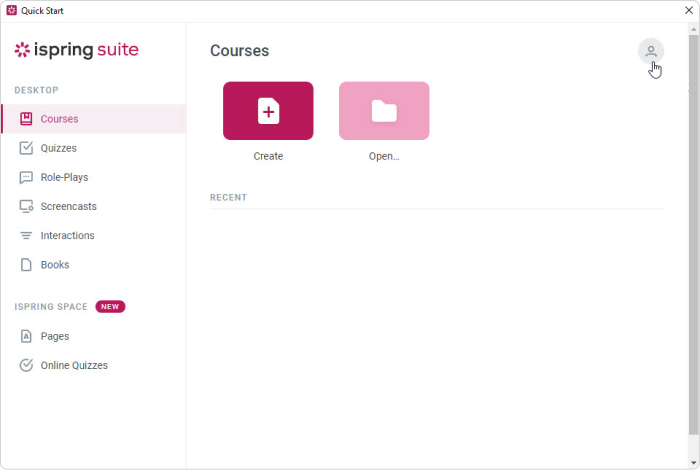
- Next, click on the Log in with iSpring Space button.
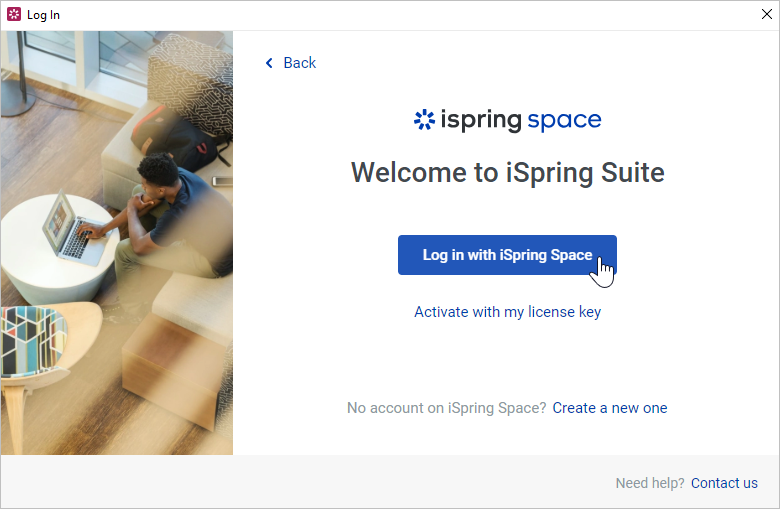
- An iSpring Space account login form will open in a browser. Enter the login and password that were sent to you when you filled out a form on our website. Next, click Log in.

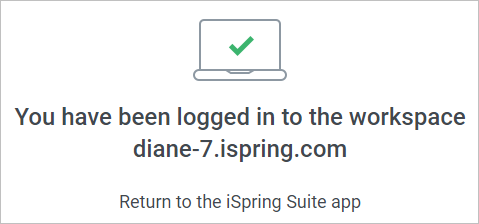
- You’ll see a message saying that you have logged in to the iSpring Space account successfully. You can now return to the iSpring Suite app.
- Make sure that you assigned to the Author role in iSpring Space. If you are the iSpring Space account owner, the Author role will be assigned to you by default.
Team members with the Reviewer role cannot activate an iSpring Suite Max license using an iSpring Space account.
For more detailed information on how to manage roles in iSpring Space, please refer to Changing a Team Member Role.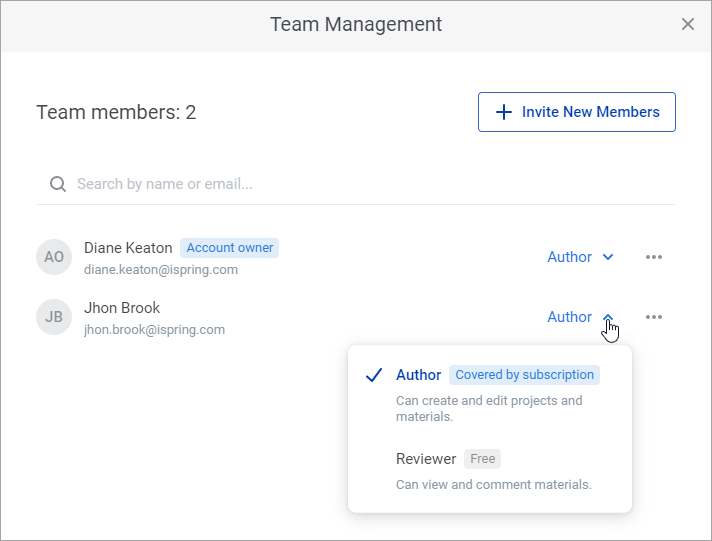
- Now you can proceed to create courses either with the iSpring Suite authoring tool or in the iSpring Space workspace.
Notes:
- The trial version of iSpring Suite Max works just like a fully functional license, with the following two exceptions:
• It will be operative for 30 days from the installation date.
• All the courses you create will have a watermark at the top right corner. - To use iSpring Suite Max without the limitations of the trial version, purchase the program in your iSpring Space workspace or on the iSpring website.
- After purchasing iSpring Suite Max, you can activate your license using your iSpring Space account.
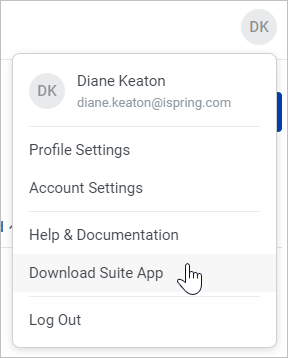
If you purchased iSpring Suite Basic, then you will need to use a license key to activate your license. - You can then also download the iSpring Suite app at any time. Click on the profile photo at the top right corner of your iSpring Space account and select Download Suite App.