You can populate the product catalog and put courses up for sale in two ways:
If you add courses using the catalog, they can be placed in any new block, and changes made to the product card will occur immediately in all blocks.
If you fill out product cards in a block on the page, you can only use them in this block. When changing or deleting a block, you will need to fill in the product cards again.
Using the Product Catalog
The catalog will allow you to place products into different categories, add new items, or withdraw irrelevant products from publication.
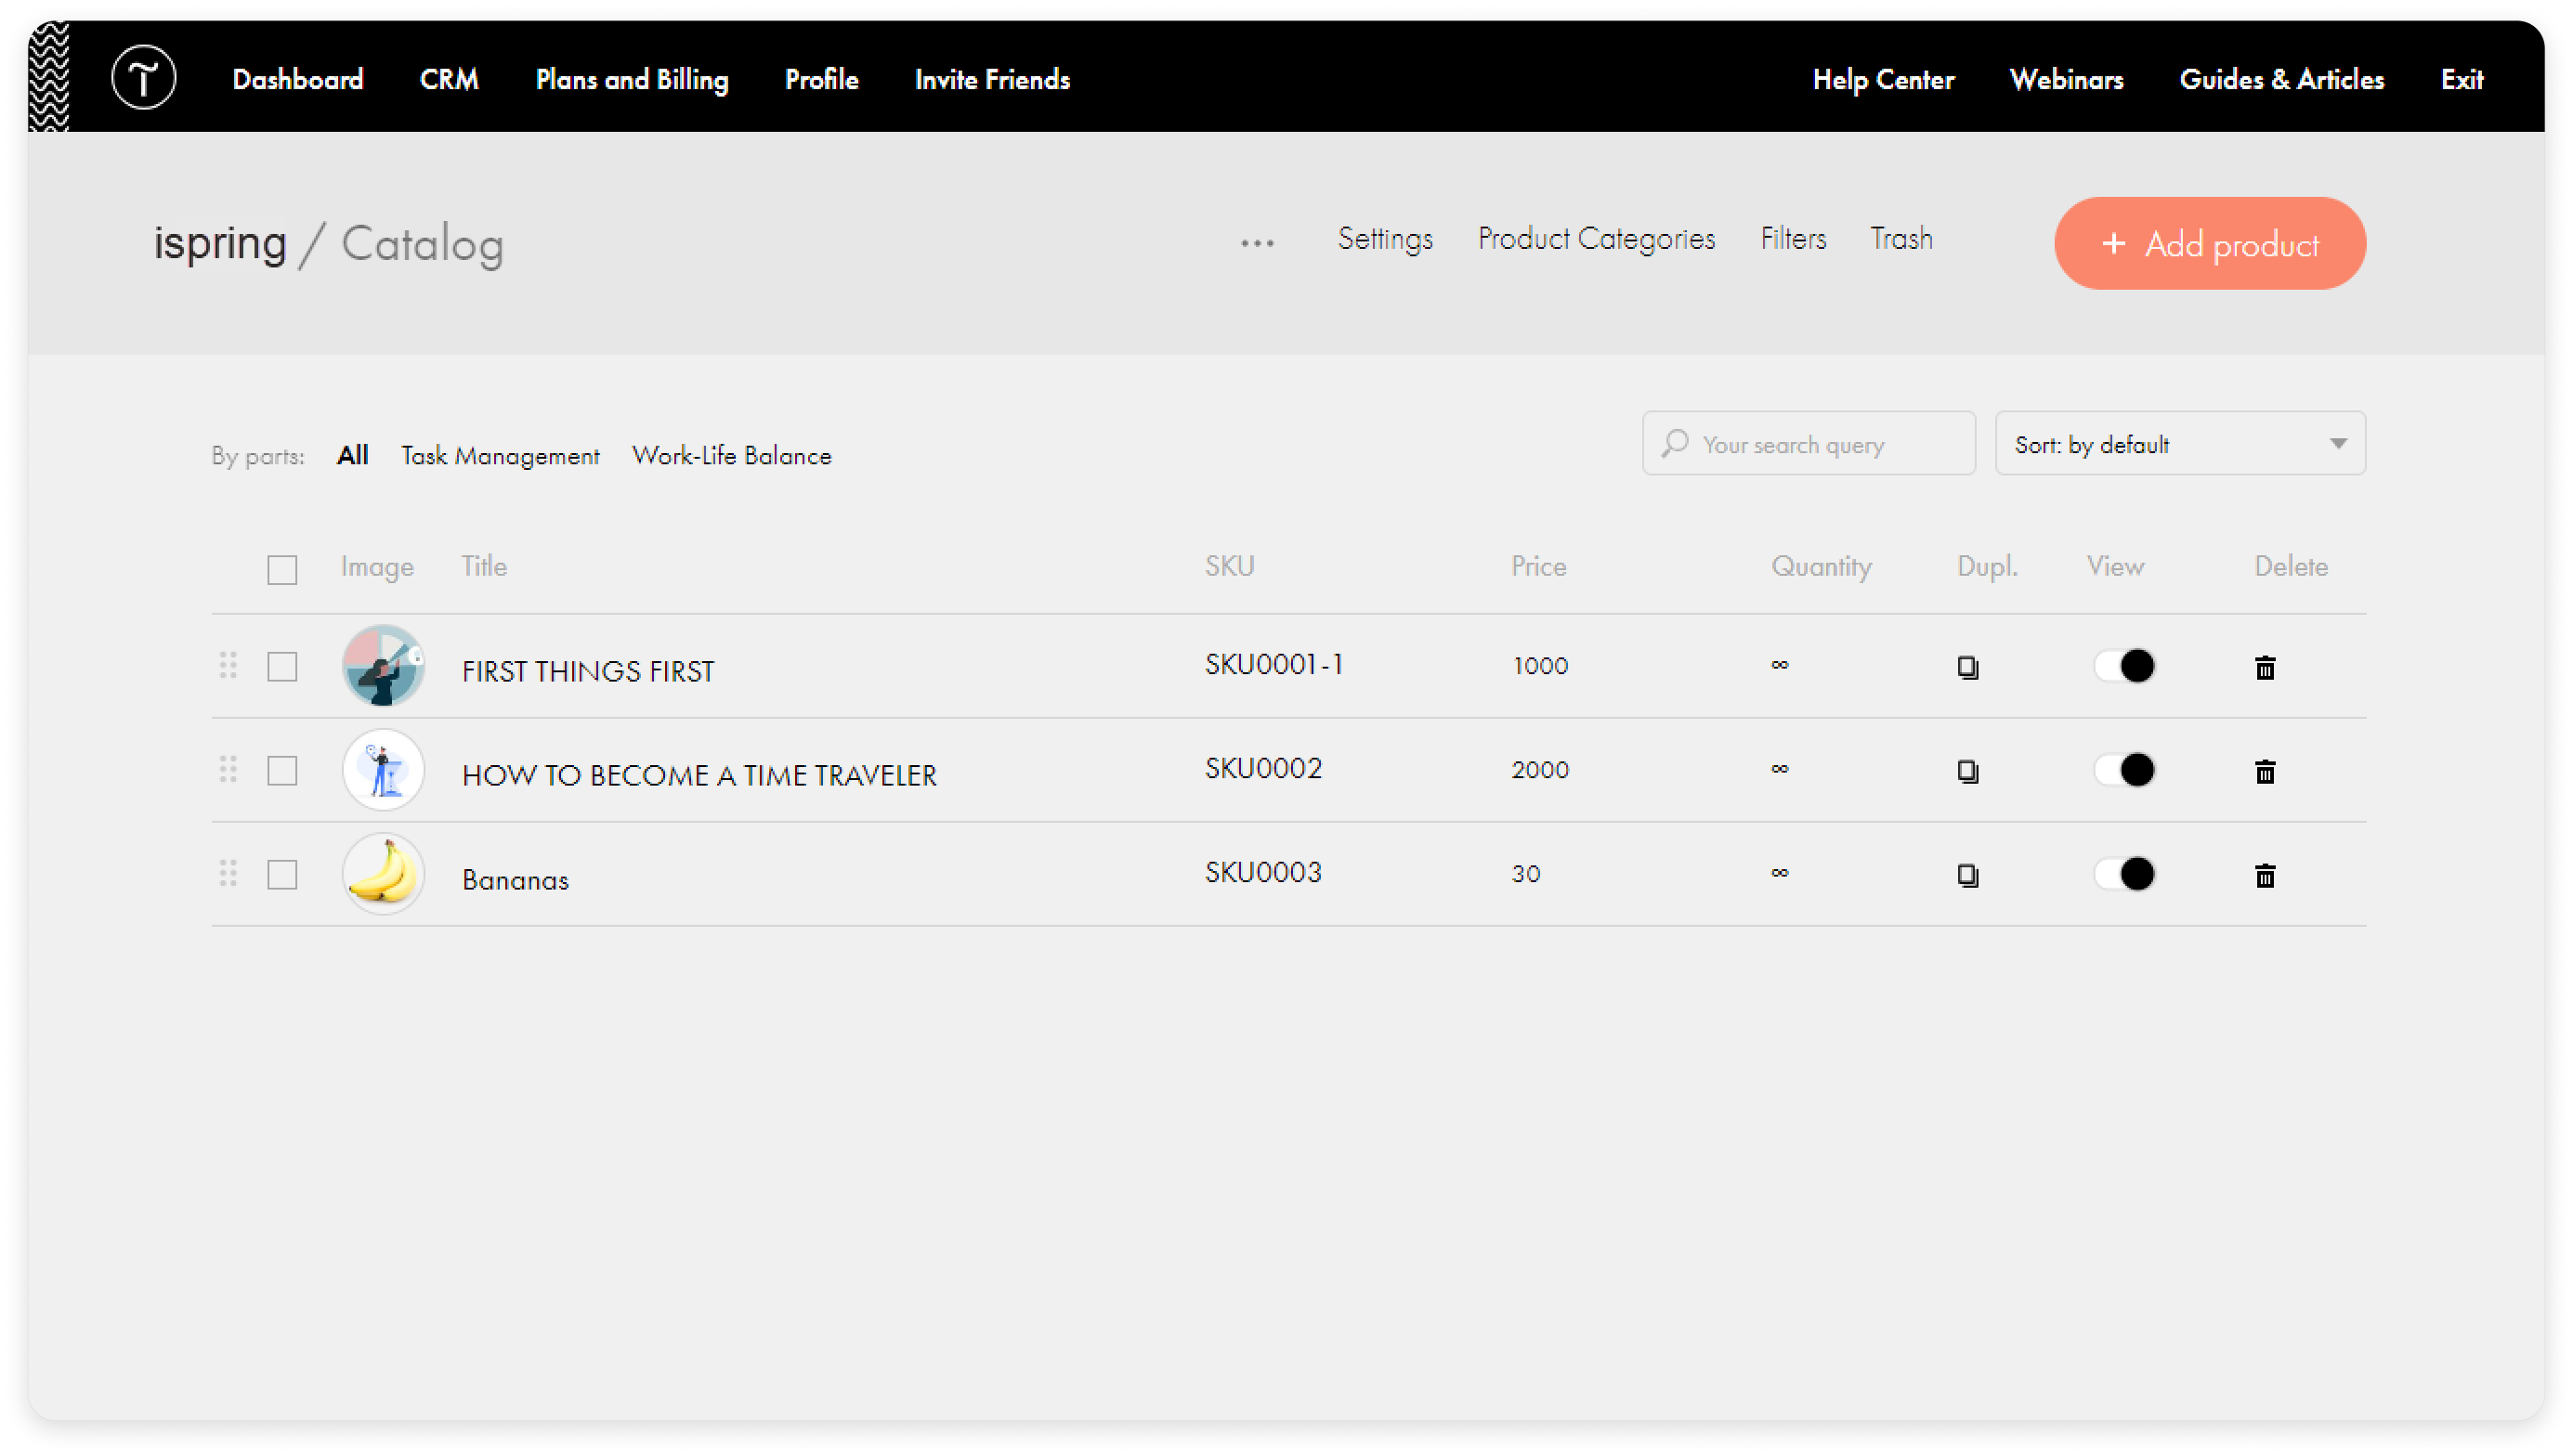
- Go to Dashboard > Products.
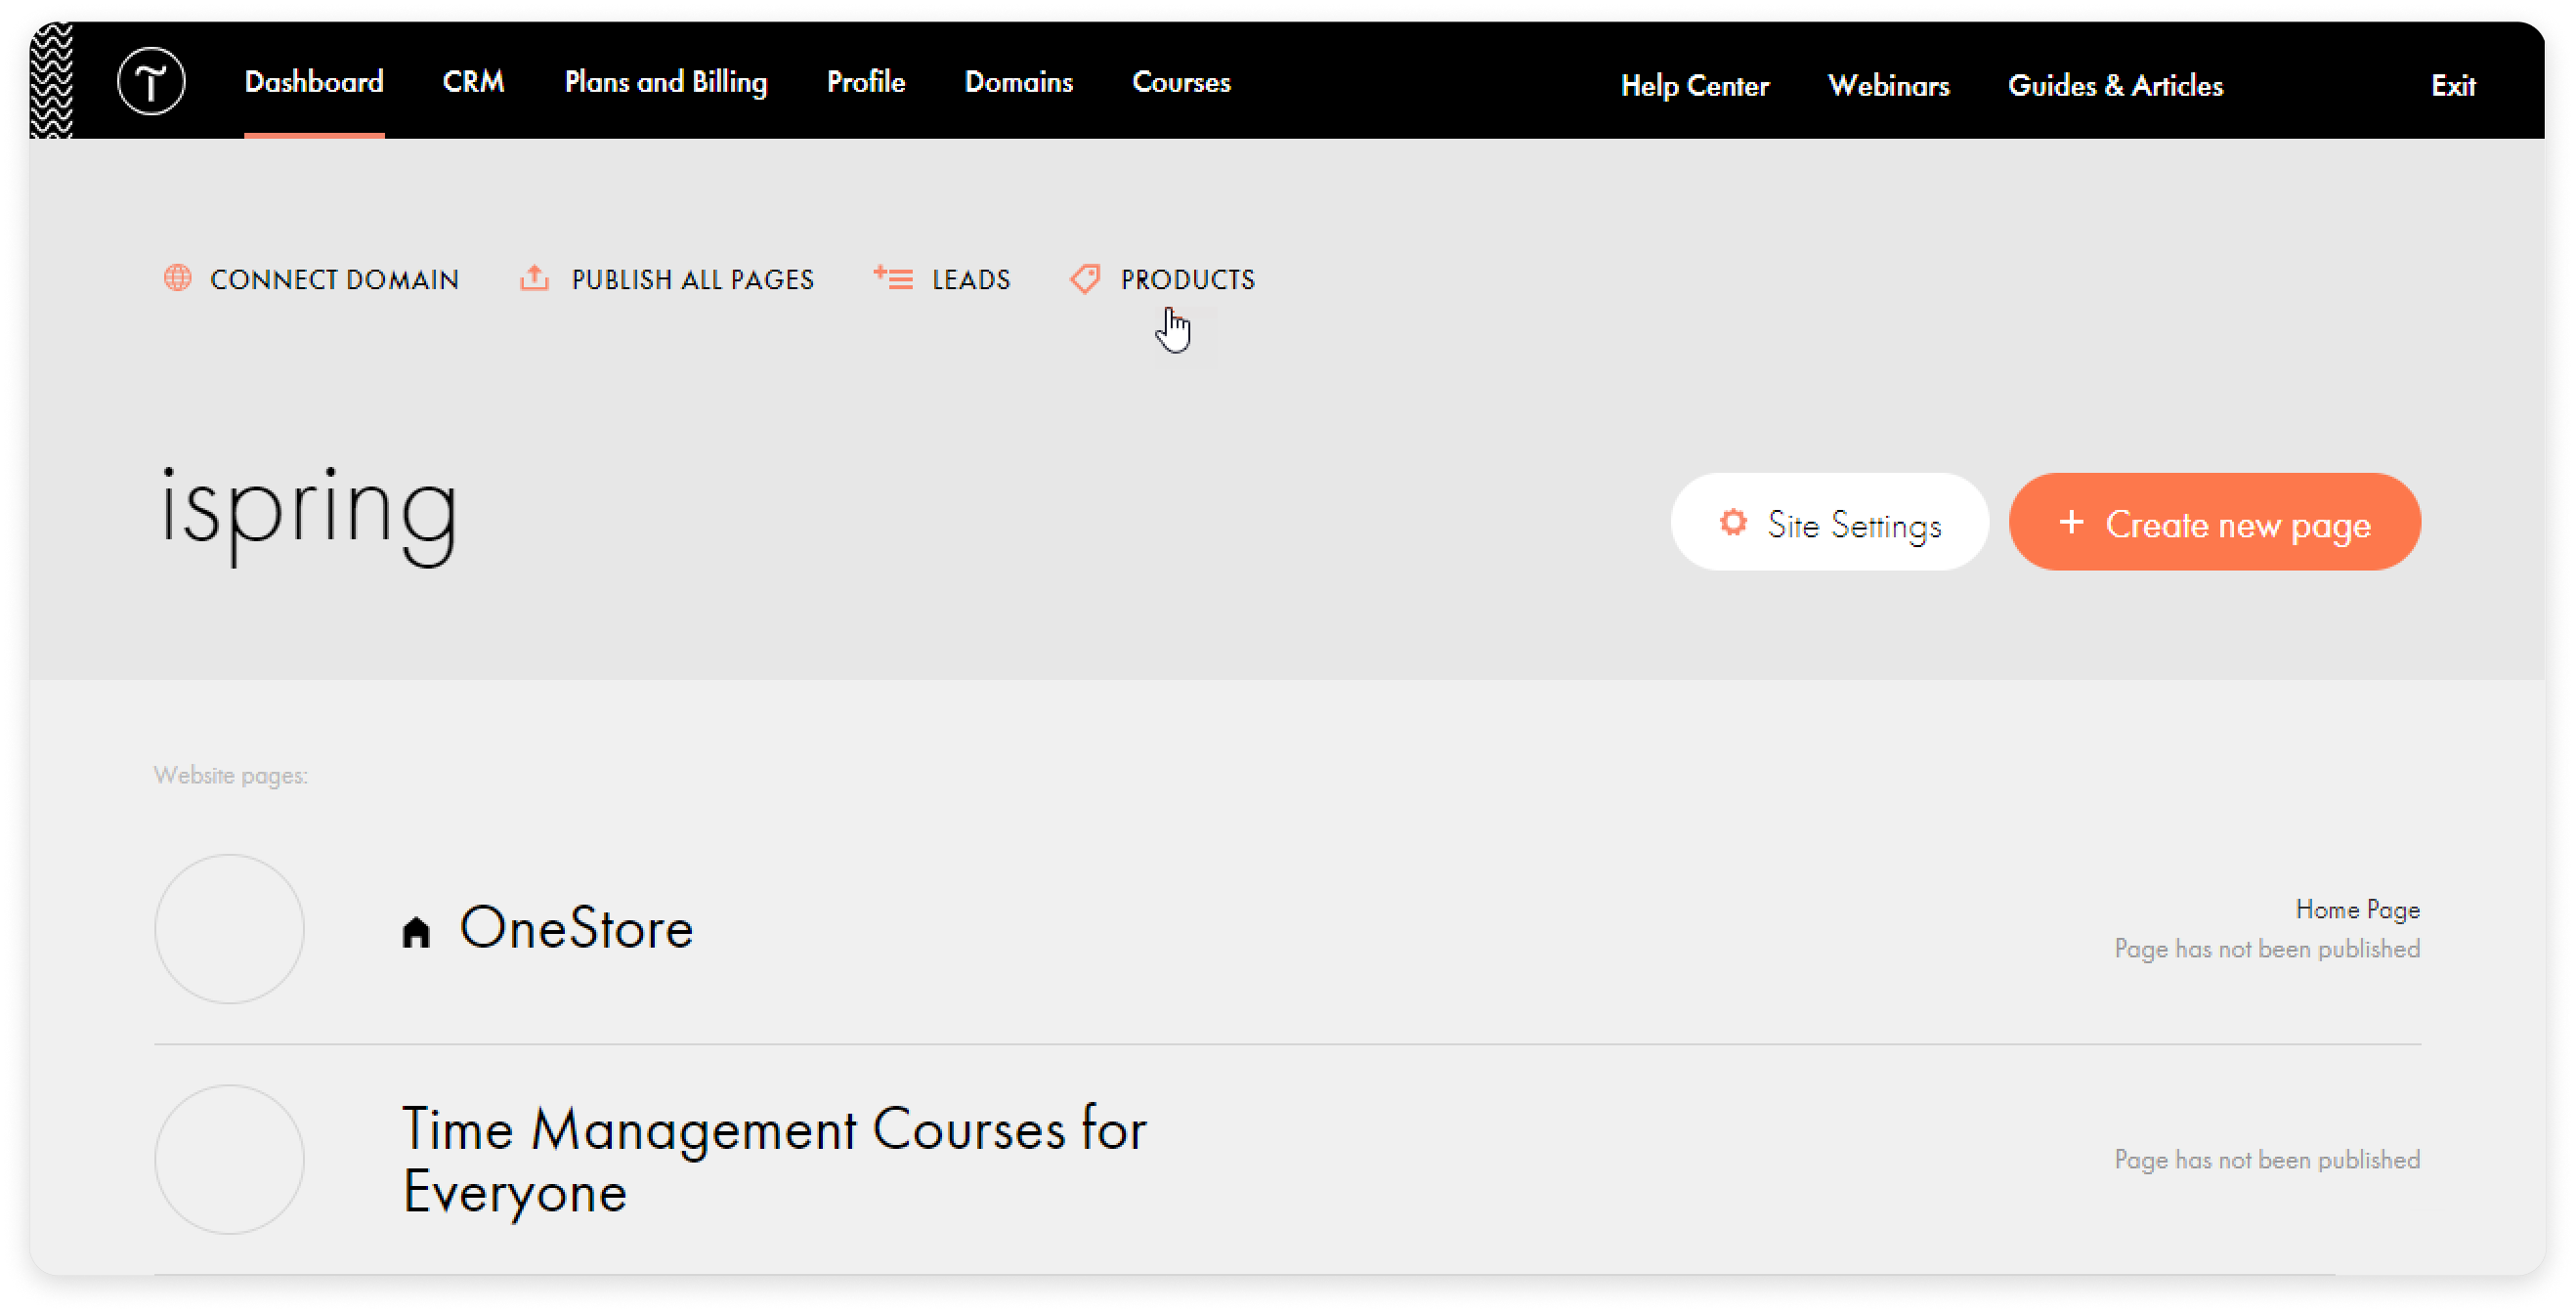
- If your courses are on a variety of topics, create sections. To do this, click on Product Categories in the catalog.

- Add the first product category. Enter its title and click on Create category.
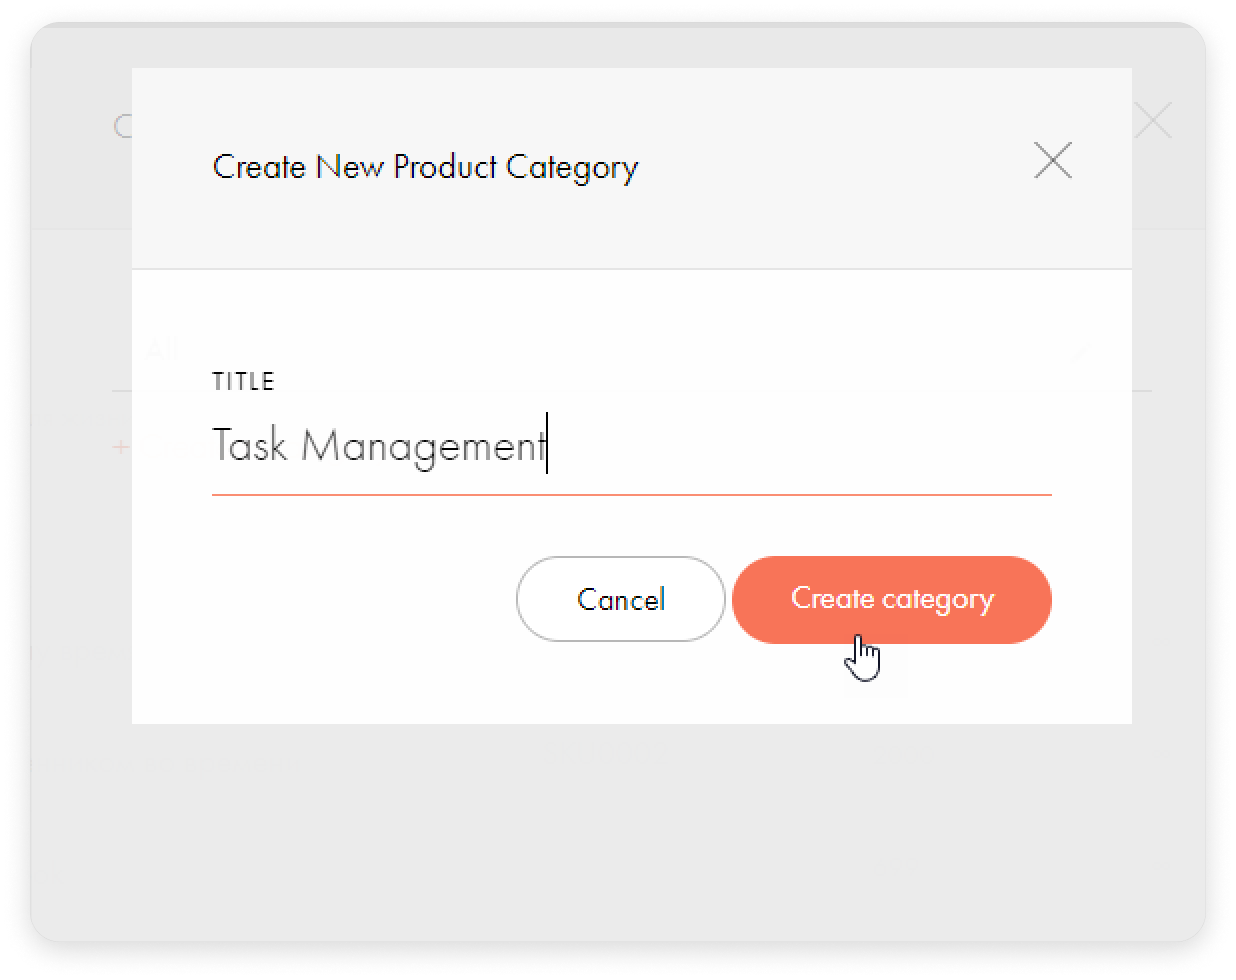
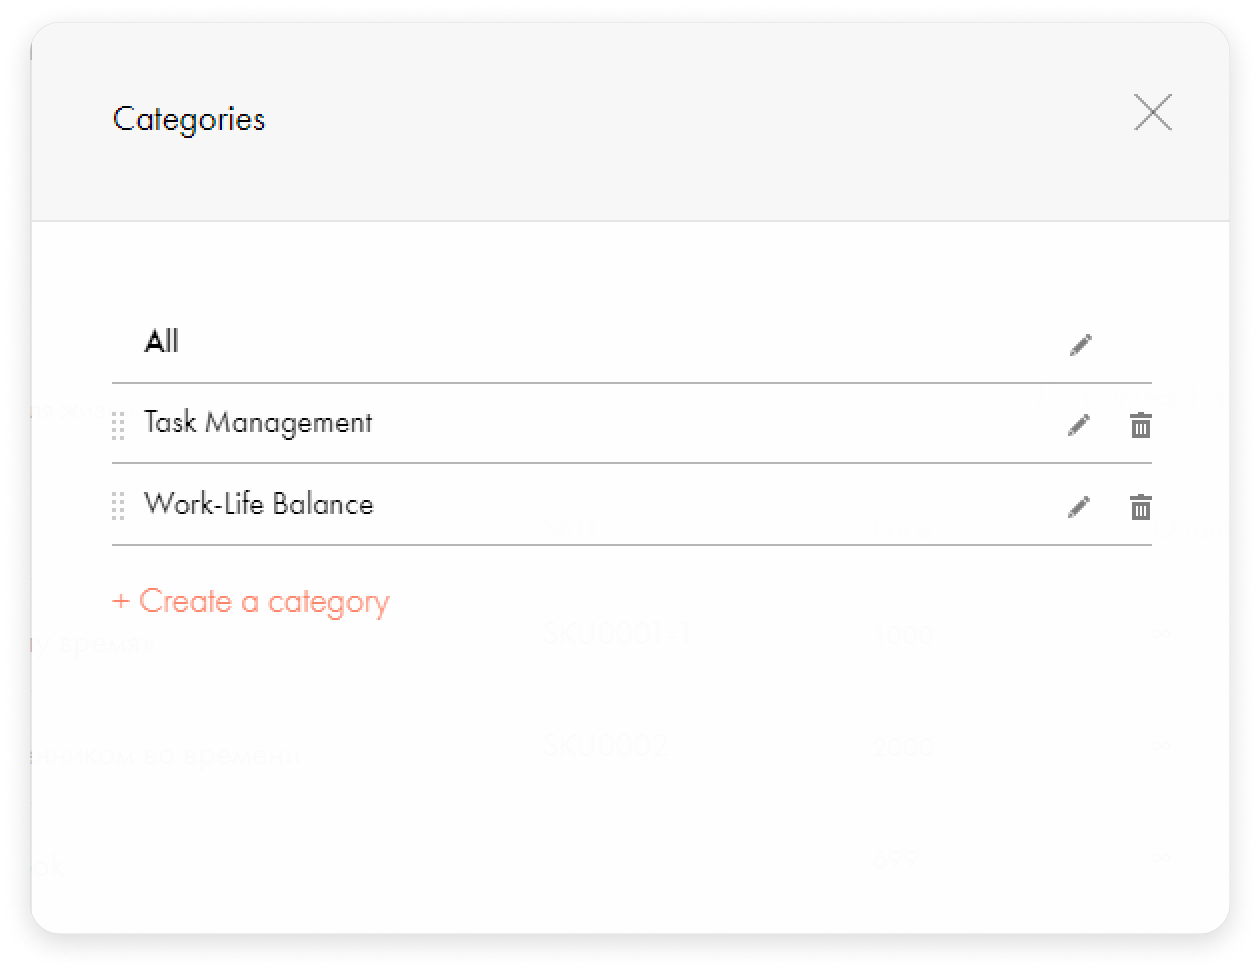
- Repeat this step for each new category.
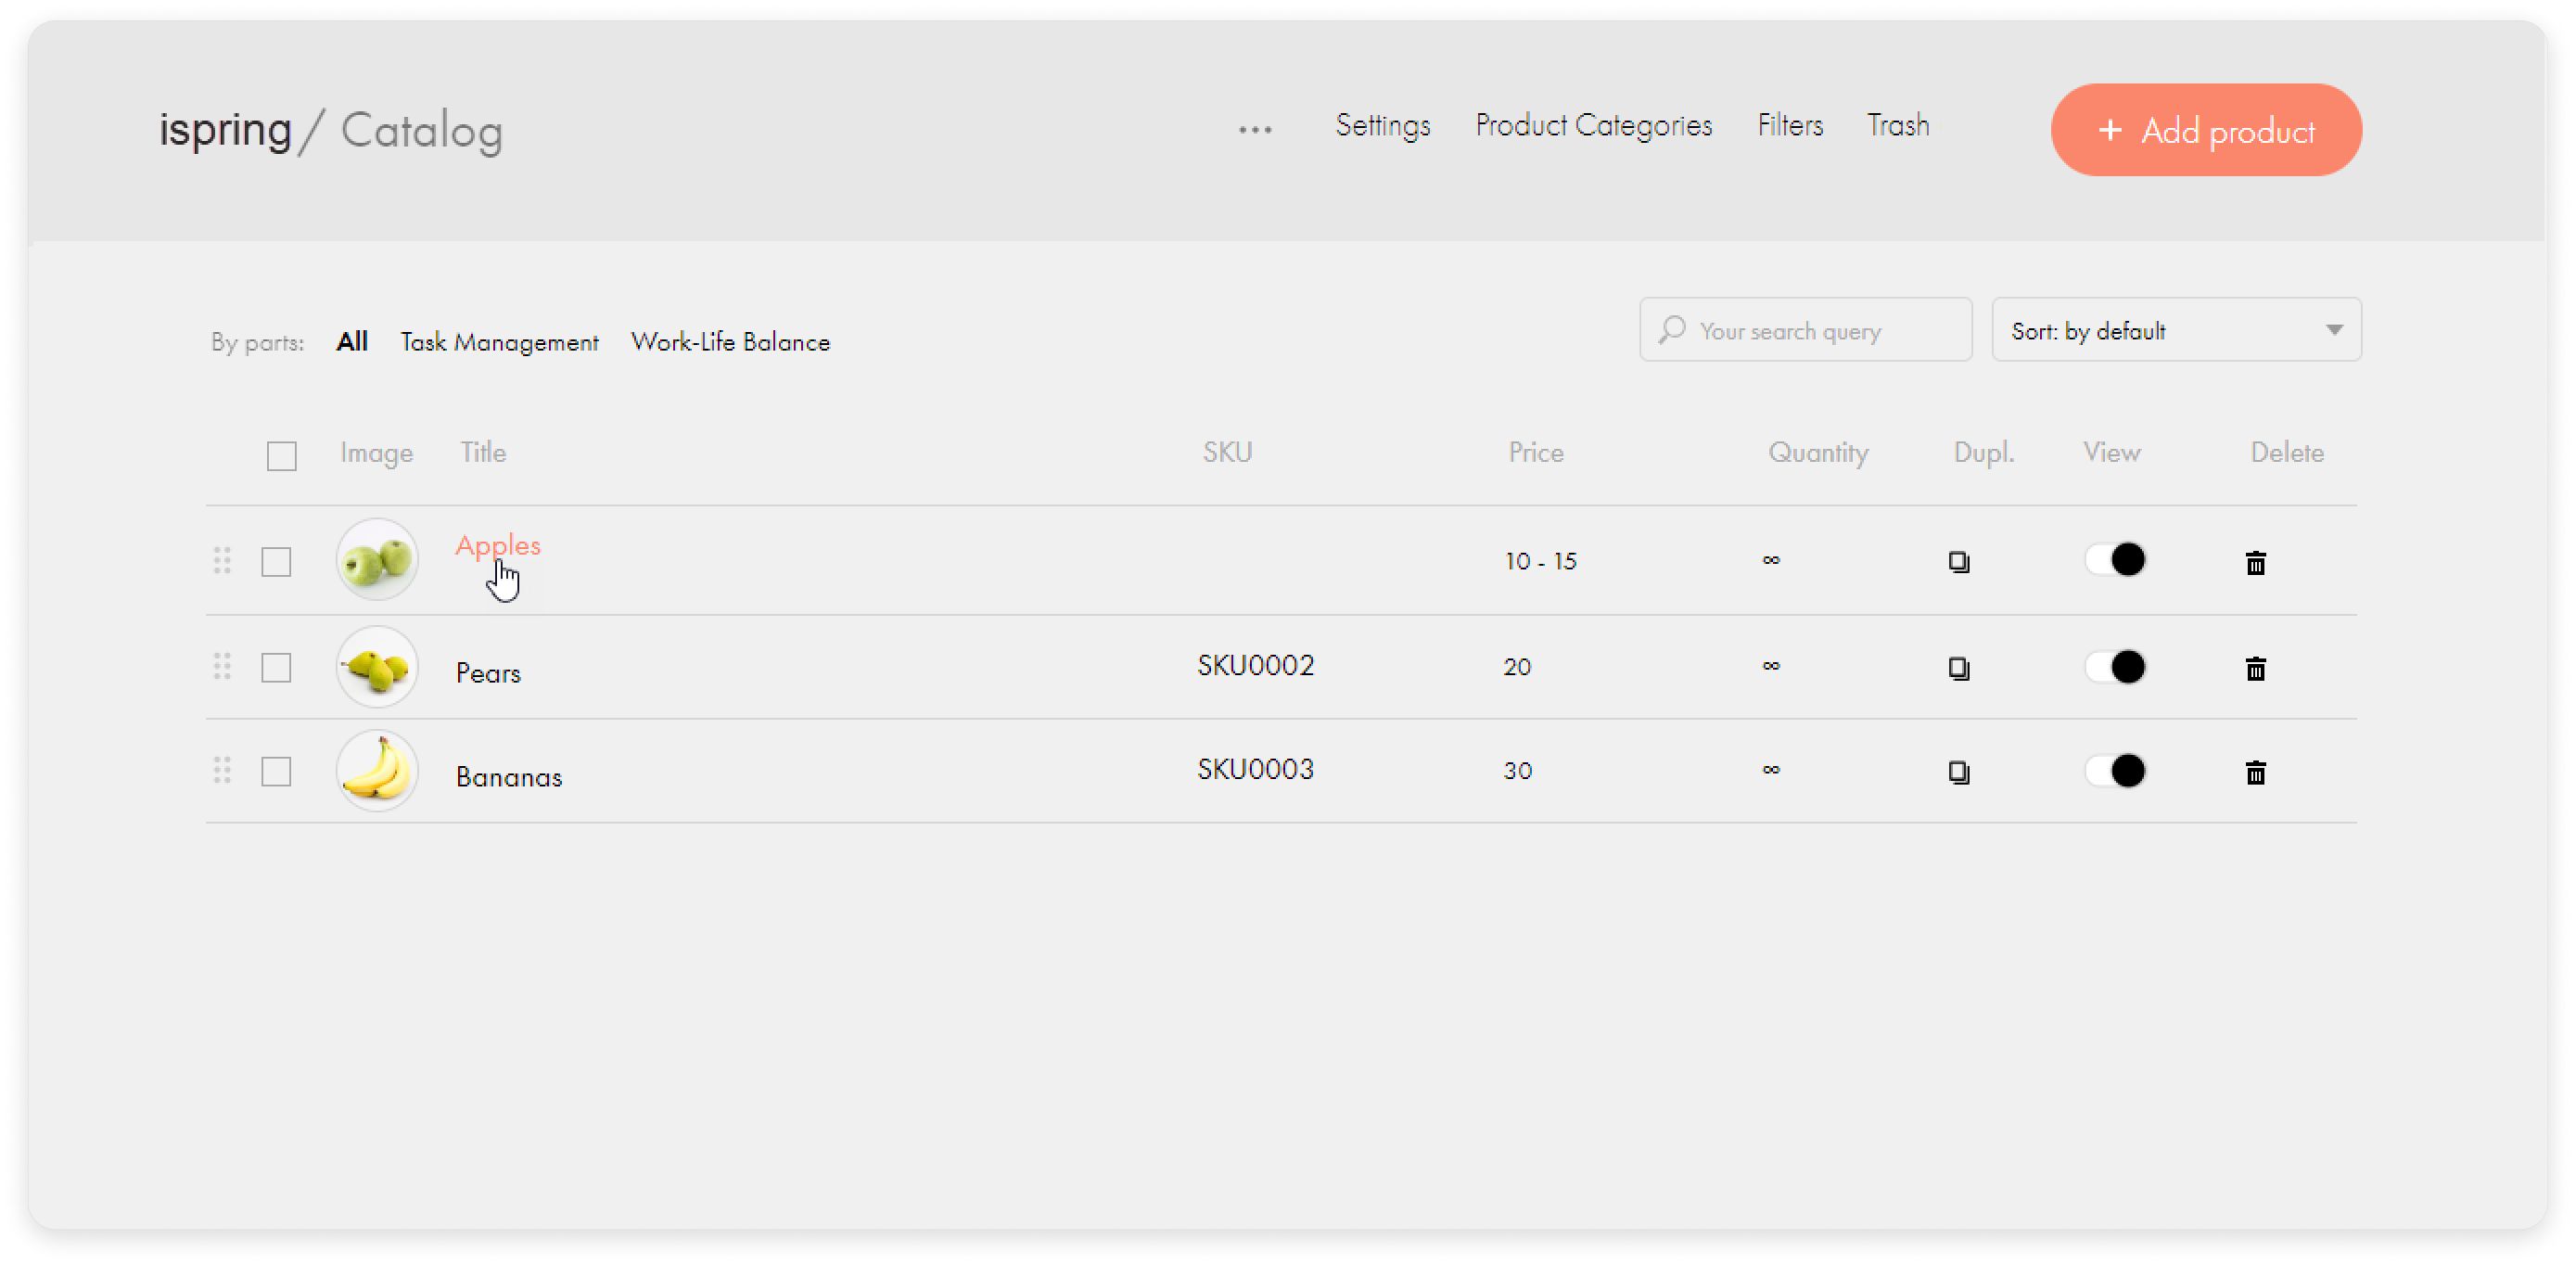
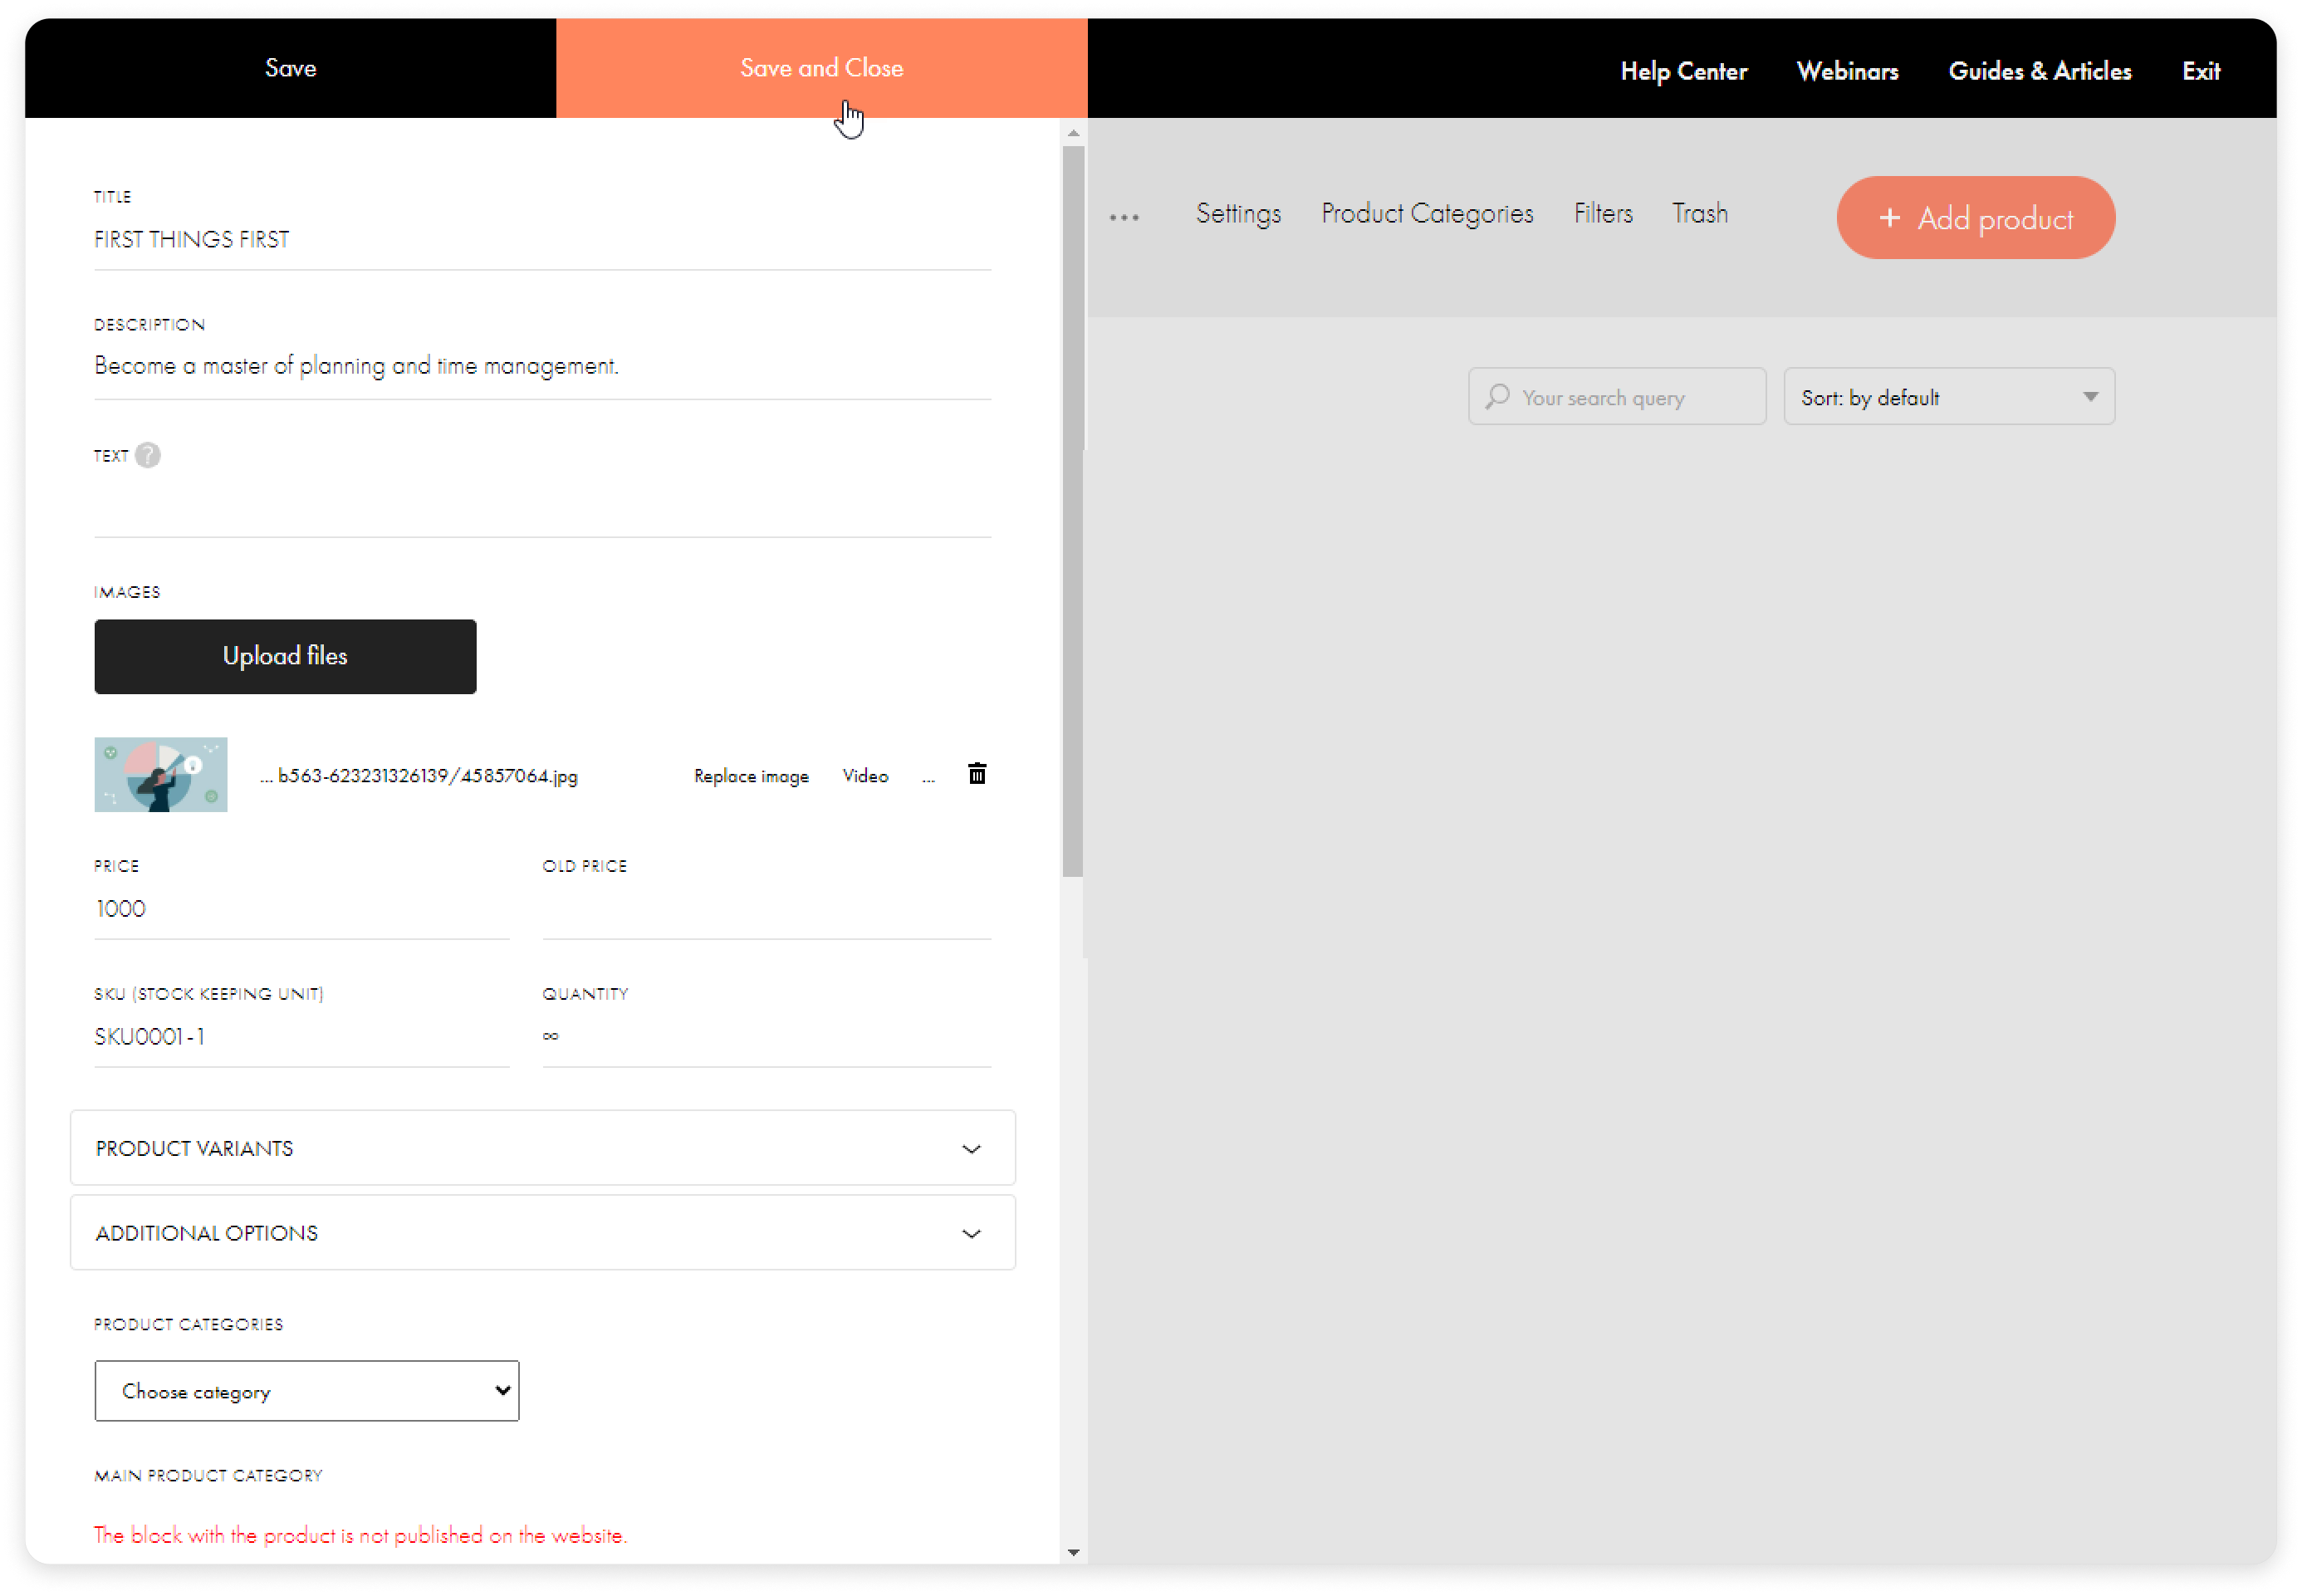
- Now, let's fill in the product cards for our courses. Click on the template card.
- Enter the title and description of the course, and upload its preview image. Then, click on Save and Close.
- Fill in the cards for the other courses and put them into the correct categories.
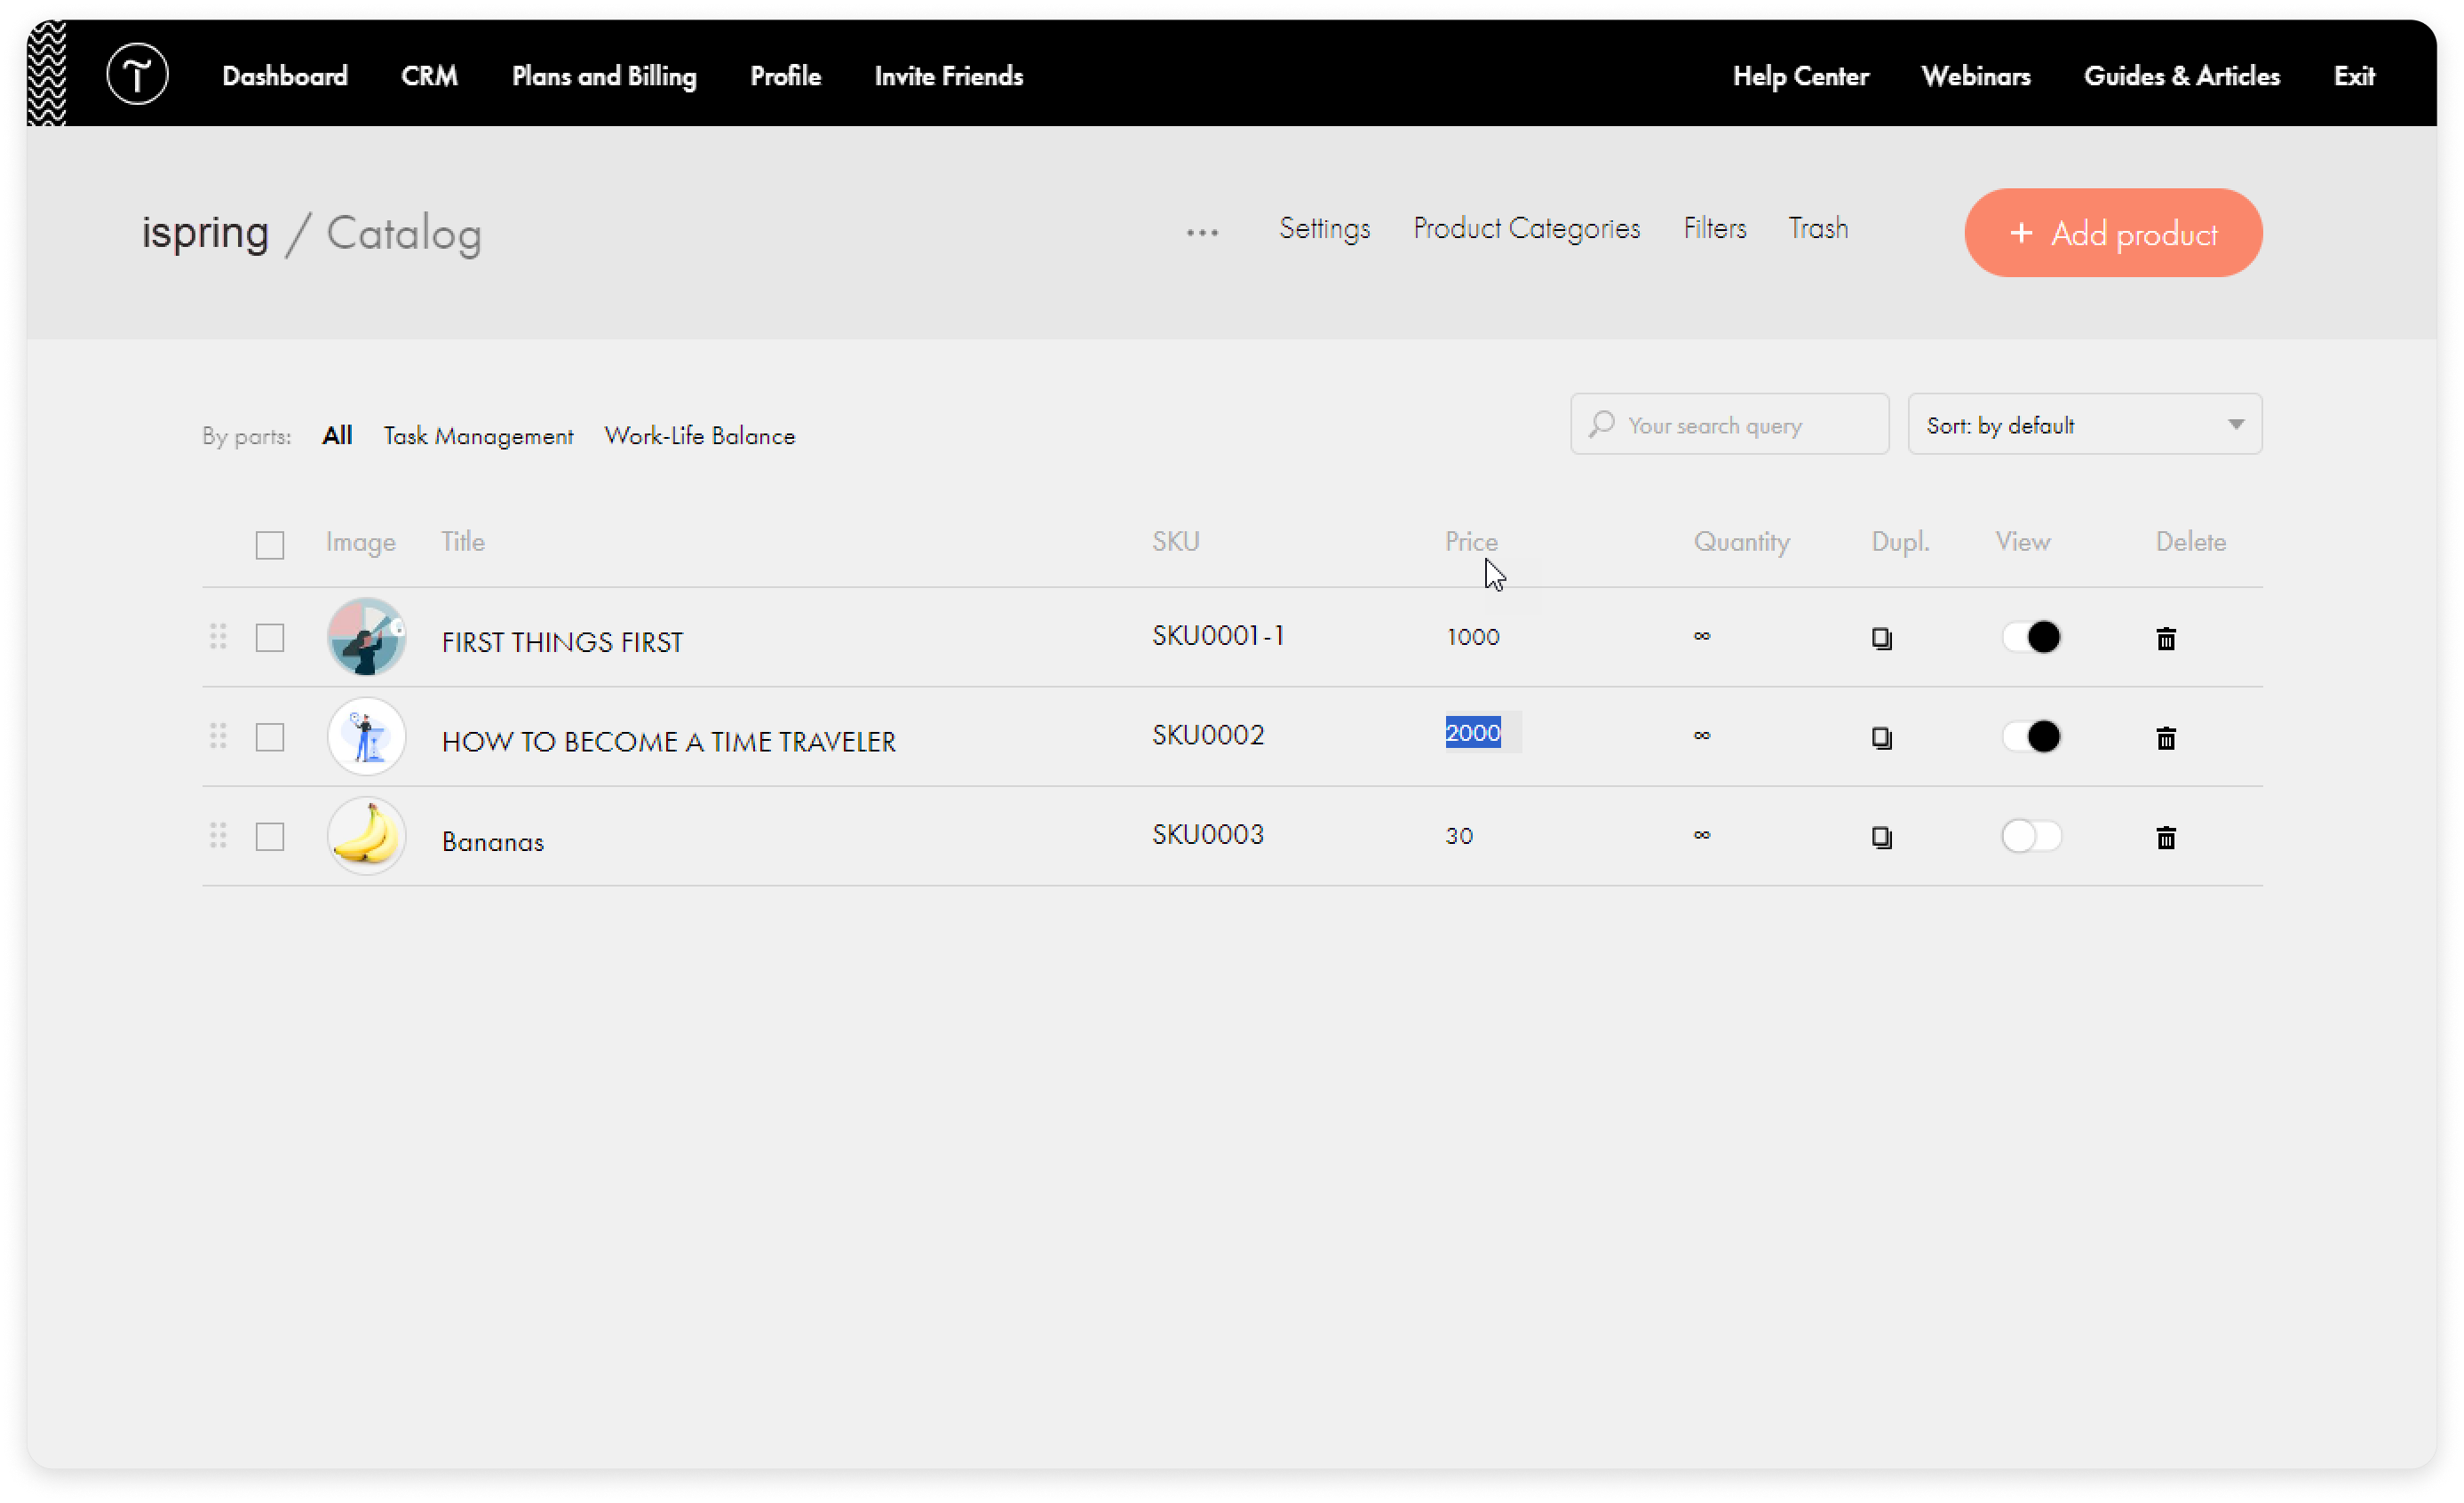
- You can change the price of the course in the Price column.
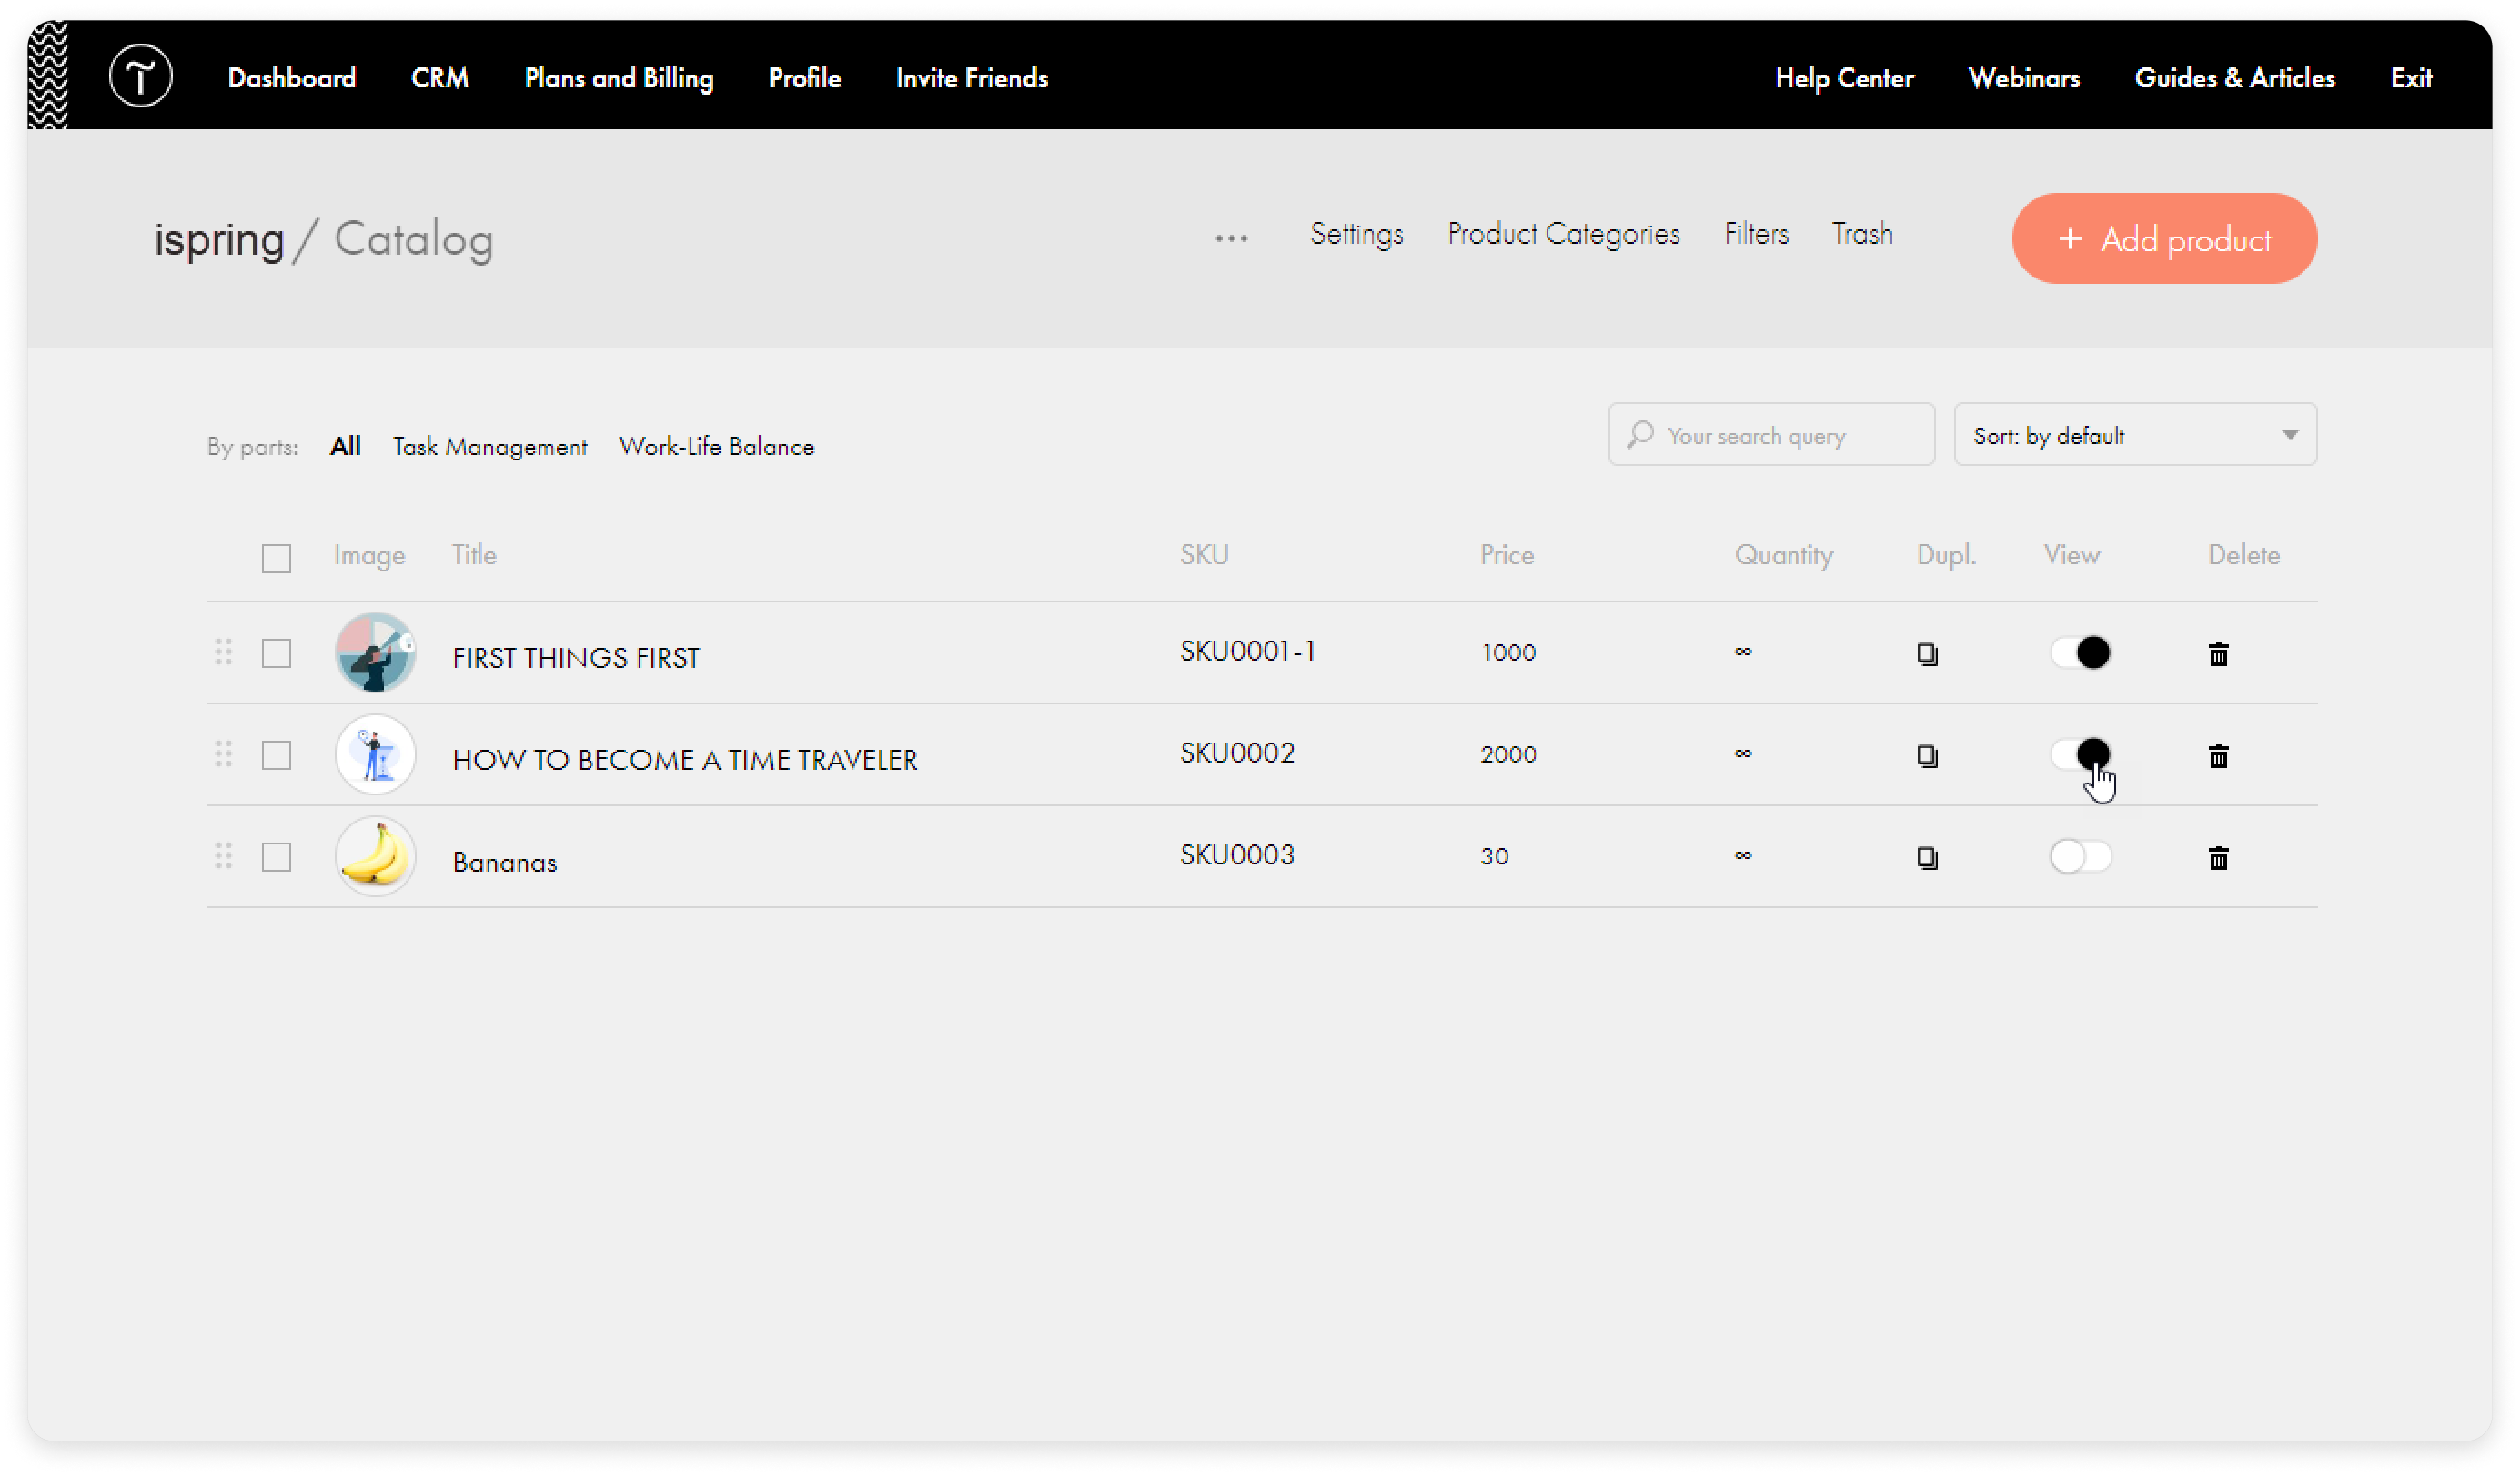
- To make courses visible to customers, drag the slider to the right in the View column.
- Then, return to the page. Select the product block on the page and click Content.
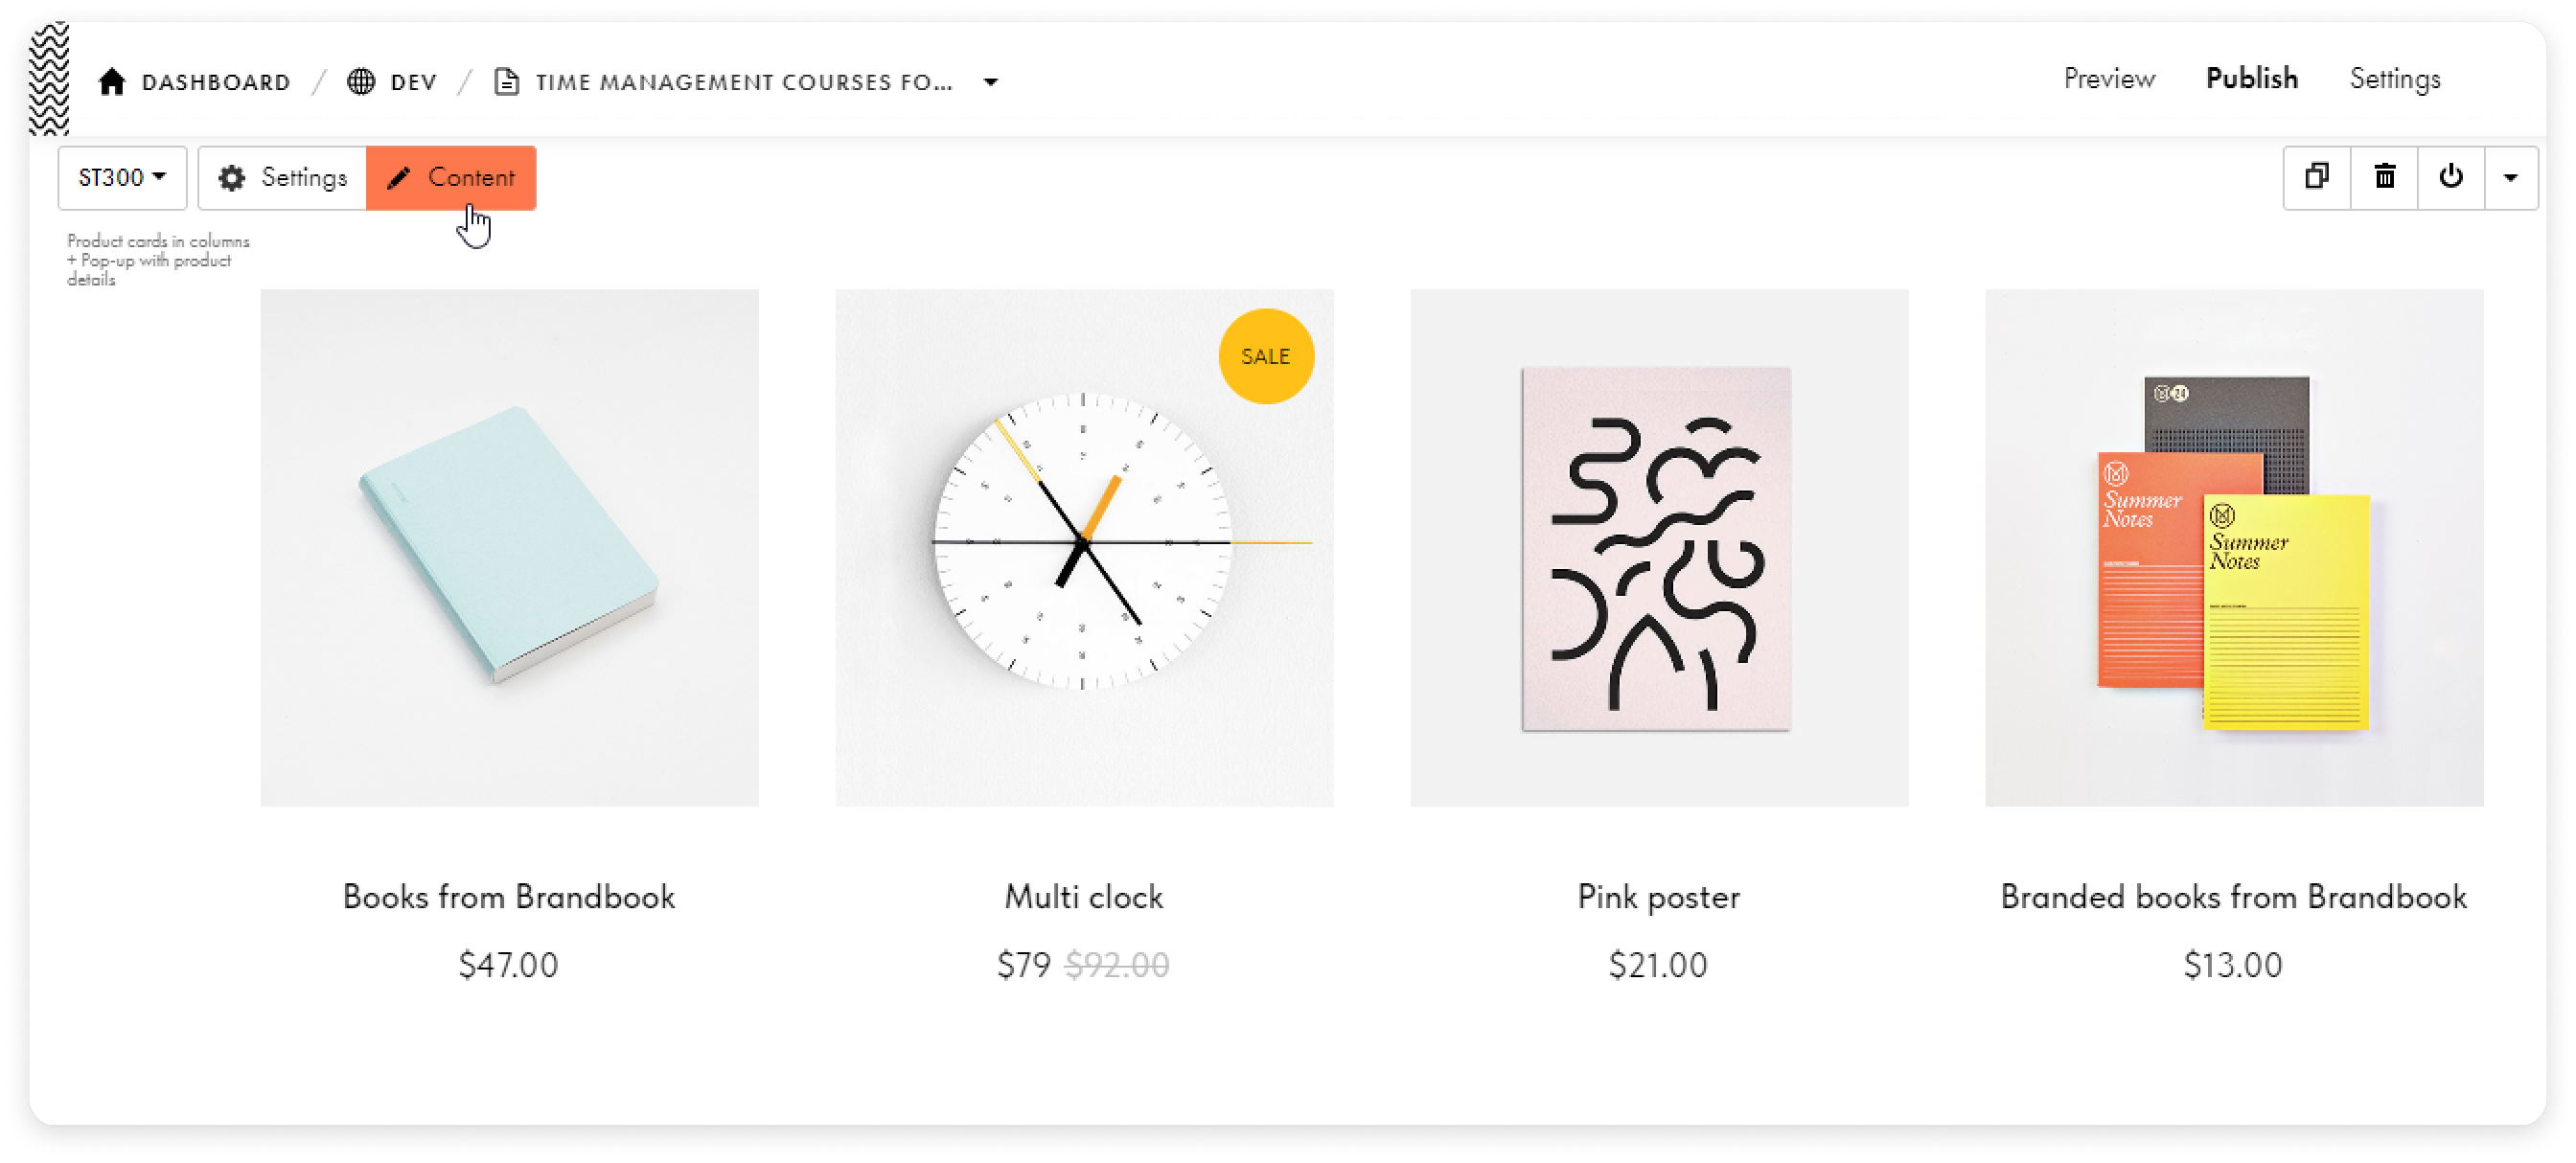
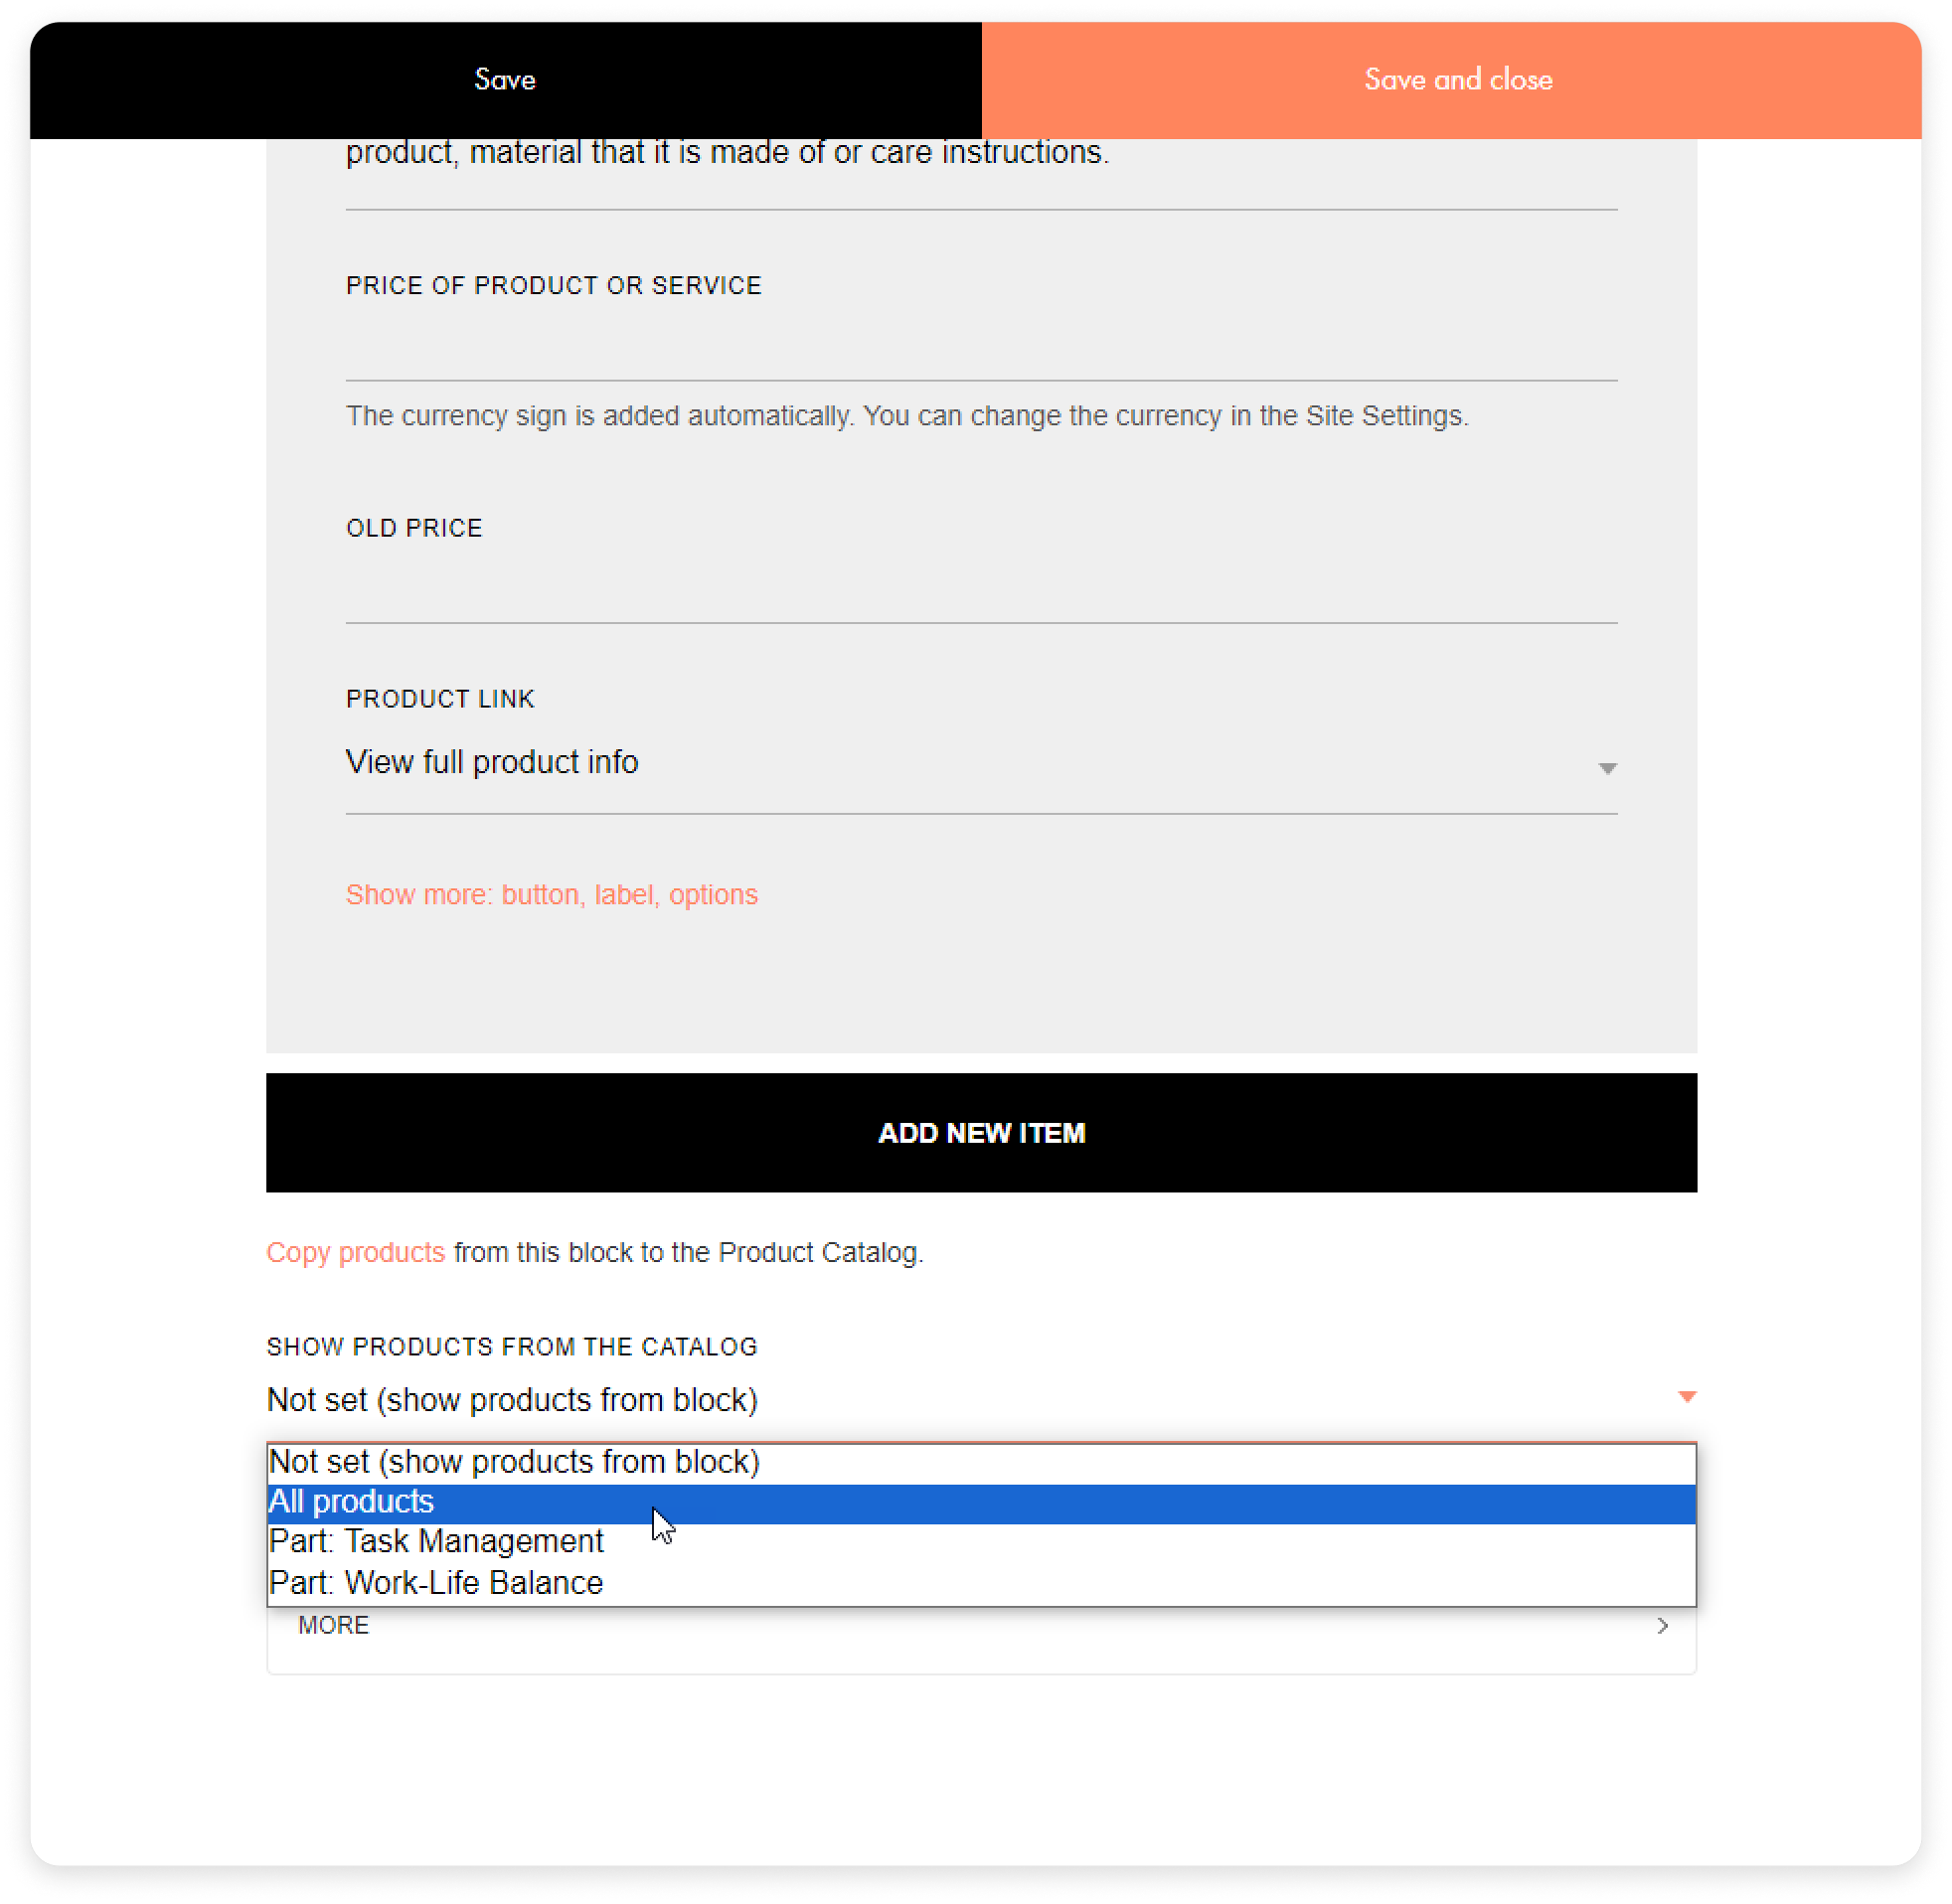
- In the drop-down list Show products from the catalog, select the visibility mode of courses from the catalog: by category or the products that are in the catalog.
Done! Now customers will see the courses and their prices on your page.
Adding products to the block
You can fill the shelf with courses for sale right on the page.
- Go to the Content tab.

- Select Add new item.
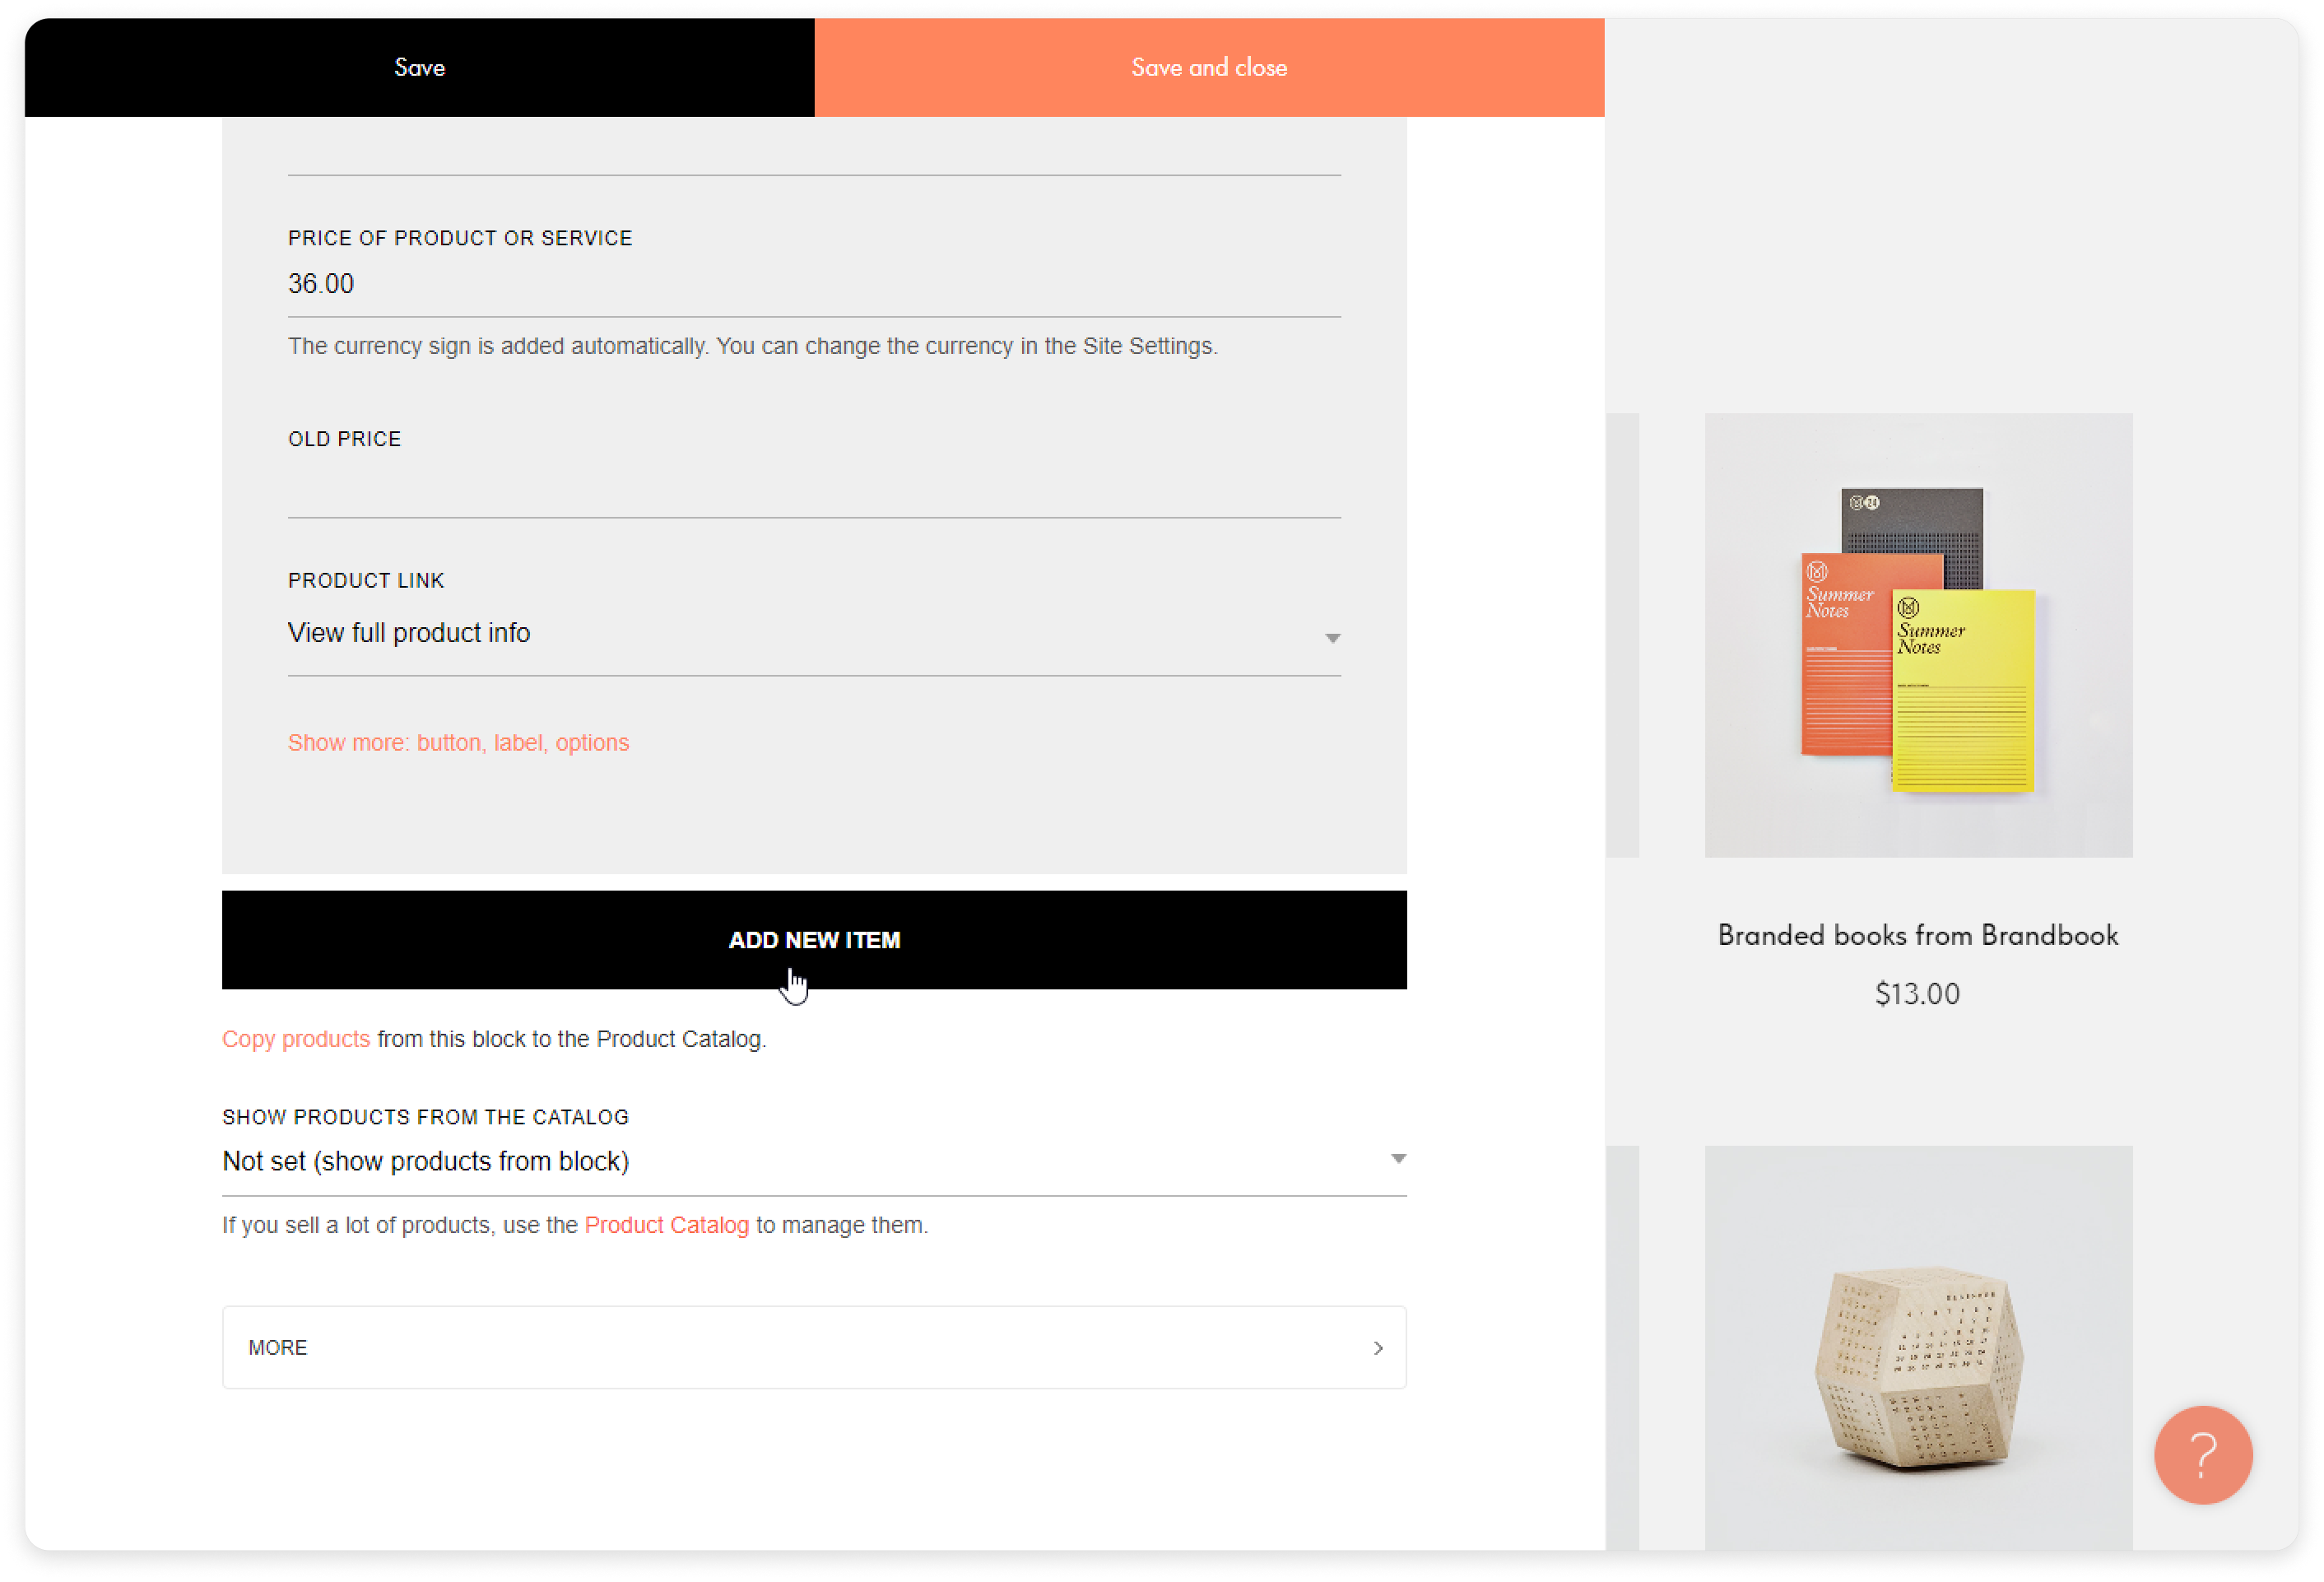
Done! You've added a course card to the block on the page.