, click the Audio button on the Insert tab. Choose one of the options to add the sound - From File or Record Mic.
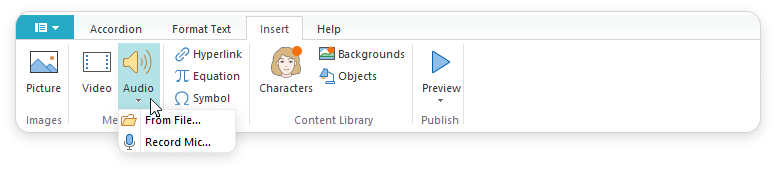
Inserting Audio
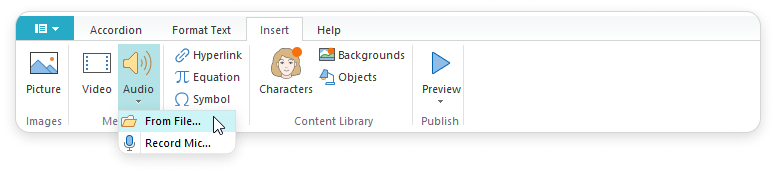
Choose the From File option.
Locate an audio file on your device, select it and click the Open button.
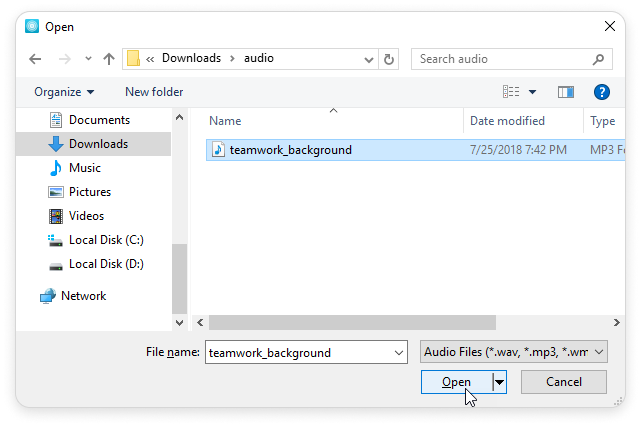
After the audio file is uploaded, a loudspeaker icon will appear on the slide.

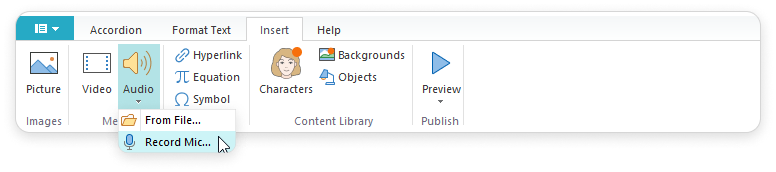
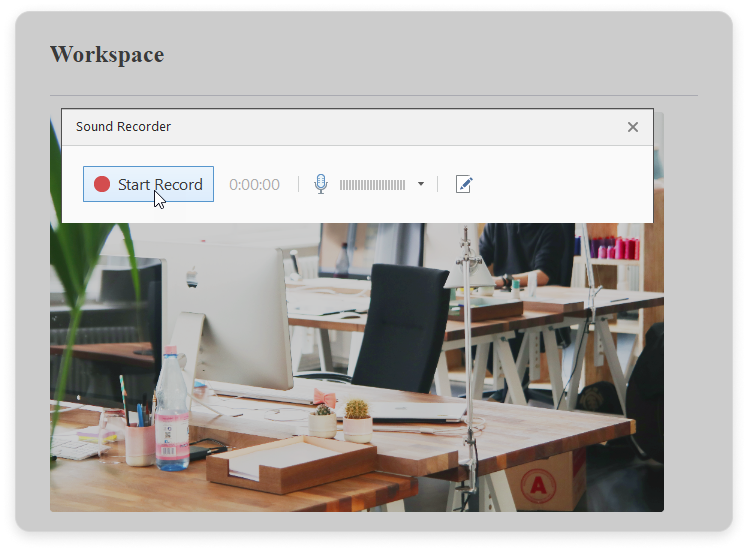
Recording New Audio
Choose the Record Mic option. , use a good mic and set it up in accordance with the iSpring Microphone Setup Wizard.
Click Start Record to start recording.
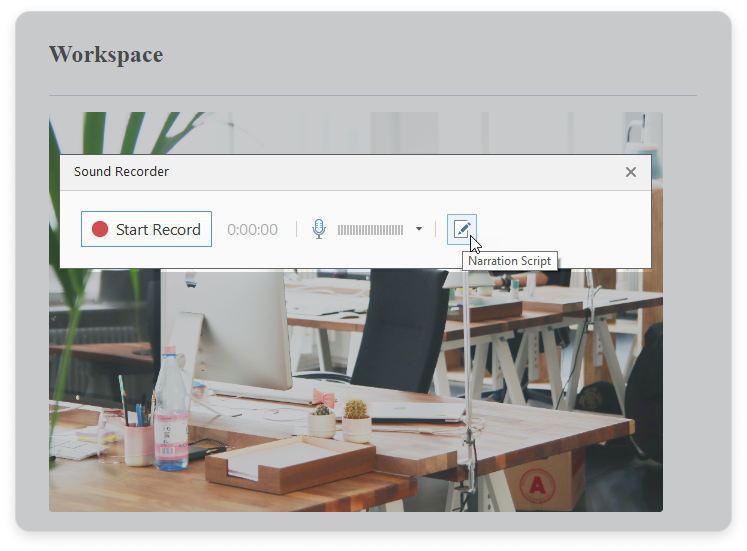
For convenience, you can add the text for recording by clicking on the Narration Script icon.
Click on the Cancel icon to start a new recording and cancel the current one.

Click Done to save and insert the audio. 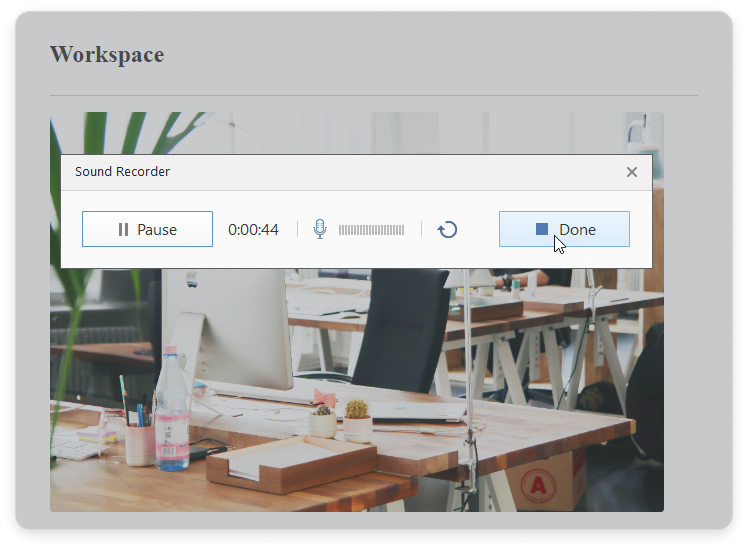
After the audio is recorded and uploaded, a loudspeaker icon will appear on the slide.