If you noticed that there’s some background noise in your clip:
Select the pure noise part on the timeline.
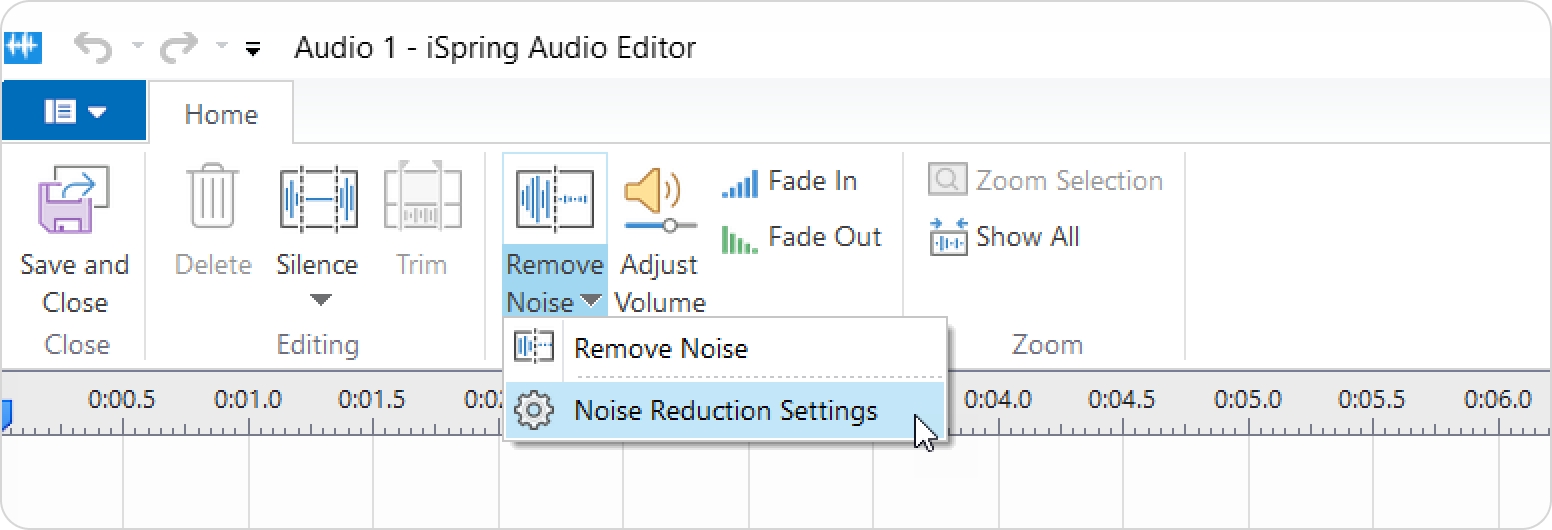
Click Remove Noise on the toolbar and select Remove Noise once again.
That noise will be removed from the entire clip based on the sample that you selected. You need to select at least one second of noise to remove it from your clip.
Noise Reduction Settings
Proceed to adjust noise removal settings in your voice over.
Click Remove Noise on the toolbar and select Noise Reduction Settings.
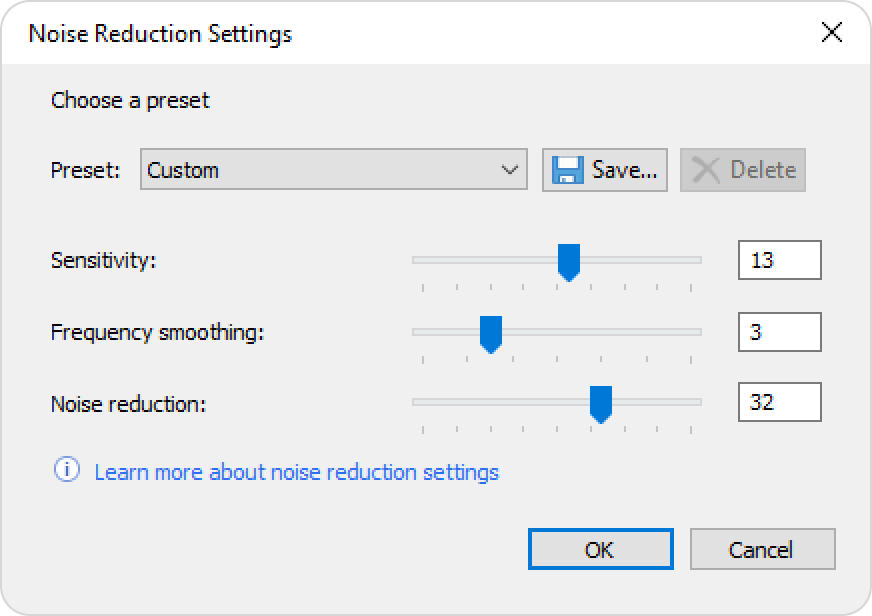
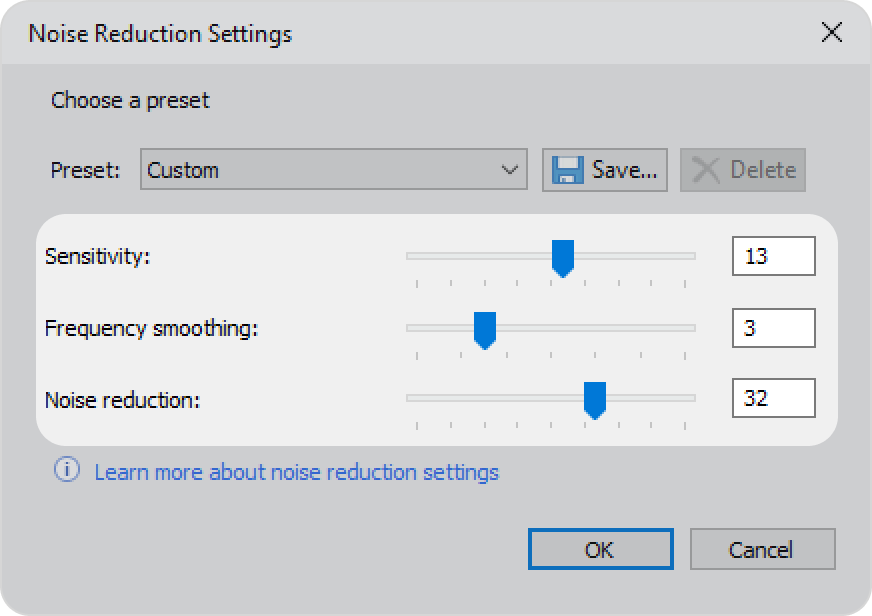
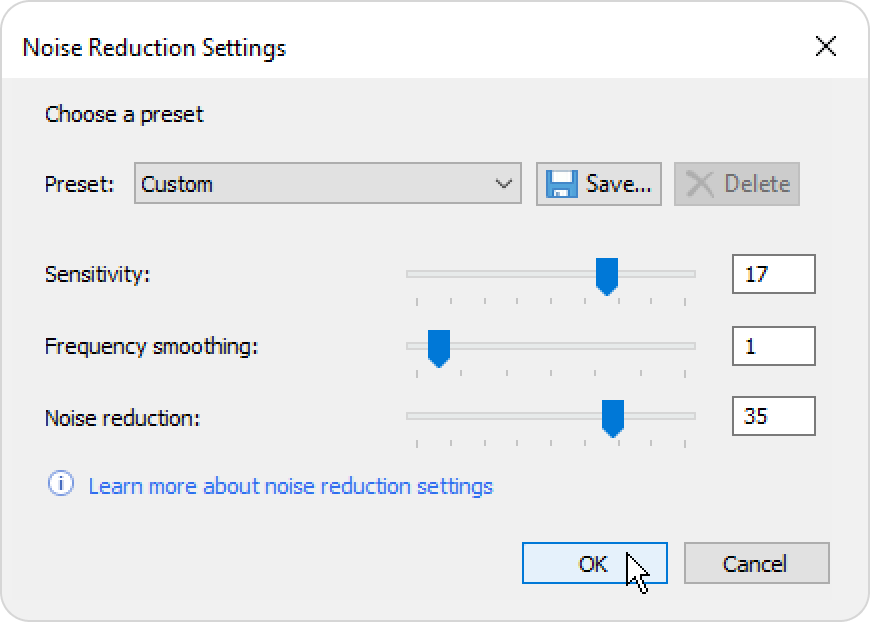
The Noise Reduction Settings window will pop up.
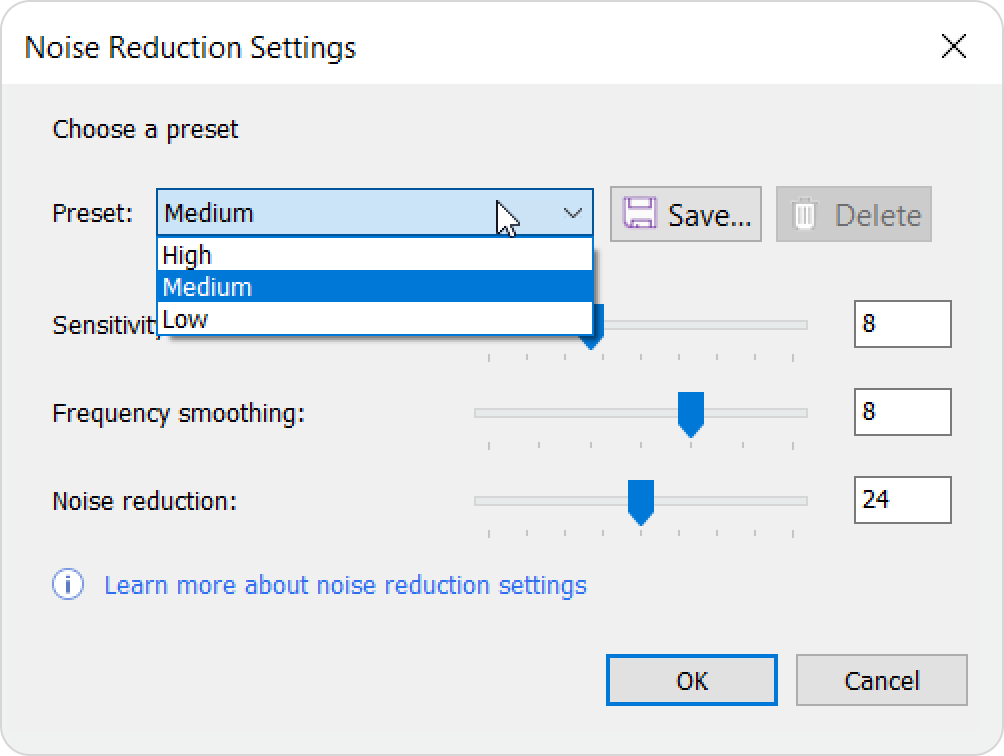
There are three pre-set noise reduction profiles available: high, medium, and low.
You can either select one of them or add a profile of your own. There are three parameters to be adjusted:
• Sensitivity • Frequency smoothing • Noise reduction
To save your settings, click OK. Now, these settings will be applied to all future voice overs in your role-plays.
How to customize audio recording settings in advance
You can set automatic noise removal prior to recording.
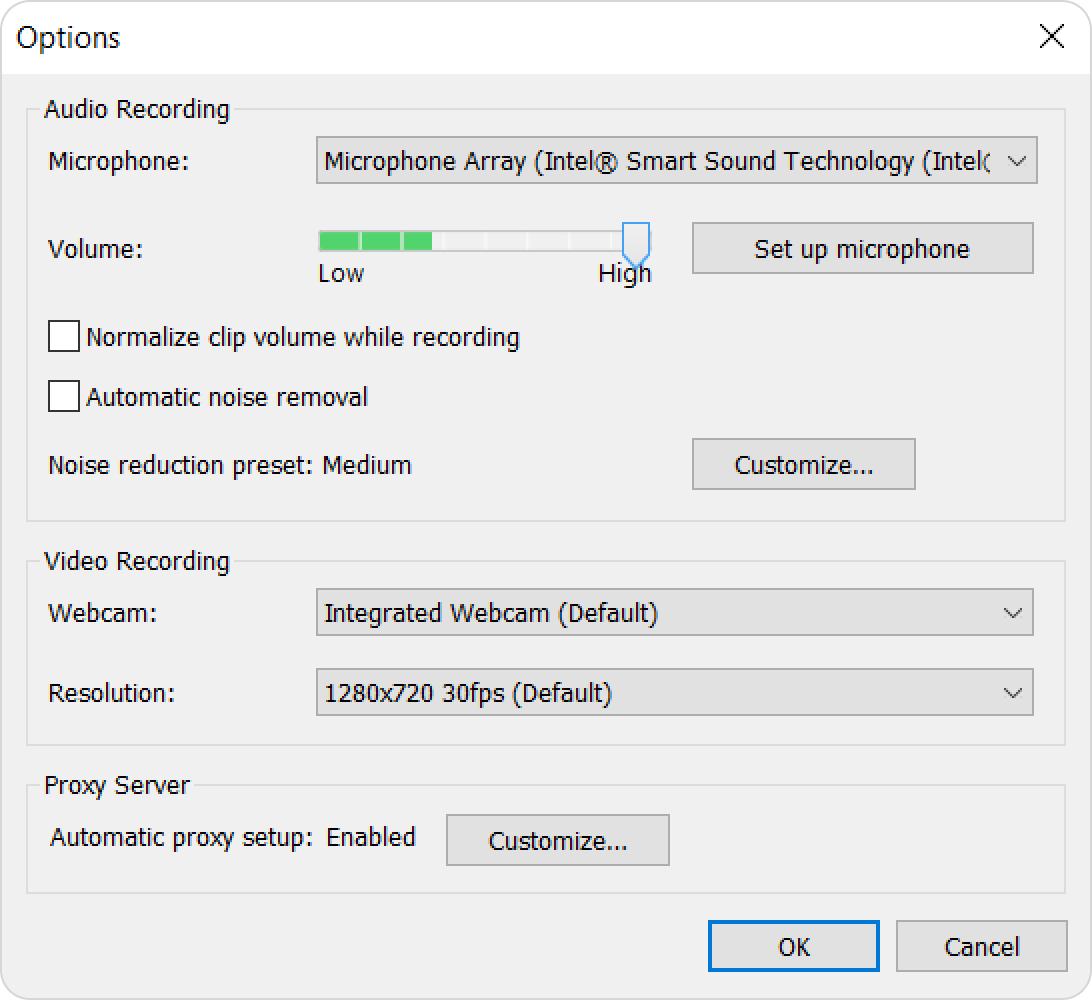
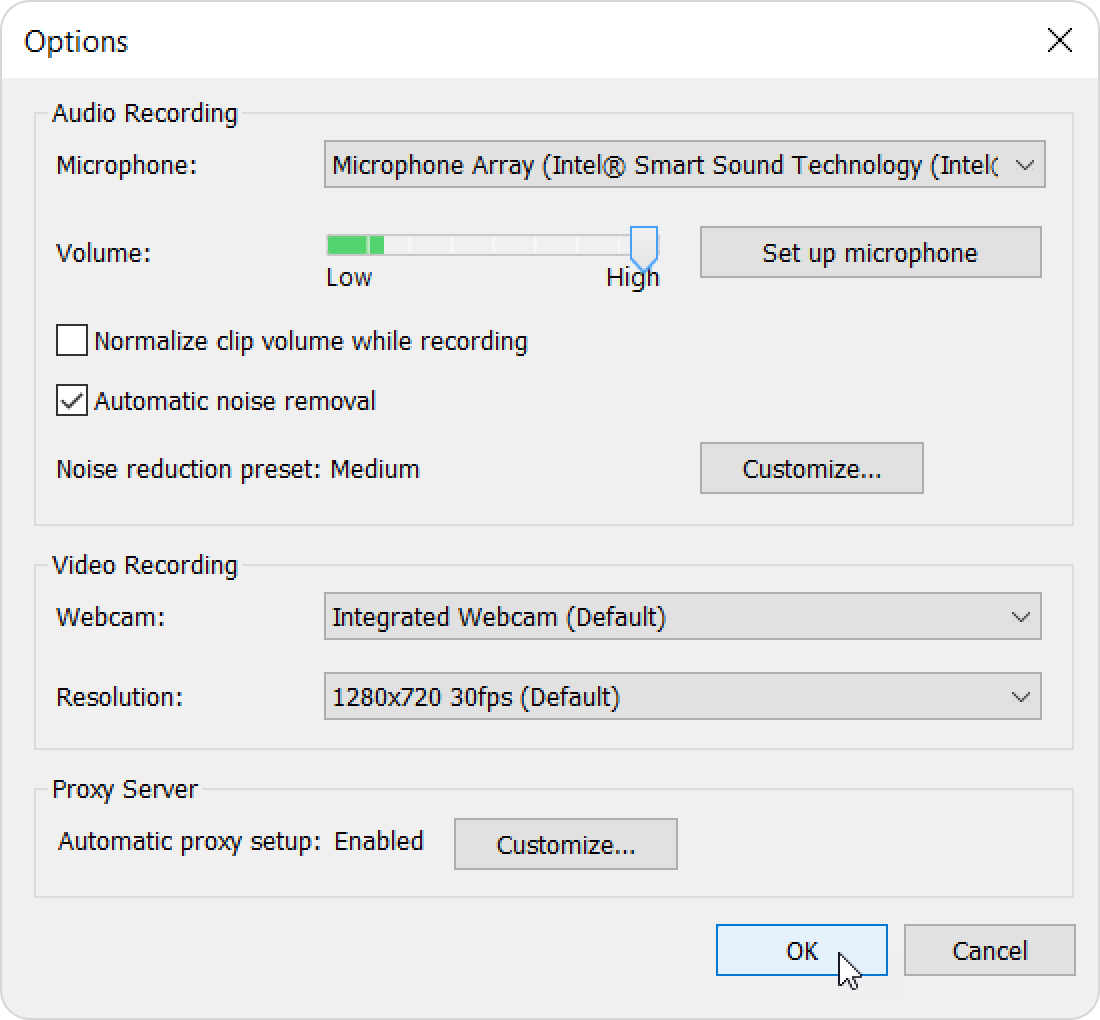
Open your course in PowerPoint. Then go to the iSpring tab on the ribbon and click Options.
The Options window will open. There, you can customize audio and video recording settings.
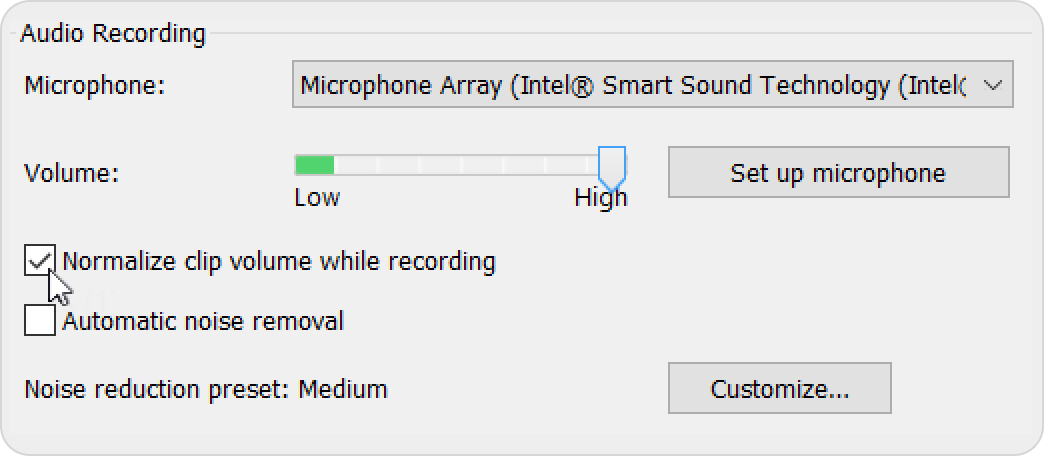
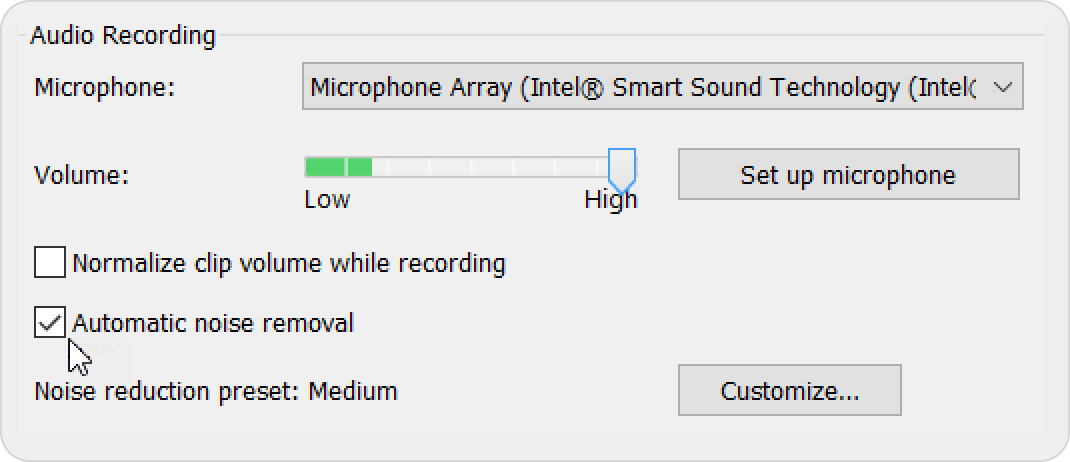
To normalize sound volume in future recordings, click the Normalize clip volume while recording checkbox. If the volume level in your recordings usually seems fine, you can leave the option disabled.
If you want to remove noise automatically while recording, click the Automatic noise removal checkbox.
Click OK to save the settings. Now, they will be applied automatically to all audio recordings in your iSpring courses.