In addition to the images inserted in Form View mode, which accompany the questions and answers, you can add any number of images to slides in Slide View mode. Also, you can add, replace, move and resize the inserted objects.
Moreover, iSpring Suite users can insert characters, backgrounds, and objects from the iSpring Content Library, which contains thousands of assets for eLearning.

Note:
Images inserted in Slide View mode will only be shown when viewing quizzes on computers and tablets. Mobile devices will only show images inserted in Form View mode within the simplified mobile version of the quiz player.
Adding Images
To add an image to a question slide:
- Click on Picture on the ribbon.

- Choose an image file.
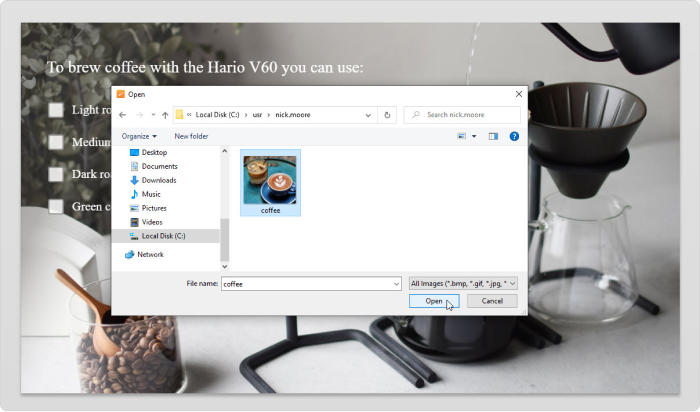
- Click Open.
The selected image will appear on the slide. Now, you can drag it to its place or resize it if necessary.
Adding Characters
Characters are available in iSpring Suite's built-in iSpring QuizMaker only. Standalone iSpring QuizMaker doesn’t include characters package.
To add a character to a question slide:
- Click on Characters on the ribbon.

- Choose a character from the list.
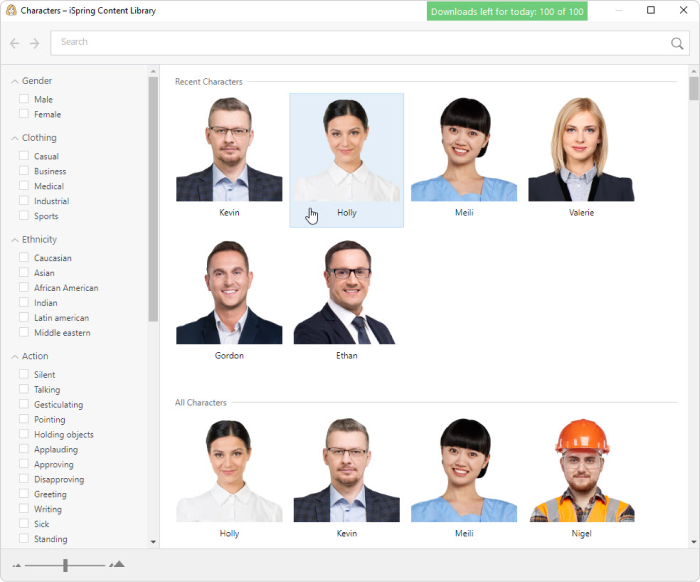
- Choose the desired pose.
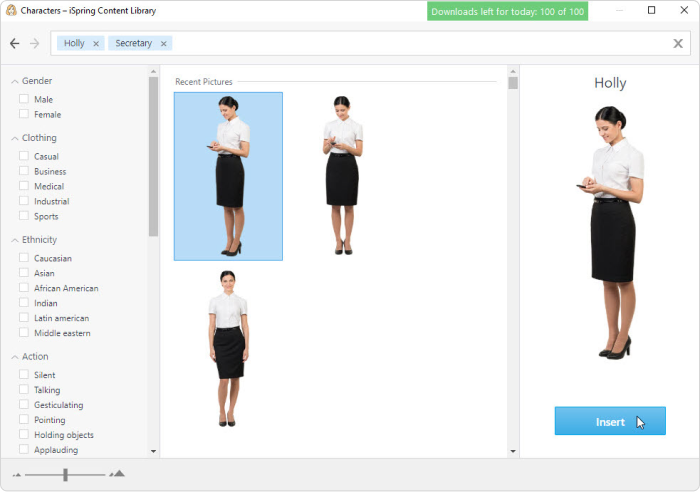
- Click the Insert button.
Adding Backgrounds
Backgrounds are available in iSpring Suite's built-in iSpring QuizMaker only. Standalone iSpring QuizMaker doesn’t include the background library.
To add a background to a question slide:
- Click on Backgrounds on the ribbon.

- Choose a background from the list.
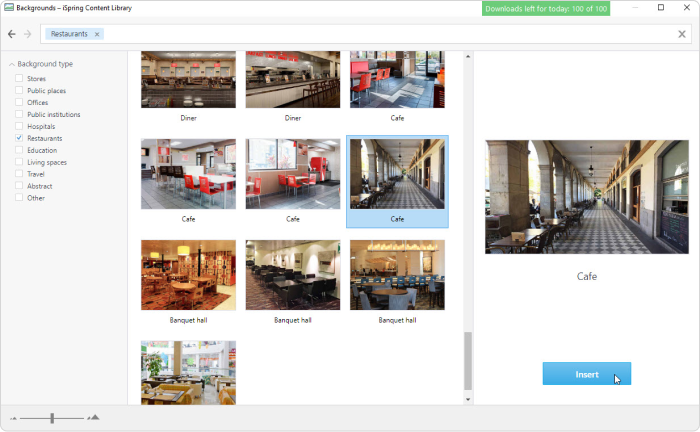
- Click the Insert button.
Adding Objects
Objects are available in iSpring Suite's built-in iSpring QuizMaker only. Standalone iSpring QuizMaker doesn’t include the object library.
To add an object to a question slide:
- Click on Objects on the ribbon.

- Choose an object from the list.
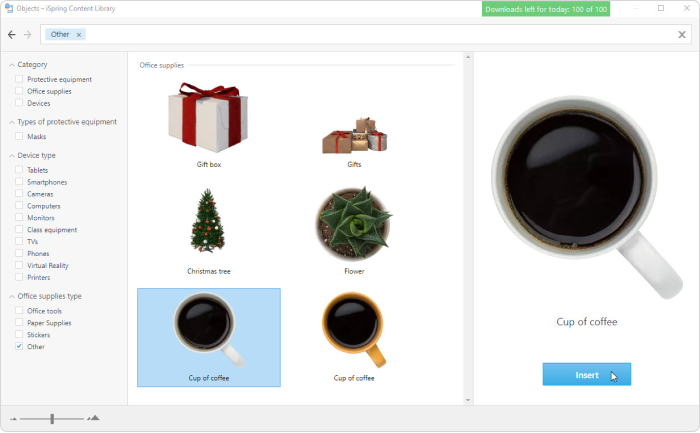
- Click the Insert button.
Deleting Images
To delete an image, character, background or object:
- Click an object on the slide to select it.
To select several items, click them while holding down the Shift or Ctrl button or select the area with the objects.
- Press Delete on your keyboard.
or
Right-click the selected items and choose Delete in the menu.