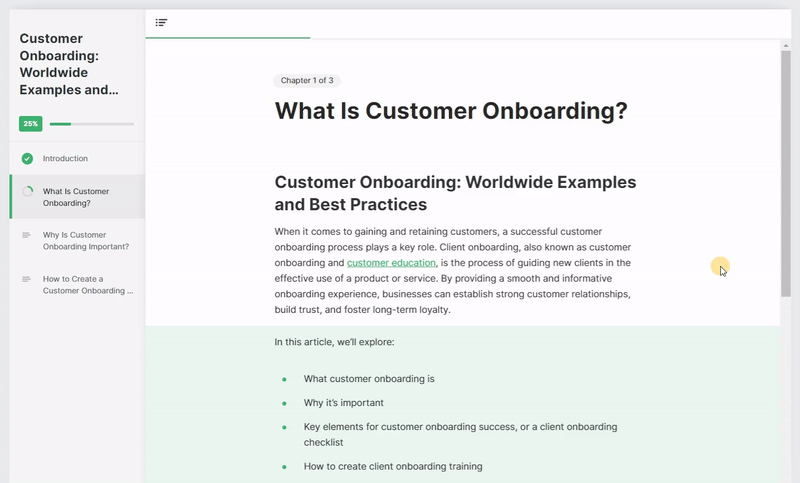
When there’s a lot of information, you can divide content into sections using the "Continue" button. The text after the button is hidden until the learner clicks on it.
This allows learners to pause and process information before moving on, making long-form content more interactive.
You can also set up the button so that learners cannot continue until they have completed or passed the quiz. This ensures that they don’t skip the quiz and can check their knowledge before moving on.
How to add a "Continue" button
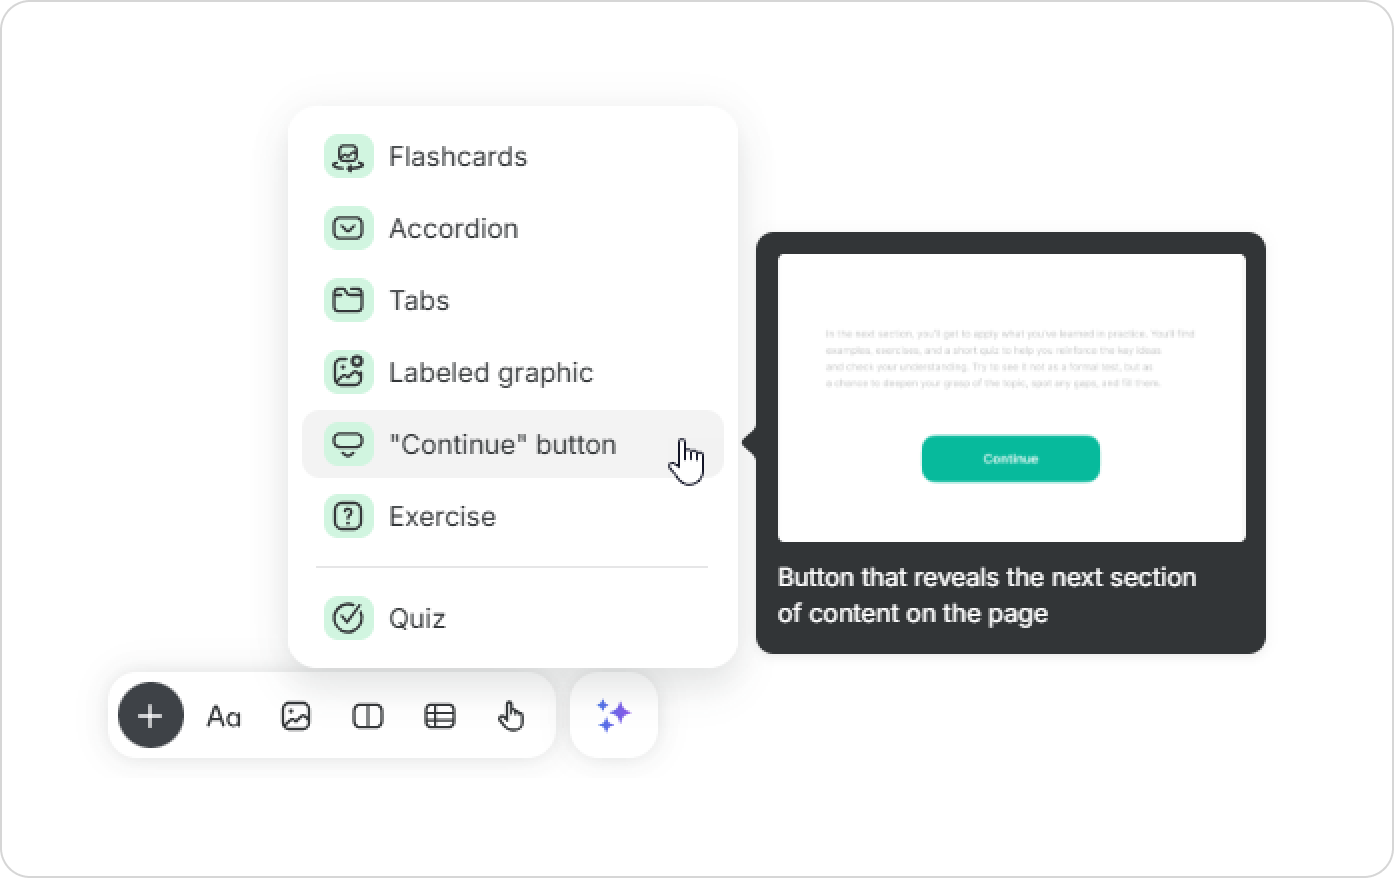
In the toolbar, go to Interactions and select the "Continue" button.
The button will appear on the page. To change its text, click on the button and enter a new word or phrase, such as "Next," "Tell me more!," or another encouraging label.
Set up the "Continue" button
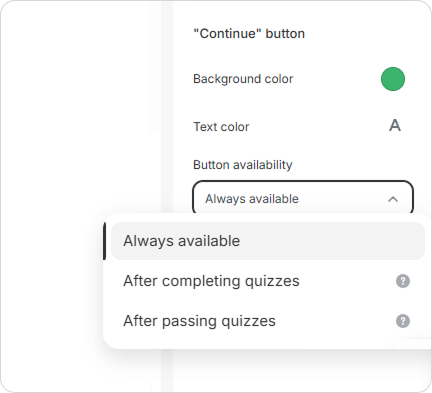
Hover over the button and click on ⋮⋮ > Settings to open the sidebar.
There, you can:
Change the button’s background color
Change the color of the text
Set when the button becomes available
For example, you can make the button appear only after the learner completes all quizzes above the button.
Nice! Now it's easier for learners to navigate and understand content.
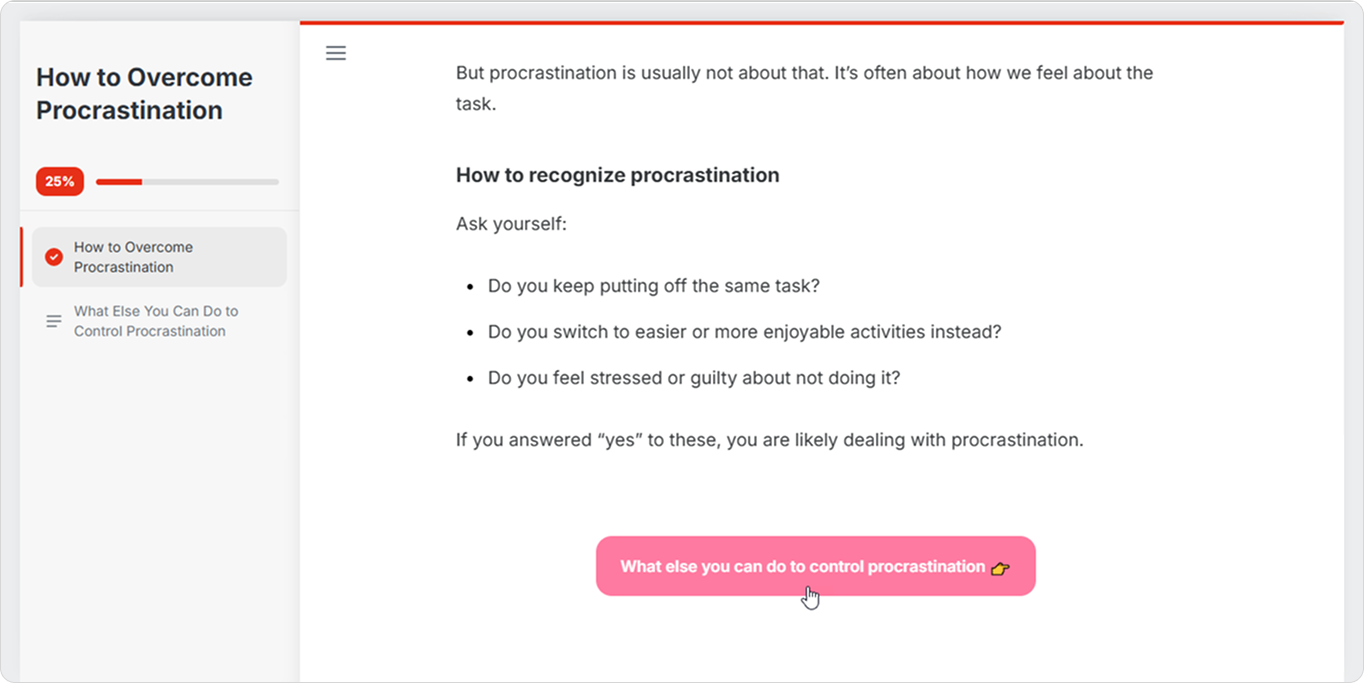
A “Continue” button can be placed at the end of a chapter. Here, it replaces the default navigation button and lets you set your own text.
The default “Continue” button (added automatically):
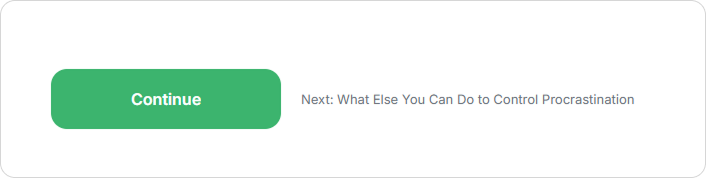
The “Continue” button with custom text (added manually):