Use tabs to neatly organize content inside a page. This helps learners find what they need quickly, without scrolling through long blocks of text.
How to Add Tabs
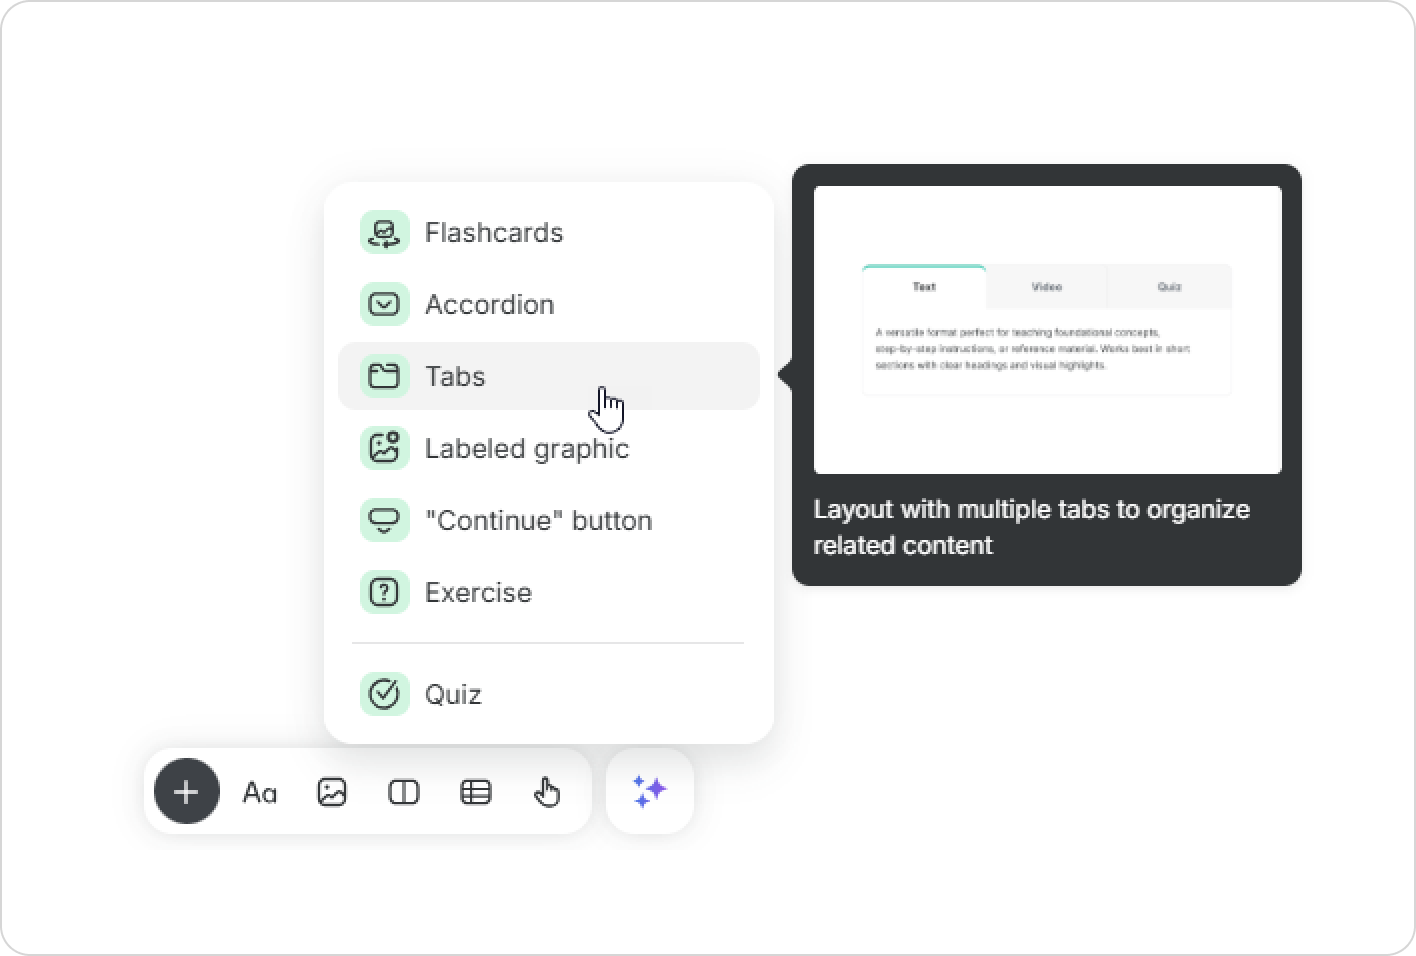
- In the toolbar, navigate to Media and select Tabs.
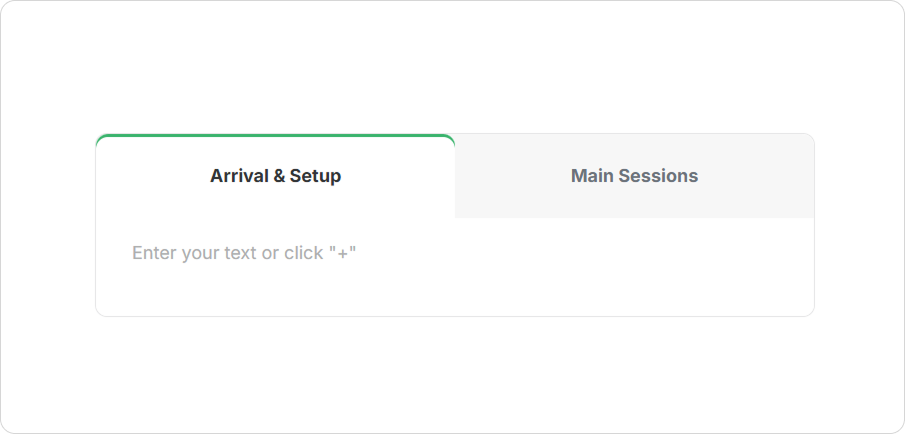
- Edit the tab titles. Remove the default text and enter your own.
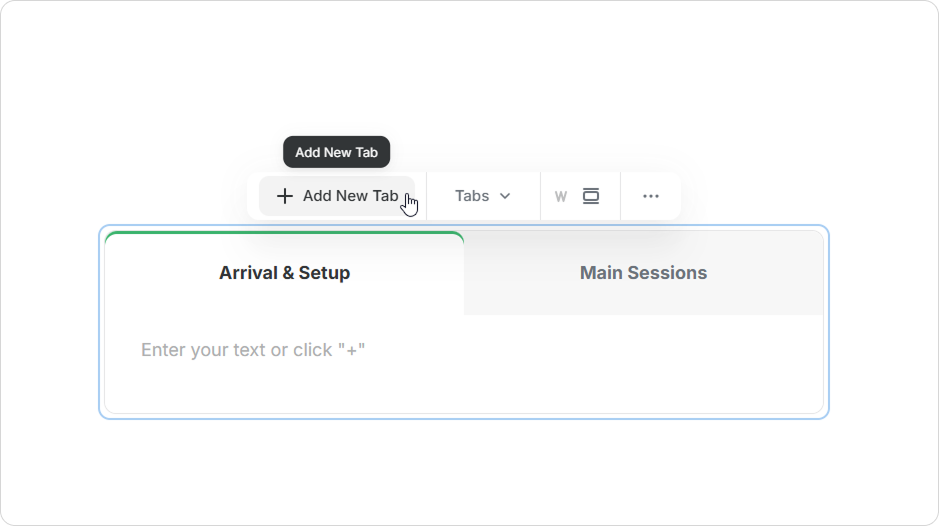
- To add more tabs, click anywhere inside the tab area to open the toolbar. Then click on Add New Tab.
- Add content for each tab.
How to Manage Tabs
You can delete, duplicate, or reorder tabs (move left or right).
- Hover over a tab and click the three dots above it to open the actions menu.
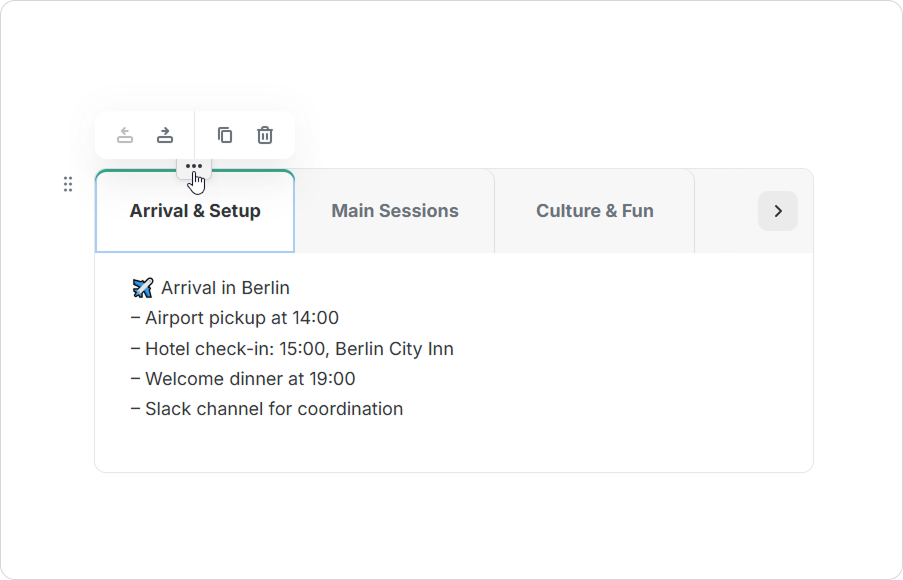
- Select the action you need.
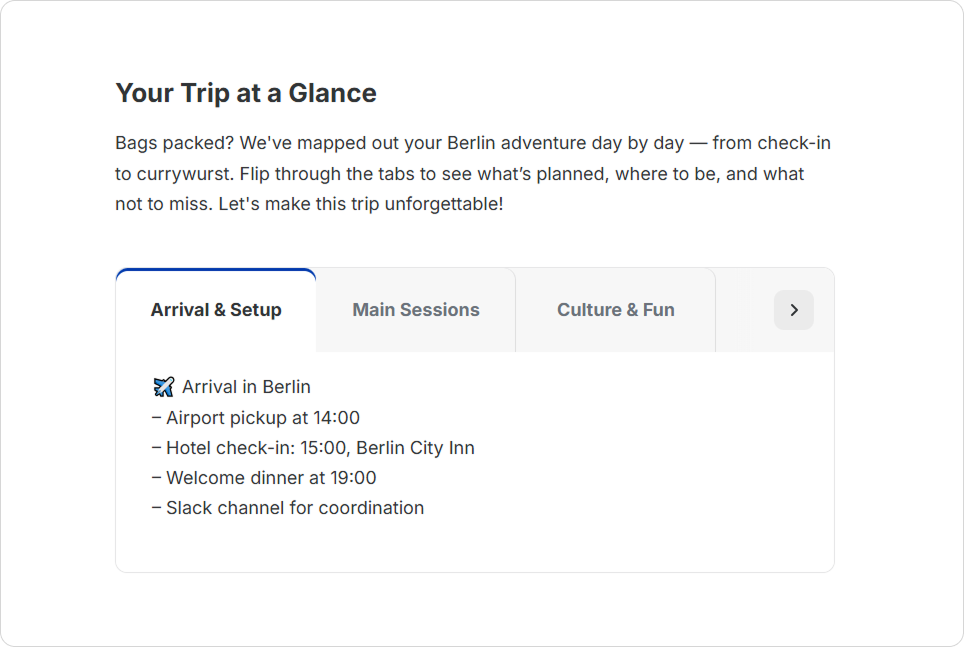
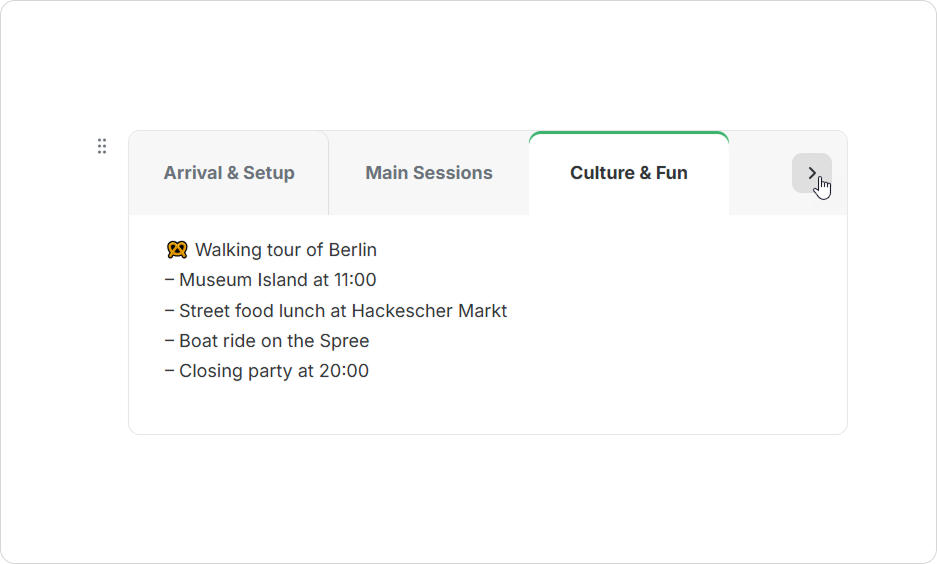
If there are more than three tabs, use the arrow buttons to scroll through them.
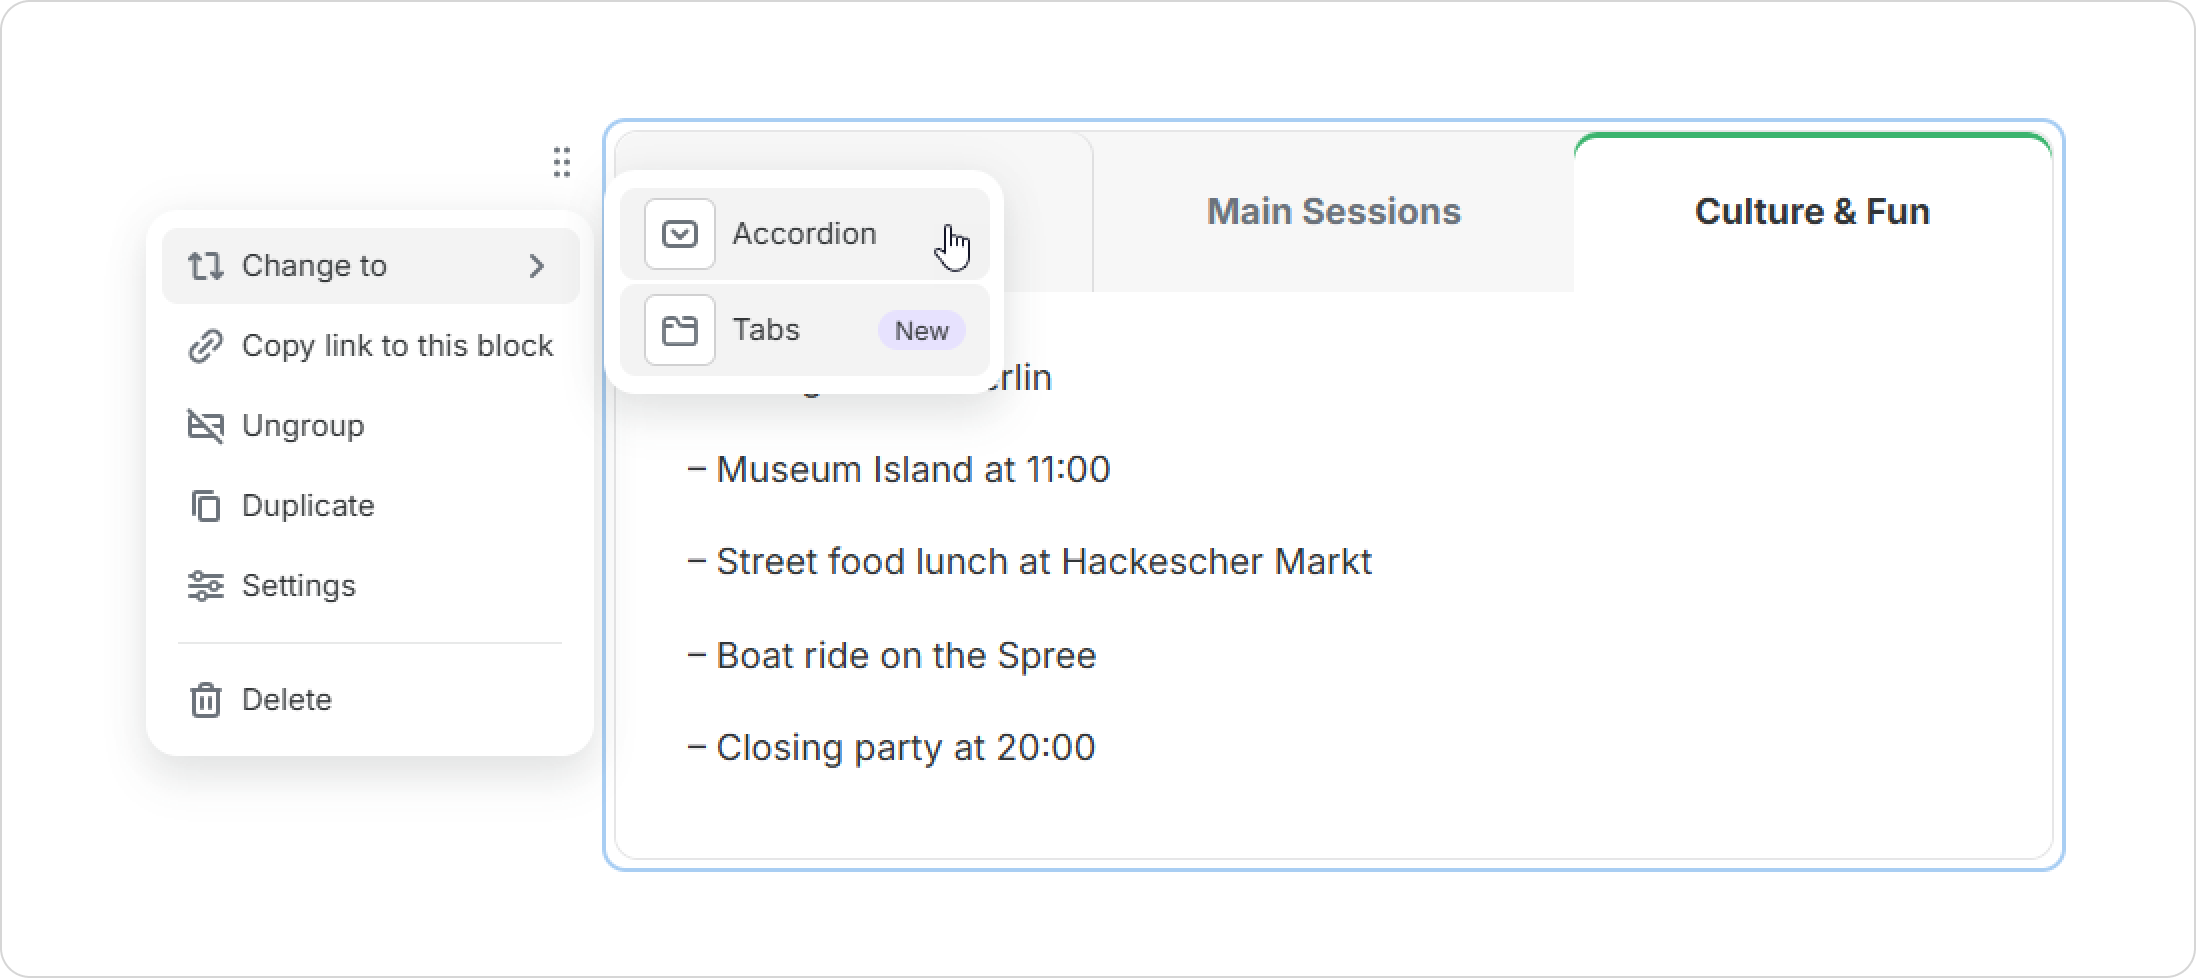
You can change the tab layout to an accordion. To do this, click the six-dot menu and select Change type > Accordion.
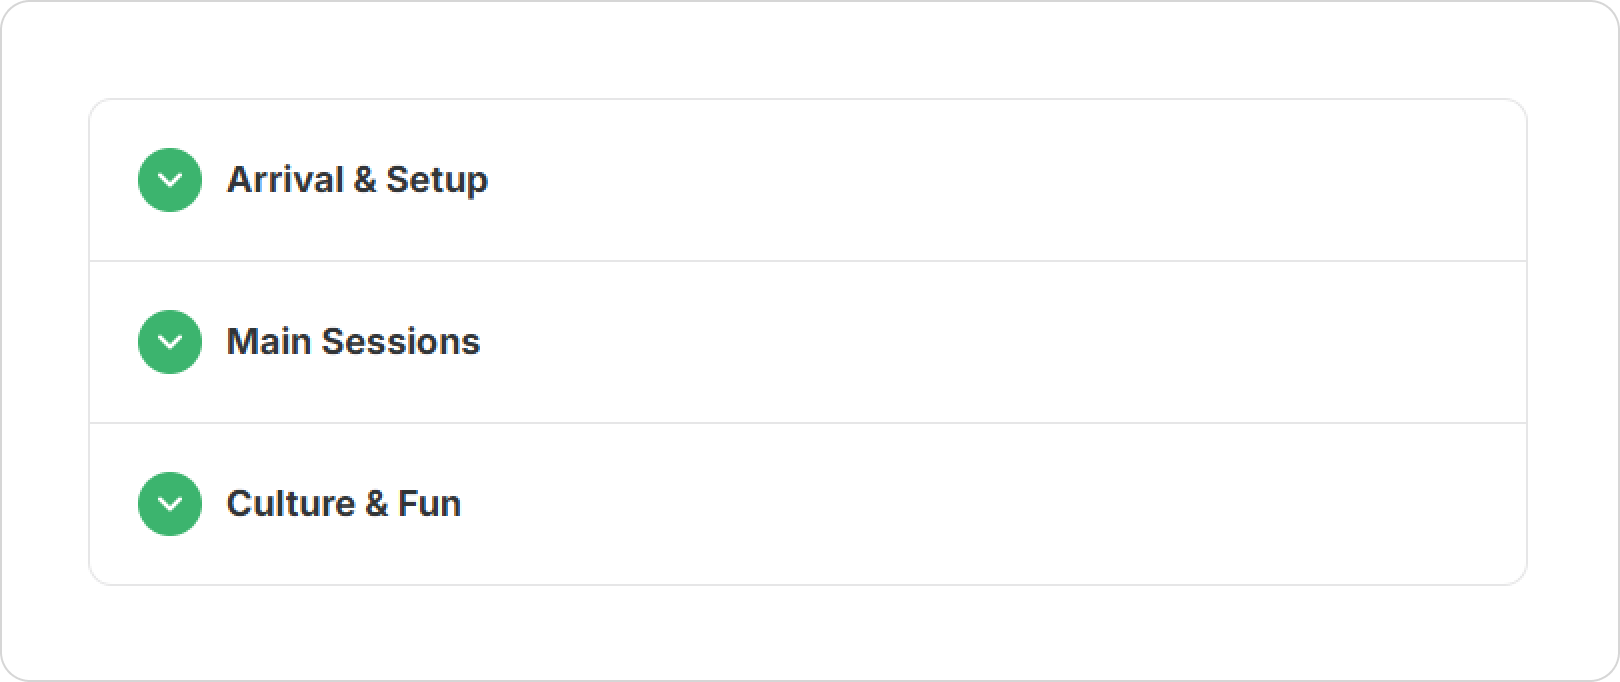
The tabs will automatically change to an accordion layout.
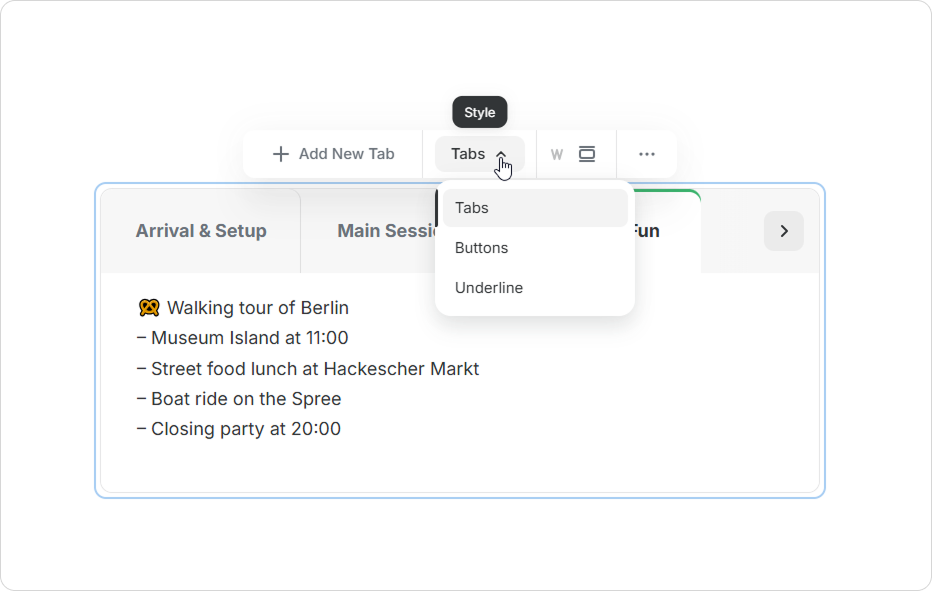
How to Customize Tabs
You can change the tab style, accent color, text color and tab background color.
Click the dropdown arrow in the top toolbar and choose a style: Tabs, Buttons, or Underline.
You can also adjust the appearance in the Settings panel:
- Click the three-dot menu in the top toolbar or open the six-dot menu > Settings.
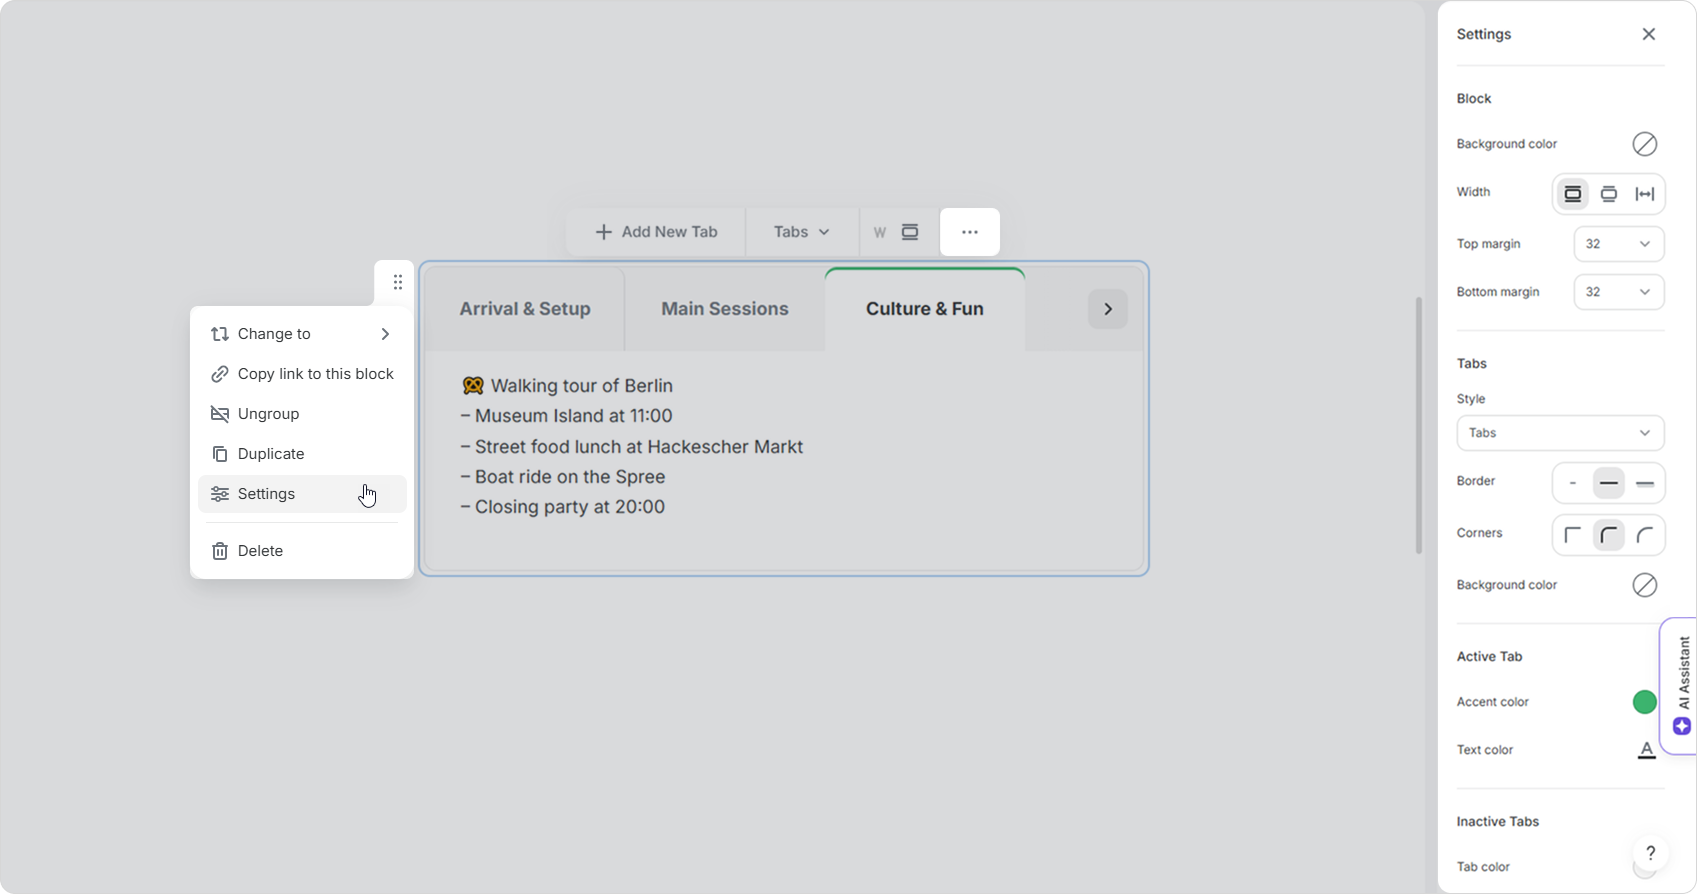
- On the sidebar, customize the border and corner styles. You can also change the background color.
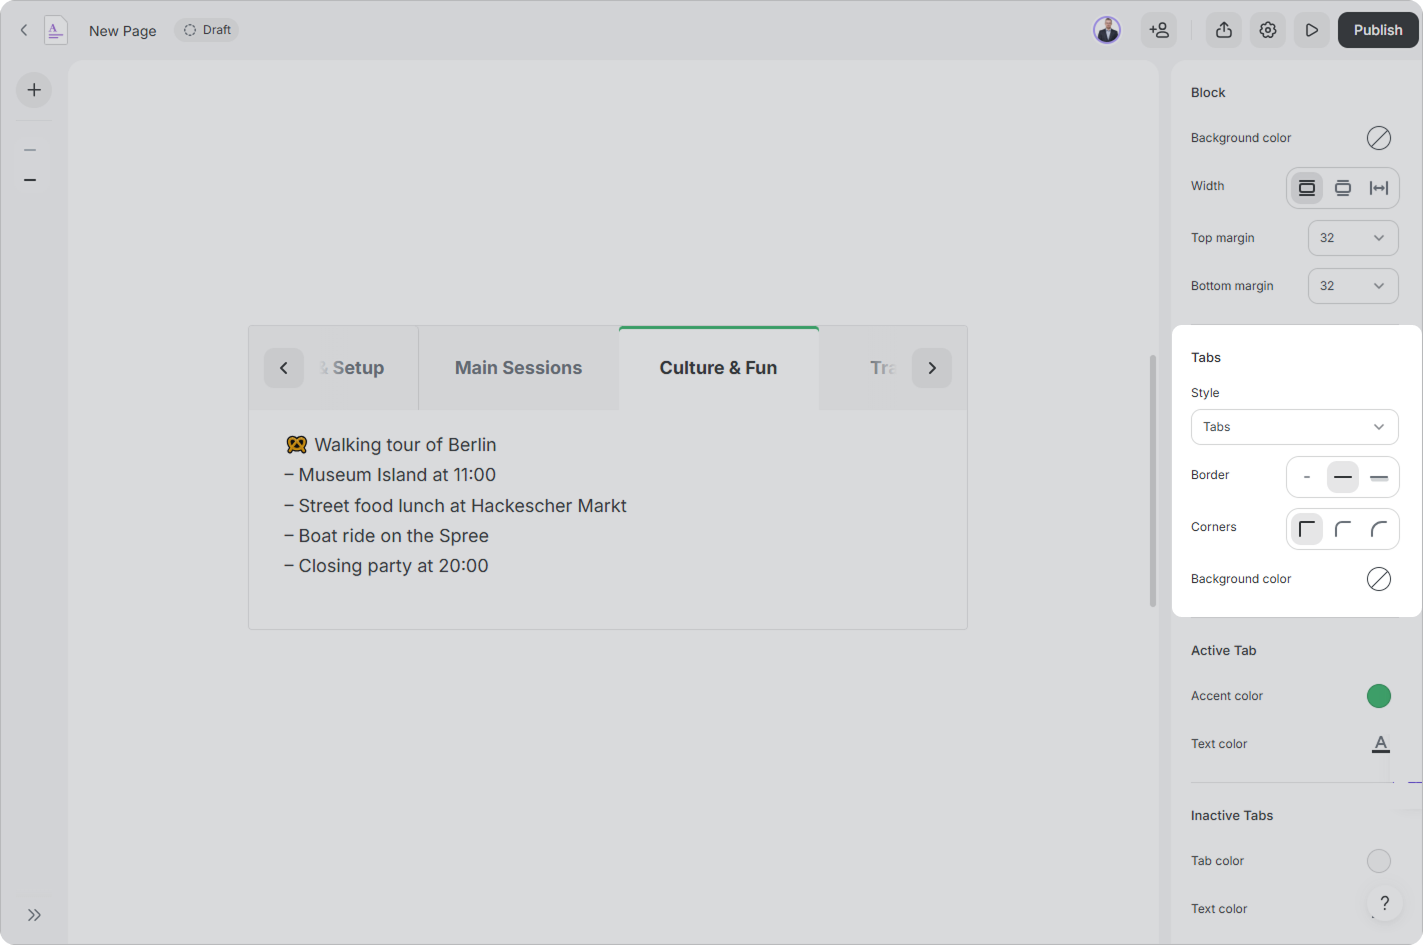
- Set the accent color, text color, and tab color for active and inactive tabs.

Done!