Move your table wherever you need. To do this, hover over the dots on the left and drag and drop it to any place in your article.
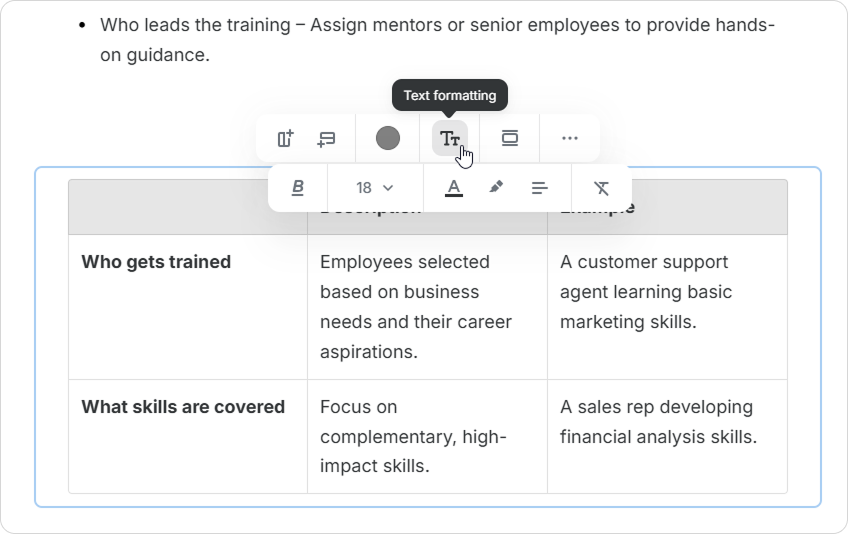
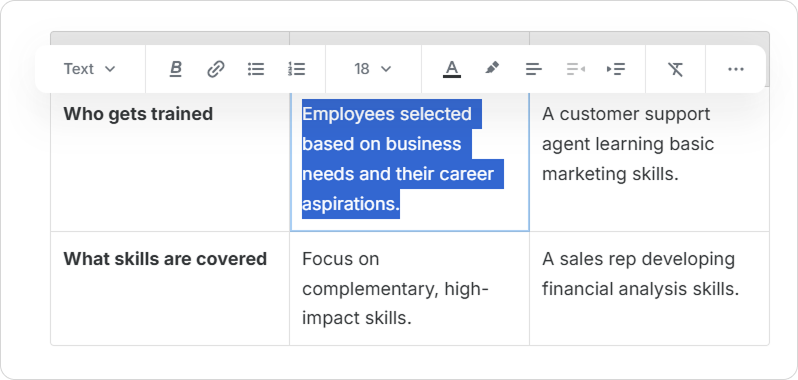
Use editing tools to work with the texts in your tables: you can change the font's size, color, and style. Add links.
How to Edit Columns and Rows
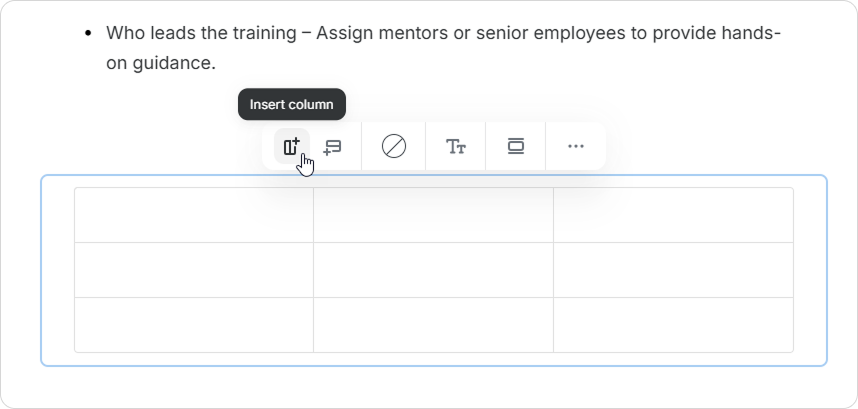
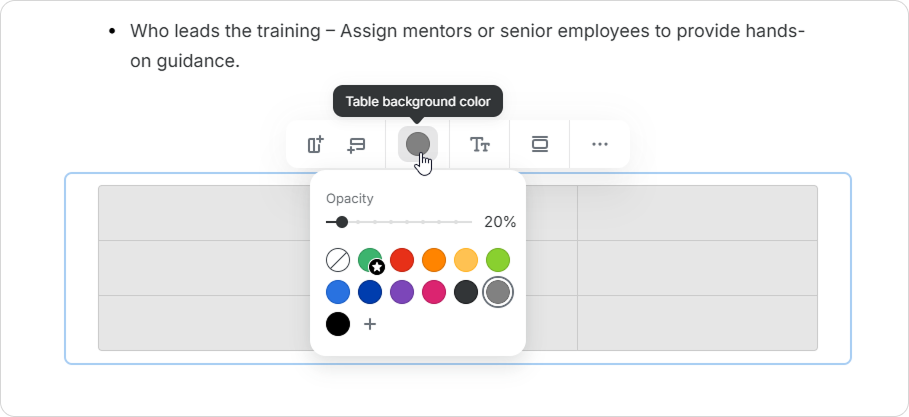
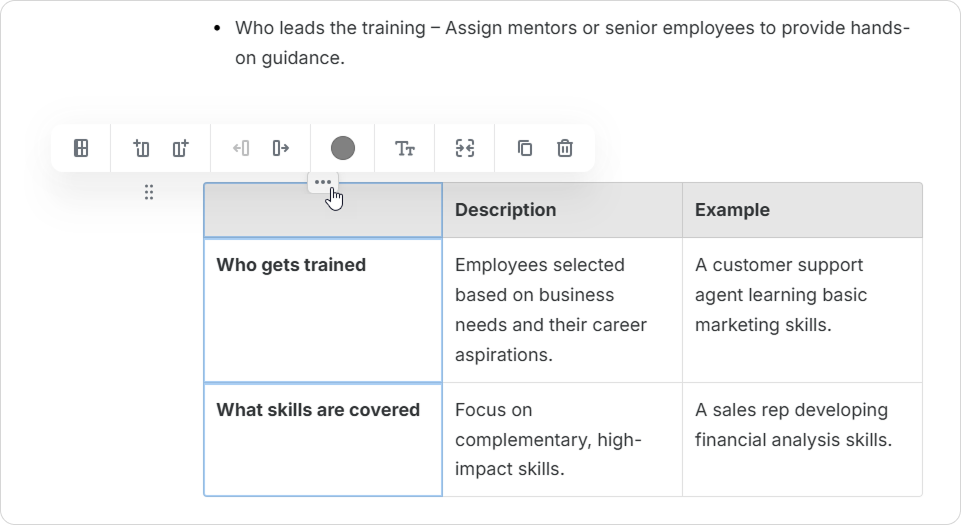
Click the three dots at the top of a column or to the left of a row to edit it. From the menu, you can add or move columns and rows, adjust fill color and text formatting, duplicate, or delete them.
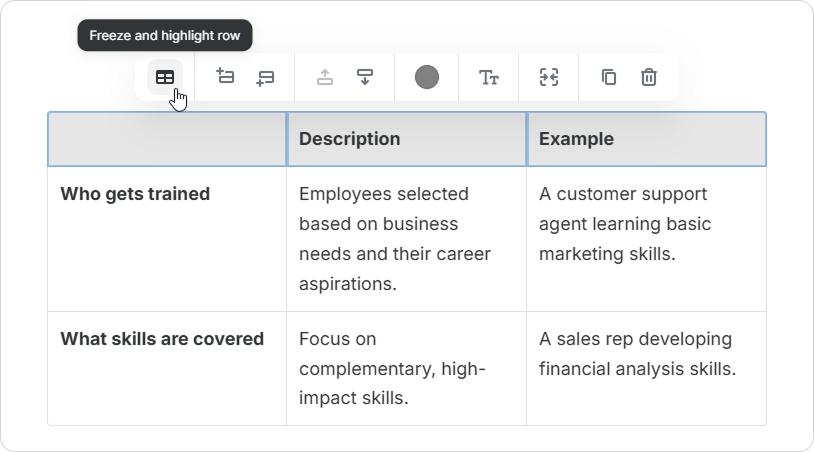
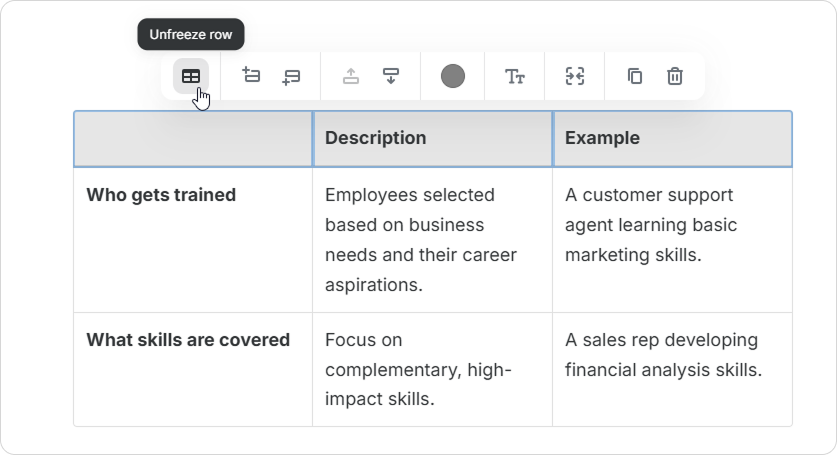
Select the first row and click on Freeze and highlight row to freeze it. You can also unfreeze the row, as seen here.
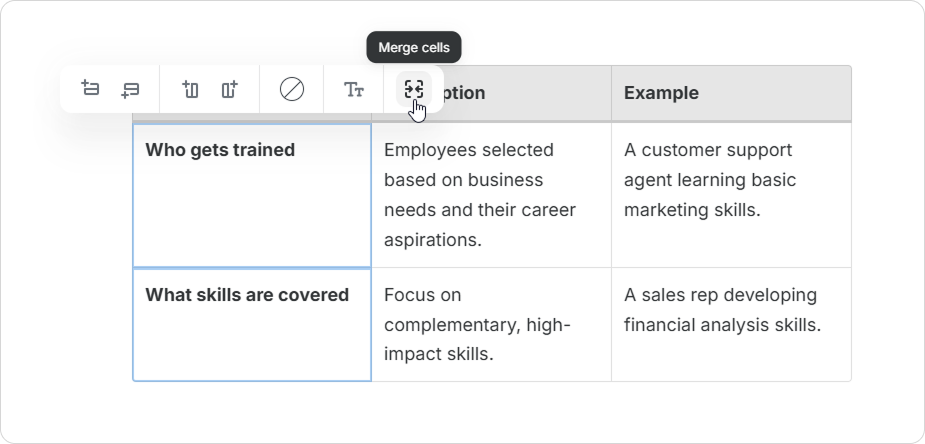
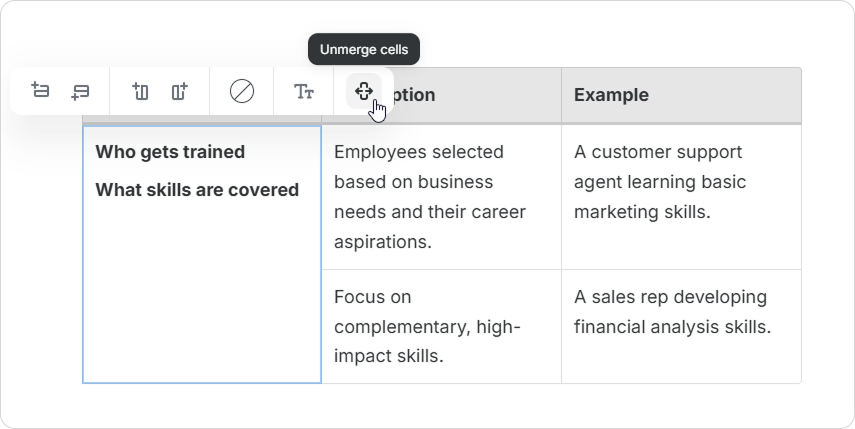
You can select the cells and click on Merge Cells. Unmerge cells in the same way.
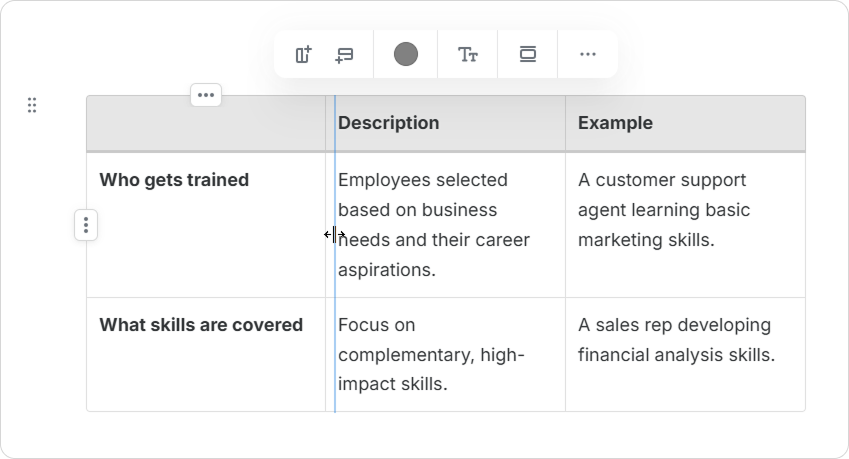
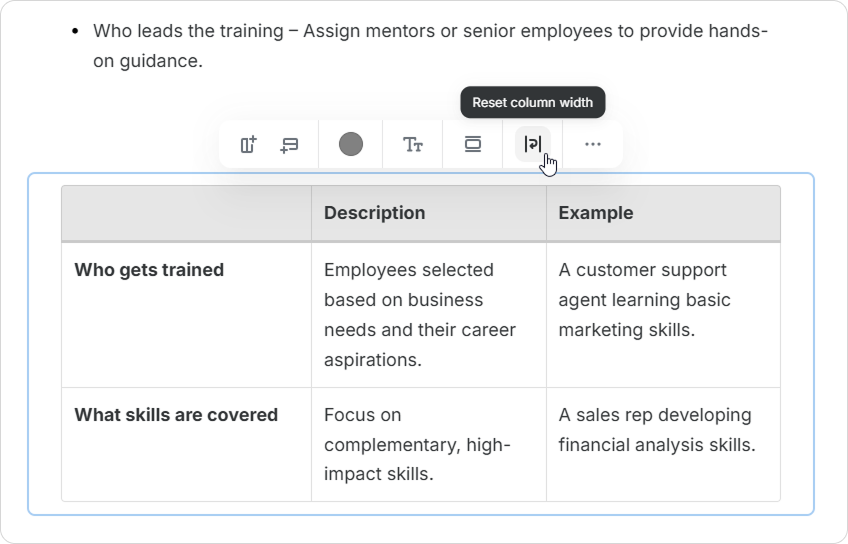
Hover over the column border, click on it and hold, and drag it to resize it. You can also reset the column size to its original width.
How to Add Content Elements to a Table
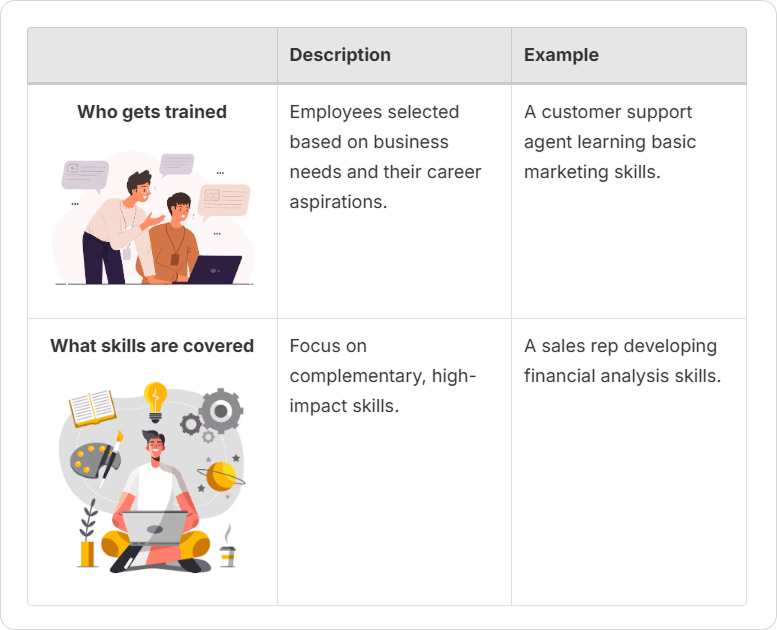
Course Authors can enrich tables with various content elements. This includes images, videos, lists, and code snippets. Upgrade your tables and make your pages more informative and engaging.
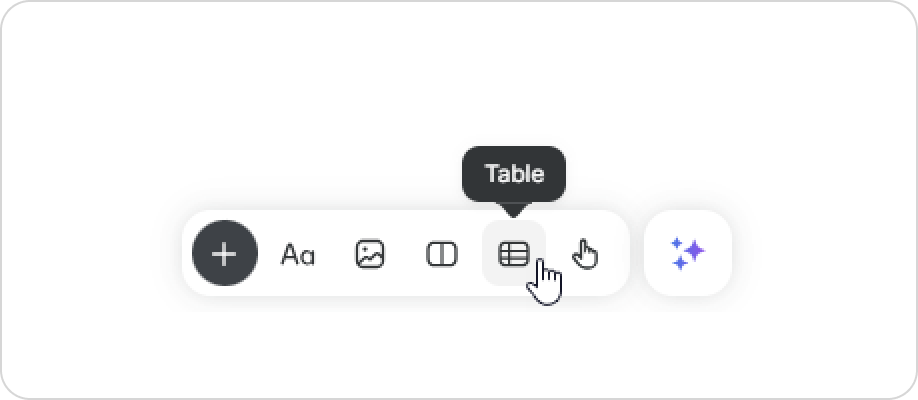
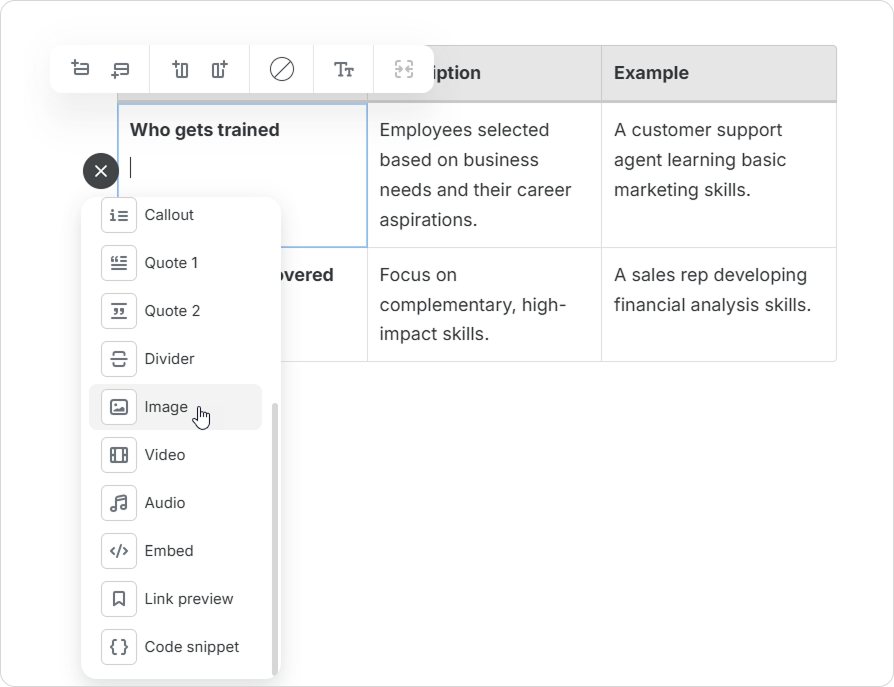
Click on "+" and select the content element. Add an image, for example.
You can add the following elements to the table:
Text
Emoji
Header H1-H3
Bulleted list
Numbered list
Callout
Quote 1-2
Divider
Image
Video
Embed
Link preview
Code snippet
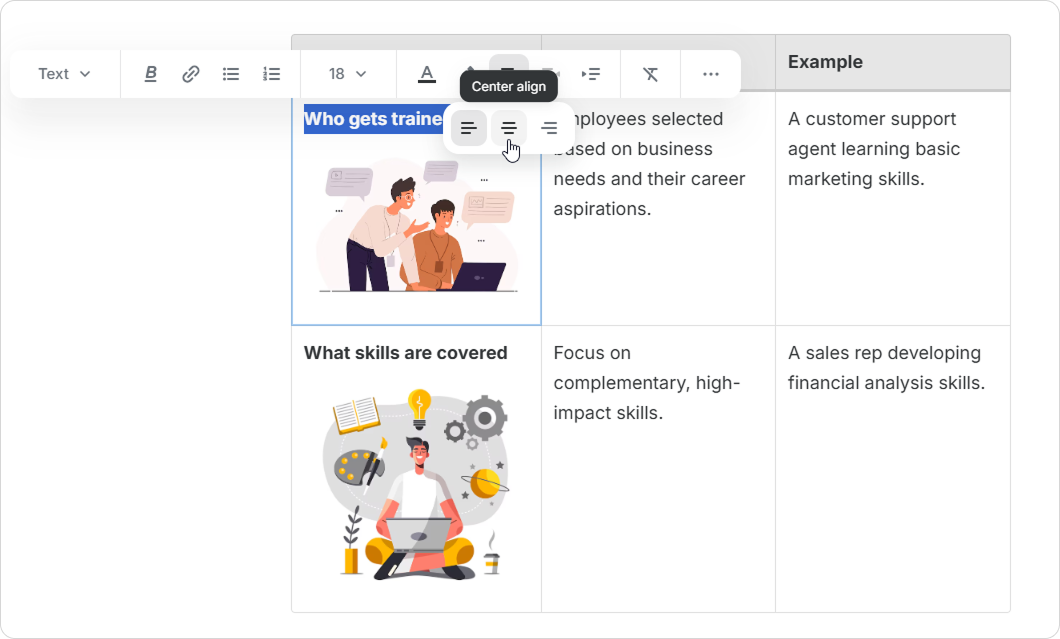
Then, change the formatting settings for an element in a table. For example, center the text.
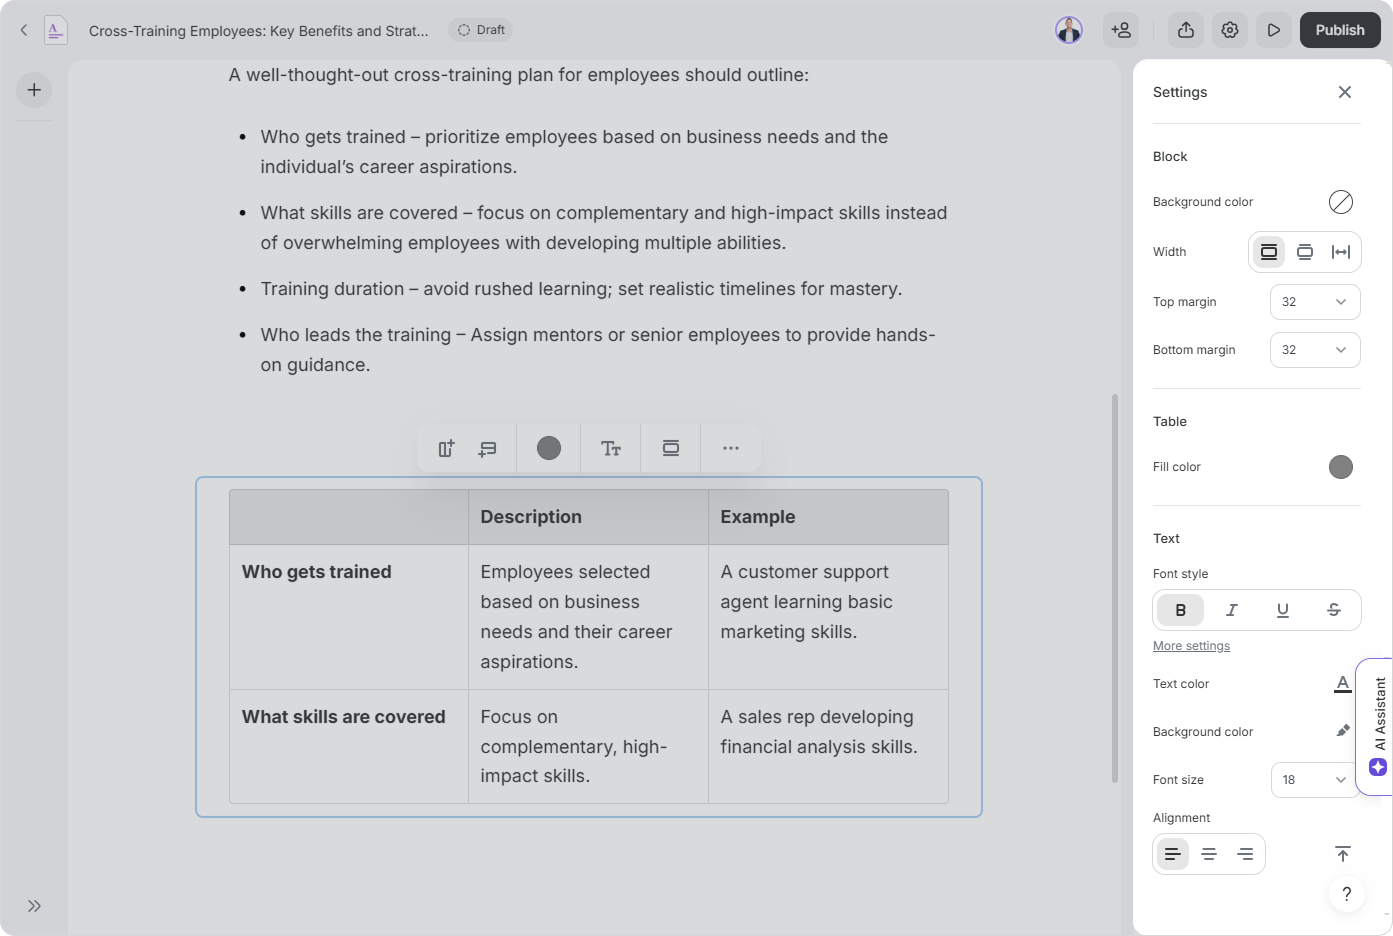
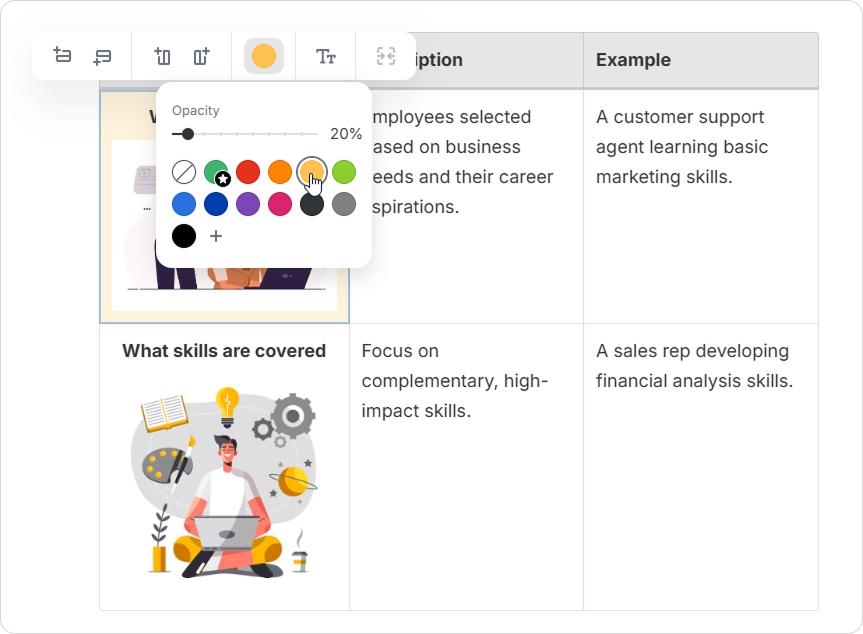
If you need to highlight a single cell, you can fill it with color.