This guide will walk you through the process of setting up an integration in Google Cloud Console using OAuth. First, you will need to create a project and then set up the integration.
Creating a project
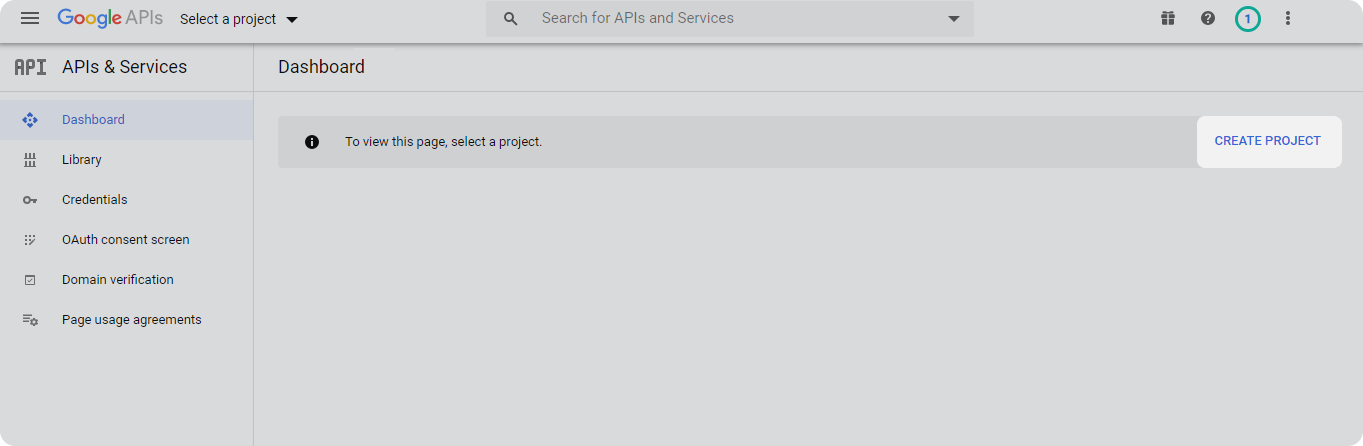
- Go to Google Cloud Console. Click on Create project.
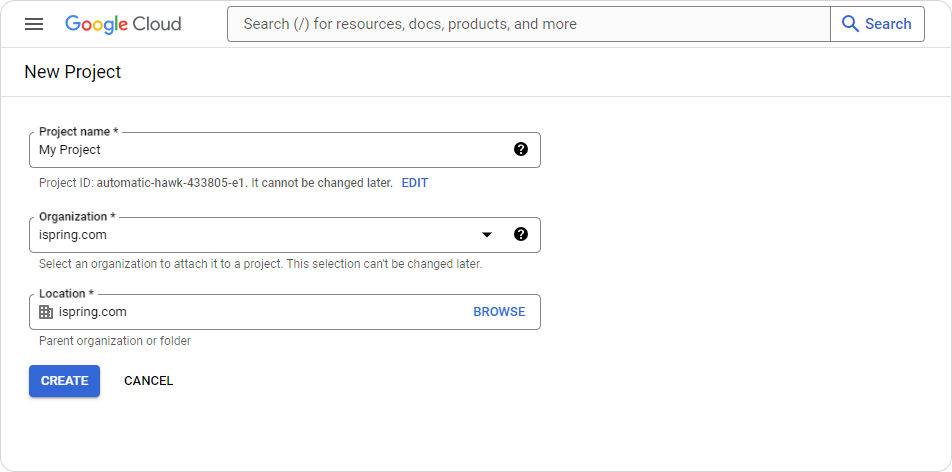
Enter the project name and select the organization.
To add a project to a folder, next to the Location field, click on Browse. Then, find the folder and click on Select.
Finally, click on Create to create the project.
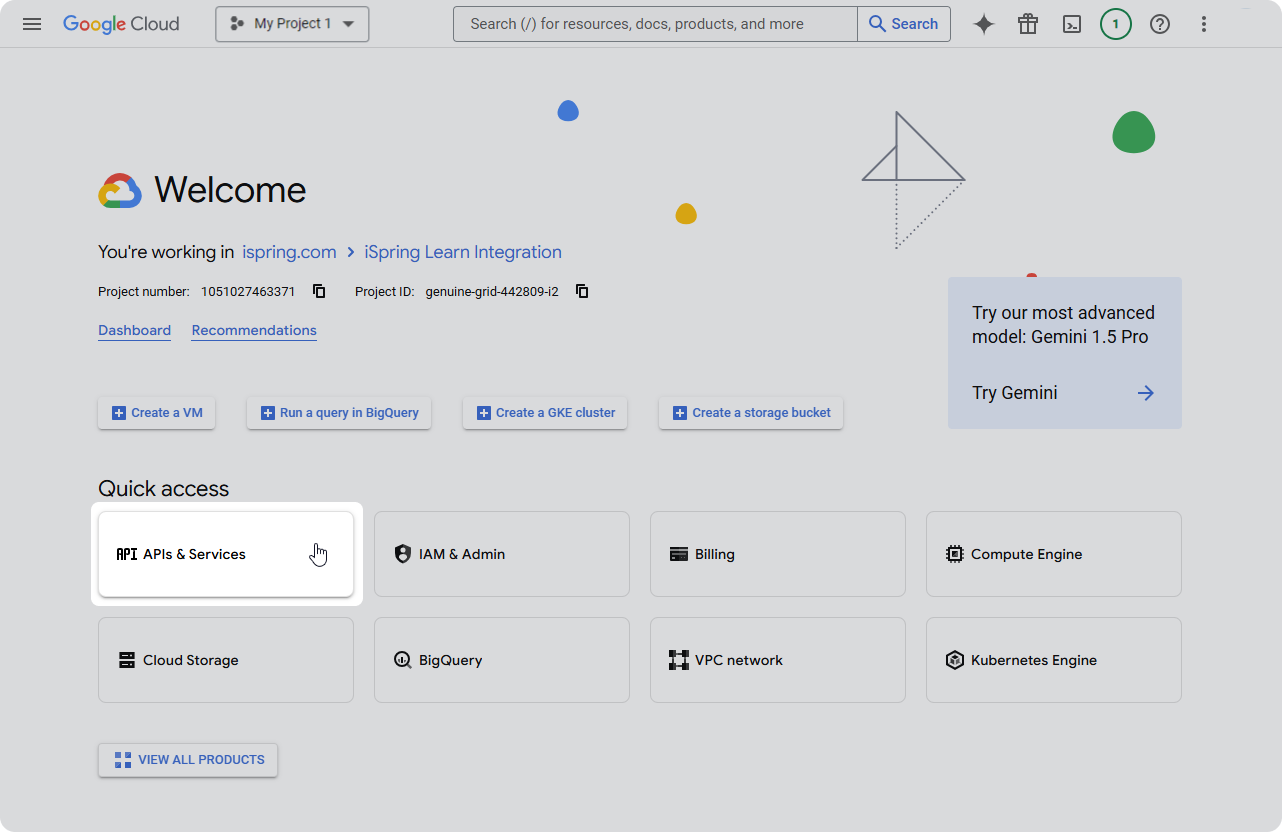
You have created the project! Now, enable the Google Meet REST API and Google People API for it.
- Open the APIs & Services tab.
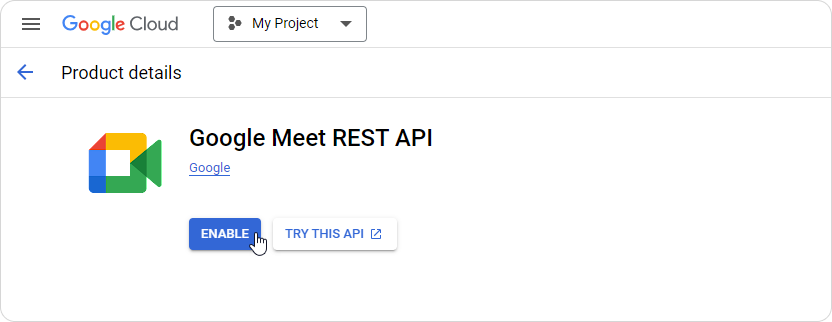
- Search for Google Meet REST API and select the first result.
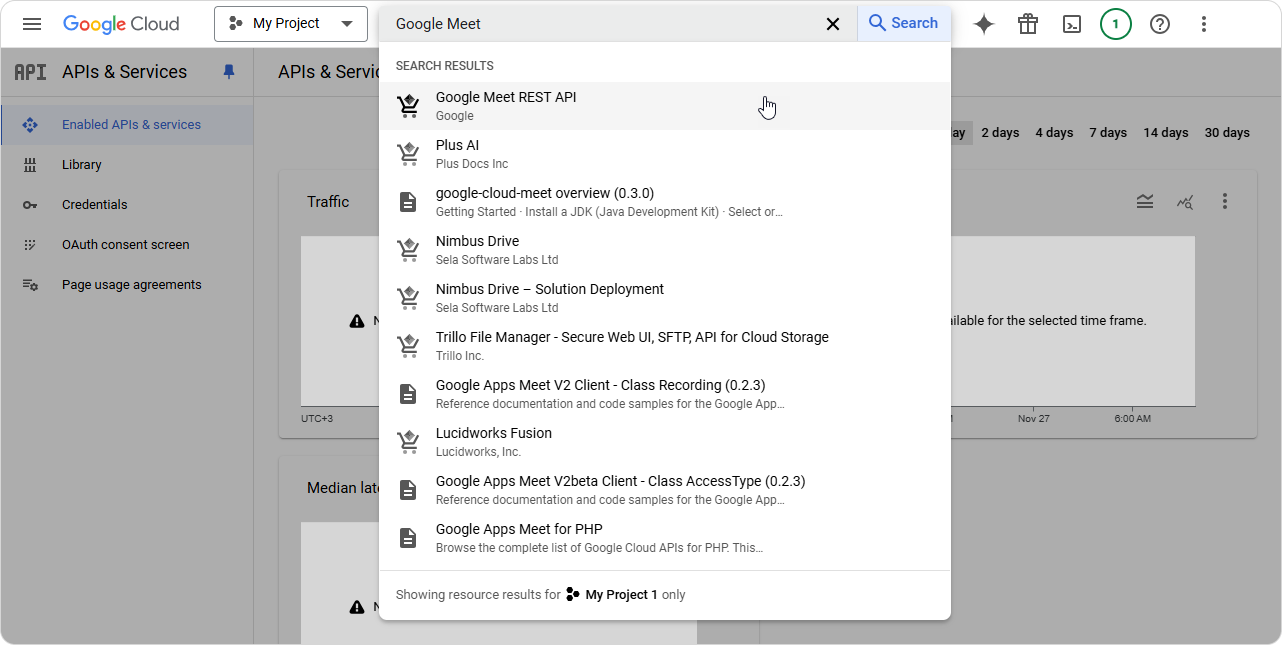
- Click on Enable.
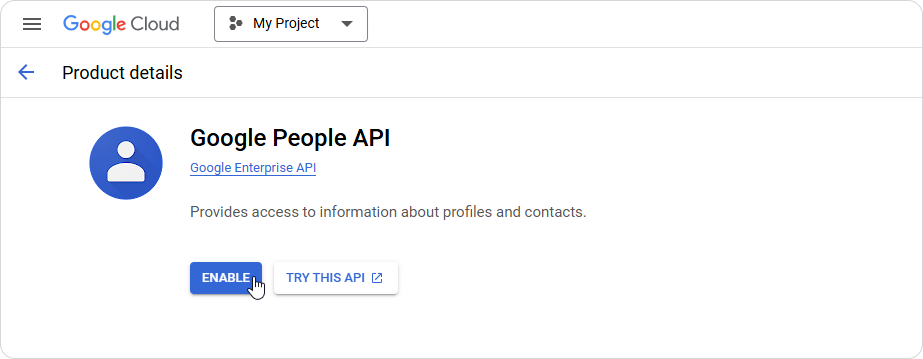
- Next, search for Google People API and hit the Enable button.
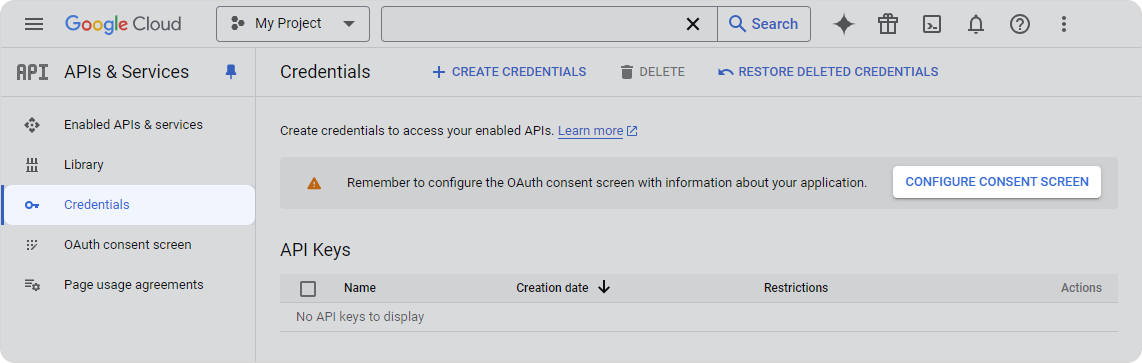
- Go to the Credentials tab. Click on Configure consent screen.
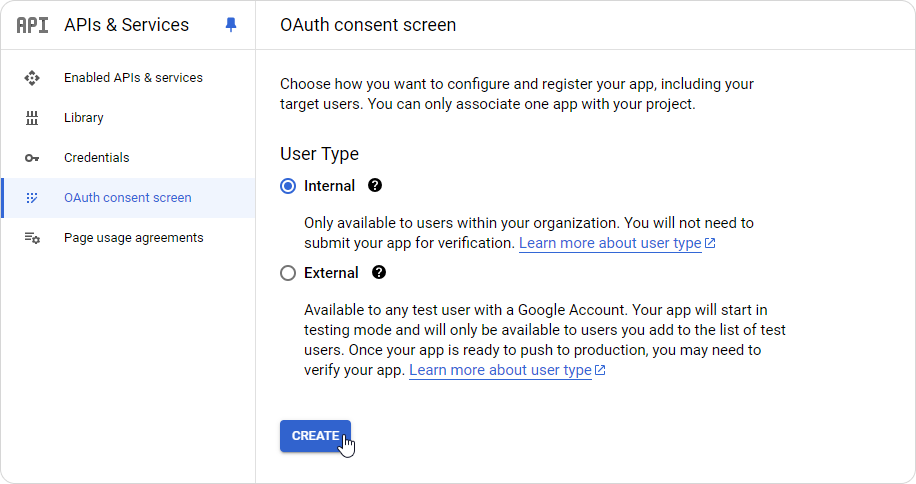
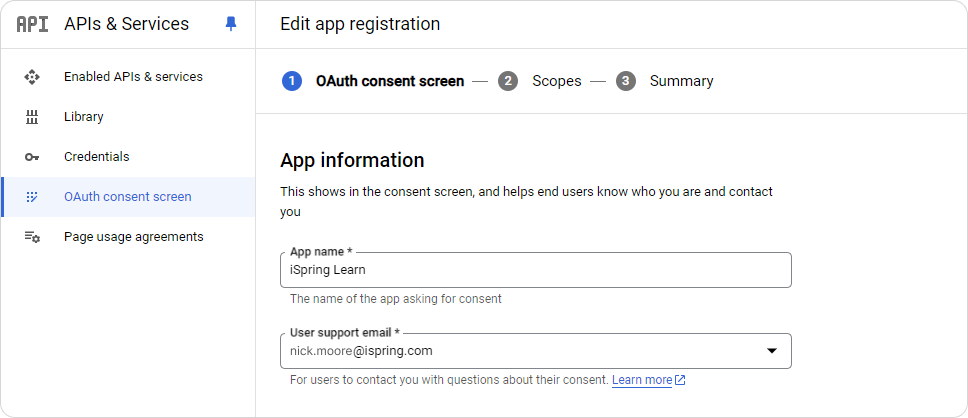
- You'll be redirected to the OAuth consent screen tab. Select User Type Internal and click on Create.
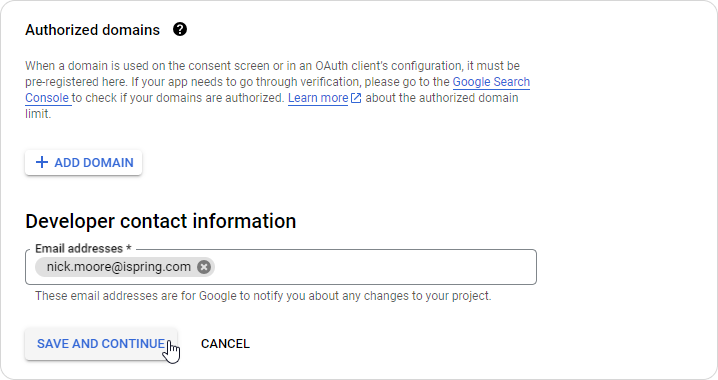
- Fill in the required fields: App name, User support email, and Developer contact information.
- Click on Save and continue at the bottom of the page.
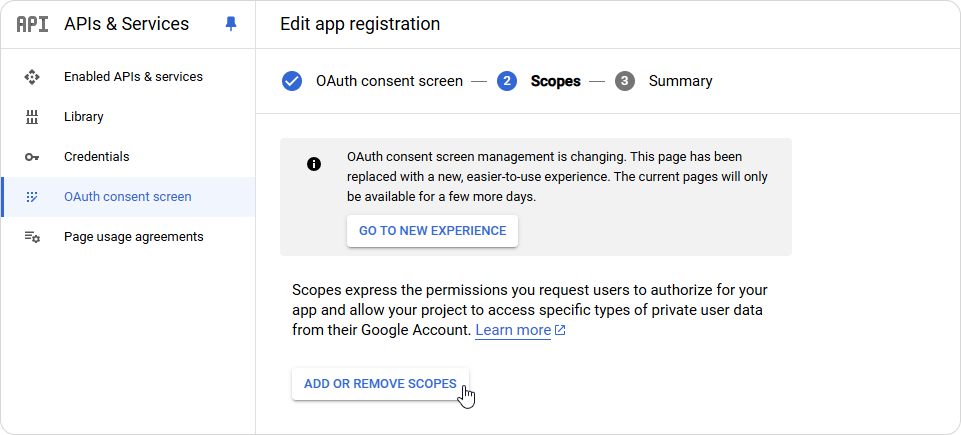
- Next, you'll move on to Step 2: Scopes. Click on the Add or Remove Scopes button.
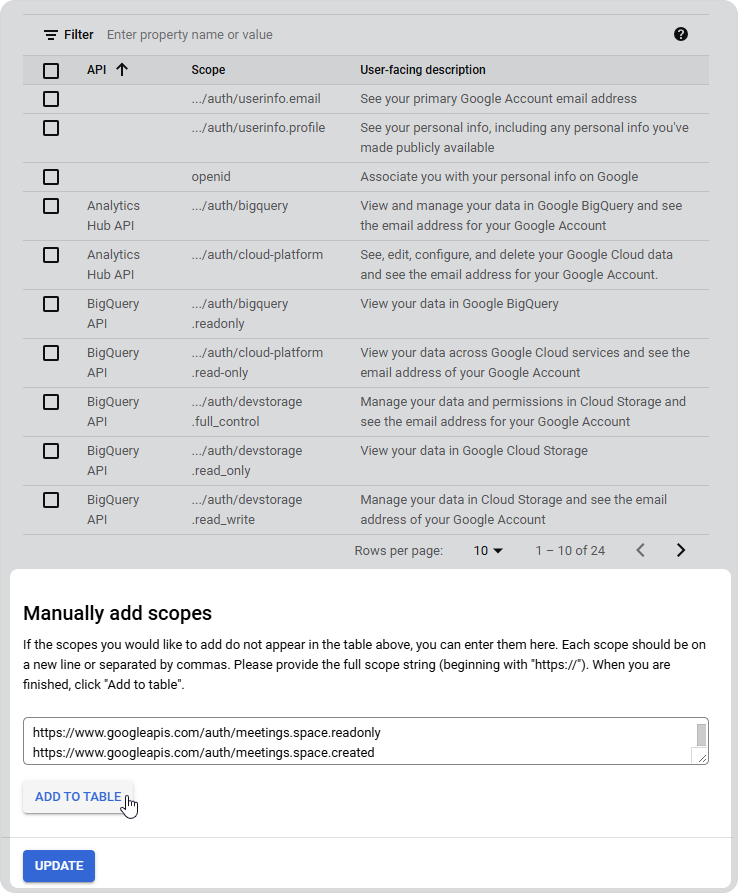
Navigate to the Manually add scopes section and add the scopes provided in the list below. Click on Add to table and Update.
Setting Up the Integration
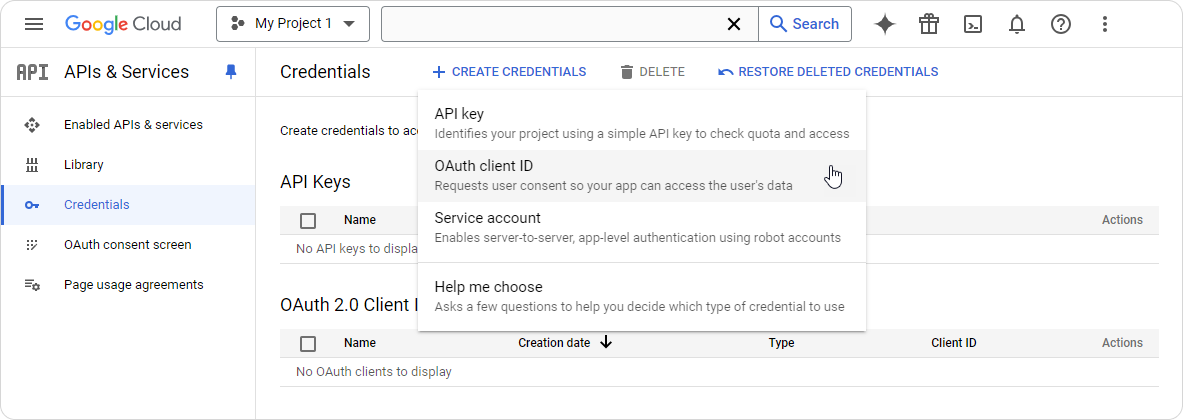
- Go back to the Credentials tab. Click on Create credentials > OAuth client ID.
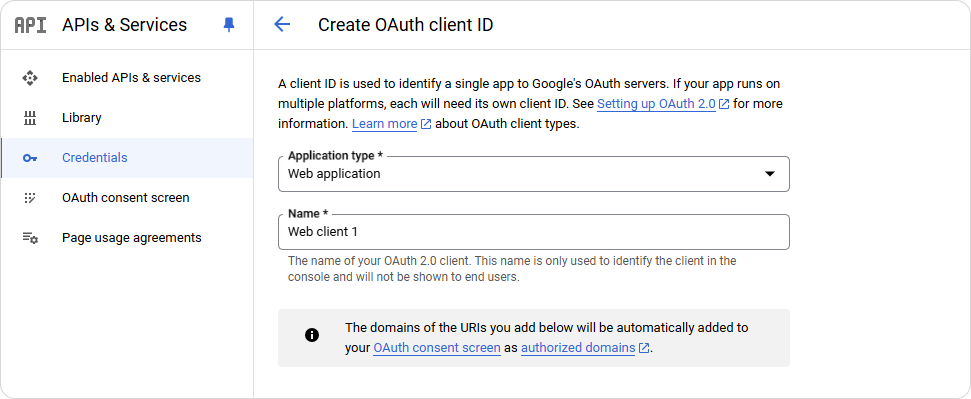
- Select Web application as the application type and enter the name of your OAuth 2.0 client. You can name it anything you like, for instance, "Web client 1".
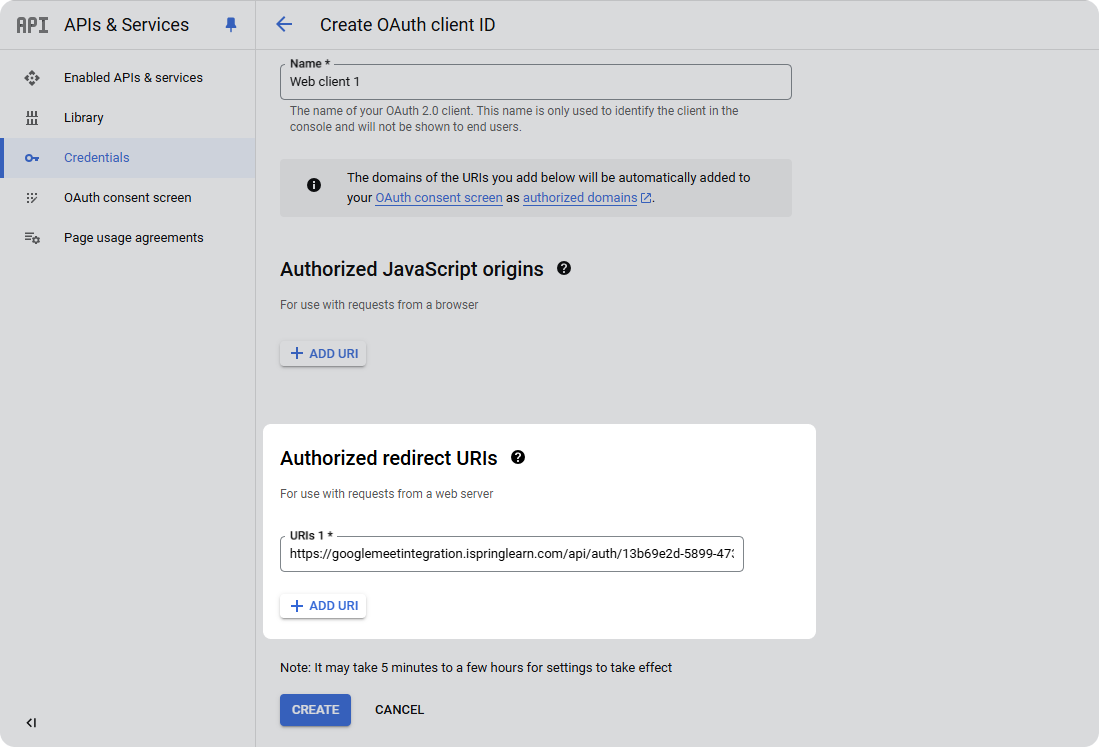
- Next, paste the Authorized redirect URIs that you copied from iSpring LMS, and click on Create.
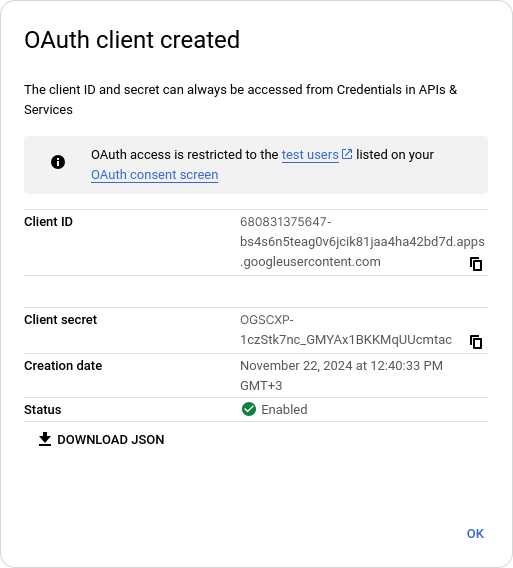
- In a new window, you will find your Client ID and Client Secret. Copy these details and provide them to your iSpring LMS Account Administrator.
Done! Now, iSpring LMS Account Administrator can enable the integration.