Setting Up SMTP Relay
Administrators can customize notifications to be sent from your company's email address by setting up an SMTP relay in iSpring Learn. This change lets learners instantly recognize important messages from your company, boosting engagement and ensuring they don't miss crucial updates.
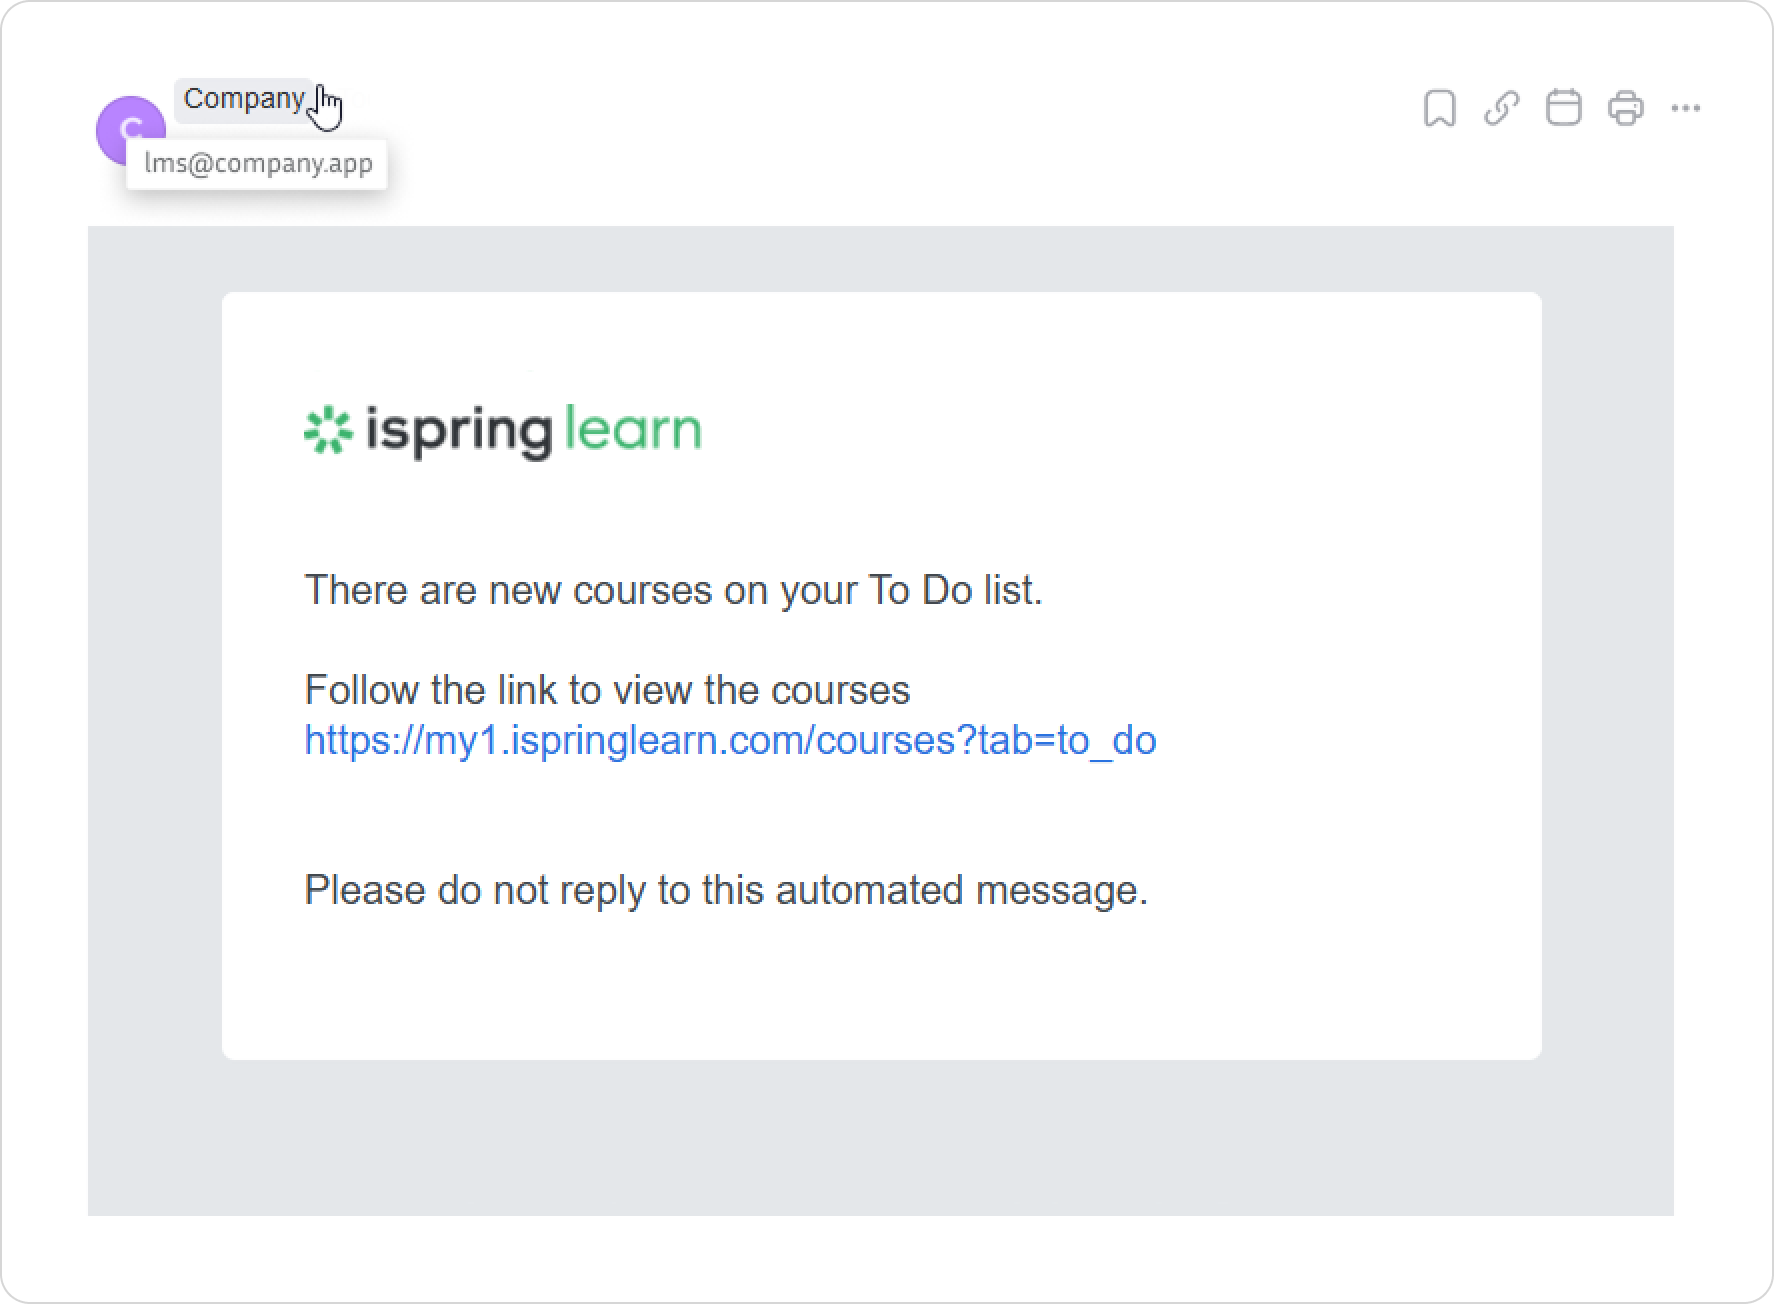
Simple Mail Transfer Protocol (SMTP) is a protocol that enables the sending of email messages. When you send an email, your email service uses SMTP to deliver it to the recipient's email server.
- This module can be connected to the account at the client's request.
- Only the Account Owner and Administrator can set up an SMTP relay in iSpring Learn.
How to Set Up an SMTP Relay
Once the SMTP Relay module is connected to your account, here’s how to set it up.
Go to Services > Customization > SMTP Relay. Then, click Turn On.
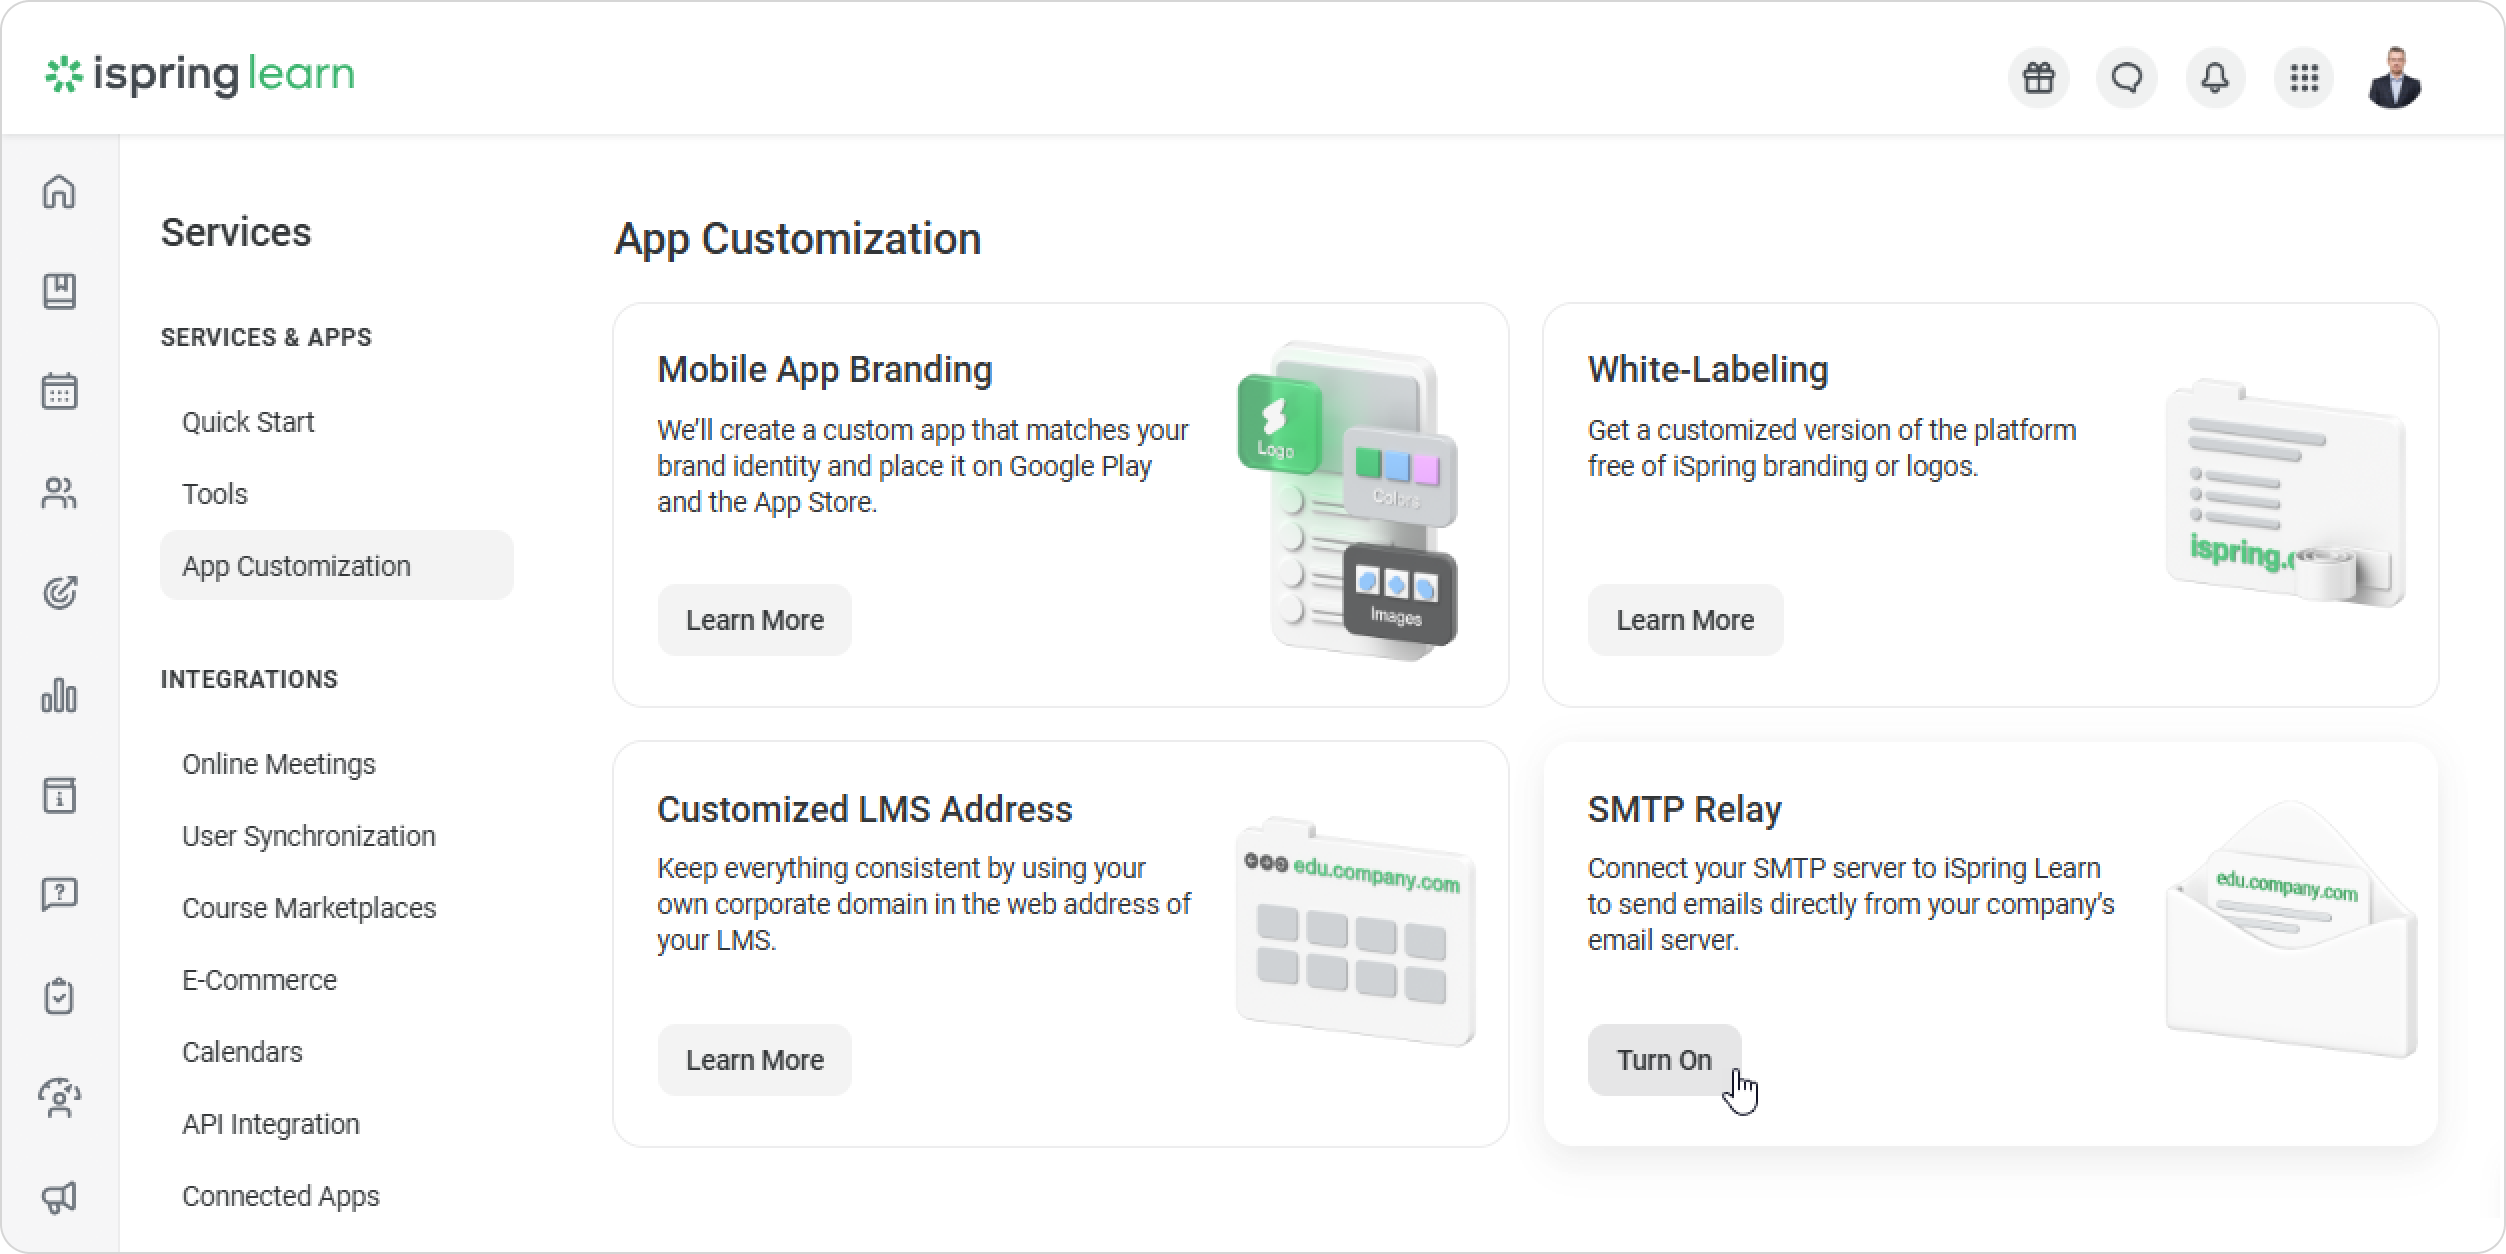
Next, we’ll look at how to fill in the fields.
- Enter the SMTP Server Address and Port. To find it, check your email provider's account settings or consult server setup guides.
- Example: Gmail Help Docs
- SMTP Server Address: smtp.gmail.com
Port: 25, 465, or 587
What's the best port to use?
Port 587 with STARTTLS support is the recommended choice. It is the most flexible and secure option for sending email, ensuring compatibility with clients that may not support encrypted connections by default.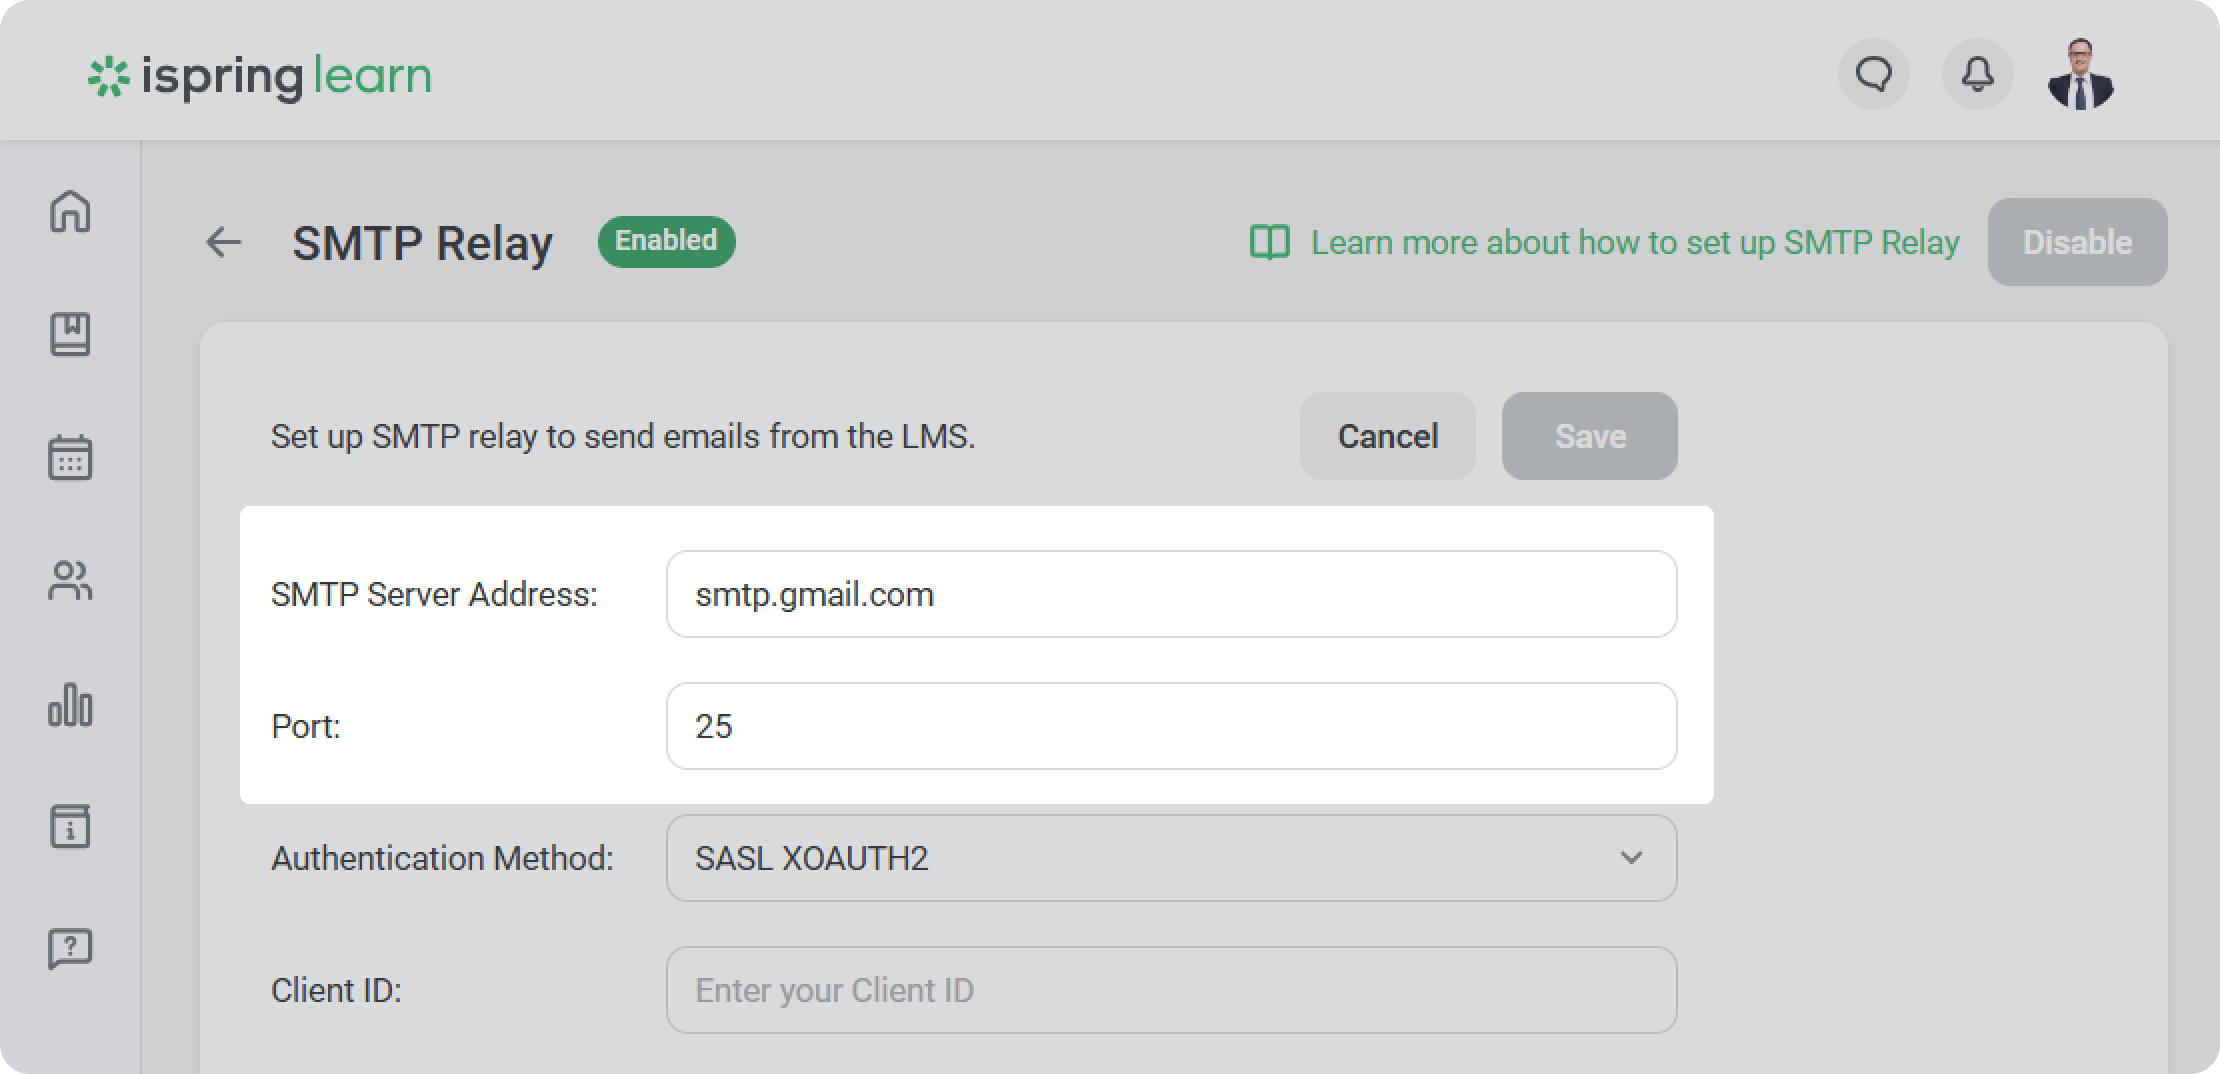
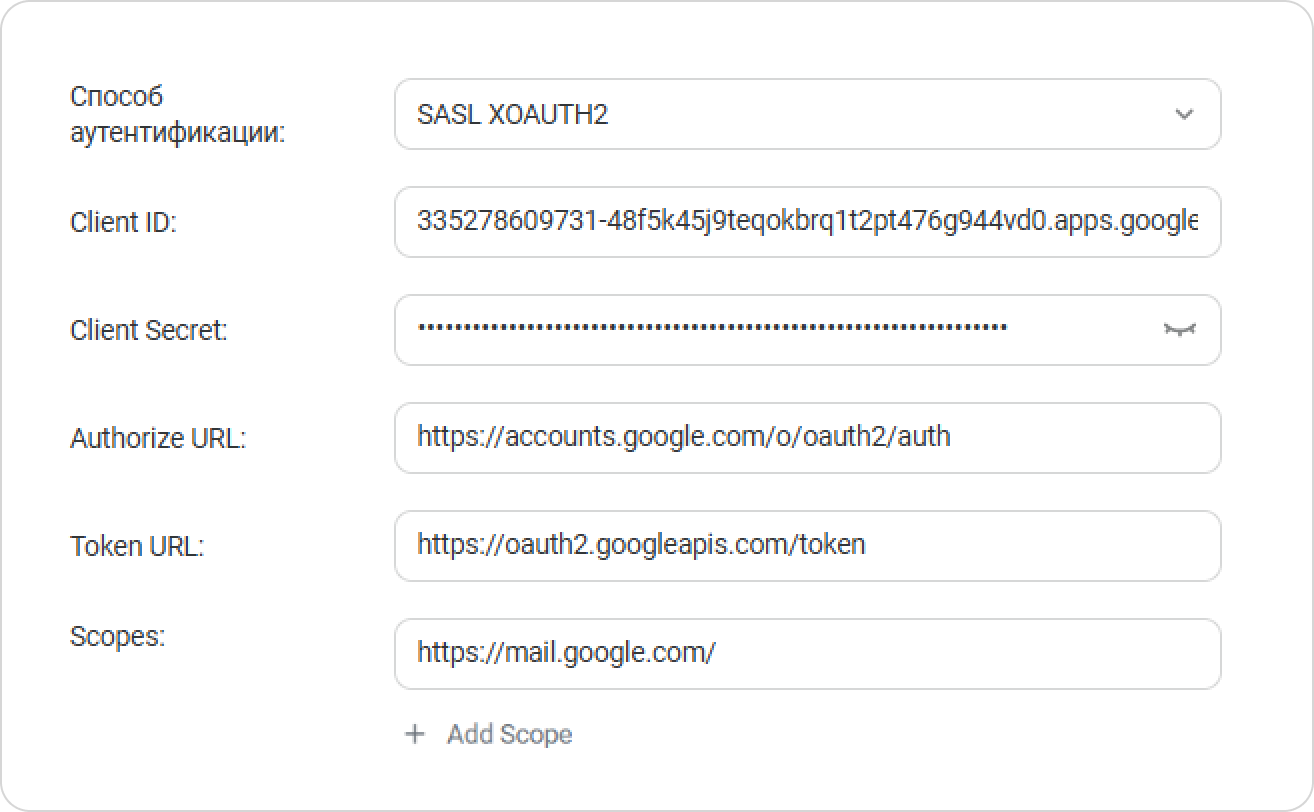
Choose SASL XOAUTH2 as the Authentication Method.
This method leverages the OAuth 2.0 protocol to provide a more secure and flexible way to access email services, including Gmail, as compared to traditional login and password methods.
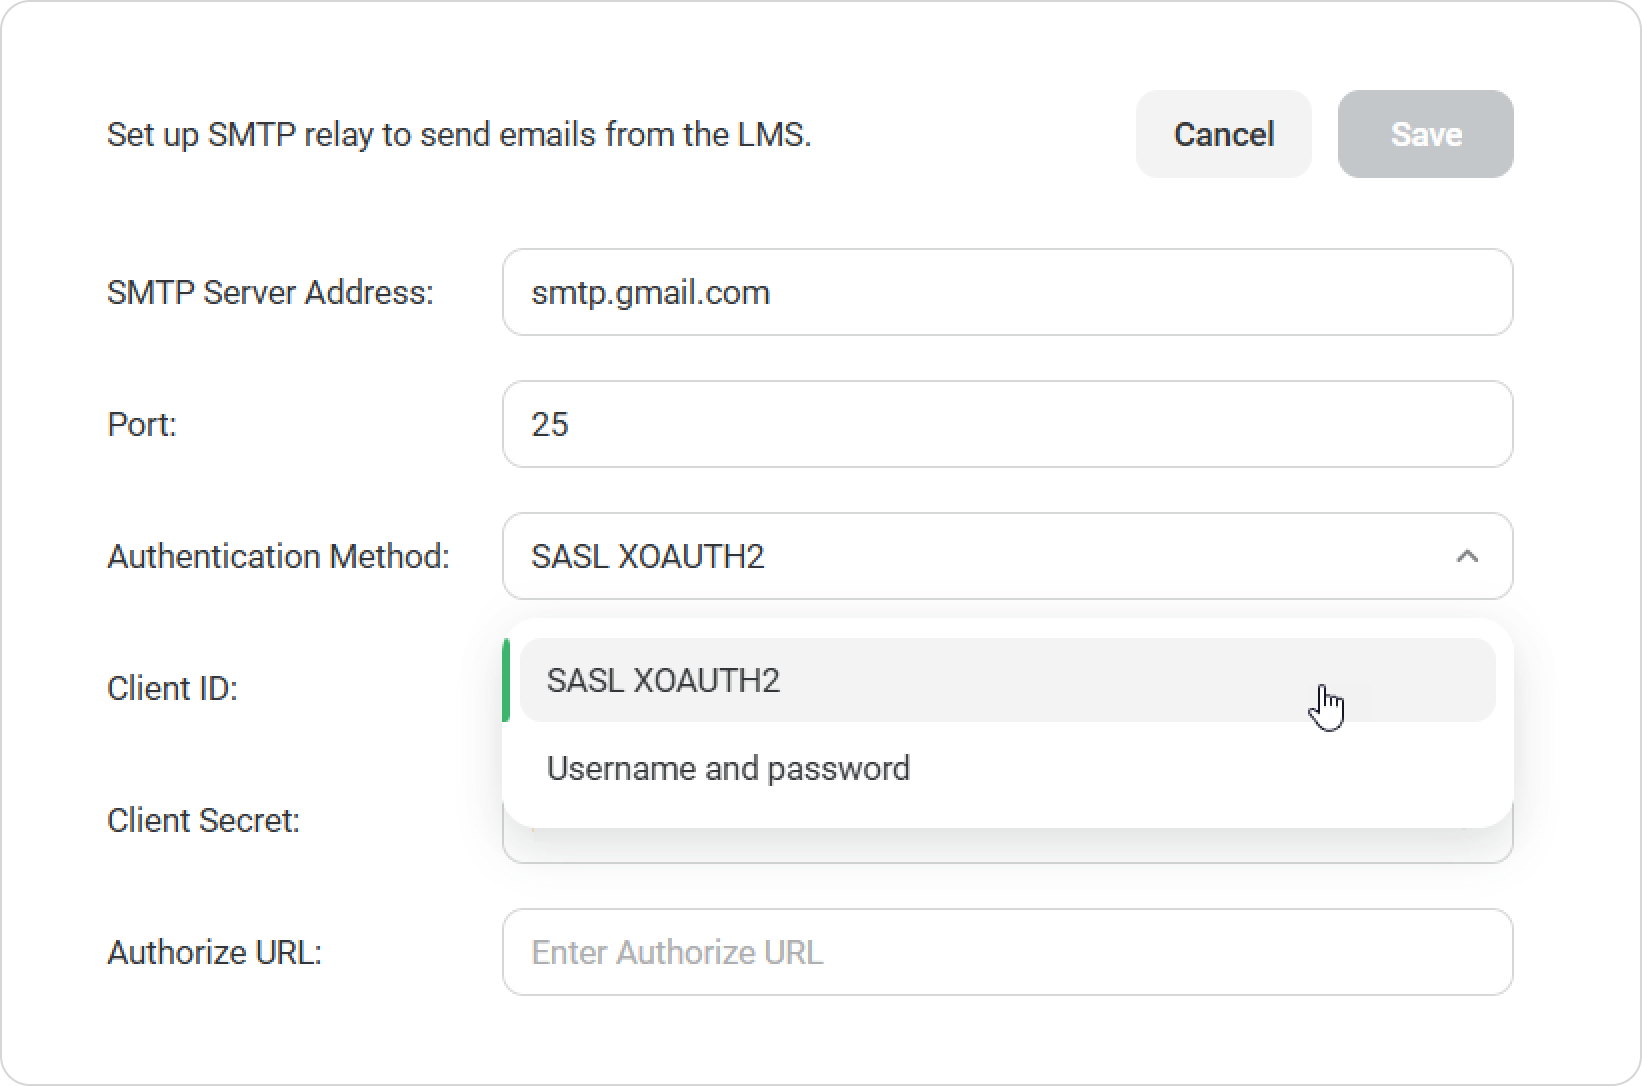
- To use SASL XOAUTH2, you'll need to provide the following OAuth 2.0 credentials:
- Client ID
- Client Secret
- Authorize URL
- Token URL
Scopes
These credentials are necessary for the authorization process and to grant your application access to the user's email account.To create OAuth 2.0 credentials, follow the Setting up OAuth 2.0 instructions.
- Next, copy the Redirect URL from the field and add it to the list of allowed URLs in Google.
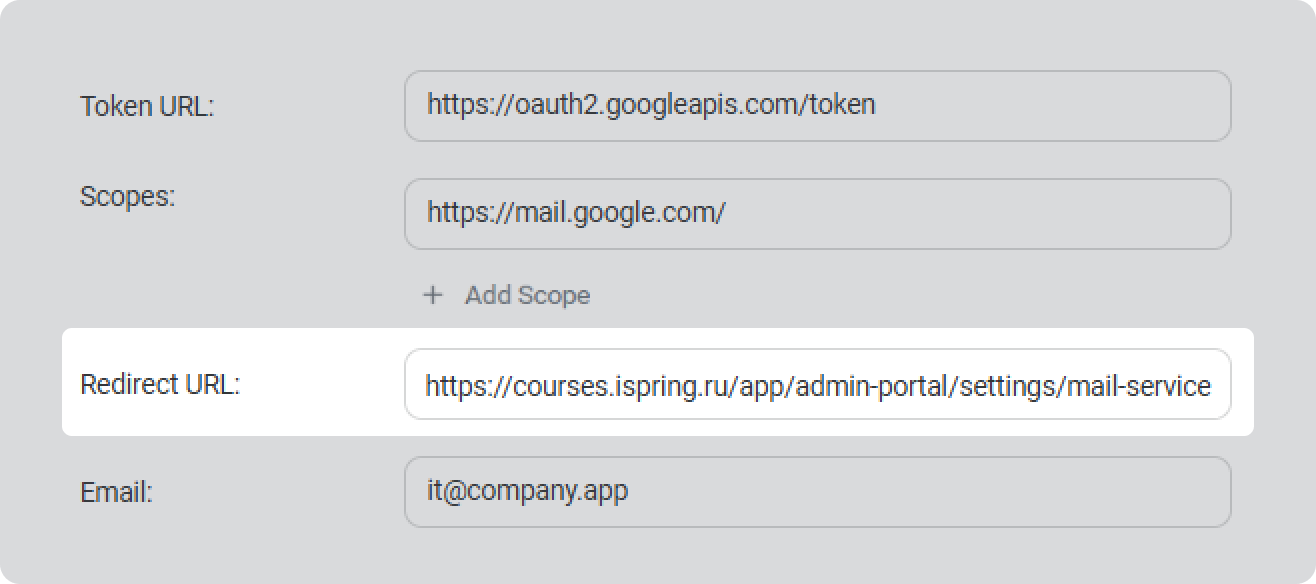
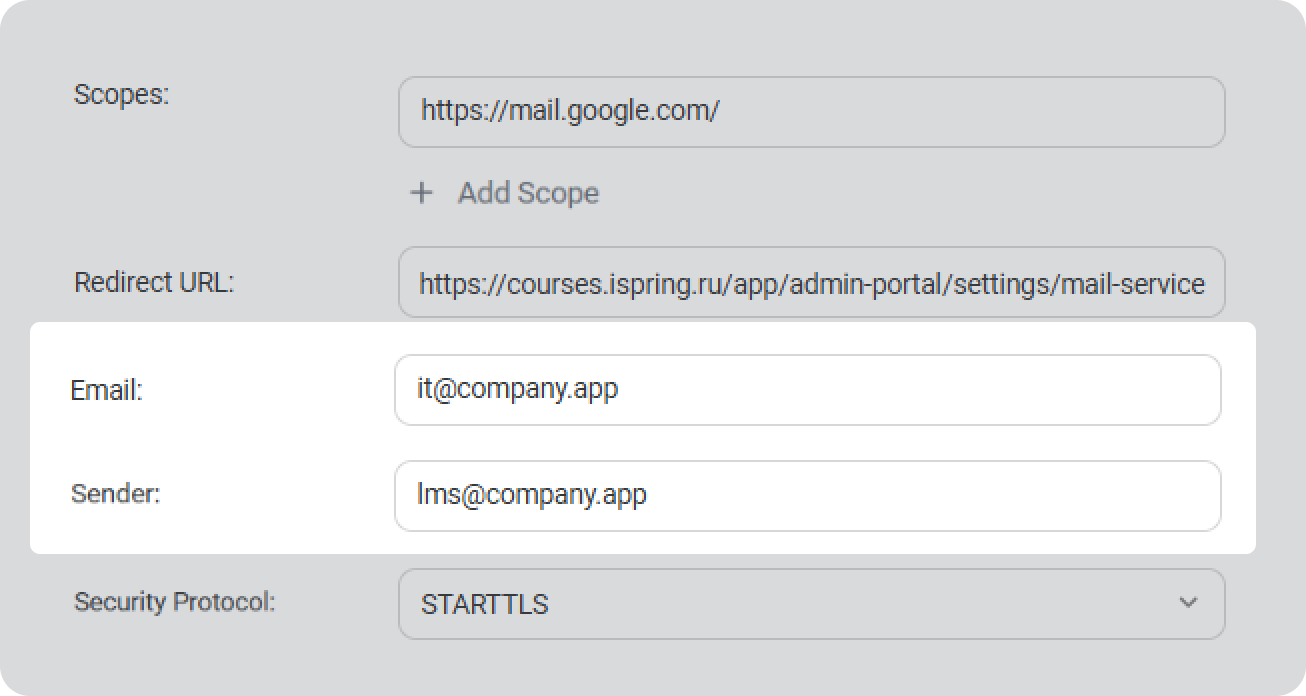
- When using XOAuth2 for Google or Exchange, enter the user's email address in the Email field.
- Then, in the Sender field, enter the email address you want to use as the sender.
- To ensure your emails reach recipients' inboxes, make sure your domain has a correctly configured Sender Policy Framework (SPF) record. An SPF helps verify that your email server is authorized to send emails on behalf of your domain.
- Set up Domain-based Message Authentication, Reporting & Conformance (DMARC). This protocol ensures that emails failing SPF checks are handled correctly, preventing them from being marked as spam.
- To ensure your emails reach recipients' inboxes, make sure your domain has a correctly configured Sender Policy Framework (SPF) record. An SPF helps verify that your email server is authorized to send emails on behalf of your domain.
Select Security Protocol — it encrypts your email data to protect it from interception.
The choice of security protocol depends on the port number. Use STARTTLS for unencrypted connections (port 25) and SSL/TLS for encrypted connections (ports 587 or 465).
What's the best port to use?
Port 587 with STARTTLS support is the recommended choice.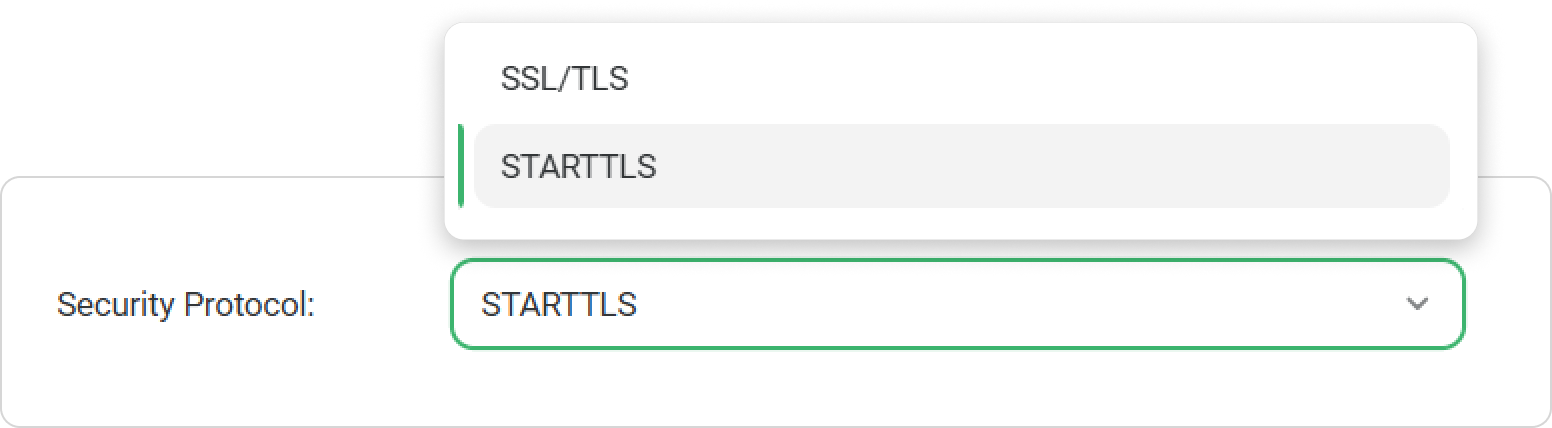
- Then, click on Connect.
That's it! Now your employees will receive notifications from your corporate address.