How to Create a Course with AI
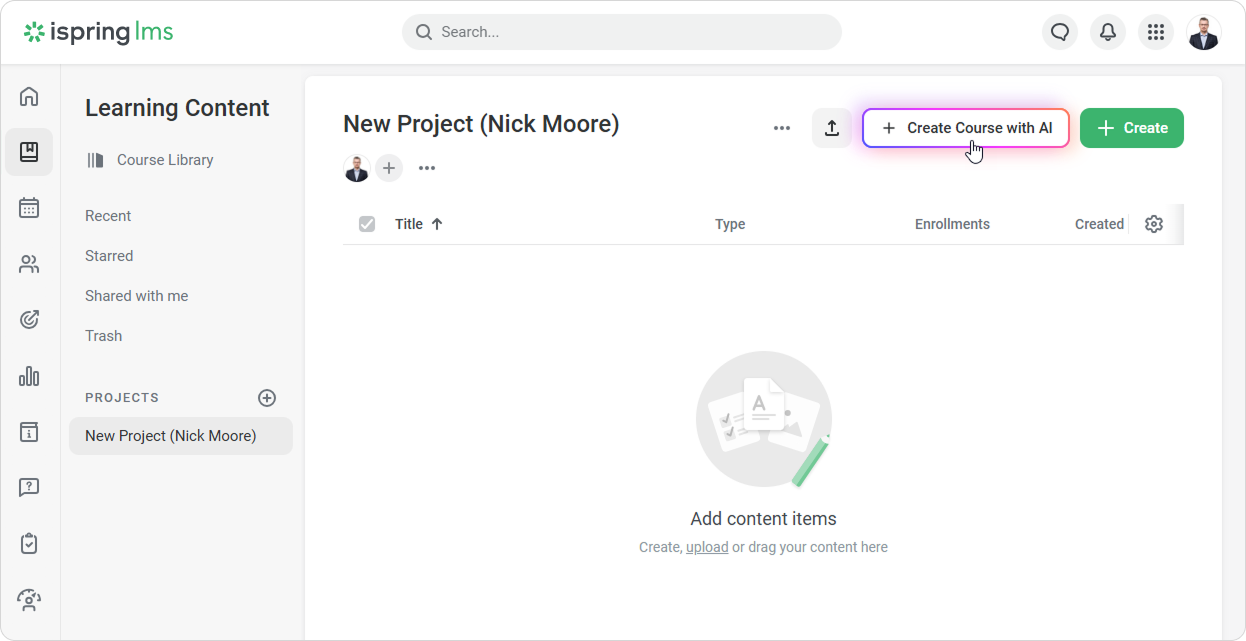
- Open the Learning Content section.
In the top right corner, click Create Course with AI.
Complete these four steps to generate a course draft:
Step 1. Sources — describe your course and add materials
Step 2. Course Details — refine goals, audience, and style
Step 3. Course Outline — review and adjust the structure
Step 4. Course Draft — generate and refine the course
Sources
Describe your course. Write one or two sentences to define the topic. Include additional details if available, such as the target audience for the course and its key learning objectives.
For example: “Course for new support team members: how to respond to customers and handle tickets.”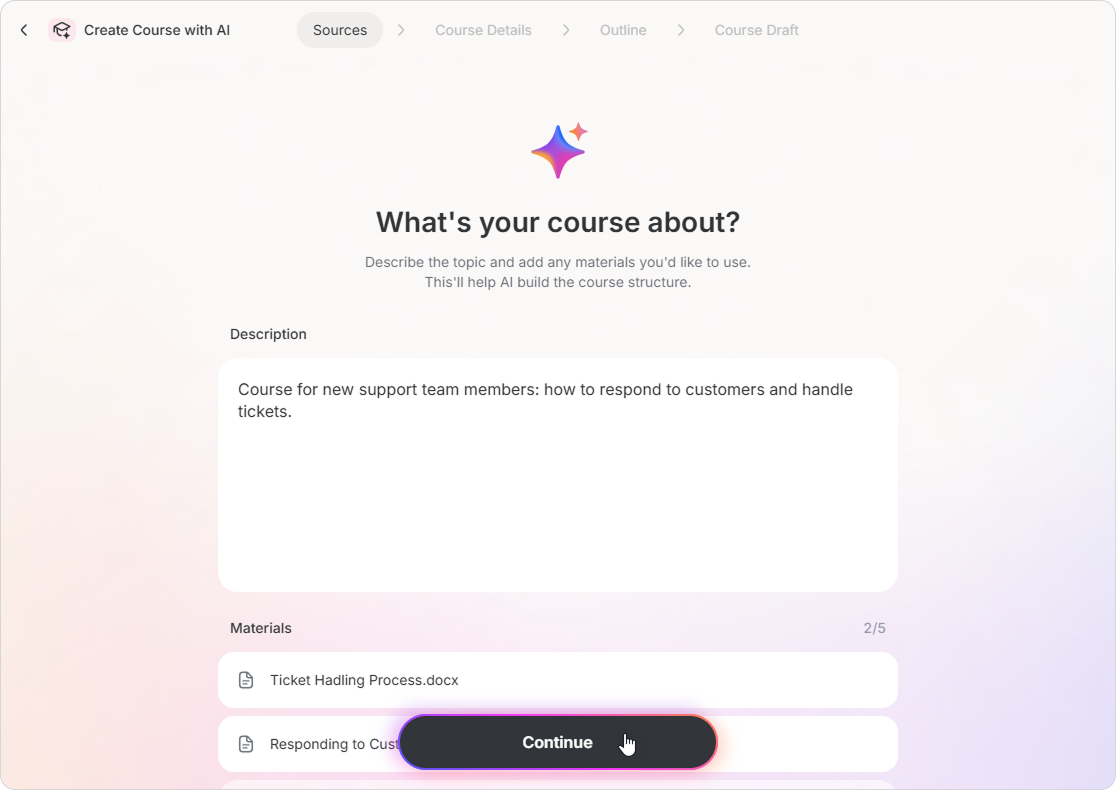
In the Materials section, you can upload files for AI to use when generating the course, such as a brief, outline, or requirements.
If you don’t add any files, AI will generate the course based only on your description.You can upload up to 5 files.
Supported formats: TXT, PDF, DOCX.- Click Continue.
Course Details
AI will generate the course details based on your description. Review them carefully because they will determine the structure and content of the course.
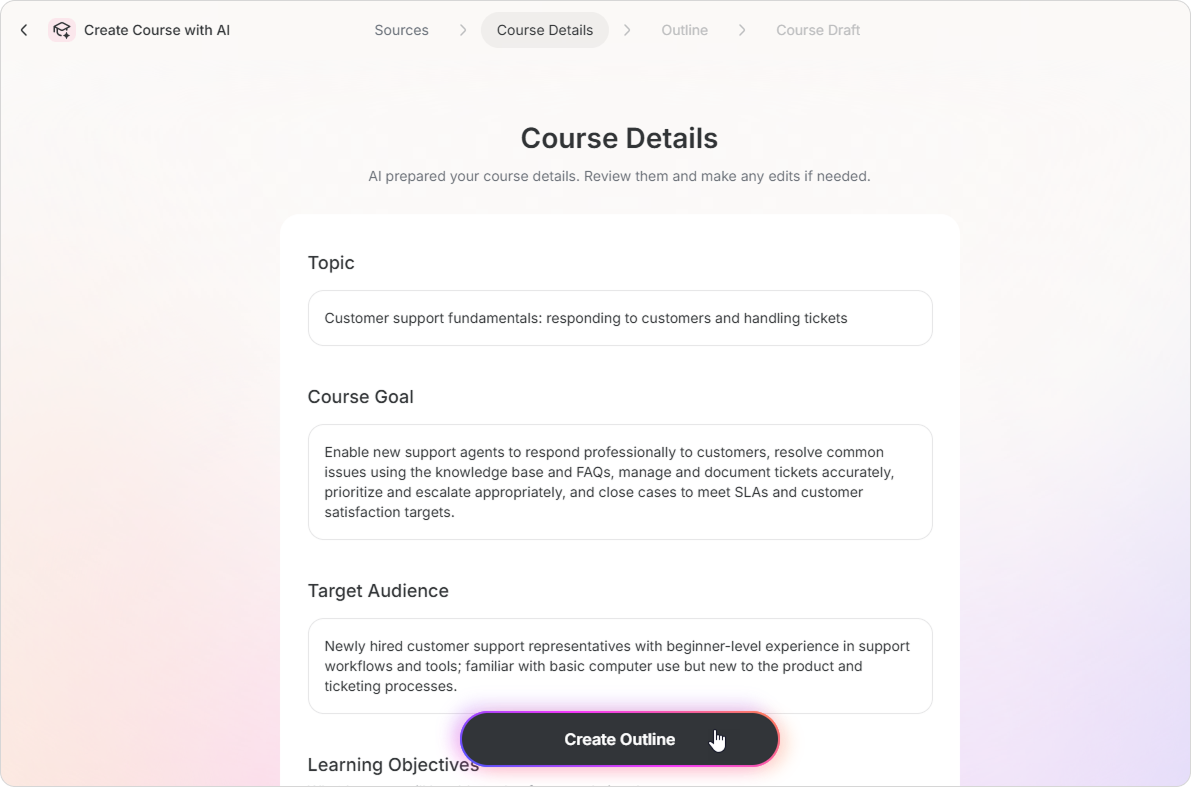
Topic A short description of what the course is about. Course Goal The purpose of the course and the outcome you expect, such as better performance or increased efficiency.
Example:
Train new support agents to respond to customers accurately and efficiently, use scripts and FAQs, and manage tickets properly.
Reduce resolution time for common requests and improve overall service quality.Target Audience Who the course is for: roles, experience levels, and backgrounds. This affects terminology and the complexity of the content. Learning Objectives What learners will be able to do after completing the course. Click Add Objective to include multiple items.
Examples:
- Process incoming support requests
- Use a CRM system
- Handle complex customer inquiries
- Follow communication standards
Writing Style Select a style or define your own:
- Informational
- Business
- Conversational
- Technical
- Custom
- Academic
If you select Custom, describe it. For example: “Formal tone, professional language, short sentences.”
Click Create Outline.
Outline
AI will generate a course outline, including the title, description, and modules. Review it and make any necessary changes.
You can:
- Edit text manually or click Edit with AI.
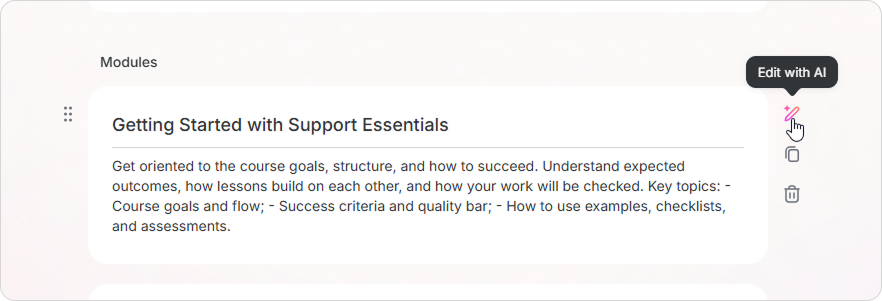
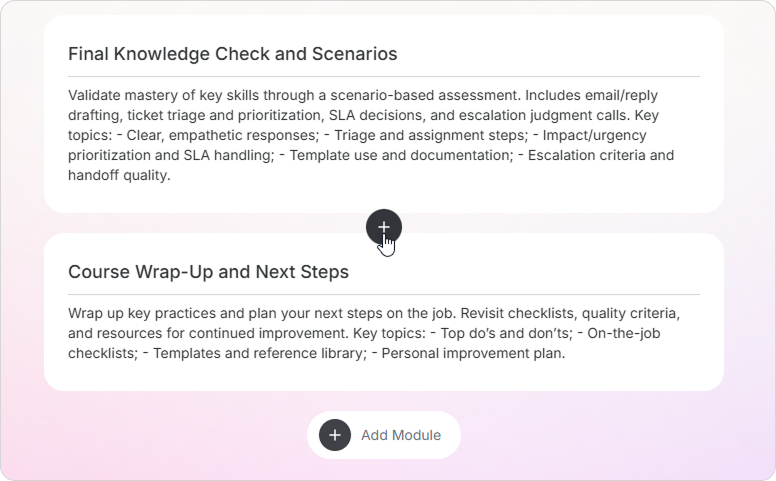
- Duplicate or delete modules.
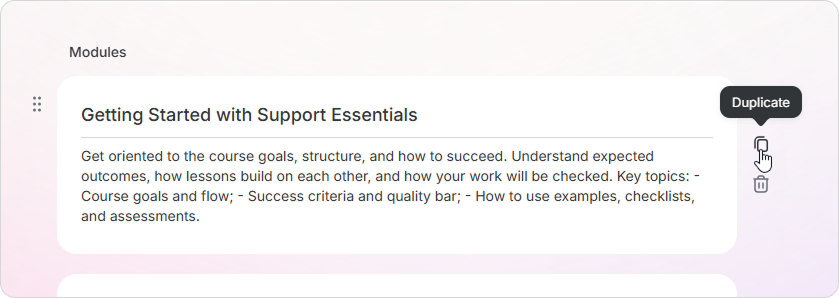
- Add a module by clicking + or Add Module.
- Change the order of modules by dragging them using the ⋮⋮ handle.
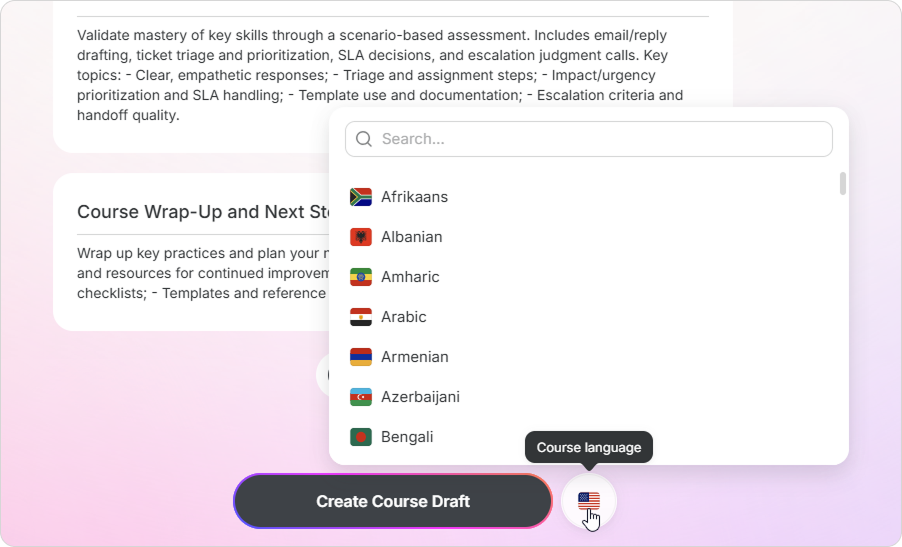
Choose a different language for the course by clicking the flag and selecting it from the list.
77 languages and their regional variants are available. For example, you can choose Spanish for Spain or Mexico.
Course Draft
When everything is ready, click Create Course Draft.
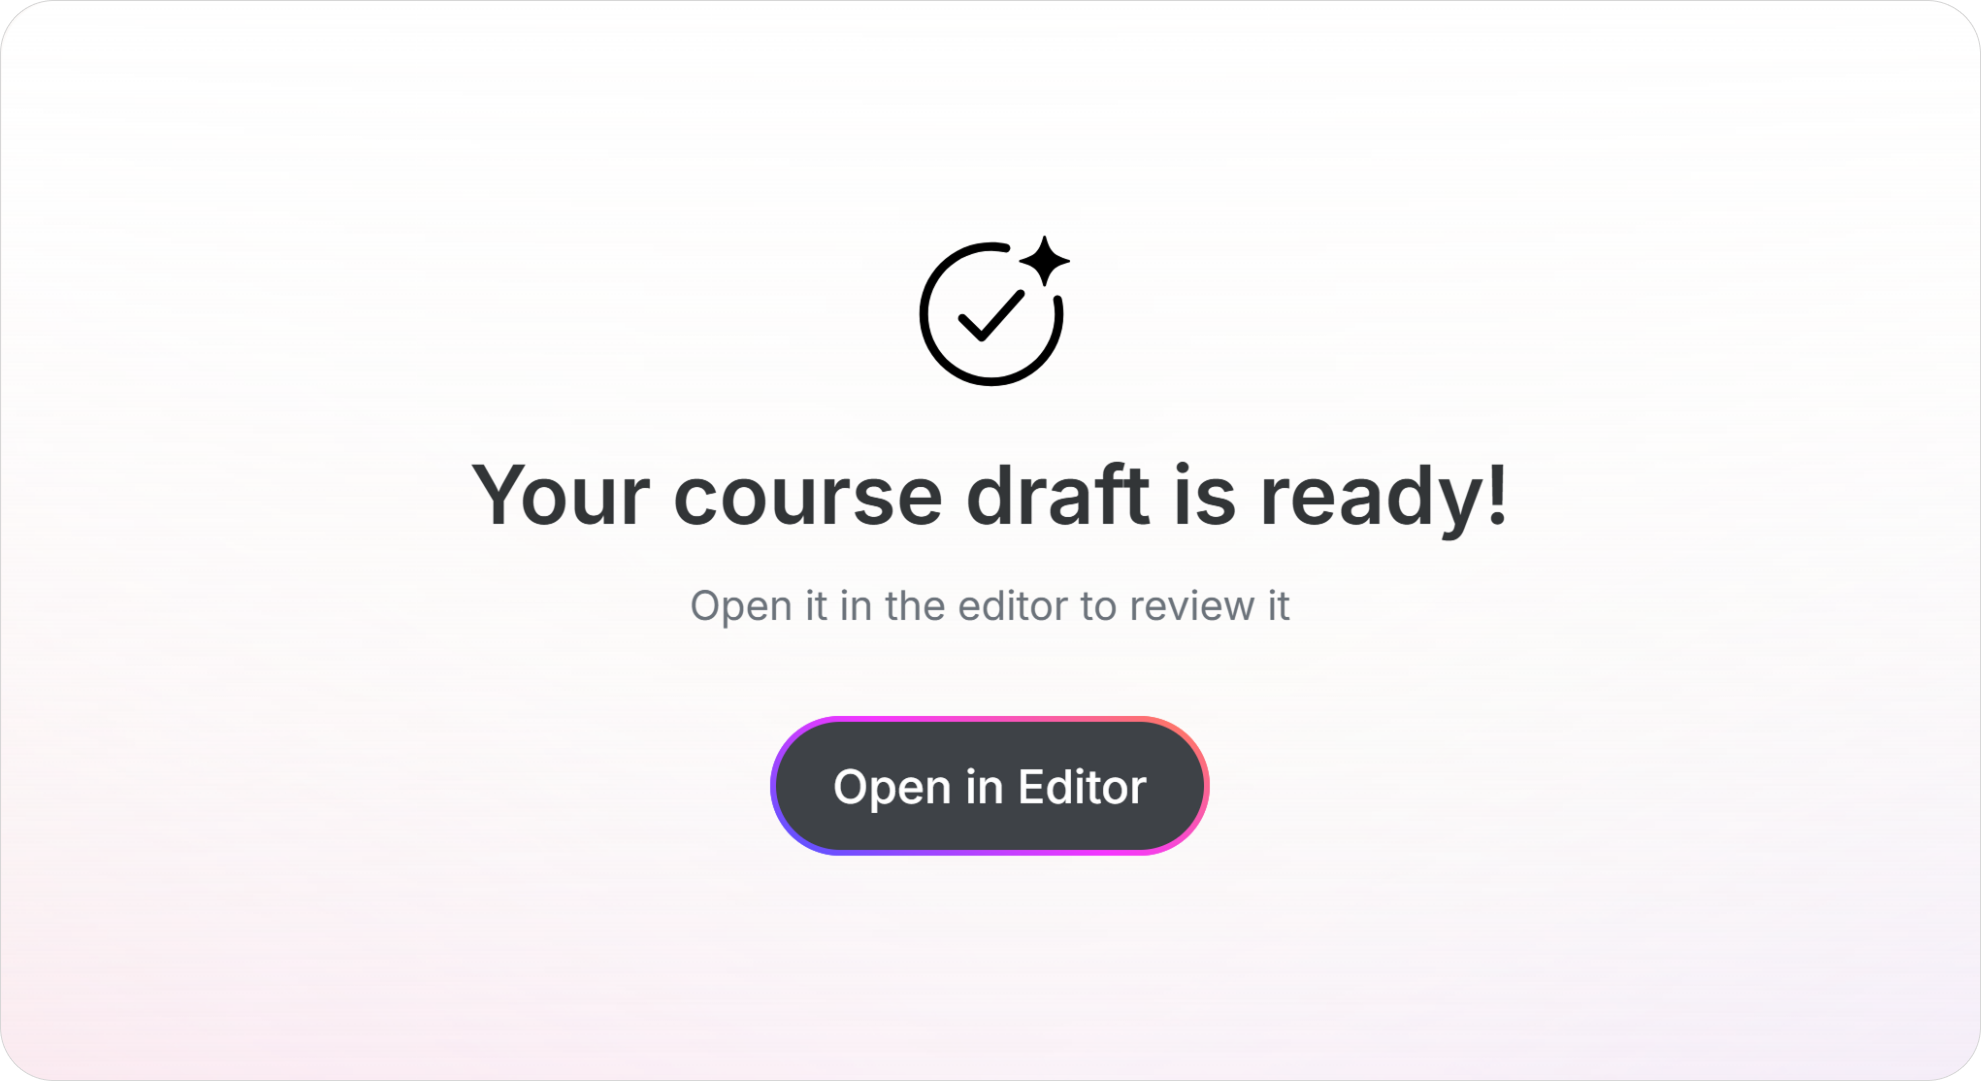
Within a few minutes, your course will appear as a page. Click Open in Editor to continue working on the course.
You don’t need to wait for the generation to complete. You can close or minimize the tab and return to the course later—it will be ready.
- Before publishing, refine the draft course. For example, add interactive blocks, images, or a final assessment. You can edit the text just as you would in a regular course.
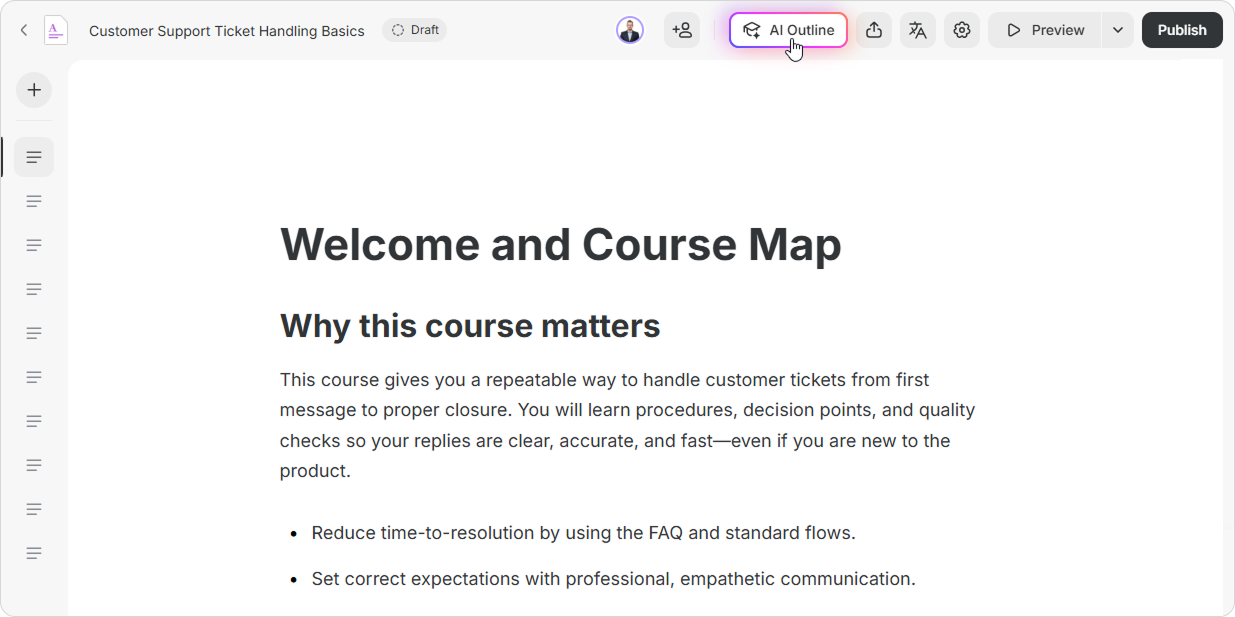
Edit the Course Outline
Click AI Outline.
Make the desired changes and click Create Course Draft. Choose Create a new draft or Replace the original draft. AI will regenerate the course according to your updates.

You’re all set! Use AI to create courses faster and focus on improving content quality.